In this tutorial we are going to see how to create a simple Android Menu using ActionBar. It is a very handy kit when you want to create simple Menus for your application. In this tutorial we are going to see how to create a simple menu with 3 options and with Icons.
For this tutorial, we will use the following tools in a Windows 64-bit platform:
- JDK 1.7
- Eclipse 4.2 Juno
- Android SKD 4.2
1. Create a new Android Project
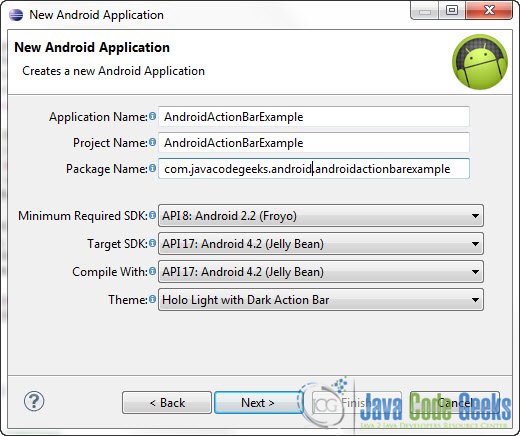
Open Eclipse IDE and go to File -> New -> Project -> Android -> Android Application Project.
You have to specify the Application Name, the Project Name and the Package name in the appropriate text fields and then click Next.
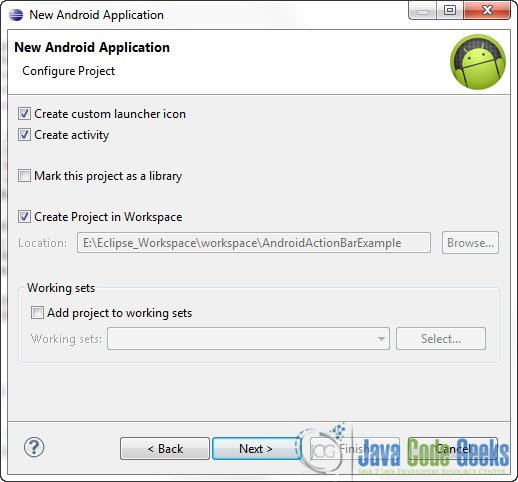
In the next window make sure the “Create activity” option is selected in order to create a new activity for your project, and click Next. This is optional as you can create a new activity after creating the project, but you can do it all in one step.
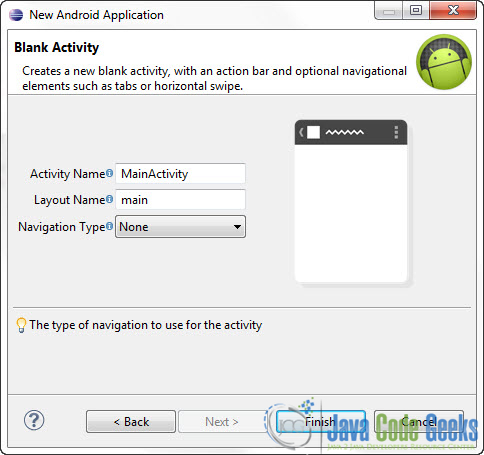
Select “BlankActivity” and click Next.

You will be asked to specify some information about the new activity. In the Layout Name text field you have to specify the name of the file that will contain the layout description of your app. In our case the file res/layout/main.xml will be created. Then, click Finish.
2. Add Drawable resources
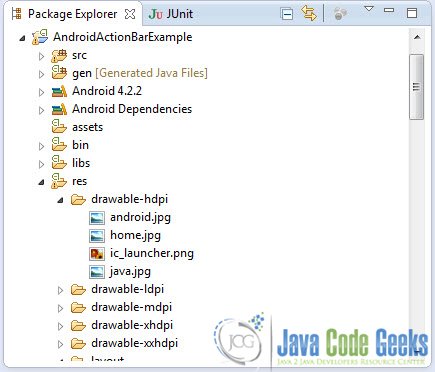
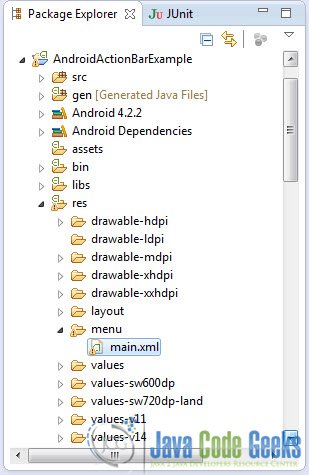
In order to display Icons instead of text in the ActionBar, we need to add the images we want in the drawable resources. Go to package Explorer. You can drag and drop the images from your local files to the project files. As you can see I’ve copied 3 images.
3. Creating the menu items
Open res/menu/main.xml file :
And paste the following code :
main.xml:
<menu xmlns:android="http://schemas.android.com/apk/res/android" >

    <item
        android:id="@+id/action_settings"
        android:orderInCategory="100"
        android:showAsAction="never"
        android:title="@string/action_settings"/>
    <item
        android:id="@+id/home"
        android:icon="@drawable/home"
        android:orderInCategory="1"
        android:showAsAction="always"
        android:title="Home"/>

    <item
        android:id="@+id/java"
        android:icon="@drawable/java"
        android:orderInCategory="2"
        android:showAsAction="always"
        android:title="Java"/>

    <item
        android:id="@+id/android"
        android:icon="@drawable/android"
        android:orderInCategory="3"
        android:showAsAction="always"
        android:title="Android"/>

</menu>
Now let’s see what all these attributes do:
- First of all,
android:orderInCategorydictates the position of the Item in theActionBar. android:showAsActiondefines the way we want the Item to be displayed. For example, in our case we want the items to be always visible. We can change that toifRoom. Now, Android will see if there is sufficient room in the screen, and if there is the option will be displayed. Else it will be places to the Overflow option. Additionally you can chooseneveras value. In this case the option will be hidden.android:iconwill define the icon of the option, which as you can see, will be a drawable resource.
4. Code the Main Activity
Use the Package Explorer to navigate to the Java file of the Activity you’ve created:
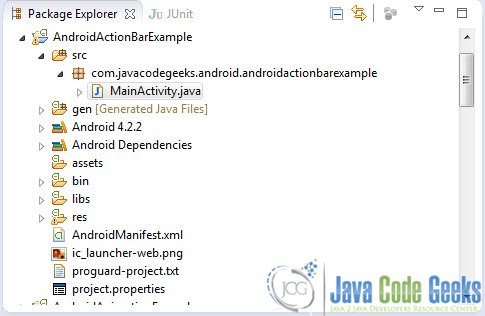
MainActivity.java:
package com.javacodegeeks.android.androidactionbarexample;

import android.annotation.SuppressLint;
import android.app.ActionBar;
import android.app.Activity;
import android.content.Intent;
import android.os.Bundle;
import android.view.Menu;
import android.view.MenuItem;
import android.webkit.WebView;
import android.widget.Toast;

public class MainActivity extends Activity {

	@Override
	protected void onCreate(Bundle savedInstanceState) {
		super.onCreate(savedInstanceState);
		setContentView(R.layout.main);
	}

	@SuppressLint("NewApi")
	@Override
	public boolean onCreateOptionsMenu(Menu menu) {

		getMenuInflater().inflate(R.menu.main, menu);
		return true;
	}

	@Override
	public boolean onOptionsItemSelected(MenuItem item) {

		switch (item.getItemId()) {

		case R.id.home:
			homeActivity();
			return true;

		case R.id.java:
			javaActivity();
			return true;

		case R.id.android:
			androidActivity();
			return true;

		default:
			return super.onOptionsItemSelected(item);
		}

	}

	public void homeActivity() {
		Toast.makeText(this, "Home Option Selexted", Toast.LENGTH_SHORT).show();
	}

	public void javaActivity() {
		Toast.makeText(this, "Java Option Selexted", Toast.LENGTH_SHORT).show();
	}

	public void androidActivity() {
		Toast.makeText(this, "Android Option Selexted", Toast.LENGTH_SHORT).show();
	}

}
5. Run the application
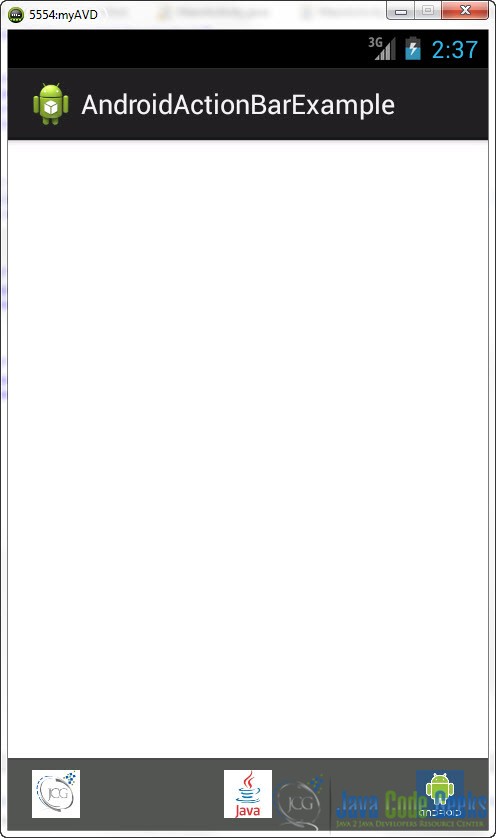
This is the main screen of our Application:
Now, when you press the on one of the options :
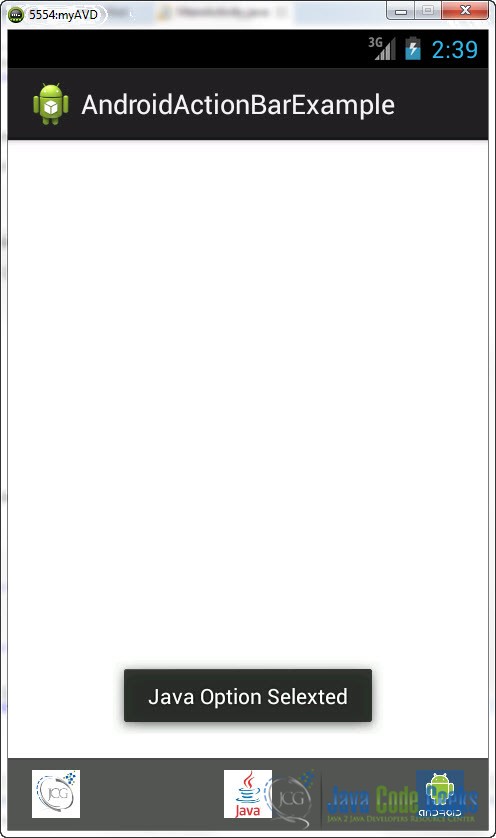
Of course you can customize the Actions as much as you want…
Download Eclipse Project
This was an Android Action Bar and Menus Example. Download the Eclipse Project of this tutorial: AndroidActionBarExample.zip
