Android Layout is a user interface for an Activity or a widget in an application, that handles the appearance of the UI components on the screen. You can specify Layouts with two ways:
- Declare an XML file in
res/layoutdirectory and then load it to yourActivityorapp widget. Android provides us XML vocabulary, which consists screen elements. - Declare the layout elements directly to the
Activityorwidgetof the app. For this reasonViewandViewGroupobjects should be created and instantiated at runtime. User interface components relies heavily onViewclass, whereViewGroupis a subclass ofViewwhich represents the base forLayouts.
Android give us the opportunity to use both of the above methods, in order to handle the UI of the application. It is recommended to use the XML declaration, because it is more reusable and robust, it facilitates the debugging and it separates the control of the presentation and the main behavior of the app.
In this example we are going to show the most common Layouts that are used, defined in XML.
For this tutorial, we will use the following tools in a Windows 64-bit platform:
- JDK 1.7
- Eclipse 4.2 Juno
- Android SDK 4.4
1. Create a New Android Application Project
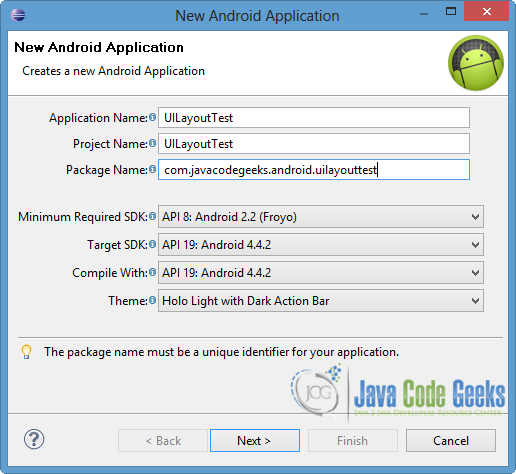
Open Eclipse IDE and go to File → New → Project → Android Application Project.
Specify the name of the application, the project and the package and then click Next.
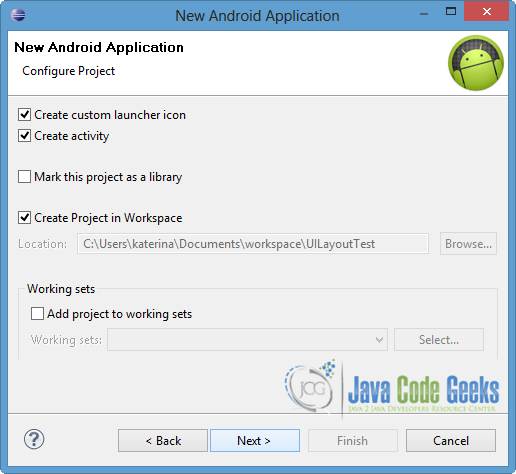
In the next window, the “Create Activity” option should be checked. The new created activity will be the main activity of your project. Then press Next button.
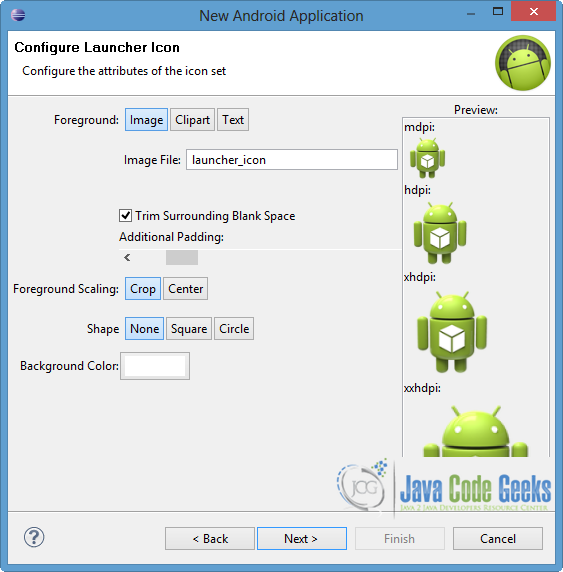
In “Configure Launcher Icon” window you should choose the icon you want to have in your app. We will use the default icon of android, so click Next.
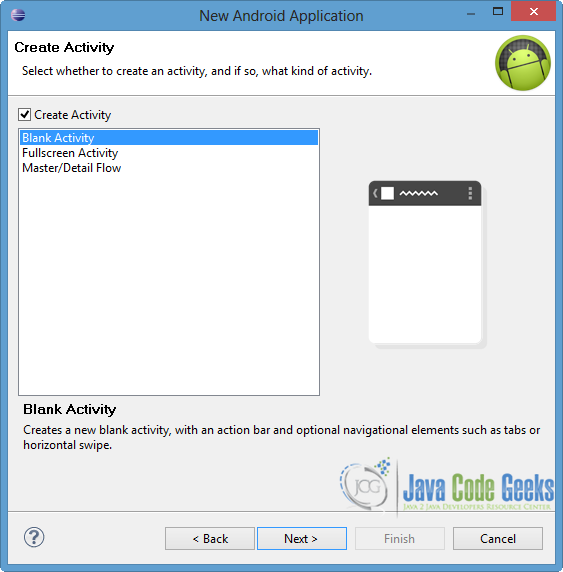
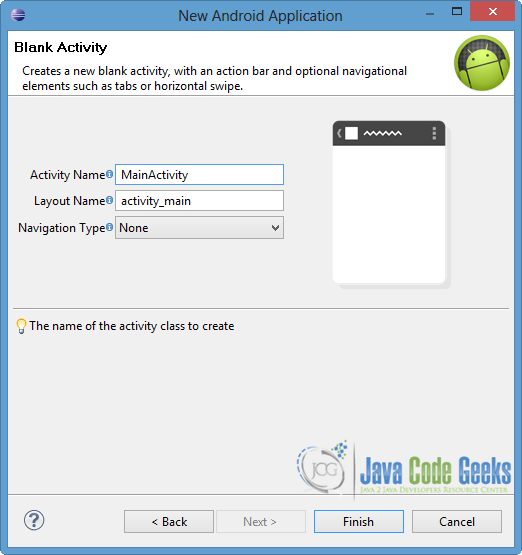
Select the “Blank Activity” option and press Next.
Specify the name of the new Activity and the name of the layout description of your app. The .xml file for the layout will automatically be created in the res/layout folder. Finally, press Finish.
Now you can see the final structure of the created project in the next image.

2. Create the layout of the Main Activity
As we mentioned we want to show the most common Layouts that are defined in XML, so we are going to declare them in the same .xml file. Firstly, lets explain a few things about the most used Layouts, that we will utilize in our example:
RelativeLayoutrelies on the position relationship between the child elements. For this reason, there are some elements relative to the parent container, such asandroid:layout_alignParentLeft, and others that are relative to other elements on screen. For exampleandroid:layout_belowattribute that is used in the code below, indicates that the element should be placed below a specific element.RelativeLayoutis used mostly to version SDK 18 or newer.AbsoluteLayoutis based on the setting of exact position for every component (x/y coordinates). For each componentandroid:layout_xandandroid:layout_yattributes are used, in order to specify the absolute location.LinearLayoutorganizes its children elements in a direction, horizontally or vertically.android:orientationattribute is used to specify the direction. Also,android:layout_weightis supported to set the space that a component has to occupy.TableLayoutassigns elements into rows and columns. Rows are defined by the XML element<TableRow>, but columns are automatically been determined by Android. However we can define the column that we want to put a component, by usingandroid:layout_column.FrameLayoutis used for different screen sizes in order to avoid overlapping of the different components. So, it displays a single item at a time and sets each element’s position.android:layout_gravityattribute is defined to control the position of each element.ListViewrepresents a view group, where we can display multiple items in a scrollable list. To insert items, anAdaptershould be called from the source code, in order to insert automatically the list items.
There are some other Layouts that are used, such as Grid View to represent 2-dimensional grids, GridLayout that positions the components in a rectangular grid, Fragment etc.
It is good to mention that some XML attributes should be used in every Layout and its components. android:layout_width and android:layout_height declare the exact width and height respectively. We can use measurement values to set these attributes or some constants that android provides.
wrap_content: takes the size that is required by the content of the Layoutfill_parent(ormatch_parentas it is renamed in API Level 8): the size becomes as big as the parent view group will allow.
Moreover, it is very important to associate each View object with a unique identifier. For this reason, android:id attribute is used in every component. Also, it is recommended to correspond the texts with the strings, that are defined in the strings.xml file.
Open res/layout/activity_main.xml file, go to the respective “xml” tab and and paste the following code.
activity_main.xml:
<RelativeLayout xmlns:android="http://schemas.android.com/apk/res/android"
    xmlns:tools="http://schemas.android.com/tools"
    android:layout_width="match_parent"
    android:layout_height="match_parent"
    android:paddingBottom="@dimen/activity_vertical_margin"
    android:paddingLeft="@dimen/activity_horizontal_margin"
    android:paddingRight="@dimen/activity_horizontal_margin"
    android:paddingTop="@dimen/activity_vertical_margin"
    tools:context=".MainActivity"
    tools:ignore="Deprecated"  >

    <TextView
        android:id="@+id/textRelative"
        android:layout_width="wrap_content"
        android:layout_height="wrap_content"
        android:text="@string/different_layouts" />

    <AbsoluteLayout
        android:layout_width="match_parent"
        android:layout_height="40dp"
        android:id="@+id/absoluteLayout"
        android:layout_below="@id/textRelative"
        android:background="#aaaaaa" >

        <TextView
	        android:id="@+id/textAbsolute"
	        android:layout_width="wrap_content"
	        android:layout_height="wrap_content"
	        android:layout_x="30dp"
	      	android:layout_y="10dp"
	        android:text="@string/absolute_layout" />
    </AbsoluteLayout>

    <LinearLayout
        android:layout_width="match_parent"
        android:layout_height="wrap_content"
        android:background="#fff000"
        android:layout_below="@id/absoluteLayout"
        android:id="@+id/linearLayout"
        android:orientation="horizontal" >

        <TextView
	        android:id="@+id/textLinear"
	        android:layout_width="0dp"
	        android:layout_height="wrap_content"
	        android:layout_weight="1"
	        android:text="@string/linear_layout" />

        <Button
            android:id="@+id/linearButton"
            android:layout_width="0dp"
            android:layout_height="wrap_content"
            android:layout_weight="1"
            android:text="@string/linear_button" />

    </LinearLayout>

    <TableLayout
   		android:layout_width="match_parent"
   		android:layout_height="wrap_content"
   		android:layout_below="@id/linearLayout"
   		android:id="@+id/tableLayout"
   		android:background="#0fffff"
   		android:layout_marginTop="10dp" >

   		<TableRow>
	      <TextView
	         android:text="@string/tableRow1"
	         android:layout_width="wrap_content"
	         android:layout_height="wrap_content"
	         android:layout_column="1" />
	   </TableRow>
	   <TableRow>
	       <TextView
	         android:text="@string/tableRow2"
	         android:layout_width="wrap_content"
	         android:layout_height="wrap_content"
	         android:layout_column="2" />
	   </TableRow>
   </TableLayout>

    <FrameLayout
	   android:layout_width="match_parent"
	   android:layout_height="50dp"
	   android:layout_below="@id/tableLayout"
	   android:id="@+id/frameLayout"
	   android:background="#aa5511" >

       <TextView
	        android:id="@+id/textFrame"
	        android:layout_width="wrap_content"
	        android:layout_height="wrap_content"
	        android:layout_gravity="top|center"
	        android:textStyle="bold"
	        android:text="@string/frame_layout" />

	   <ImageView
		   android:src="@drawable/ic_launcher"
		   android:layout_height="35dp"
		   android:layout_width="35dp"
		   android:layout_gravity="bottom|right"
		   android:contentDescription="@string/default_image" />
   </FrameLayout>

    <ListView
	   android:id="@+id/list"
	   android:layout_width="match_parent"
	   android:layout_height="wrap_content"
	   android:layout_below="@id/frameLayout" >
   </ListView>

</RelativeLayout>
Notice some features in the above code. RelativeLayout is the main view of our UI and includes the other Layouts. For this reason, every Layout contains android:layout_below attribute to specify the its exact position. In addition, android:layout_x and android:layout_y sets a particular position for the TextView of the AbsoluteLayout. Also notice that we use a horizontal LinearLayout, so we set appropriate values for android:layout_weight attribute, for each component. In TableLayout we have two different rows, where we set the first TextView to the column one and the second TextView to the second column of the next row. Finally, in the FrameLayout we set the suitable values for android:layout_gravity attribute to place the elements in the positions we want.
Also notice that in android:id and android:text attributes we use @ and + symbols. The at(@) sign is used to parse and expand the rest of the ID string, so the XML parser identifies it as an ID resource. The plus(+) sign indicates the creation of a new resource, so it has to be added to our resources (in the R.java file).
Don’t forget to specify the texts in the strings.xml file. So go to res/values/strings.xml file to the xml tab and paste the code below.
strings.xml:
<?xml version="1.0" encoding="utf-8"?>
<resources>

    <string name="app_name">UILayoutTest</string>
    <string name="action_settings">Settings</string>
    <string name="different_layouts">Different Layouts:</string>
    <string name="absolute_layout">inside the absolute layout</string>
    <string name="linear_layout">linear layout text</string>
    <string name="linear_button">Button</string>
    <string name="tableRow1">Text in TableRow1</string>
    <string name="tableRow2">TableRow2, column 2</string>
    <string name="frame_layout">frame layout</string>
    <string name="default_image">default image</string>

</resources>
3. Code the Main Activity
After the declaration on the XML layout file, we should load it to our Activity, so setContentView() method is called into the onCreate() callback. We have to put the XML reference into the setContentView() method as a parameter. If we want to manage a component of the XML layout, findViewById() method will be used and we will reference the unique identifier of the View object in it.
As we mentioned, an Adapter is responsible to insert items in a ListView. So in our example we use an ArrayAdapter, which inserts a string-array into the ListView.
Open src/com.javacodegeeks.android.uilayouttest/MainActivity.java and paste the following.
MainActivity.java:
package com.javacodegeeks.android.uilayouttest;

import android.os.Bundle;
import android.widget.ArrayAdapter;
import android.widget.ListView;
import android.app.Activity;

public class MainActivity extends Activity {

	@Override
	protected void onCreate(Bundle savedInstanceState) {
		super.onCreate(savedInstanceState);
		setContentView(R.layout.activity_main);

		ListView list = (ListView) findViewById(R.id.list);

		String[] stringArray = {"JavaCodeGeeks", "Examples"};
		ArrayAdapter<String> myAdapter =
				new ArrayAdapter(this, android.R.layout.simple_list_item_1, stringArray);

		list.setAdapter(myAdapter);
	}

}
4. Run the application
Now we are ready to run our application, in order to see the differences between the Layouts. To do this, right click on our project → Run as → Android Application. The AVD will appear with the app loaded, as you can see in the picture below.
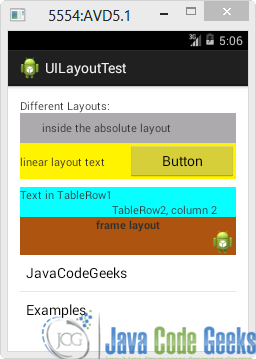
Notice that there is a padding space around the screen UI, because we defined it in the RelativeLayout by using android:paddingBottom, android:paddingLeft, android:paddingRight and android:paddingTop attributes. The elements of the other Layouts are displayed in the screen as we expected and as we defined from the attributes (that we explained above). Also the ListView includes the strings of the stringArray we set in the source code.
Download Eclipse Project
This was an example of User Interface Layouts in Android. Download the Eclipse Project of this example: UILayoutTest.zip
