Android gives us the opportunity to specify the format and the design of View components or screens of our app, by declaring some characteristics such as color, margin, text size etc. This is happening via a Style, which is a XML resource and it is separate from XML layouts. It isn’t wrong to say that a style is the Android’s css, because it separates the design from the content. Theme is nothing more than a style that applies to the whole app or a certain Activity.
In our example we will find out how to create and set our own styles and how to define a theme to our entire application.
For this tutorial, we will use the following tools in a Windows 64-bit platform:
- JDK 1.7
- Eclipse 4.2 Juno
- Android SDK 4.4
1. Create a New Android Application Project
Open Eclipse IDE and go to File → New → Project → Android Application Project.
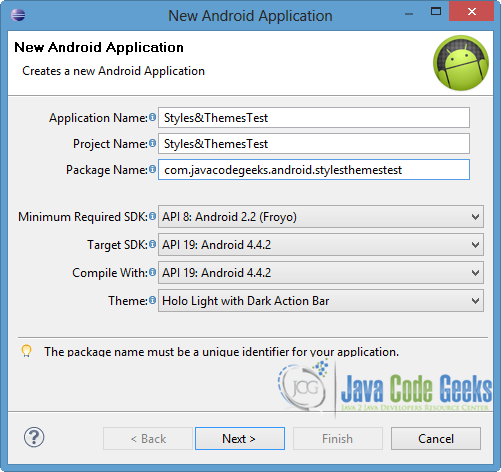
Specify the name of the application, the project and the package and then press Next button.
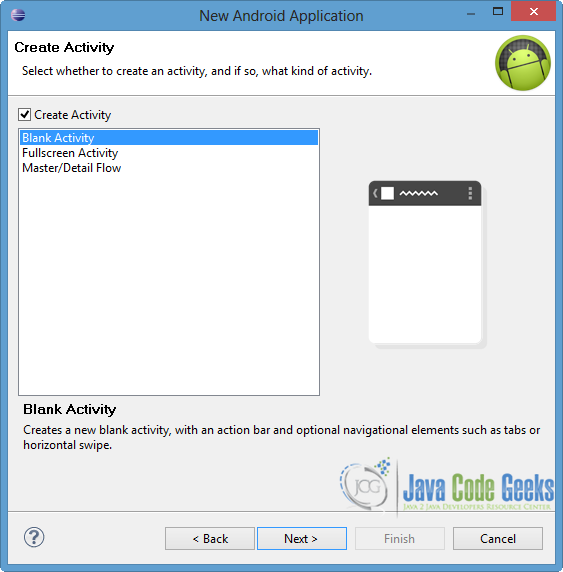
In the next window, the “Create Activity” option should be checked. The new created activity will be the main activity of your project. Then click Next.

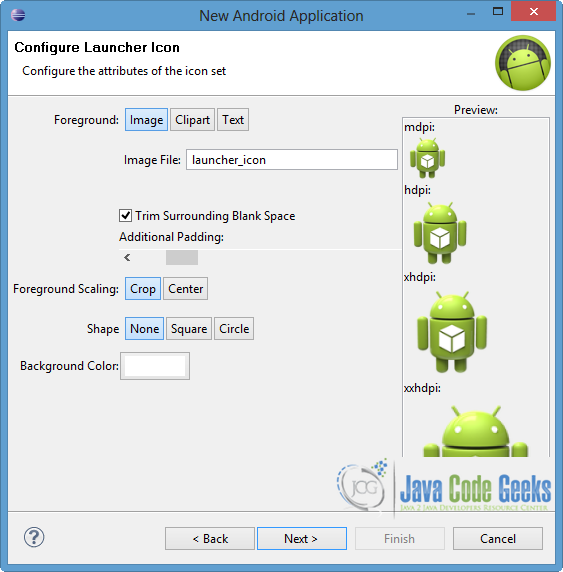
In “Configure Launcher Icon” window you should choose the icon you want to have in your app. We will use the default icon of android, so click Next.
Select the “Blank Activity” option and press Next.
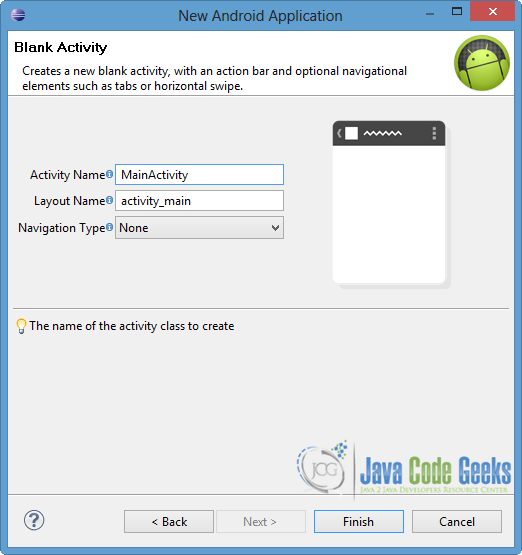
You have to specify a name for the new Activity and a name for the layout description of your app. The .xml file for the layout will automatically be created in the res/layout folder. Finally, press Finish.
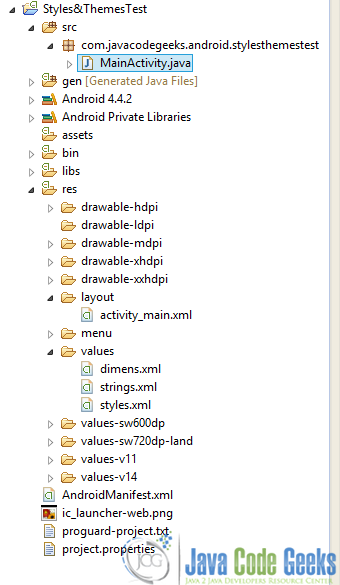
The final structure of the project we just created is shown in the image below.
2. Create the styles
To define a set of styles, a new XML file should be created in the res/values directory, that has <resource> as root element obligatorily. For every style, <style> tag should be used and it contains multiple <item> elements to declare the properties of the style. It is very important to specify the name of the style, which is the unique identifier for it, while the name of the XML is arbitrary.
Android also provides inheritance in the styles. A style can inherit some properties of an existing style or a default Android style, and then can add or change some of them. There are two ways for inheritance. The first one uses the <parent> element, in which we specify the name of the style we want to inherit the properties. The other one, uses the prefix of the style name we want to inherit followed by a point (.). It is important to mention that the second approach is used only for our defined styles. If we want to inherit a built-in Android style, <parent> element is obligatory.
In this tutorial we will create a simple style that inherits the built-in TextAppearance style and another one that inherits the first one. Also, we will declare both ways of inheritance, in order to be comprehensive.
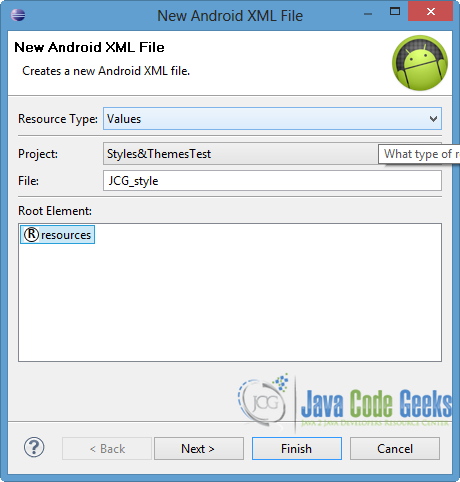
To create the first style, right click on res/values → New → Android XML File. Fill in the name of the XML file and select <resource> as root element. Then press Finish button.
Now open res/values/JCG_style.xml, go to the xml tab and paste the following code. It is required to specify the name attribute, which uniquely identifies the style.
JCG_style.xml:
<?xml version="1.0" encoding="utf-8"?>
<resources xmlns:android="http://schemas.android.com/apk/res/android">

    <style name="SimpleStyle" parent="@android:style/TextAppearance">
      <item name="android:typeface">monospace</item>
      <item name="android:textSize">11pt</item>
      <item name="android:textColor">#000000</item>
    </style>

</resources>
As you can see, the style inherits the built-in TextAppearance and contains three simple properties. Notice that the highlighted line shows the first approach of inheritance.
Lets create the second style, that inherits the one we just created. In the same way, right click on res/values → New → Android XML File. We will name it inherit_style and again choose <resource> as root element. Finally. Click Finish.
Now open res/values/inherit_style.xml to the xml tab and paste the following.
inherit_style.xml:
<?xml version="1.0" encoding="utf-8"?>
<resources>
    <style name="SimpleStyle.BigPurple">
      <item name="android:textSize">16pt</item>
      <item name="android:textColor">#FF00FF</item>
   </style>
</resources>
Notice the highlighted line of the above code. The new style inherits the SimpleStyle we defined above, while changes and add two properties. The inheritance in this situation, uses the second way we mentioned above. It separates the prefix SimpleStyle and the name of that style with a period.
3. Create the Theme of the application
In this example we are going to set a theme for the entire app, so every View of the application will apply to that style properties.
To define our theme go to res/values/styles.xml file. For the declaration of the theme, we always go to the styles.xml file and we don’t create a new XML resource file, like we do in styles. Then go to the respective xml tab and paste the following code.
styles.xml:
<resources xmlns:android="http://schemas.android.com/apk/res/android">

    <!--
        Base application theme, dependent on API level. This theme is replaced
        by AppBaseTheme from res/values-vXX/styles.xml on newer devices.
    -->
    <style name="AppBaseTheme" parent="android:Theme.Light">
        <!--
            Theme customizations available in newer API levels can go in
            res/values-vXX/styles.xml, while customizations related to
            backward-compatibility can go here.
        -->
    </style>

    <!-- Application theme. -->
    <style name="MyAppTheme" parent="AppBaseTheme">
        <!-- All customizations that are NOT specific to a particular API-level can go here. -->
		<item name="android:typeface" >serif</item>
	    <item name="android:textColor">#000000</item>
	    <item name="android:textSize" >13pt</item>
		<item name="android:shadowDx" >1.5</item>
	    <item name="android:shadowDy" >1.5</item>
	    <item name="android:shadowRadius" >1</item>
	    <item name="android:shadowColor" >#AAAAAA</item>
	    <item name="android:gravity" >center</item>
    </style>

    <style name="ButtonStyle">
      	<item name="android:layout_width" >300dp</item>
      	<item name="android:layout_height" >wrap_content</item>
      	<item name="android:layout_marginTop" >10dp</item>
      	<item name="android:textSize" >10pt</item>
      	<item name="android:background" >#FF0000</item>
    </style>

</resources>
As you can notice we define the name of our theme as MyAppTheme and we use the attribute <parent>, in order to inherit properties from the above existing style. Also we define another style, that is named ButtonStyle and includes some other properties. This style is created in order to be used for the Buttons of our theme. Notice that the <parent> element is optional, so it isn’t used in that style.
4. Apply the Theme
When we define a new theme, we should declare where is applied to. The android:theme attribute with the style name should be added in the suitable tag. If we want that theme to applie to the entire application, we have to add the above attribute into the <application> tag. Otherwise, we should put it into the appropriate <avtivity>, in order to set the theme in that Activity.
As we said before, we want to put the theme in the whole app, so open AndroidManifest.xml file. After you go to the xml tab, paste the code below.
AndroidManifest.xml:
<?xml version="1.0" encoding="utf-8"?>
<manifest xmlns:android="http://schemas.android.com/apk/res/android"
    package="com.javacodegeeks.android.stylesthemestest"
    android:versionCode="1"
    android:versionName="1.0" >

    <uses-sdk
        android:minSdkVersion="8"
        android:targetSdkVersion="19" />

    <application
        android:allowBackup="true"
        android:icon="@drawable/ic_launcher"
        android:label="@string/app_name"
        android:theme="@style/MyAppTheme" >
        <activity
            android:name="com.javacodegeeks.android.stylesthemestest.MainActivity"
            android:label="@string/app_name" >
            <intent-filter>
                <action android:name="android.intent.action.MAIN" />

                <category android:name="android.intent.category.LAUNCHER" />
            </intent-filter>
        </activity>
    </application>

</manifest>
5. Create the Activity layout
We are going to create a simple layout in that example. The whole layout will be displayed according to the theme. The two different TextViews will be used to set the two different styles, as we defined previously. This setting will be done by clicking the appropriate Button
Open res/layout/activity_main.xml and go to the respective xml tab. Then paste the code below.
activity_main.xml:
<RelativeLayout xmlns:android="http://schemas.android.com/apk/res/android"
    xmlns:tools="http://schemas.android.com/tools"
    android:layout_width="match_parent"
    android:layout_height="match_parent"
    tools:context=".MainActivity" >

    <TextView
        android:id="@+id/customText"
        android:layout_width="match_parent"
        android:layout_height="wrap_content"
        android:text="Text 1..." />

    <TextView
        android:id="@+id/bigText"
        android:layout_width="match_parent"
        android:layout_height="wrap_content"
        android:layout_below="@id/customText"
        android:text="Text 2..." />

    <Button
        android:id="@+id/simpleTextButton"
        android:layout_below="@id/bigText"
        style="@style/ButtonStyle"
        android:text="SimpleStyle for Text 1" />

    <Button
        android:id="@+id/bigTextButton"
        android:layout_below="@id/simpleTextButton"
        style="@style/ButtonStyle"
        android:text="BigPurpleStyle for Text 2" />

</RelativeLayout>
The highlighted lines show how we can define the style of a View component in the layout. style attribute is used and its value contains @string tag, followed by the unique identifier name of the style.
6. Code the Main Activity
As we mentioned before, when the appropriate Button is pressed, the respective TextView change its style. To do so, setTextAppearance() method is called by loading the suitable style that is specified in the R file.
Open src/com.javacodegeeks.android.stylesthemestest/MainActivity.java file and paste the following.
MainActivity.java:
package com.javacodegeeks.android.stylesthemestest;

import android.os.Bundle;
import android.app.Activity;
import android.view.View;
import android.view.View.OnClickListener;
import android.widget.Button;
import android.widget.TextView;

public class MainActivity extends Activity {

	private Button simpleBtn, bigBtn;
	private TextView text1, text2;

	@Override
	protected void onCreate(Bundle savedInstanceState) {
		super.onCreate(savedInstanceState);
		setContentView(R.layout.activity_main);

		text1 = (TextView) findViewById(R.id.customText);
		text2 = (TextView) findViewById(R.id.bigText);

		simpleBtn = (Button) findViewById(R.id.simpleTextButton);
		simpleBtn.setOnClickListener(new OnClickListener() {

			@Override
			public void onClick(View arg0) {
				// TODO Auto-generated method stub
				text1.setTextAppearance(getApplicationContext(), R.style.SimpleStyle);
			}
		});

		bigBtn = (Button) findViewById(R.id.bigTextButton);
		bigBtn.setOnClickListener(new OnClickListener() {

			@Override
			public void onClick(View arg0) {
				// TODO Auto-generated method stub
				text2.setTextAppearance(getApplicationContext(), R.style.SimpleStyle_BigPurple);
			}
		});
	}

}
7. Run the application
Now we are ready to run our application, so right click on our project → Run as → Android Application. The AVD will appear with the app loaded, as you can see in the picture below.
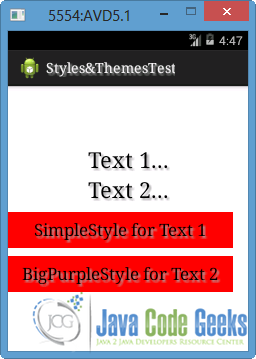
You can notice that the whole app has the theme we defined. Also the Buttons has the ButtonStyle, because we set this value in the style attribute of the XML layout.
Now lets press “SimpleStyle for Text 1” button. As you can see in the next image, the “Text 1” changes its appearance because SimpleStyle style is set to it.
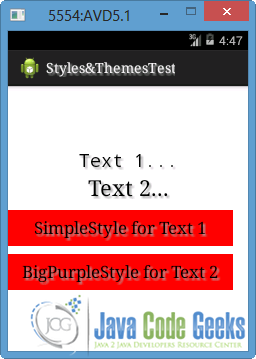
If we click “BigPurpleStyle” button, BigPurple style will be set to “Text 2”. Except from the size and the color of the text, it has the same properties as the “Text 1”. That is happening because of the inheritance we defined for BigPurple style.
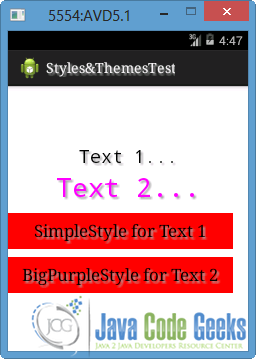
Finally notice that when we set the different styles to the TextViews, some properties remain as were specified in to the theme declaration. The only properties that change, are the common ones that were defined in the styles too.
Download Eclipse Project
This was an example of Styles and Themes in Android. Download the Eclipse Project of this example: Styles&ThemesTest.zip
