Android: How to set default activity
In Android you might create many Activities for your Application and you want to choose which one of these will be launched when the Application starts up. In other words which Activity will have the role of the main Activity of your Application. You can do that by creating an Intent filter in the AndroidManifest.xml file of your Project. The AndroidManifest.xml file is the Application description file that contains the declaration and the properties of the Activities, among many other Application features.
In this tutorial we will create two Activities for our App: MainActivity and SecondActivity. We will then change the role of the main Activity using an Intent Filter.
For this tutorial, we will use the following tools in a Windows 64-bit platform:
- JDK 1.7
- Eclipse 4.2 Juno
- Android SKD 4.2
1. Create a new Android Project
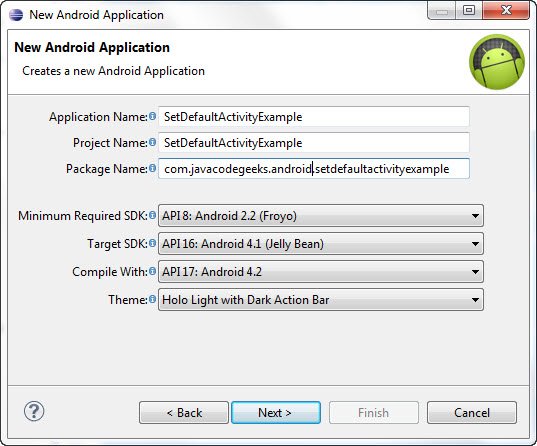
Open Eclipse IDE and go to File -> New -> Project -> Android -> Android Application Project. You have to specify the Application Name, the Project Name and the Package name in the appropriate text fields and then click Next.
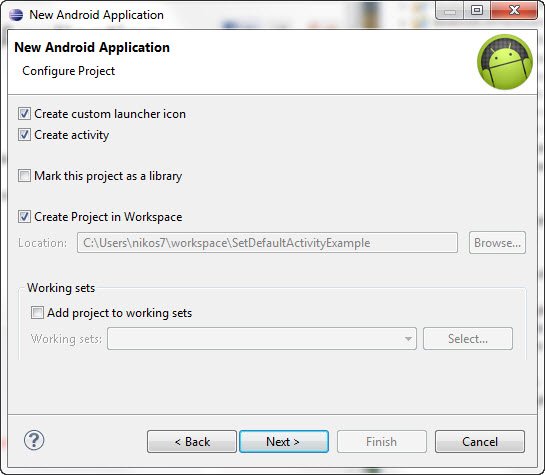
In the next window make sure the “Create activity” option is selected in order to create a new activity for your project, and click Next. This is optional as you can create a new activity after creating the project, but you can do it all in one step.
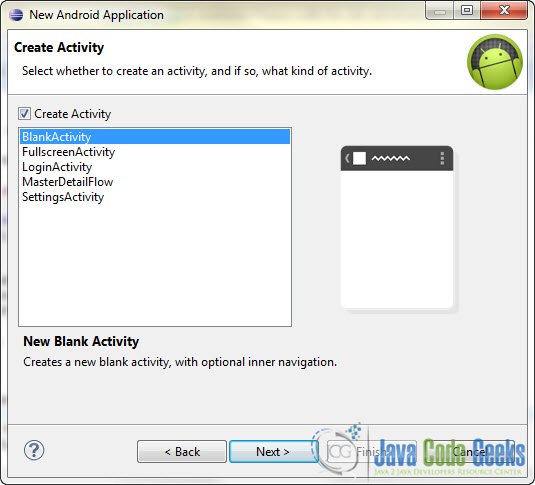
Select “BlankActivity” and click Next.
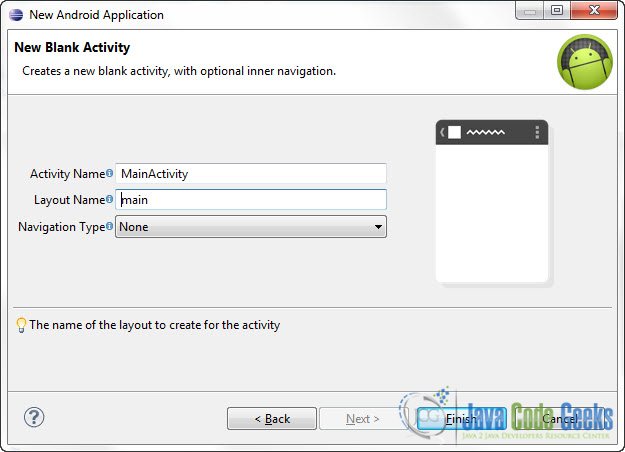
You will be asked to specify some information about the new activity. In the Layout Name text field you have to specify the name of the file that will contain the layout description of your app. In our case the file res/layout/main.xml will be created. Then, click Finish.
2. Create a second Activity for our Application
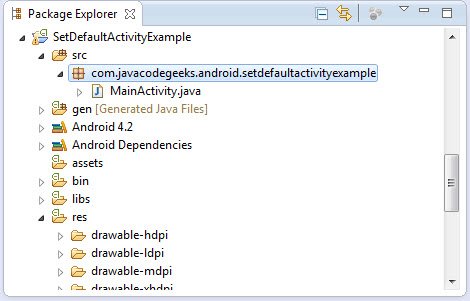
To create a new Activity, go to the package explorer and find the package of the source files:
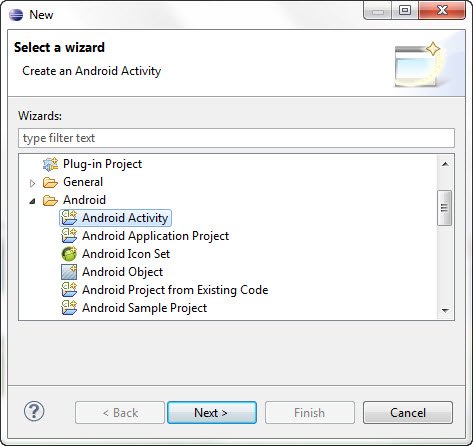
As you can see there is only one source file at the moment that contains the code of the main activity of our App. Now to create a second activity Right Click on the package and select : New -> Other -> Android -> Android Activity:
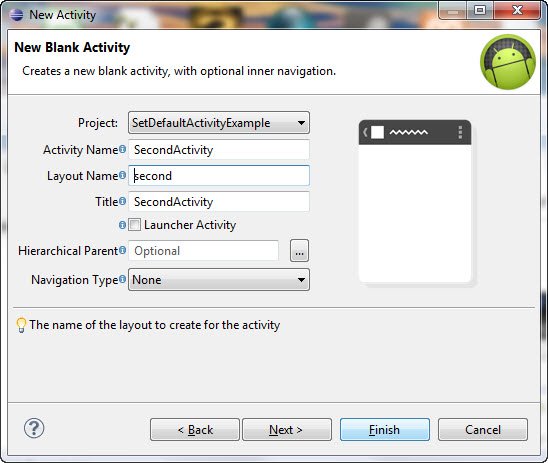
Then you have to specify the name of the Activity and the name of its corresponding Layout XML File :
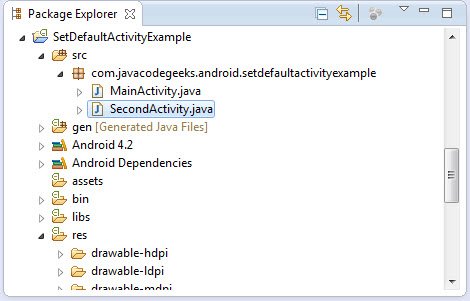
Now as you can see in the package explorer the new Activity source file has been created:
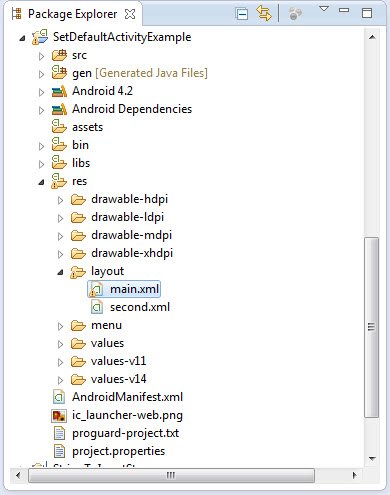
Now open res/layout/main.xml file :
And paste the following code :
<RelativeLayout xmlns:android="http://schemas.android.com/apk/res/android"
    xmlns:tools="http://schemas.android.com/tools"
    android:layout_width="match_parent"
    android:layout_height="match_parent"
    tools:context=".MainActivity" >

    <TextView
        android:layout_width="wrap_content"
        android:layout_height="wrap_content"
        android:layout_centerHorizontal="true"
        android:layout_centerVertical="true"
        android:text="Main Activity" />

</RelativeLayout>
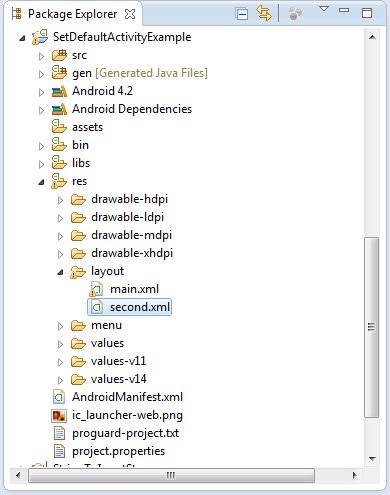
Open res/layout/second.xml file :
And paste the following code:
<RelativeLayout xmlns:android="http://schemas.android.com/apk/res/android"
    xmlns:tools="http://schemas.android.com/tools"
    android:layout_width="match_parent"
    android:layout_height="match_parent"
    tools:context=".SecondActivity" >

    <TextView
        android:layout_width="wrap_content"
        android:layout_height="wrap_content"
        android:layout_centerHorizontal="true"
        android:layout_centerVertical="true"
        android:text="Second Activity" />

</RelativeLayout>
3. Run the application
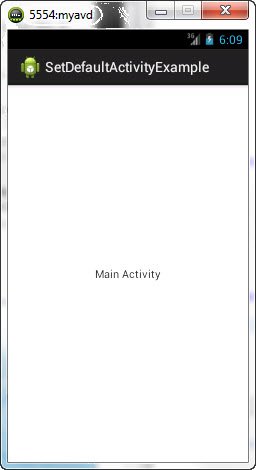
This is the default main screen of our Application:
As you can see MainActivity is set up as the main Activity by default.
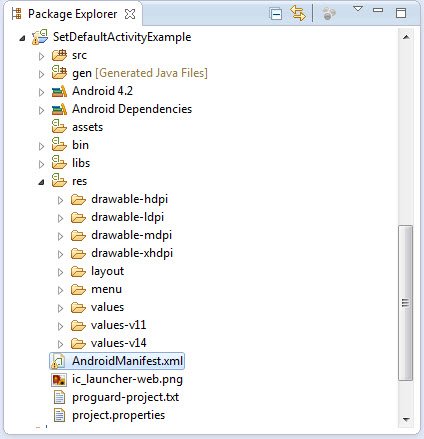
Now let’s open to the AndroidManifest.xml file :
And let’s see the code that has been automatically created:
<?xml version="1.0" encoding="utf-8"?>
<manifest xmlns:android="http://schemas.android.com/apk/res/android"
    package="com.javacodegeeks.android.setdefaultactivityexample"
    android:versionCode="1"
    android:versionName="1.0" >

    <uses-sdk
        android:minSdkVersion="8"
        android:targetSdkVersion="16" />

    <application
        android:allowBackup="true"
        android:icon="@drawable/ic_launcher"
        android:label="@string/app_name"
        android:theme="@style/AppTheme" >
        <activity
            android:name="com.javacodegeeks.android.setdefaultactivityexample.MainActivity"
            android:label="@string/app_name" >
            <intent-filter>
                <action android:name="android.intent.action.MAIN" />

                <category android:name="android.intent.category.LAUNCHER" />
            </intent-filter>
        </activity>
        <activity
            android:name="com.javacodegeeks.android.setdefaultactivityexample.SecondActivity"
            android:label="@string/title_activity_second" >
        </activity>
    </application>

</manifest>
As you can see inside the deceleration of the MainActivity there is the Intent filter we talked about in the introduction:
<intent-filter>
                <action android:name="android.intent.action.MAIN" />

                <category android:name="android.intent.category.LAUNCHER" />
</intent-filter>
Go ahead and remove that filter from the MainActivity and paste it in the declaration of the SecondActivity so that the new AndroidManifest.xml file looks like this:
<?xml version="1.0" encoding="utf-8"?>
<manifest xmlns:android="http://schemas.android.com/apk/res/android"
    package="com.javacodegeeks.android.setdefaultactivityexample"
    android:versionCode="1"
    android:versionName="1.0" >

    <uses-sdk
        android:minSdkVersion="8"
        android:targetSdkVersion="16" />

    <application
        android:allowBackup="true"
        android:icon="@drawable/ic_launcher"
        android:label="@string/app_name"
        android:theme="@style/AppTheme" >
        <activity
            android:name="com.javacodegeeks.android.setdefaultactivityexample.MainActivity"
            android:label="@string/app_name" >

        </activity>
        <activity
            android:name="com.javacodegeeks.android.setdefaultactivityexample.SecondActivity"
            android:label="@string/title_activity_second" >
             <intent-filter>
                <action android:name="android.intent.action.MAIN" />

                <category android:name="android.intent.category.LAUNCHER" />
            </intent-filter>
        </activity>
    </application>

</manifest>
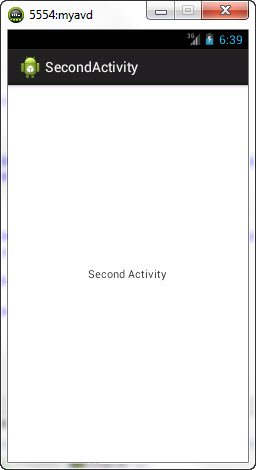
Now run the Application again :
As you can see SecondActivity has now the role of the main Activity of our Application.
Download Eclipse Project
This was an Android tutorial on how to set the main Activity of your Application. Download the Eclipse Project of this tutorial: SetDefaultActivityExample.zip

