Gradle Grails Example
1. Introduction
This is an in-depth article on Gradle Grails projects. Gradle is a build management system which is open-sourced. The scripts are developed using Groovy or Kotlin DSL for managing builds. Grails is an opensource framework for developing full stack applications.
2. Gradle Grails
2.1 Prerequisites
Java 8 is required on the linux, windows or mac operating system. Gradle 5.4.1 version can be used for building gradle projects. Grails 3.3.10 is used for creating Grails projects. Apache tomcat 9.0 is used as a servlet container to deploy Grails example.
2.2 Download
You can download Java 8 from the Oracle web site . Likewise, Gradle 5.4.1 can be downloaded from this website. Grails binary distribution can be downloaded from github site. Similarly, Apache Tomcat 9.0 can be downloaded from the apache website.
2.3 Setup
2.3.1 Java Setup
You can set the environment variables for JAVA_HOME and PATH. They can be set as shown below:
JAVA Environment
JAVA_HOME=”/jboss/jdk1.8.0_73″
export JAVA_HOME
PATH=$JAVA_HOME/bin:$PATH
export PATH
2.3.2 Grails Setup
You can set the Grails home in the PATH as shown below:
Grails Environment
export GRAILS_HOME=/path/to/grails
export PATH="$PATH:$GRAILS_HOME/bin"
2.3.3 Gradle Setup
The environment variables for Gradle are set as below:
Gradle Environment
GRADLE_HOME="/opt/gradle/gradle-5.4.1/bin"
export GRADLE_HOME=$GRADLE_HOME\bin\
export PATH=$PATH:$GRADLE_HOME
2.4 Running Gradle
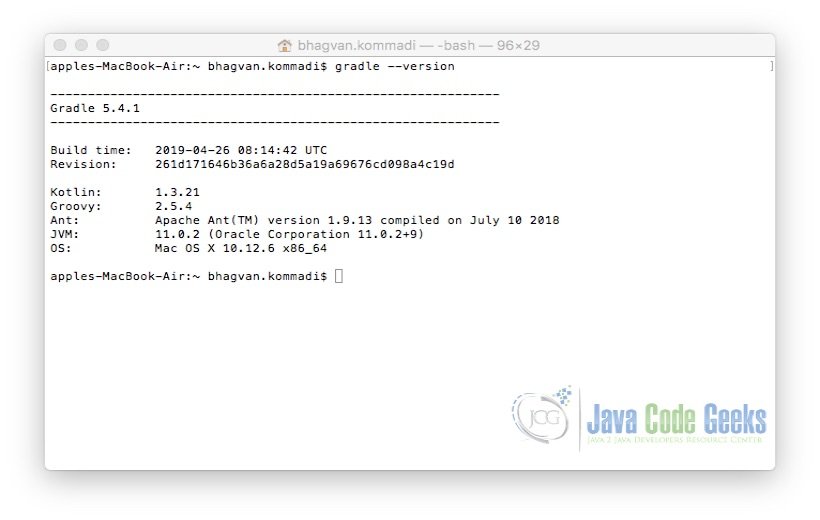
You can check the version of the gradle by using the command gradle –version. The command for running Gradle is as below:
Gradle Version
gradle --version
The output of the executed Gradle command is shown below.
2.5 Running Grails
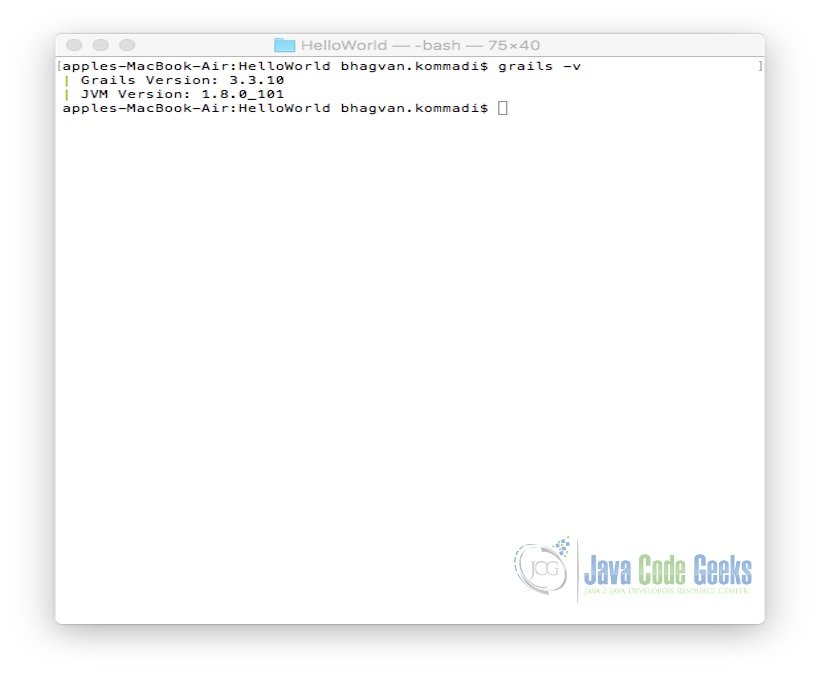
You can check the version of the Grails by using the command “grails –v”. The command for running Grails is as below:
Grails Version
grails -v
The output of the executed Grails command is shown below.
2.6 Hello World in Grails
Grails opensource framework is a full stack development framework. It cuts down the challenges in creating web applications using Java. You can create a Grails application by using the command below:
Hello World
grails create-app HelloWorld
The output of the executed Grails command is shown below.
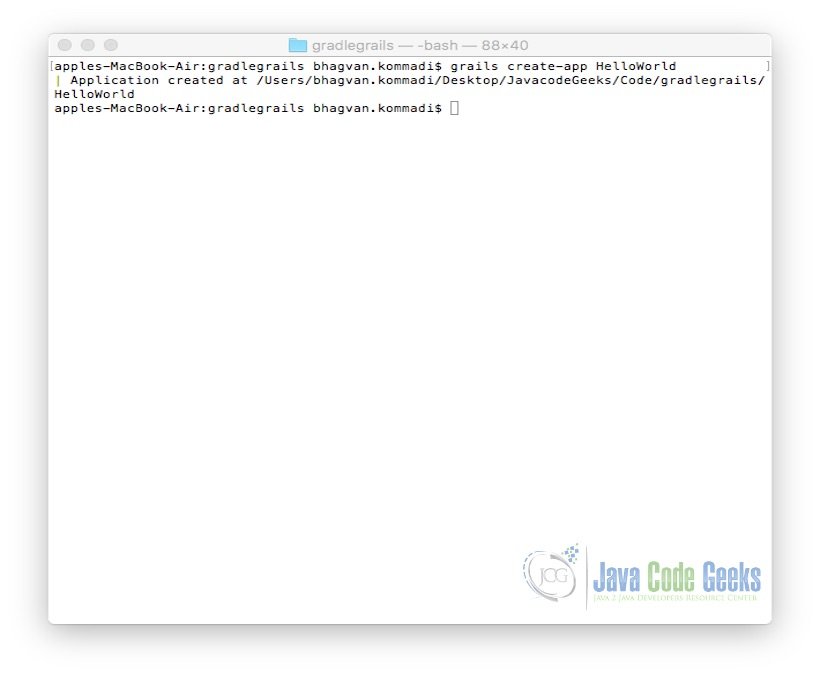
“CreateApp” command creates the HelloWorld folder. The folder contains the Gradle build based project for Grails. Folder structure is shown below:
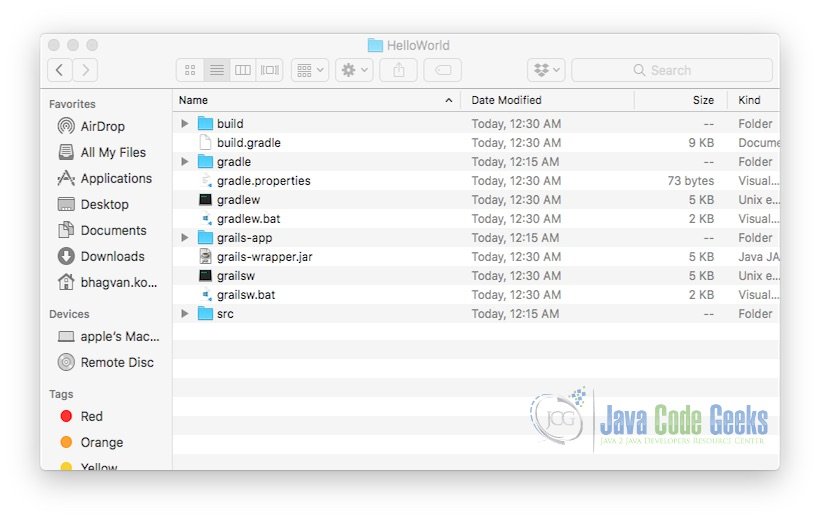
Controllers are generated by using commands such as create-controller or generate-controller. You can create a controller by using the command below inside the HelloWorld folder:
Create Controller
grails
create-controller Hello
A controller has action methods which are public. These methods map to a URI of a page. You can add the code to show “Greetings” inside the generated controller code. The code implementation of the HelloController Class is shown below :
Hello Controller
package helloworld

class HelloController {

    def index() {

        render "Greetings"

    }
}
You can run the Grails app in grails console using the command below:
Run App
run-app
The snap shot of the grails console is shown below:
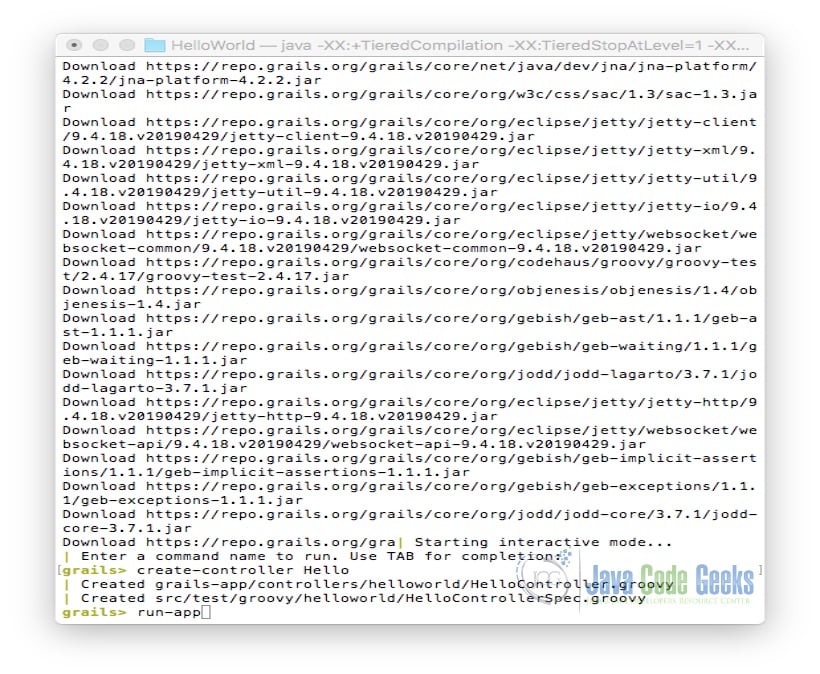
You can access the Grails app in the browser from this URL: http://localhost:8080/ . The page rendered is shown below:
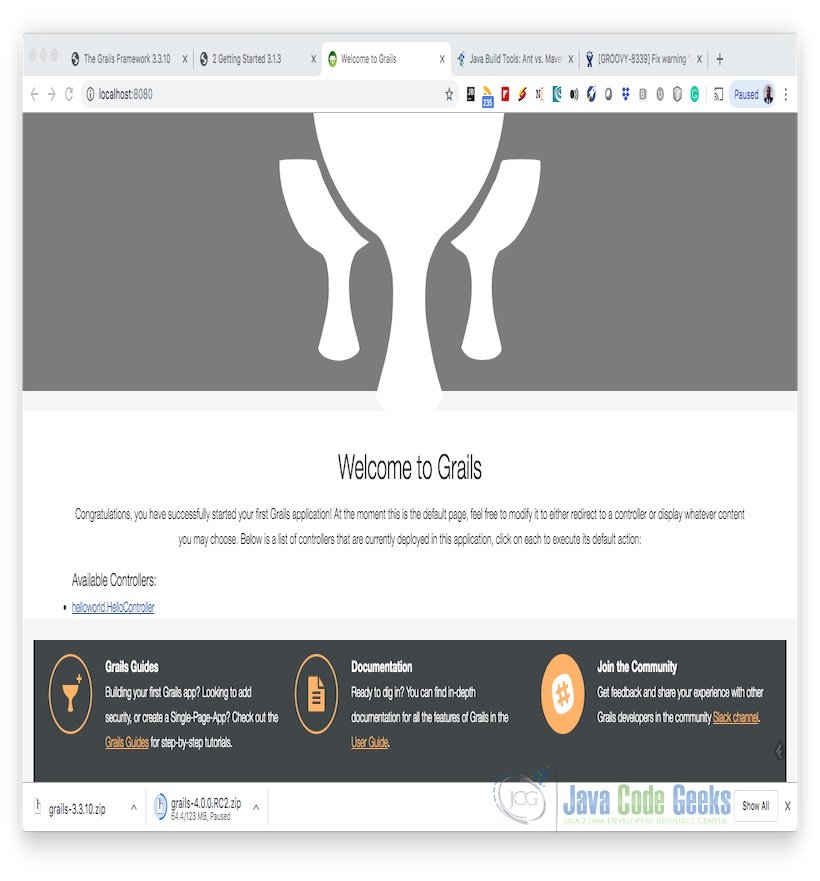
You can select the Hello Controller and click on the link. The following page shows up:
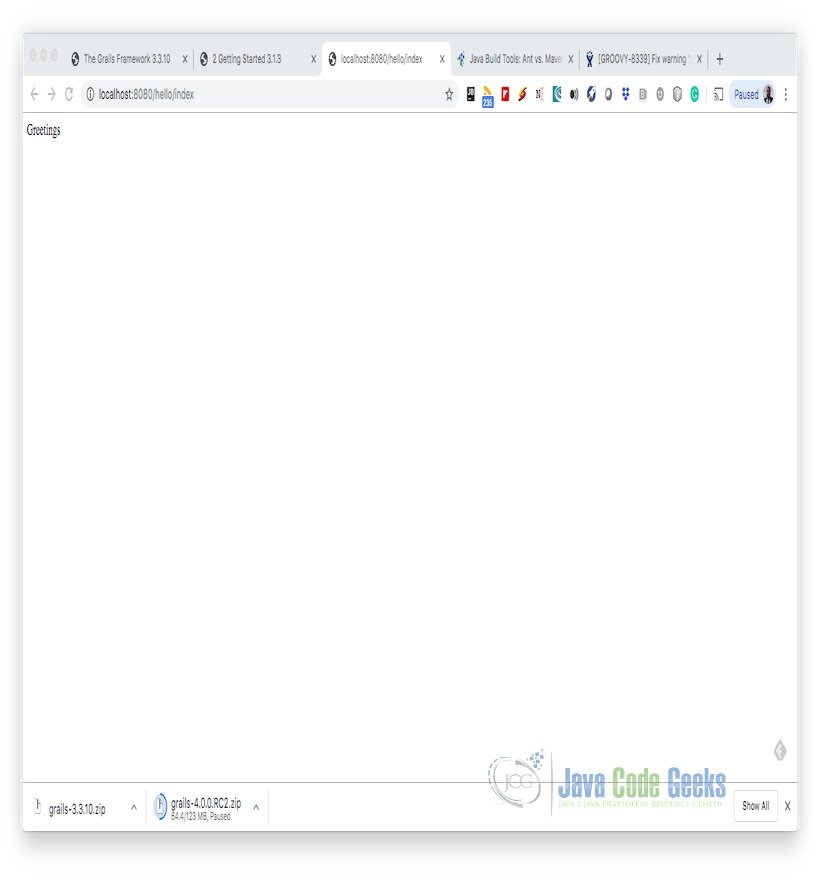
2.7 Testing Grails Application
Grails Framework has features for automated testing. Unit testing and functional testing can be done using the framework. You can modify the HelloWorld/src/test/groovy/helloworld/HelloControllerSpec.Groovy to test the index method. The code implemented for HelloControllerSpec is shown below:
Unit Test
package helloworld

import grails.testing.web.controllers.ControllerUnitTest
import spock.lang.Specification

class HelloControllerSpec extends Specification implements ControllerUnitTest {

    def setup() {
    }

    def cleanup() {
    }

    void "test something"() {

        when:
        controller.index()

        then:
        response.text == 'Greetings'

    }
}
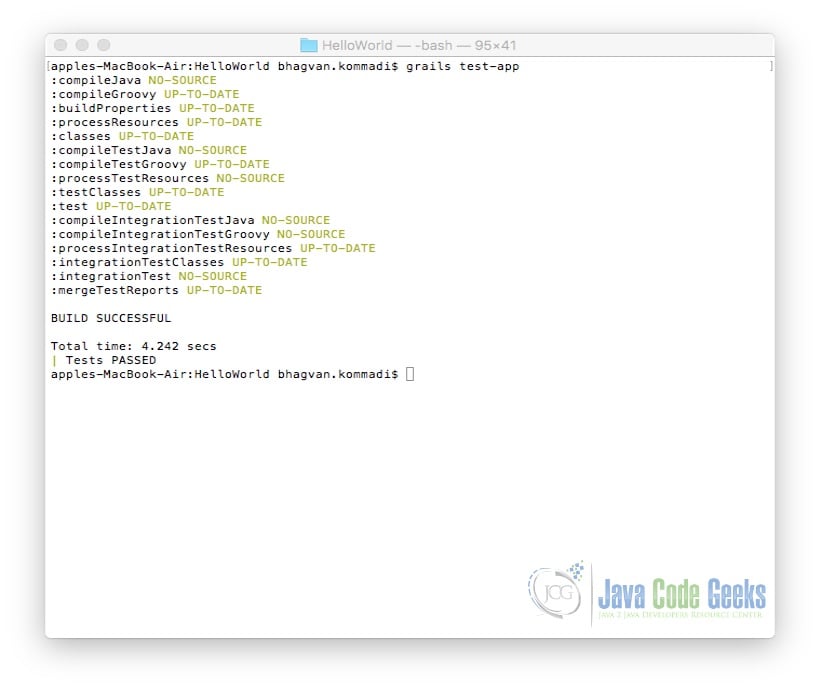
You can run test the Grails app using the command below:
Test Grails App
grails test-app
The output of the executed grails command is shown below.
2.8 Grails IDE Integration
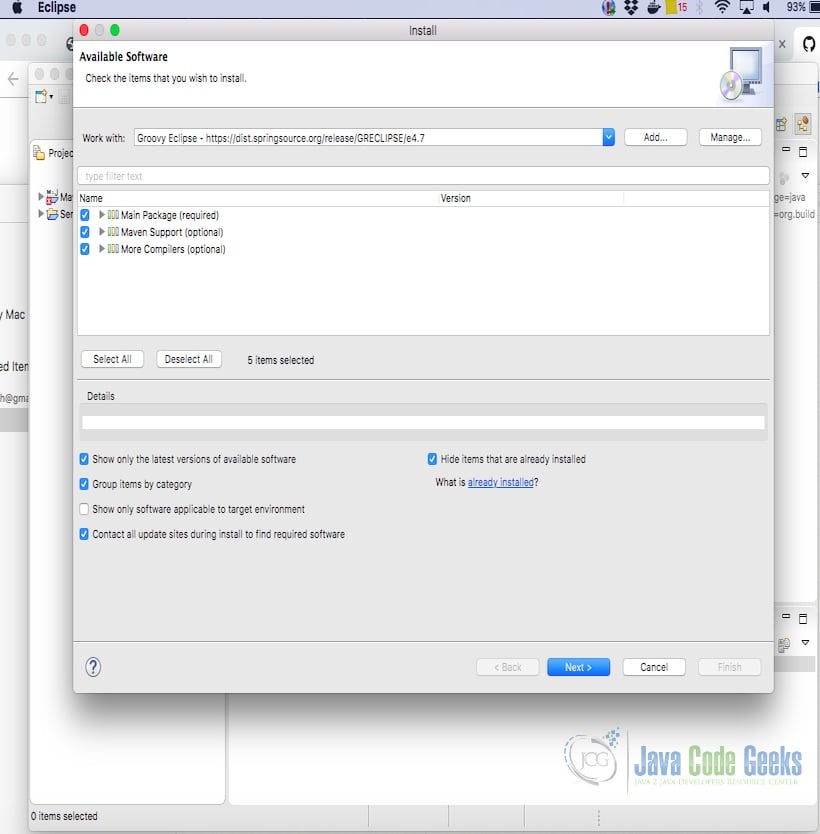
You can configure the Groovy Eclipse plugin from the distribution site. The screen shot below shows the configuration of Groovy Eclipse plugin from Help-> Install-> New Software.
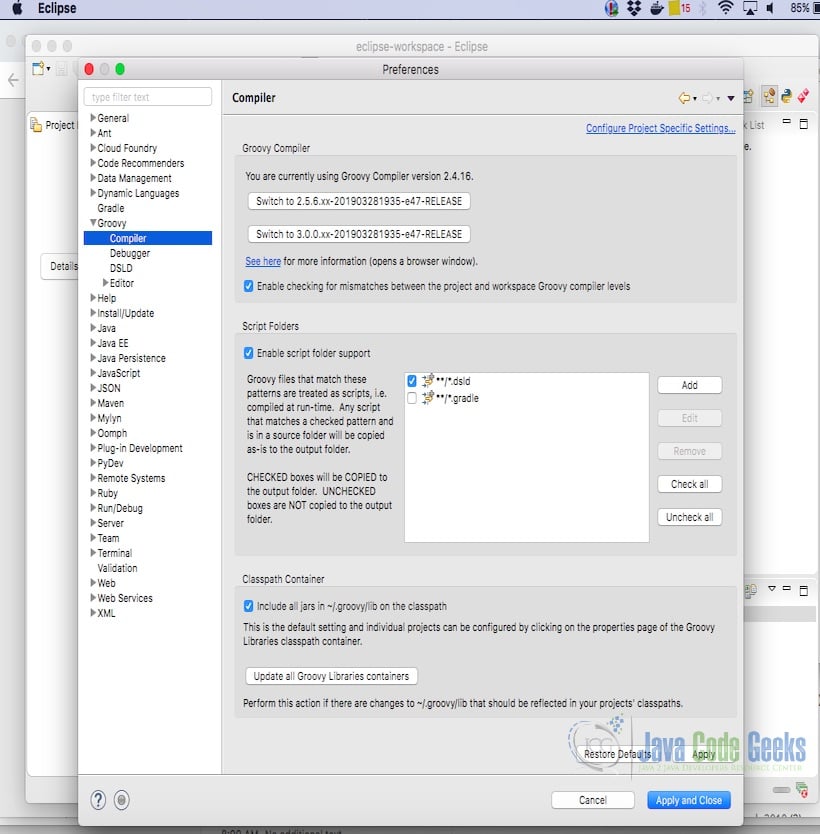
The groovy version is set from Eclipse’s Preferences -> Groovy ->Compiler. The setting of the groovy version 2.4.16 is shown below:
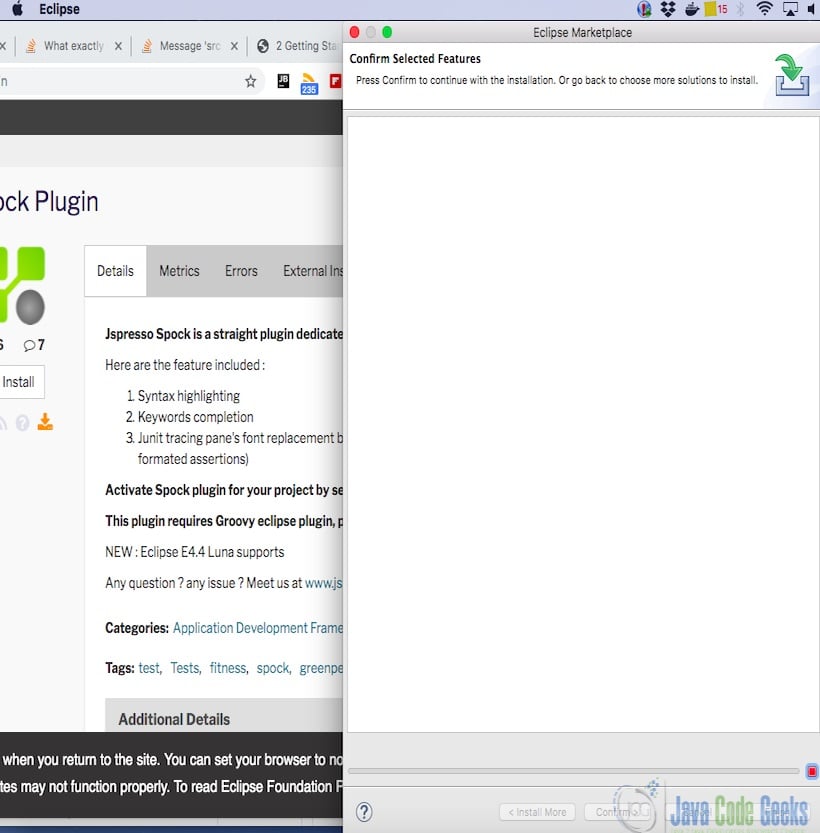
Spock plugin can be installed with eclipse from this site. The screenshot shows the spock plugin installation.
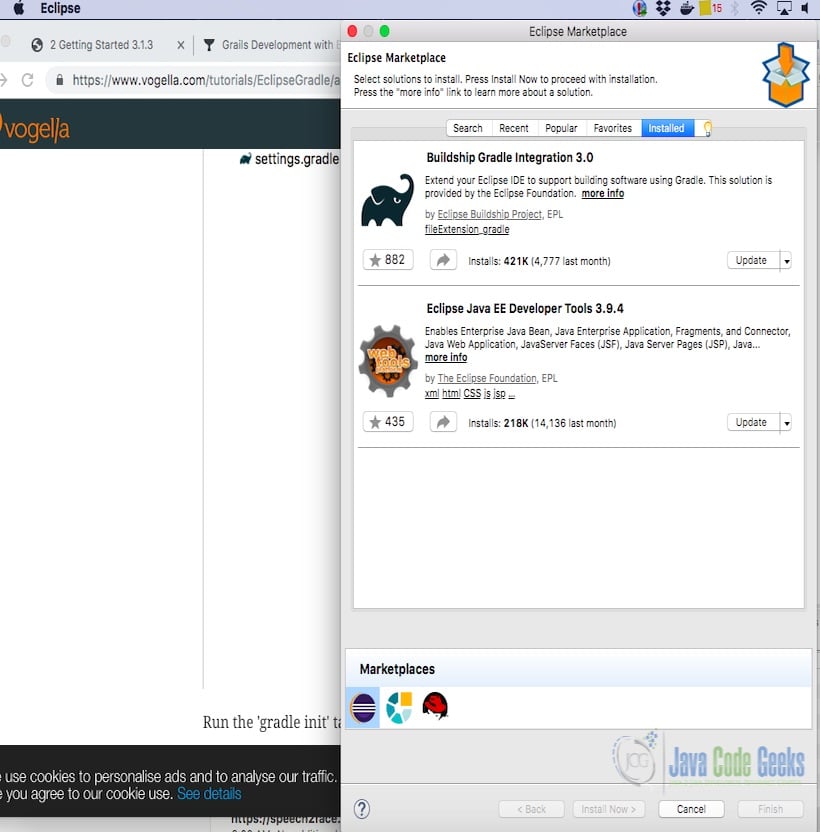
You need to install SpringSource Tool Suite Grails Support(STS) from the distribution site. You need to also ensure that Buildship gradle Integration plugin is installed. The snapshot below shows the installed gradle version.
2.9 Building with Gradle
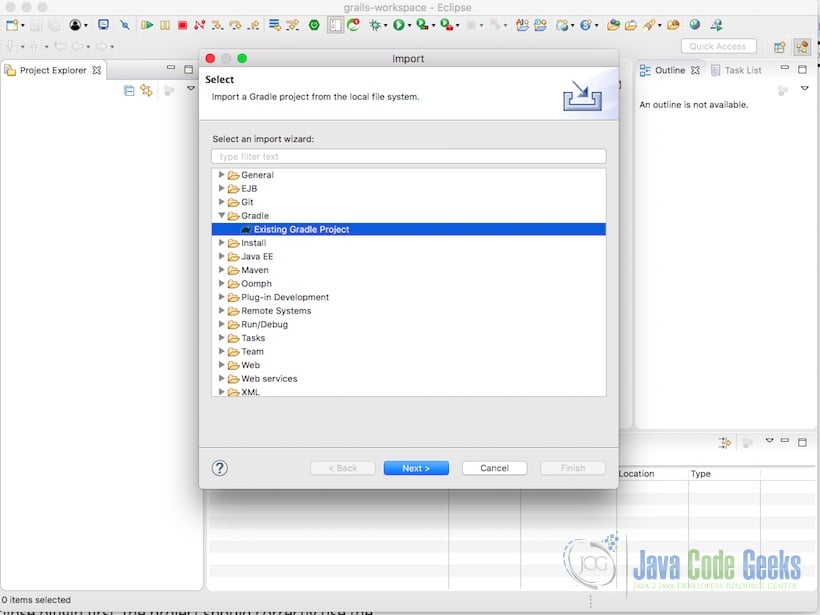
You can import the project HelloWorld which was a Gradle project created in section 2.6. The snapshot below shows the import wizard from the Eclipse menu File-> Import.
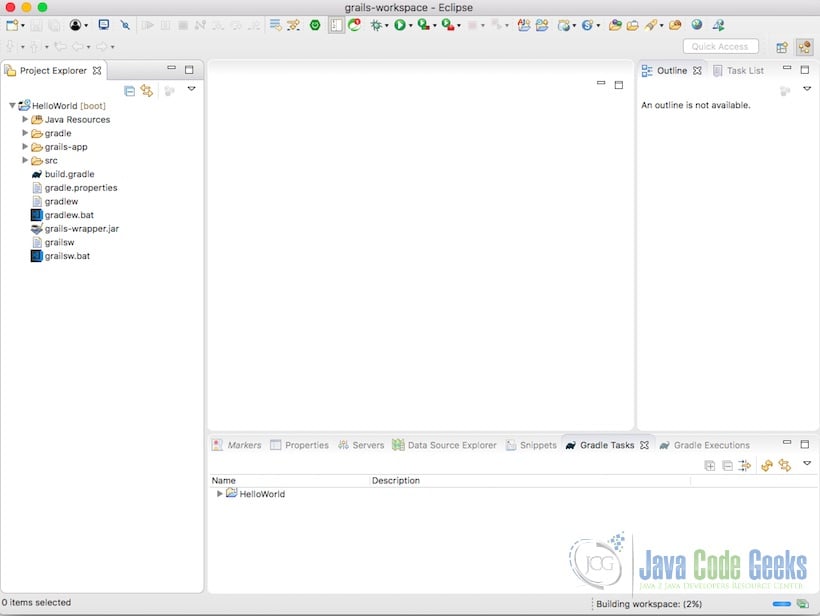
After the import, Gradle Grails project can be viewed in the eclipse. The screen shot below shows the imported project.
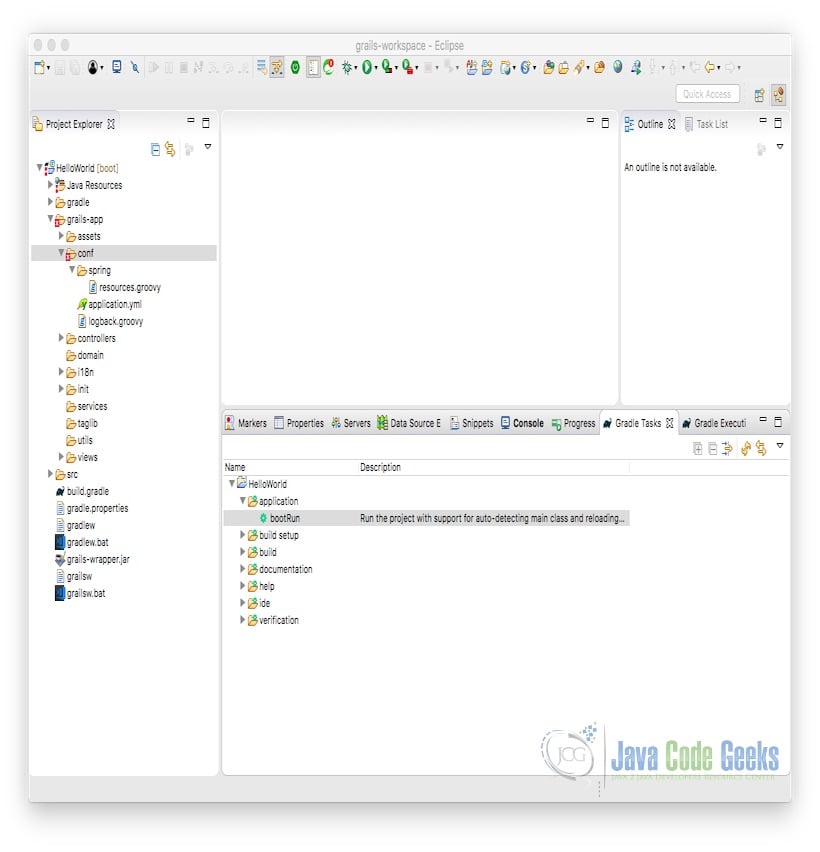
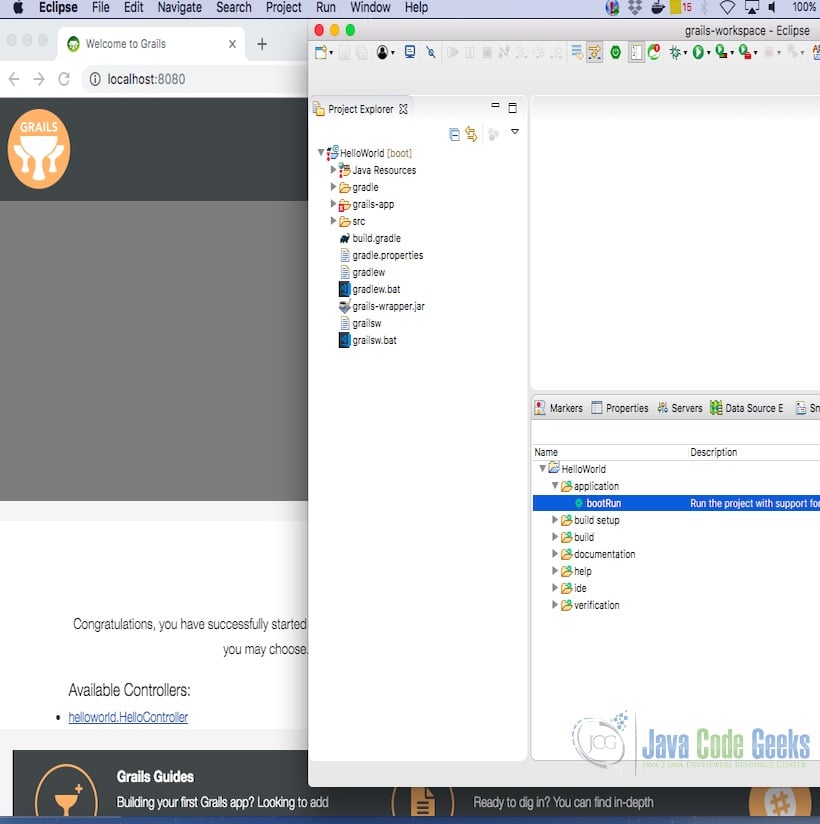
From the Gradle tasks view, You can see all the gradle tasks. To execute the grails app, click on bootRun. The screenshot below shows the gradle tasks view.
The grails app can be accessed at http://localhost:8080 when the gradle runs the Grails app on eclipse. The snapshot of the Grails app and Gradle task execution is shown below.
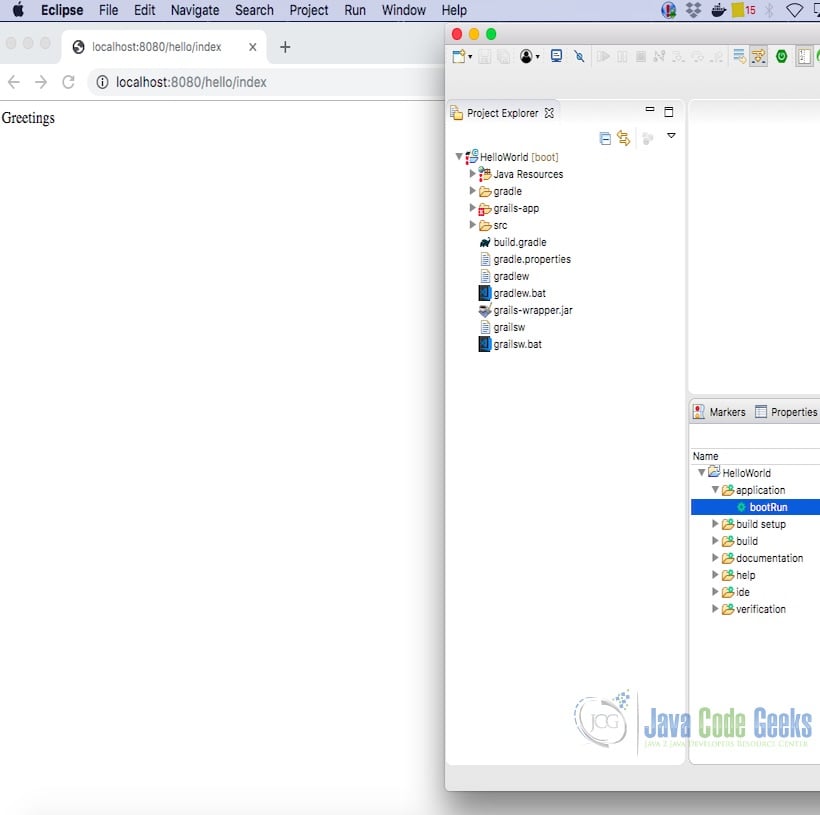
The HelloController can be accessed and the page renders to show the “Greetings” message. The rendered page is shown below:
2.10 Deploying a Grails App
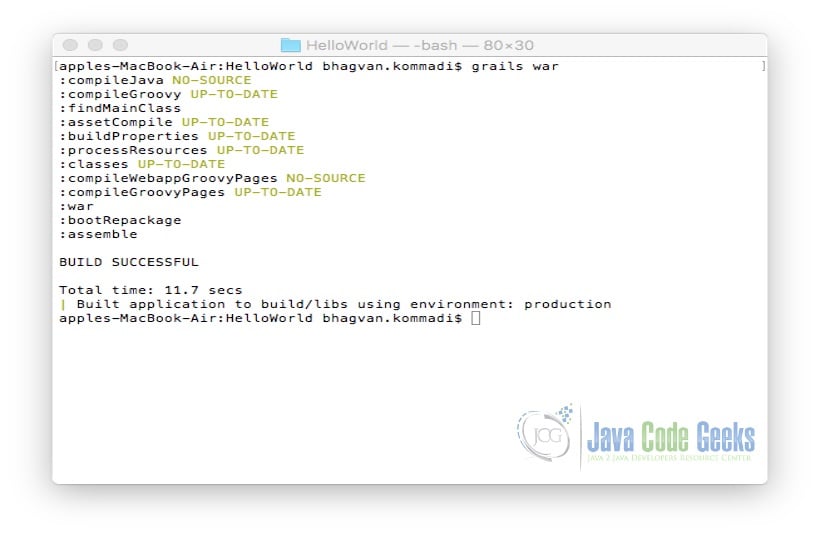
War file is deployed on the typical servlet containers such as Tomcat, Jetty, etc. war command is used for generating a war file. You can deploy a Grails app on to a container which supports Java Servlet 3.0 specification. The command to create a war file is shown below:
Deploying Grails App
grails war
The output of the executed grails command is shown below.
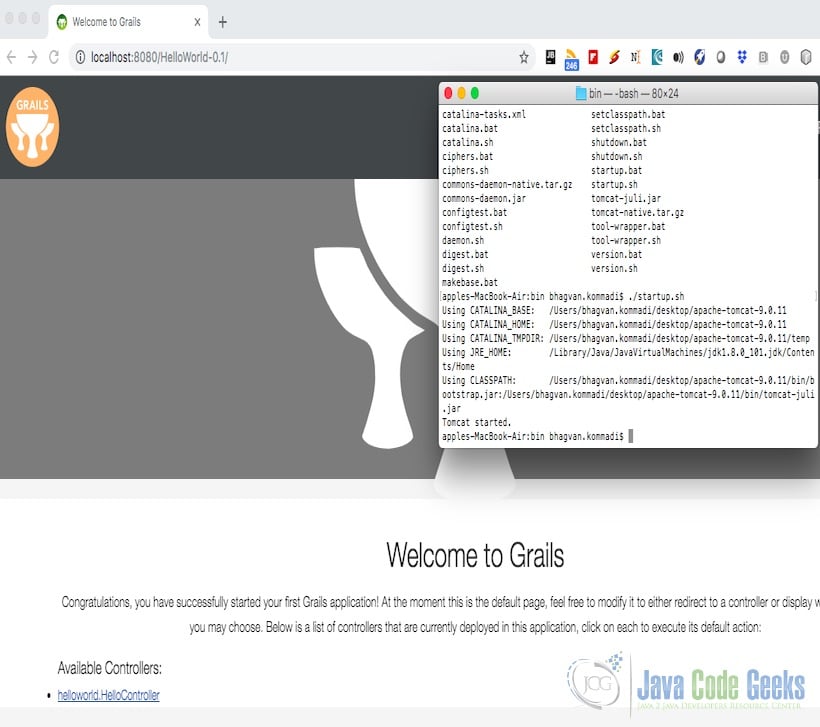
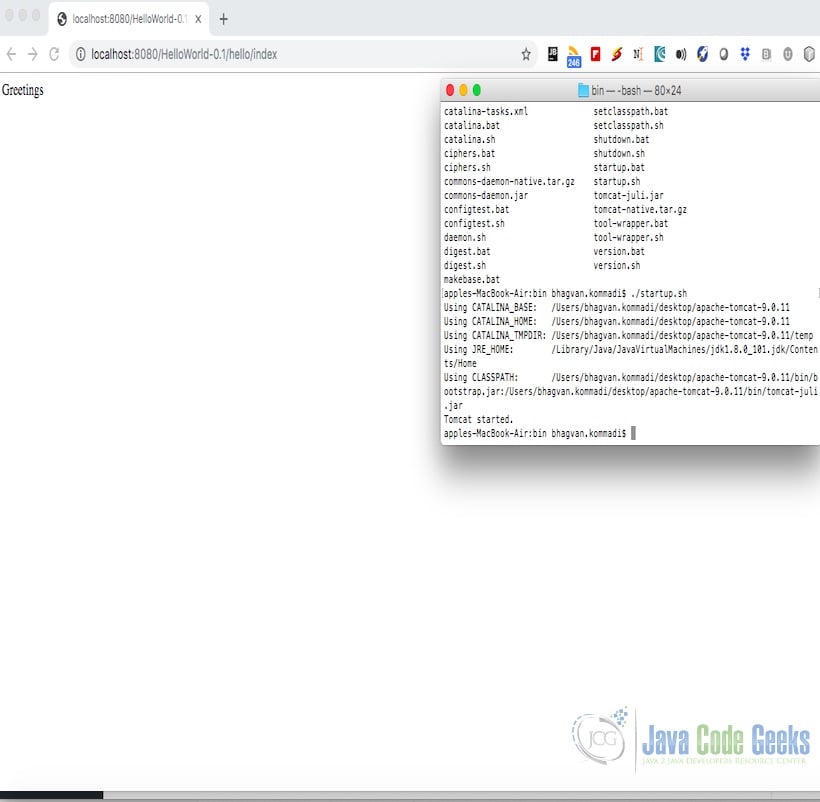
The war file from build/libs can be deployed on apache tomcat. The startup script of the tomcat is executed. The screen shot shows the execution of the script and the browser rendering the page at http://localhost:8080.
The controller page is accessed by clicking on the link. The page renders as shown below in the screen shot.
3. Download the Source Code
You can download the full source code of this example here: Gradle Grails Example

