1. Introduction
Oracle Weblogic is Java EE application server that can be used to develop and deploy multitier distributed applications. Weblogic comprises of almost all services that are needed to develop and deploy an enterprise application. Administration of a Weblogic server for a production environment involves many tasks like creating and managing Weblogic clusters, and domain, deploying applications, configuration of webserver, managing transactions, JDBC security, JMS, and many more.
In this tutorial, we will learn how to create a basic Weblogic domain and deploy an application. We will be using a simple example application packaged as a web archive, to demonstrate how an application is deployed in Weblogic.
Weblogic domain is a unit which consists of inter-related server resources. The first part of the tutorial explains how to create s Weblogic domain using the configuration wizard.
2. Step by step procedure
Once you have Weblogic server installed, navigate to the $WLS_HOME/common/bin directory. WLS_HOME is the place where weblogic is installed. You need to run the config.sh script to start the configuration wizard. You can run the config script as ./config.sh
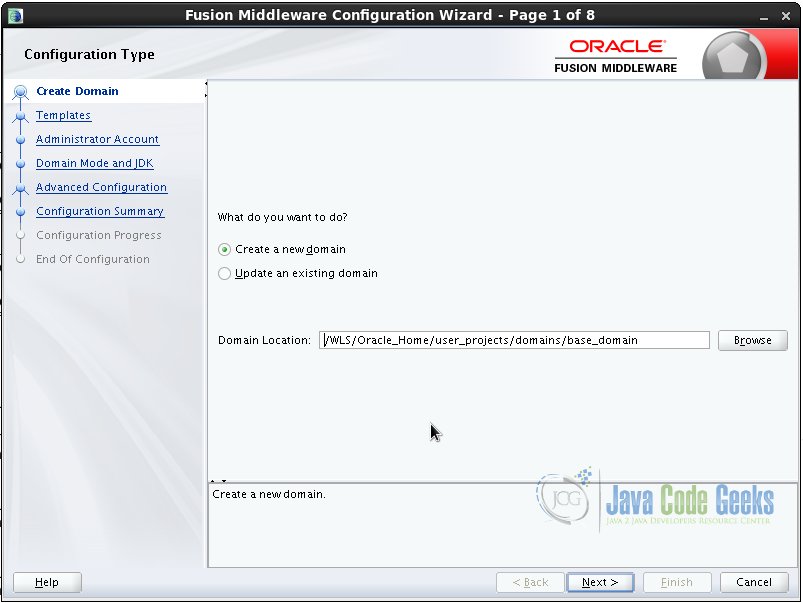
Select the “Create a new domain” option and provide a location for your domain.
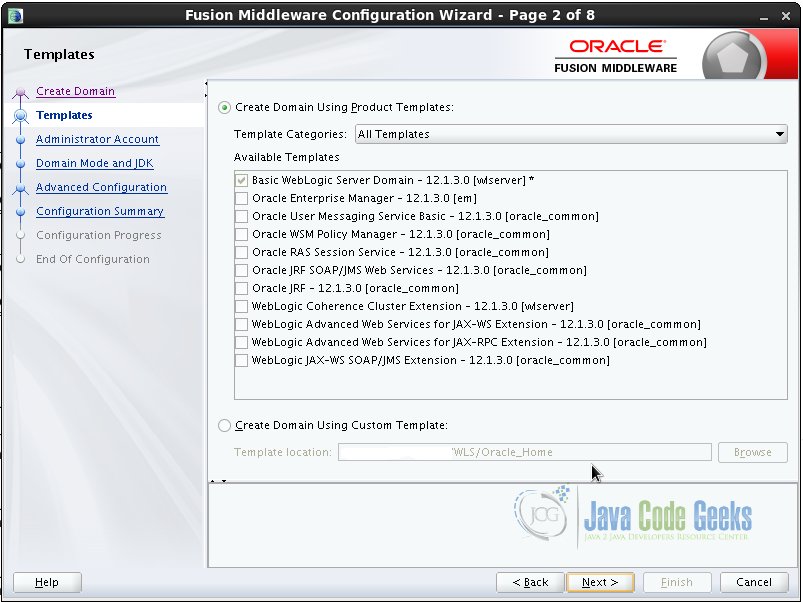
You can create a Weblogic domain from a template.
For this example, we will choose the Basic Weblogic Server Domain.
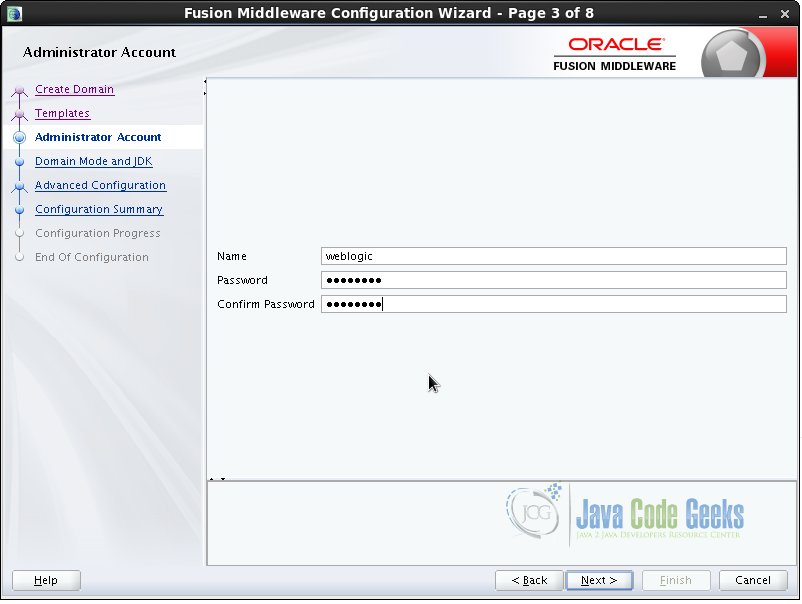
Provide a password for the domain.
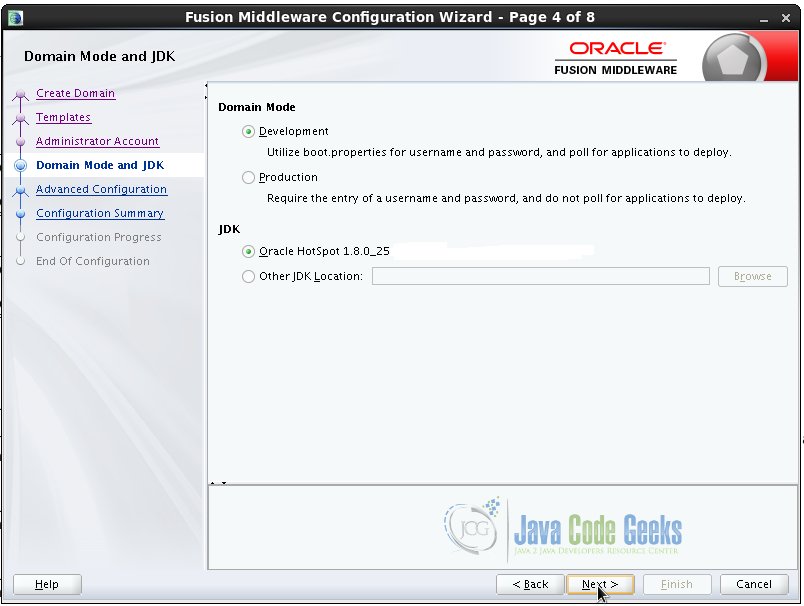
We will be creating a development domain. By default, the console chooses the JDK that was used during the weblogic installation. If you want a different JDK, specify the location in this screen.
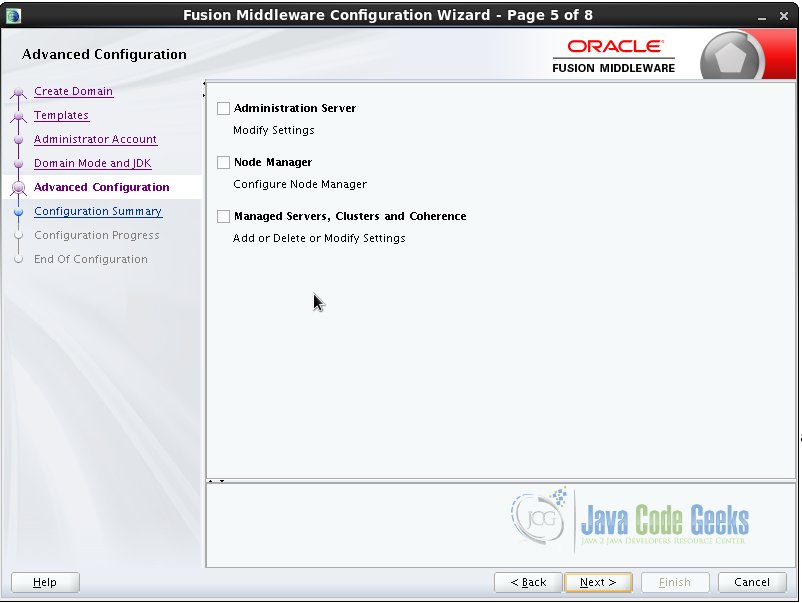
Click on Finish button to look at the configuration summary.
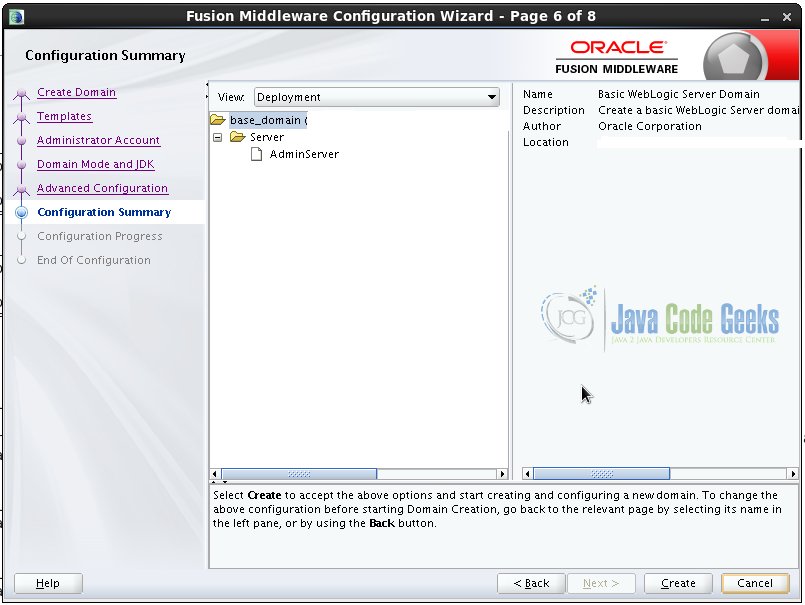
Click on Create to create your first Weblogic domain.
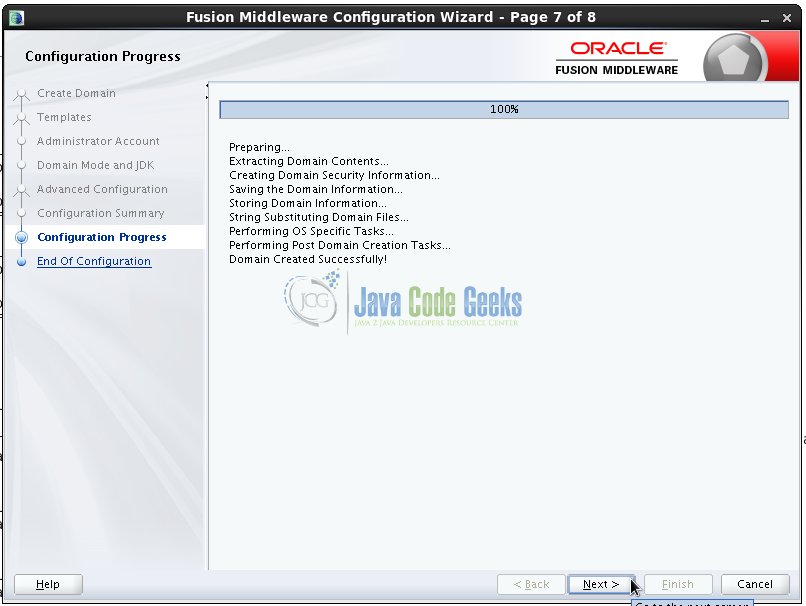
Click on Next.
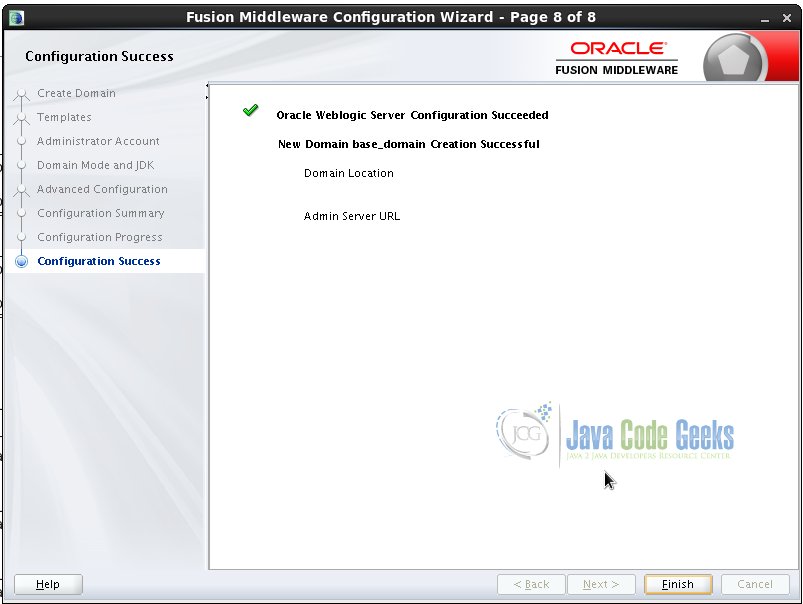
Congrats! You just created your Weblogic domain. This screen shows you the domain location and the Admin Sever url which is usually http://localhost:7001/console.
Now, we have the domain created and we are ready to deploy our application in it. For this, you need to start the admin server from your domain location and log in into the administration console:
Navigate to the domain location which is usually $WLS_HOME/user_projects/domains/base_domain/bin. Start the admin server by invoking startWeblogic.sh script.
Wait until you see a meaasge on the console saying Notice WebLogicServer BEA-000365 Server state changed to RUNNING.
You can now access the admin server from any web browser. Type in the url http://localhost:7001/console
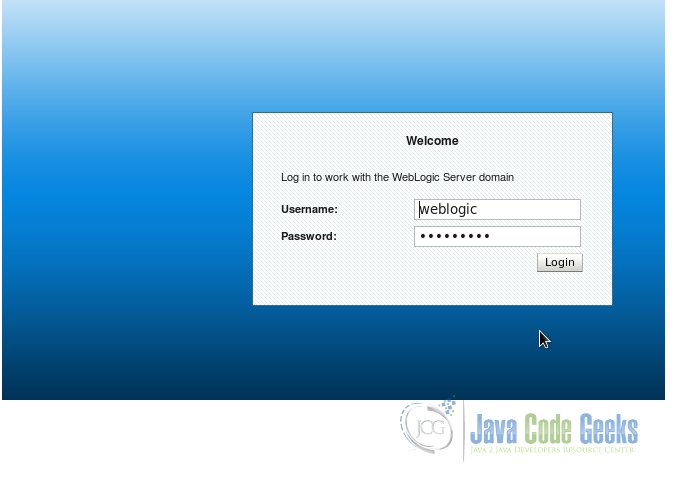
Type in the user name and password that you entered while creating the domain to log into the admin console.
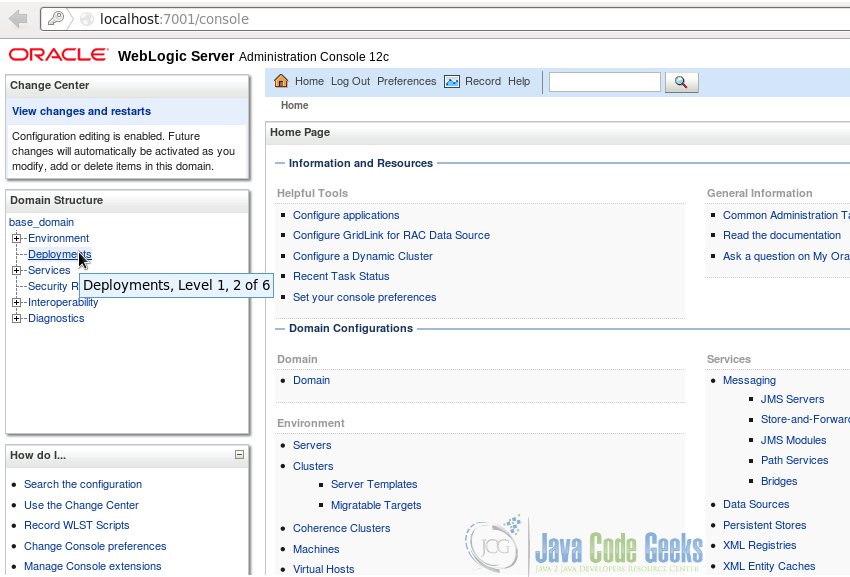
After you login, click on the ‘Deployments’ link at the left hand side.
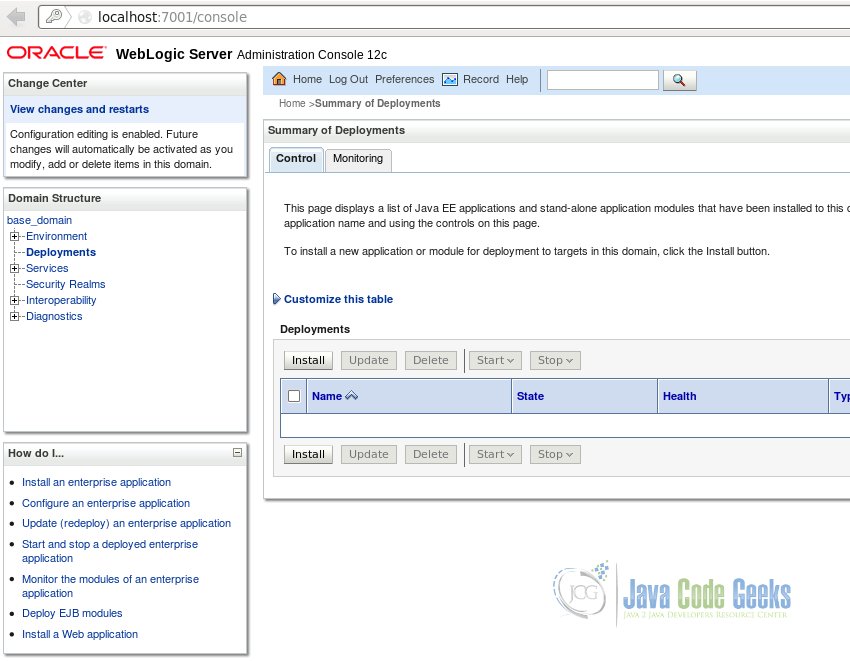
This page will show you the list of applications that are deployed in this domain. As of now, we have none. Click on the Install button to deploy an application.
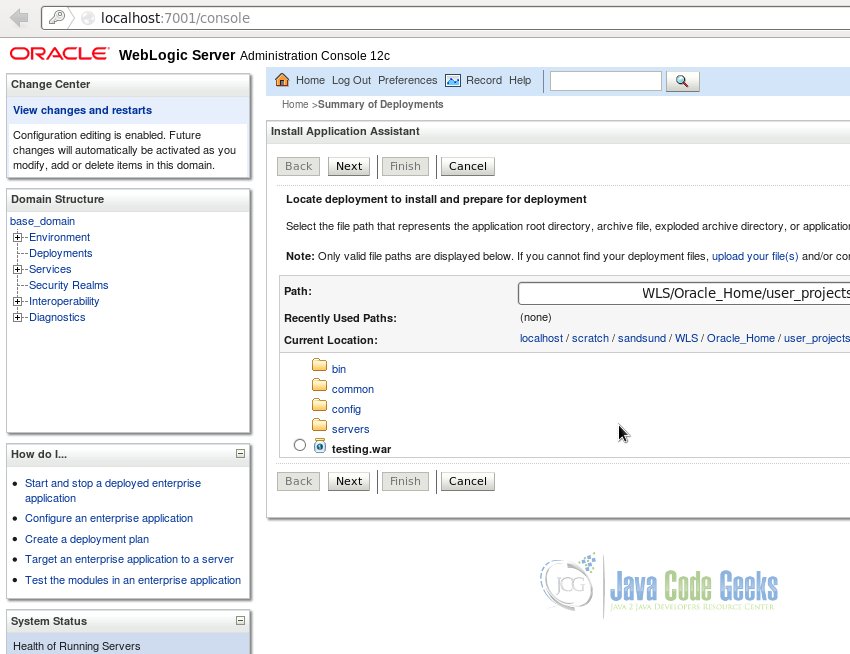
Specify the path where the application is located. In my case, I have placed the application which is a war file in the domain folder. The applications under the specified path get listed below.
Choose the application you want to deploy. In my case, I will choose testing.war and Click on the Next button.
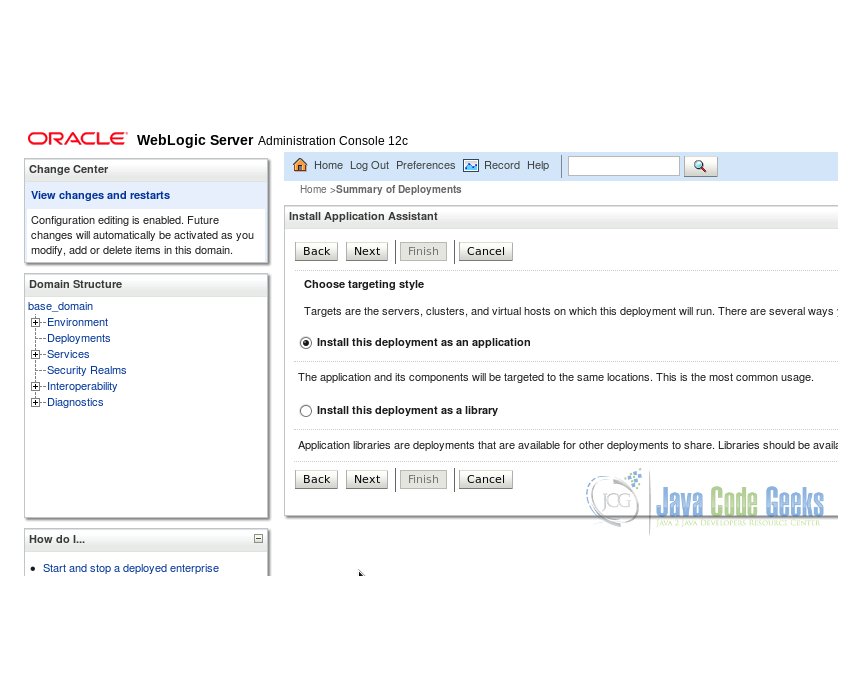
In the subsequent screen, choose to install the deployment as an application.
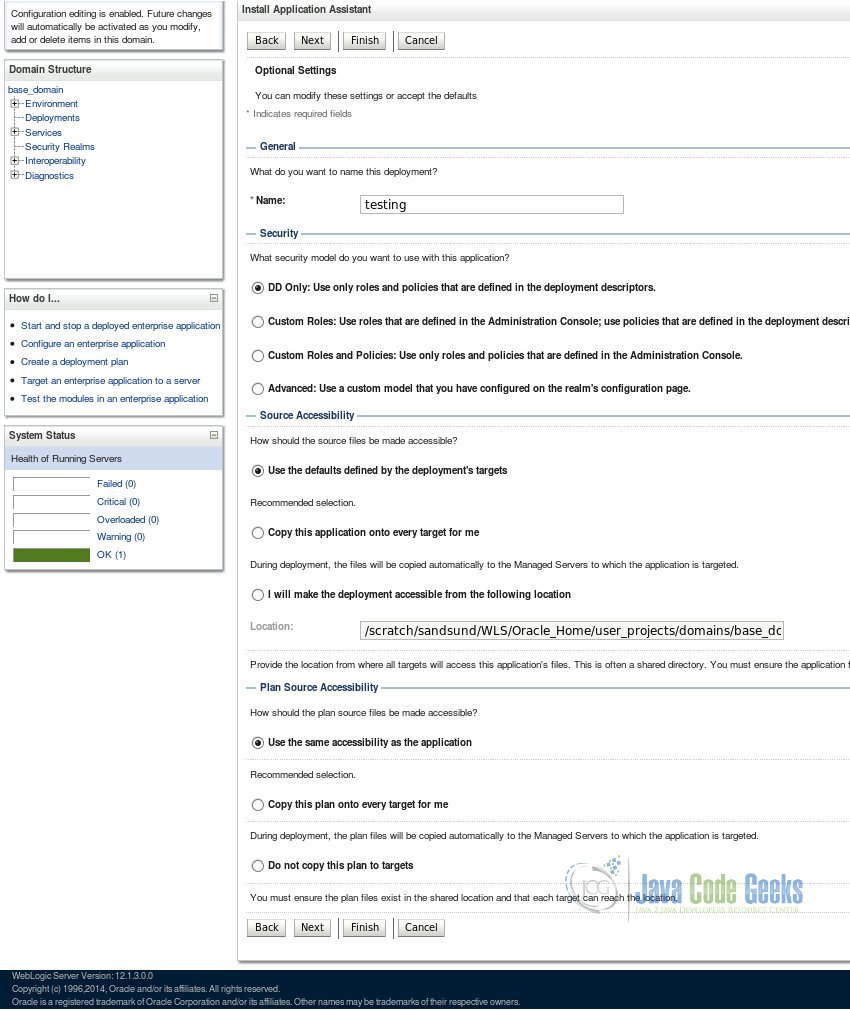
Give a suitable name to your deployment and hit the finish button.
In the next page, you will see that the deployment was successful and your application will be listed under the deployments tab.
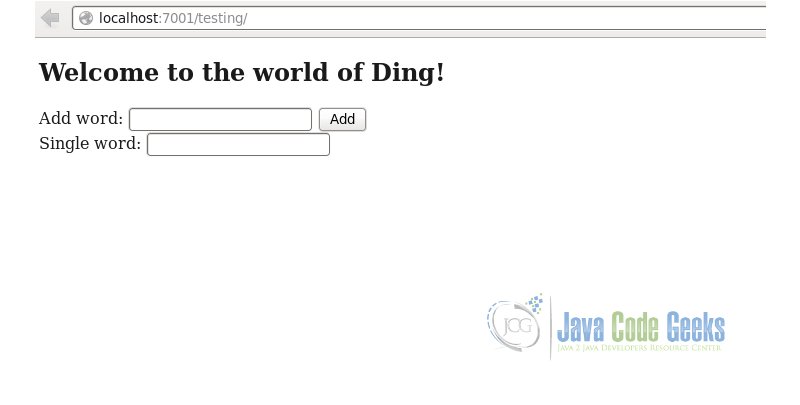
Now, you can hit your application url, http://localhost:7001/testing and see that the application’s index page is served by Weblogic.
3. Conclusion
This tutorial concludes the first part of this series. We saw how to create a Weblogic domain and deploy an application into it. In the next part we will learn about integrating web servers and security.
