In this example we are going to introduce some basic annotations and asserts of JUnit4. JUnit4 is a test framework which is used by developers so that they can be ensured that their code works as expected.
1. Create Junit Test
Open Eclipse IDE and create a new Java project called JunitFirstTest.
It would be better to create a new source folder to place your test classes and not combine them with the java classes in the src folder. For that purpose, right click on the project and select New → Source Folder so as to create test folder.
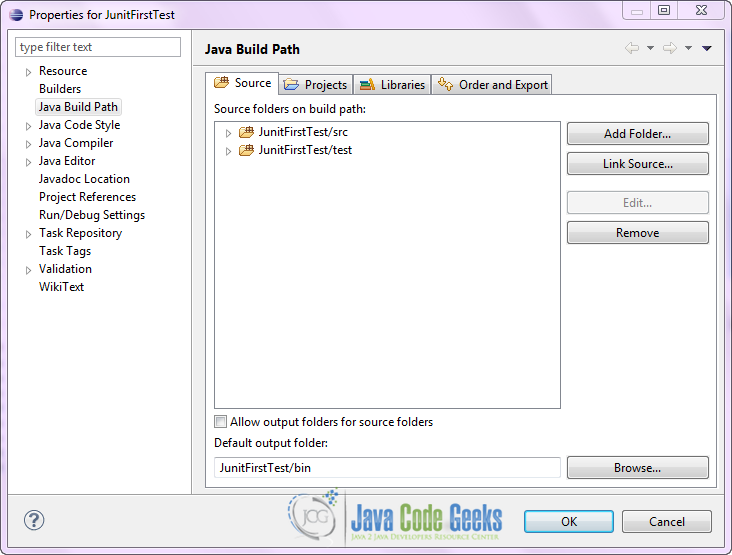
In the screenshot above we can see the structure of the project after the creation of the new source folder.
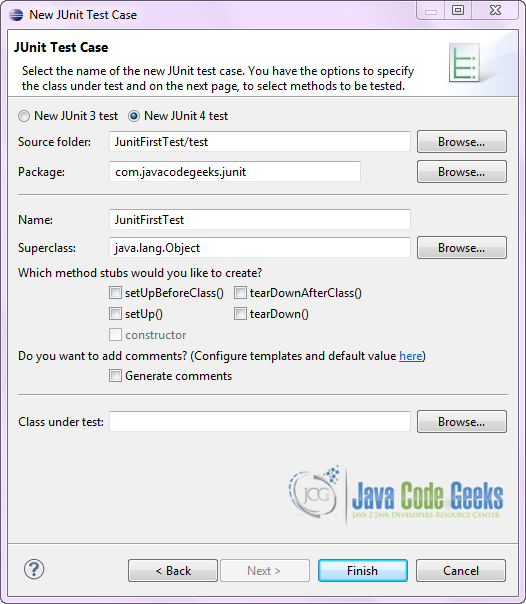
In the test folder, first create a new package com.javacodegeeks.junit and then create a Junit Test by right-clicking on the previous package and selecting New → Junit Test Case.
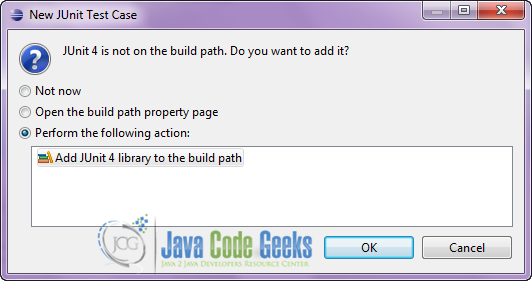
If your project does not contain the JUnit library in its classpath, the following message will be displayed so as to add the JUnit library to the classpath.
Now create a test with the code below.
JunitFirstTest.java:
package com.javacodegeeks.junit;

import static org.junit.Assert.*;
import java.util.*;
import org.junit.*;

public class JunitFirstTest {

    private ArrayList<String> testList;

    @BeforeClass
    public static void onceExecutedBeforeAll() {
    	System.out.println("@BeforeClass: onceExecutedBeforeAll");
    }

    @Before
    public void executedBeforeEach() {
        testList = new ArrayList<String>();
        System.out.println("@Before: executedBeforeEach");
    }

    @AfterClass
    public static void onceExecutedAfterAll() {
    	System.out.println("@AfterClass: onceExecutedAfterAll");
    }

    @After
    public void executedAfterEach() {
        testList.clear();
        System.out.println("@After: executedAfterEach");
    }

    @Test
    public void EmptyCollection() {
        assertTrue(testList.isEmpty());
        System.out.println("@Test: EmptyArrayList");

    }

    @Test
    public void OneItemCollection() {
        testList.add("oneItem");
        assertEquals(1, testList.size());
        System.out.println("@Test: OneItemArrayList");
    }
}
Let’s describe the annotations in the above code in detail.
@Test | The Test annotation indicates that the public void method to which it is attached can be run as a test case. |
@Before | The Before annotation indicates that this method must be executed before each test in the class, so as to execute some preconditions necessary for the test. |
@BeforeClass | The BeforeClass annotation indicates that the static method to which is attached must be executed once and before all tests in the class. That happens when the test methods share computationally expensive setup (e.g. connect to database). |
@After | The After annotation indicates that this method gets executed after execution of each test (e.g. reset some variables after execution of every test, delete temporary variables etc) |
@AfterClass | The AfterClass annotation can be used when a method needs to be executed after executing all the tests in a JUnit Test Case class so as to clean-up the expensive set-up (e.g disconnect from a database). Attention: The method attached with this annotation (similar to BeforeClass) must be defined as static. |
Also, in the code we can see two assert statements. Here is a short explanation of them.

| assertTrue (String message, boolean condition) | Asserts that the condition is true. |
| assertEquals ([String message], object expected, object actual) | Asserts that the two objects are equal. |
2. Run your test in Eclipse
Now, run your test in Eclipse, so as to see the results. Right-click on your JunitFirstTest class and select Run As→JUnit Test.
Outputs:
@BeforeClass: onceExecutedBeforeAll
@Before: executedBeforeEach
@Test: EmptyArrayList
@After: executedAfterEach
@Before: executedBeforeEach
@Test: OneItemArrayList
@After: executedAfterEach
@AfterClass: onceExecutedAfterAll
As we see in the results, the sequence of the executed methods complies with what we described in the previous section.
Download the Eclipse Project
This was an introduction to JUnit basic annotations and assert statements. Download the Eclipse Project of this example : JunitFirstTest.zip
