In this tutorial, we will learn to install and use the Eclipse Team Provider plug-in for Subversion (SVN) – specifically the Subclipse plugin.
Apache Subversion (SVN) is an open-source software versioning and revision control system. Developers use Subversion to maintain current and historical versions of files such as source code, web pages, and documentation. Subversion can operate across networks, which allows it to be used by people on different computers, thus aiding developer collaborations during code development.
Subclipse is an Eclipse Team Provider plug-in providing support for Subversion within the Eclipse IDE. It provides an interface similar to Tortoise SVN Client but with limited features, thus enabling check-out, check-in, historical views, logs of SVN repository, etc from within eclipse.
Installing the Subclipse plugin
Go to Help –> Eclipse Marketplace.
Go to the plugin search tab and type Subclipse. Browse to the Subclipse plugin and click “Install”.

In case you prefer the Install New Software menu of Eclipse, the eclipse update site URL for various releases can be found here.
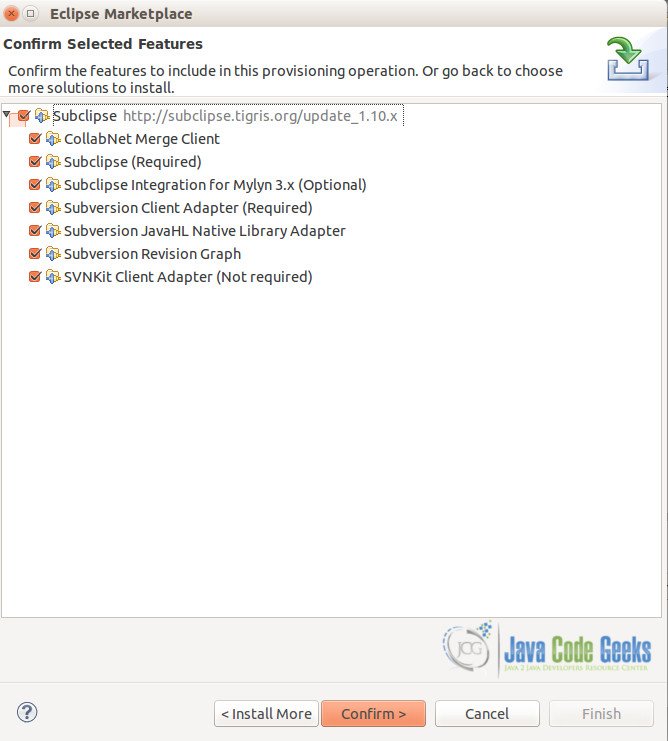
Confirm all the features to install, click next and accept the terms to continue.
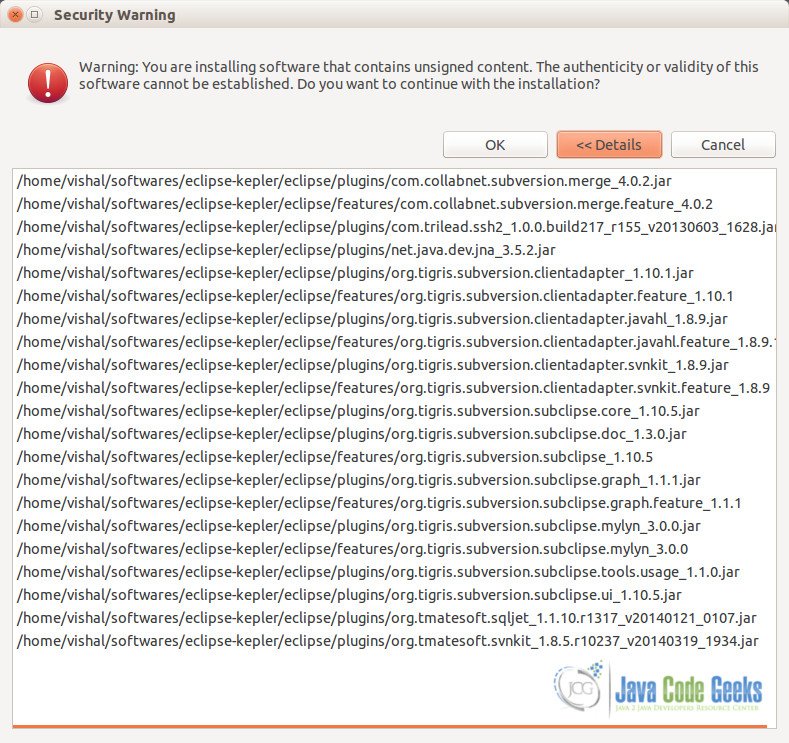
Accept the unsigned content and continue. Please re-start Eclipse when prompted after installation completes.
Configuring the plugin preferences
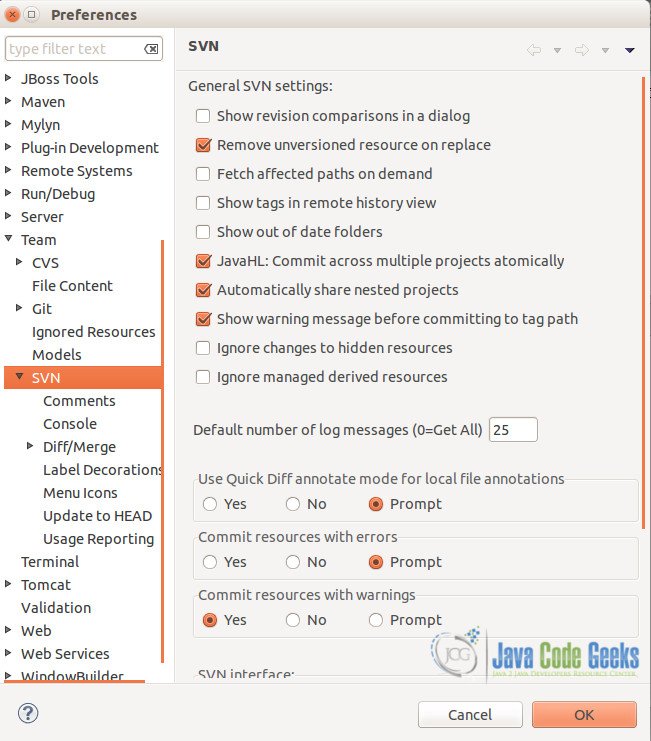
Once the plugin is installed, open Preferences through Window Menu.
Navigate to Team –> SVN. In the first part, one can provide the General Settings for the plugin while viewing and interacting with the remote SVN repository.
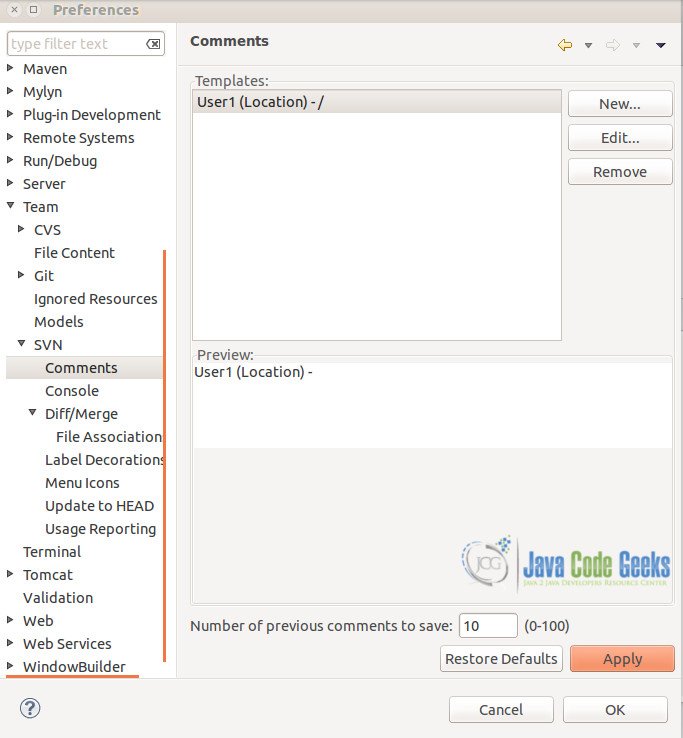
In the next tab related to comments, one can create / edit templates for comments while code check-in / delete.
There is a tab to modify preferences related to output highlighting in the console for SVN client (of eclipse).
The Diff/merge tab helps one set preferences for suggestions and tools to be used during code conflicts.

The next two tabs – “Label Decorations” & “Menu Icons” help one set look and feel properties of the Team perspective while interacting with a SVN repository.

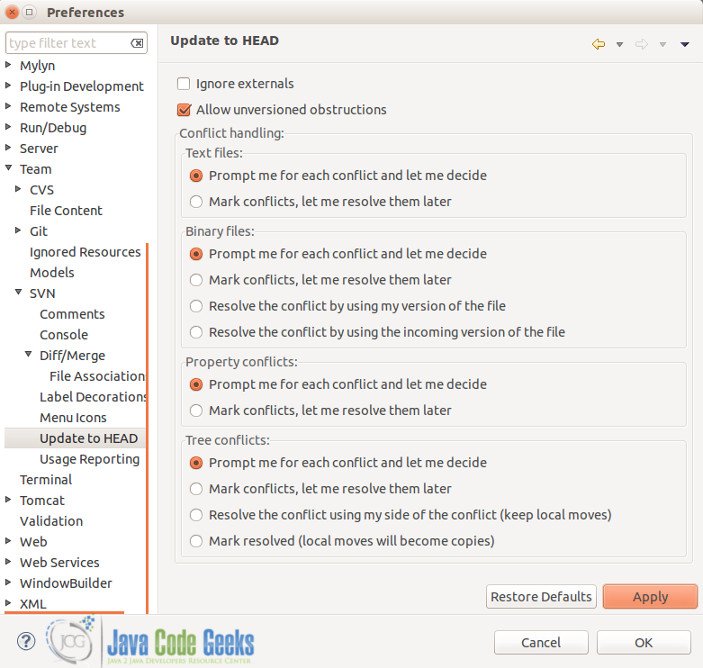
The next tab is one of the most important ones for configuring the Update code feature of the SVN client. Here, one can specify when to receive prompts for conflicts – after code update OR during check-in.
Using the plugin
For this tutorial, we will check-out the apache HTTP server project which is in the part of the ASF SVN version control.
The SVN URL for the project is http://svn.apache.org/repos/asf/httpd/httpd/.
- Check-out the project
- Code modification / addition
- Commit a change
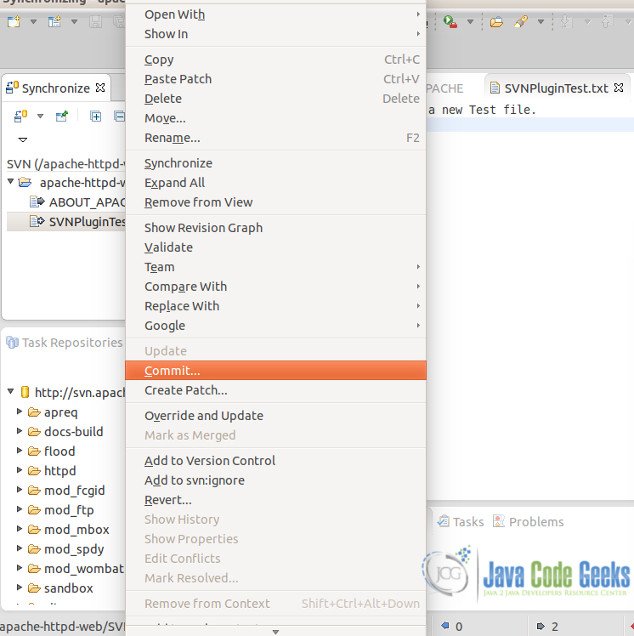
Select the file, which you need to check-in, right click on it and click Commit amongst the options.Notice the options to resolve conflicts. The conflict resolution method / tool used is the one mentioned while configuring the plugin (in steps above).

Subclipse – commit changes - Other features
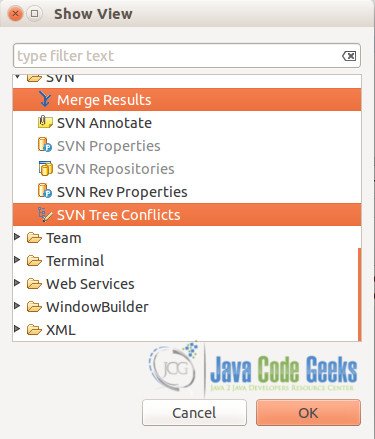
- Merge Results & Tree Conflicts
The plugin provides separate views for merging code (conflict resolution) before commit and resolving any Tree conflicts as identified.
Merge and Tree Conflicts - SVN Properties
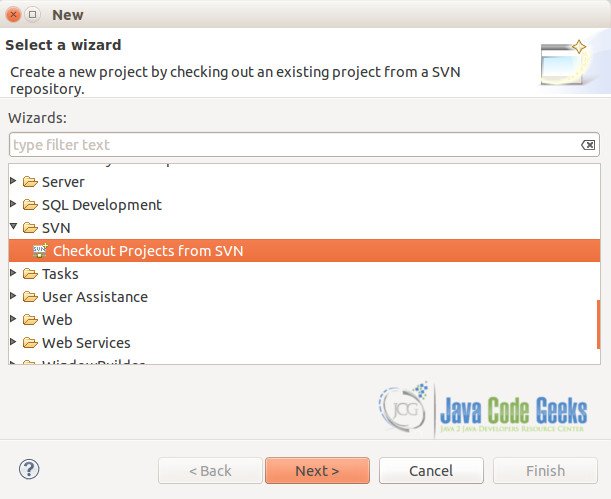
Go to Menu File –> New. Navigate to SVN –> Checkout Projects from SVN.
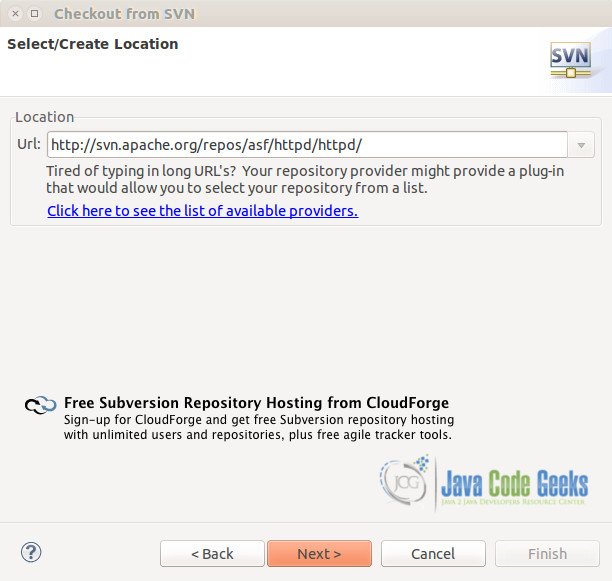
Create a new SVN Repository (if your desired repo does not exist within eclipse).
Enter the SVN Url for the project. Click Next.
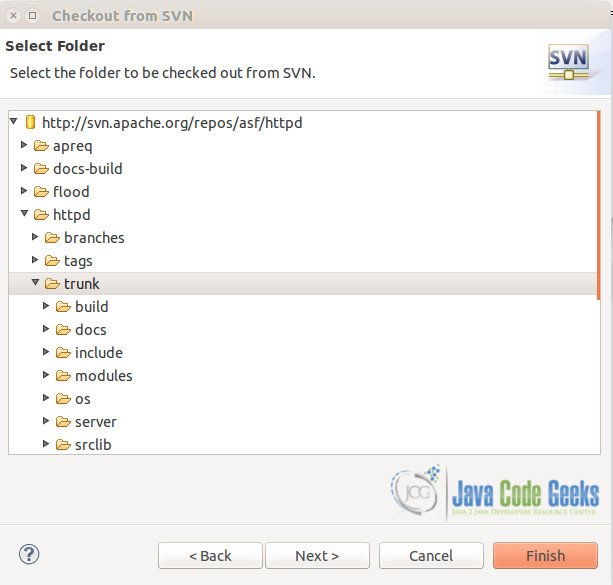
Browse to the desired version – branch / tag OR trunk and select. Click Next.
If the source code within the SVN repository contains the eclipse .project file, you may click on Finish and the project would directly be checked-out as mentioned in the .project file. The same holds true for a maven project containing the pom.xml in the repository.
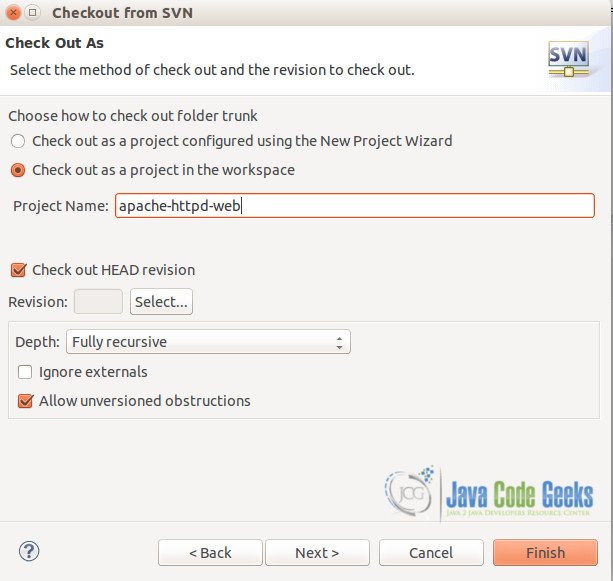
Enter the name of the project as required to be created in eclipse. Click Finish.
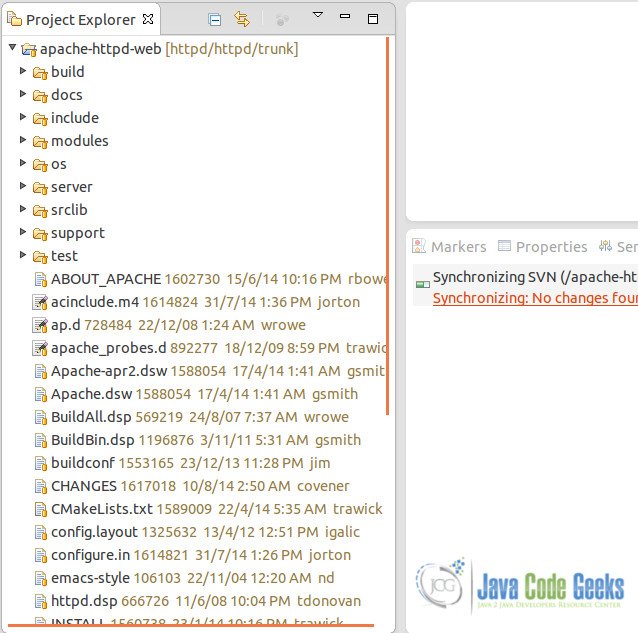
Once the check-out completes, the project is available in the Project Explorer as shown below.
You may notice certain icons across each folder and file. This icon depicts the current synchronization state of the file with the one in repository.
Also, the repository head is available in the project root within square brackets.
In this tutorial, we have added one file – SVNPluginTest.txt (created one with just a single text line) and modified one file – ABOUT_APACHE (added a whitespace character within the file).
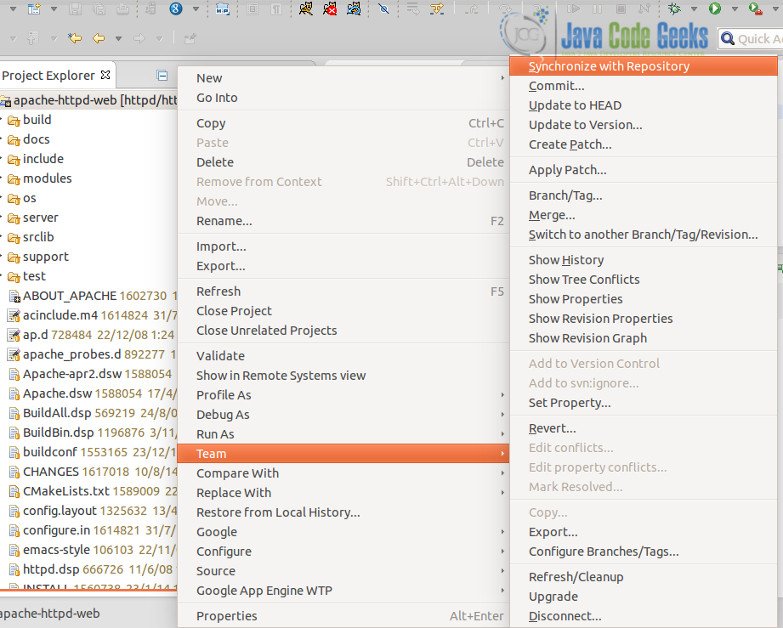
Once the files are created / modified, once can check-in the project through the Synchronize Repository option.
Right click on the project –> Team –> Synchronize with Repository.
This will open up the Team Synchronizing Perspective. In this view, the local code is synchronized with that in the repository and any changes – whether modifications to existing files, deletion of existing files OR addition to new files are highlighted.
Also, any conflicts of code due to change in the same file by multiple users is also highlighted.

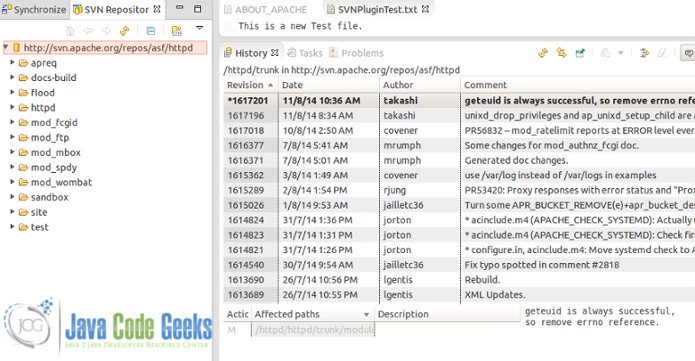
Open the Synchronize Repository perspective. In the repository view, a number of options are available like viewing history or a particular file OR the history of changes committed to the repository (can be seen in the History View).
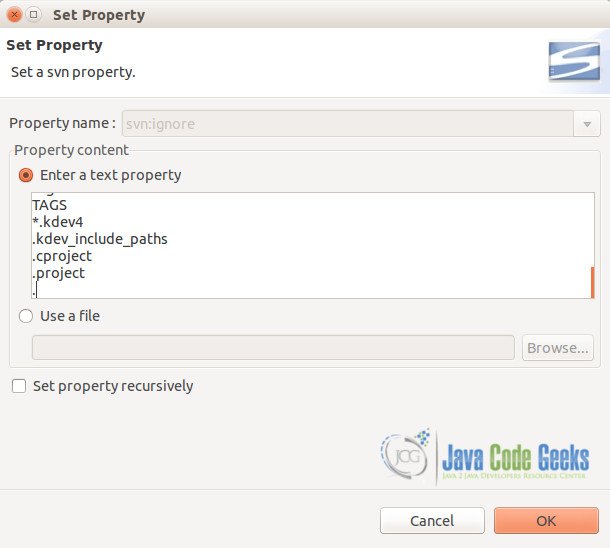
The SVN Properties view helps modify any of the SVN properties – including adding new like svn:ignore OR svn:mergeinfo.
This was a tutorial explaining the usage of the Subclipse plugin for eclipse.
