In this tutorial we are going to see how you can generate UML class diagrams from your source code, using Eclipse. Class diagrams are an extremely helpful tool, visualizing the structure of the code of your project. It is a very good companion for your documentation.
There are many Eclipse plugins that do class diagrams and most of them are quite good. In this example we are going to use the most classic one, class ObjectAid UML Explorer.
1. ObjectAid UML Explorer Eclipse plugin installation
In this tutorial we are going to use Eclipse Kepler 4.3. We are going to show you how to install ObjectAid UML Explorer in Eclipse, and a glimpse of how you can use it.
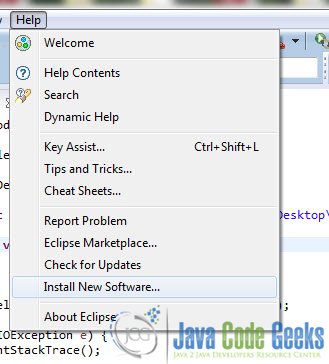
1. In order to install ObjectAid UML Explorer in Eclipse, go to Help -> Install New Software…
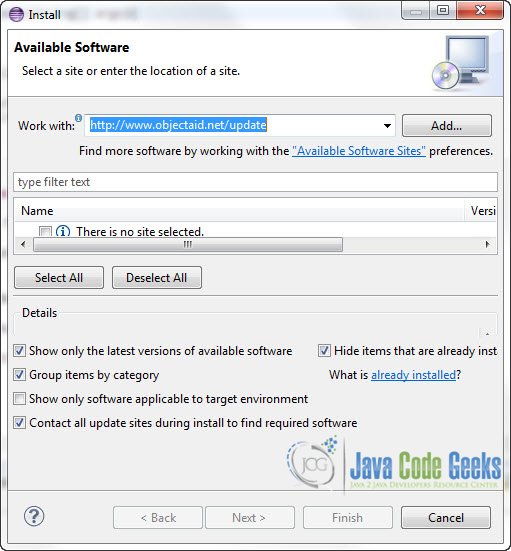
2. Paste this URL : http://www.objectaid.net/update in the Work with text field.
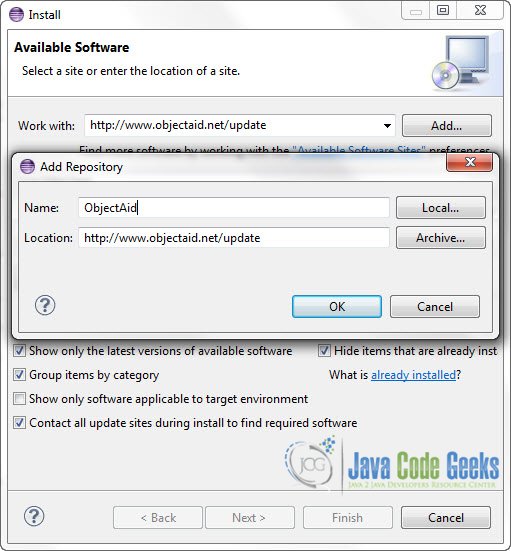
3. Click Add and put ObjectAid in the Name field and click OK.
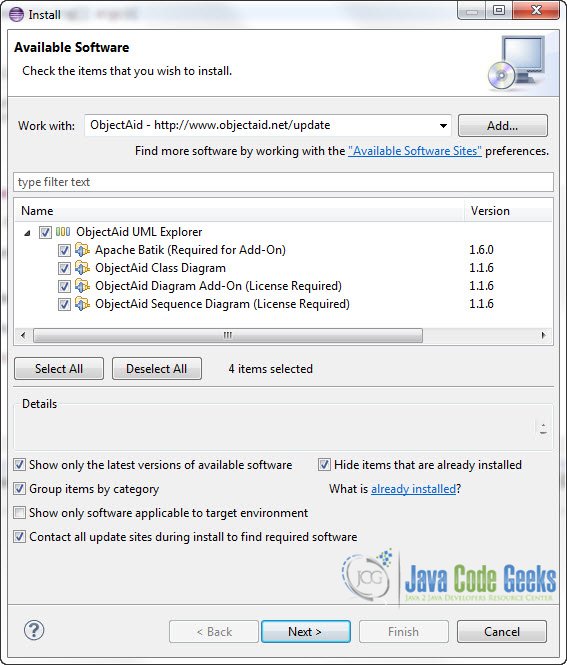
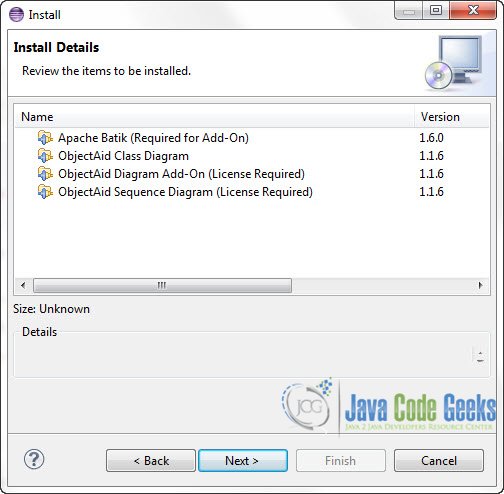
4. Select all the plugins you want to install and click Next.
5. You will see an overview of your installation.
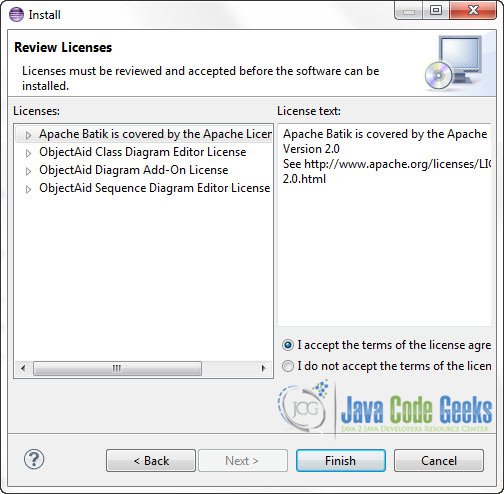
6. Accept the Licence Agreement and click Finish.
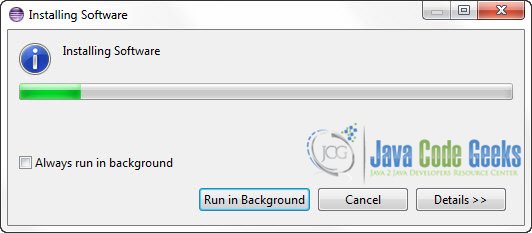
7. Give it some time to install the new Software.
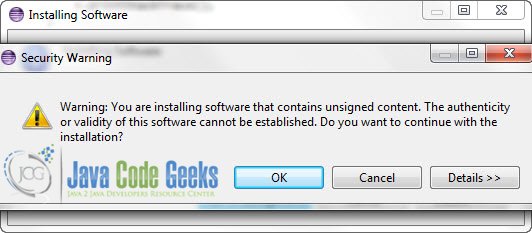
It is likely the a Warning will pop up during installation. Click OK to ignore it.
8. When the installation finishes, you will be prompt to restart your Eclipse IDE. Click Yes.

2. Create a Simple class Diagram
When your Eclipse IDE restarts, this is how you can create a Class diagram for one of your projects.
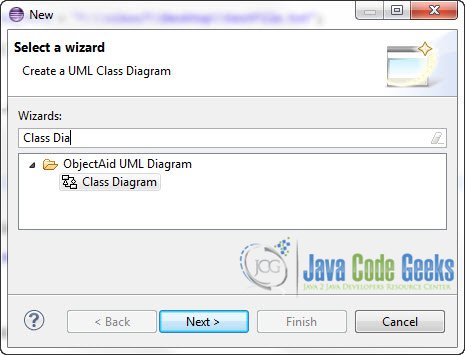
1. On the Project Explorer, Right Click on the Project’s name -> New -> Other. On the pop up box, start typing Class Diagram in the Wizards text field. Click on the Class Diagram and then click Next.
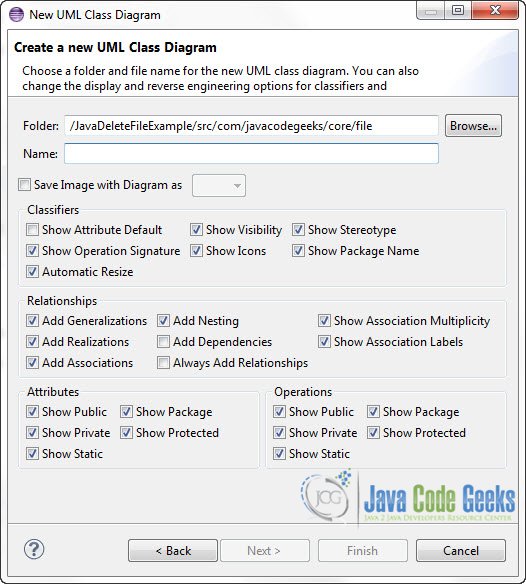
2. Type in a name for the diagram file, and select the several details and options.
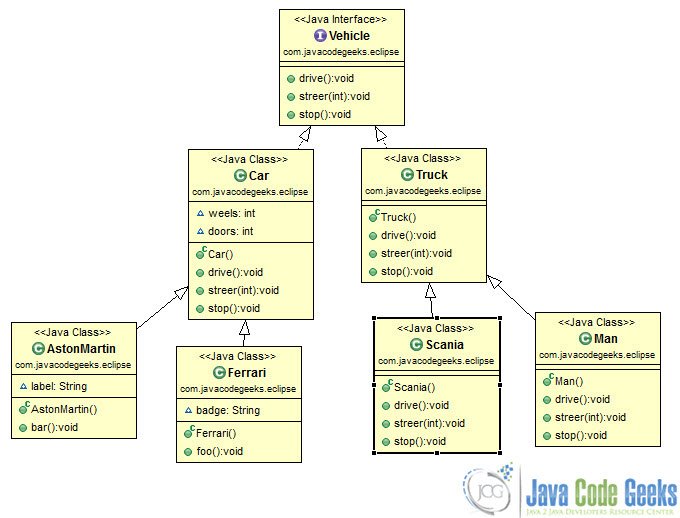
3. After that the blanc page of the Class Diagram editor will open. From then you can Drag and Drop a class from Project Explorer in order to create it’s UML node in the Diagram. Here is a simple Class Diagram that I’ve constructed.
Download the Eclipse Project
This was an example on how to create Class Diagrams with Eclipse.
You can download the full source code of this example here : ClassDiagramExample.zip

The url in Step 2 is no longer valid. Use this one instead: http://www.objectaid.com/update/current
(Source: http://www.objectaid.com/installation)