How to Install Git From Source
Git is a version control system that is used for software development and other version control tasks. As a distributed revision control system it aims at speed, data integrity, and support for distributed, non-linear workflows.
Unlike most client–server version control systems, every Git directory on every computer is a full-fledged repository with complete history and full version-tracking capabilities, independent of network access or a central server.
Before you use or practice on Git, the latter has to be installed on your computer. Even if it’s already installed, it’s probably a good idea to update it to the latest version. In this article, we are going to learn how to install Git from source.
To install Git, there are 2 options, either to install via an installer, or download the source code, compile it and then install it.
1. Introduction
Some people may find it useful to install Git from source, because this way guarantees that you have the most recent version. The binary installers available on the website tend to be a bit behind, though this makes less of a difference.
This tutorial will start with a brief introduction of installing Git using installers, and then we will move towards installing Git from source.
2. The Easy Way, using installers
2.1 Installing on Linux
Details of commands to be used to install Git on different linux based systems are shared at this link.
2.2 Installing on Mac
To install Git on Mac, you can download installer from this link and follow the installation steps.
2.3 Installing on Windows
To install Git on Windows, you can download installer from this link and follow the installation steps.
3. Installing Git from source
3.1 Installing dependencies
To start with the steps for Git installation from source, first one has to make sure that all the dependencies required during installation process exist on system. Dependencies required are url, zlib, openssl, expat, and libiconv.
For system having yum, you can use the following command to download dependencies:
sudo yum install curl-devel expat-devel gettext-devel openssl-devel perl-devel zlib-devel
For system having apt-get, you may use the following command to download dependencies:
sudo apt-get install libcurl4-gnutls-dev libexpat1-dev gettext libz-dev libssl-dev
For Mac, one can use utility like brew. To install brew you have to use the following command:
ruby -e "$(curl -fsSL https://raw.githubusercontent.com/Homebrew/install/master/install)"
Once brew is installed, all the required dependencies can be also installed in similar fashion.
In order to be able to add the documentation in various formats (doc, html, info), these additional dependencies are required. For Linux based:
sudo yum install asciidoc xmlto docbook2X
or
sudo apt-get install asciidoc xmlto docbook2x
For mac:
brew install asciidoc xmlto docbook2x
3.2 Installing Git
To install Git from source, we can download latest source available from any of these 2 links:
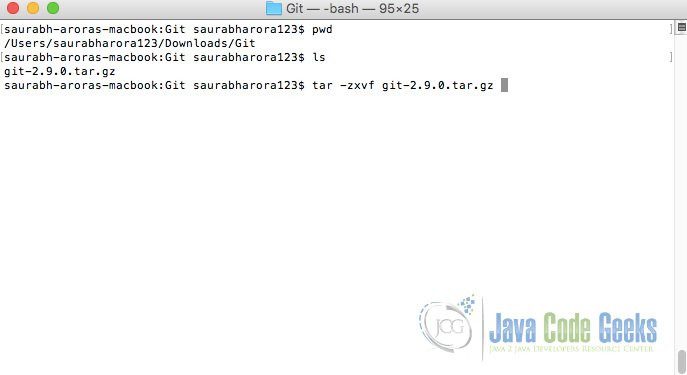
Firstly, we will download source code from any of the above links, and we will copy it into a directory.
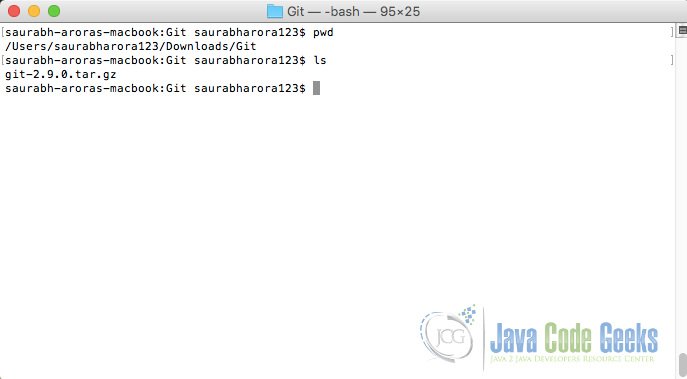
Next, we shall extract the downloaded source.
After extracting the source, we are going to browse to the directory.
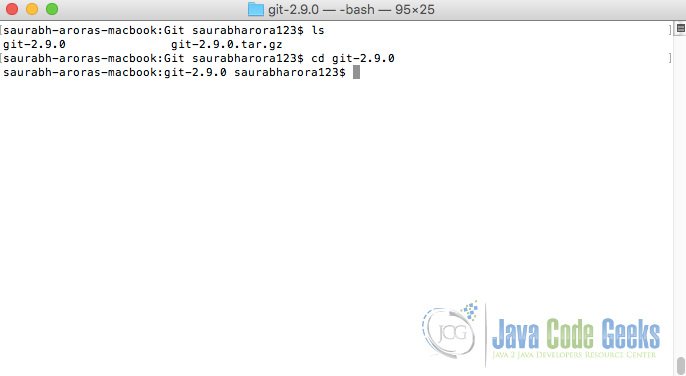
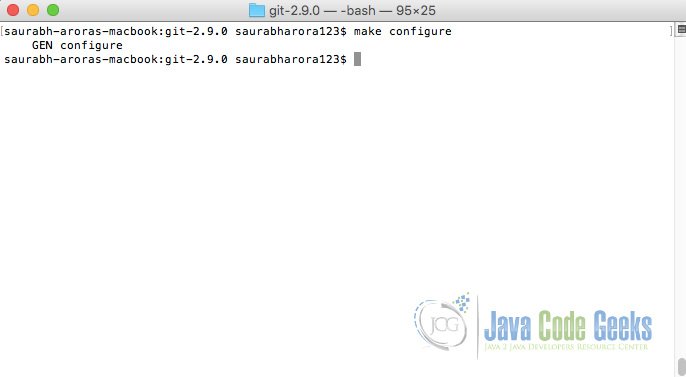
Now we shall execute make script as showned below.
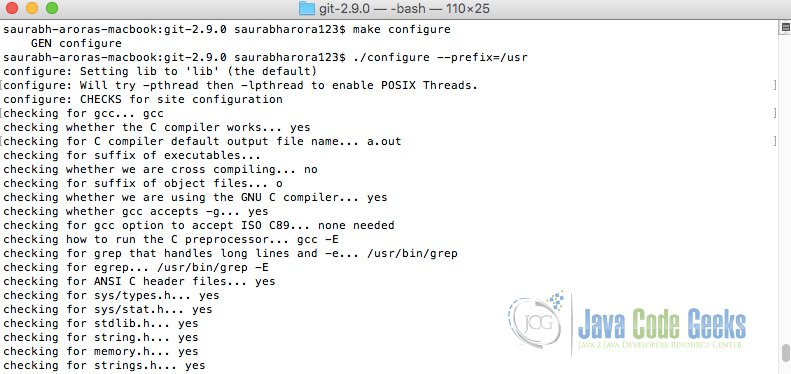
Then we will execute configure script provided along with Git source as follows.
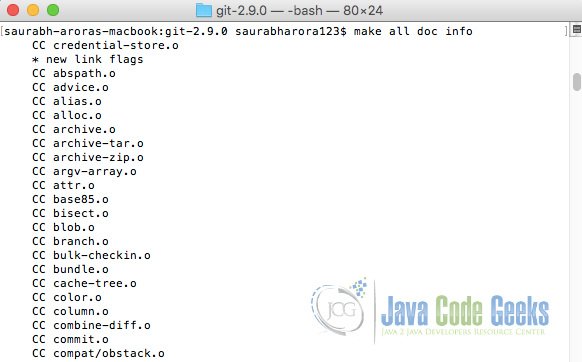
Afterwards we shall execute make script as follows to compile doc.
And now we will install doc as follows.
All the commands used above step-by-step are the followings:
$ tar -zxf git-2.9.0.tar.gz
$ cd git-2.9.0
$ make configure
$ ./configure --prefix=/usr
$ make all doc info
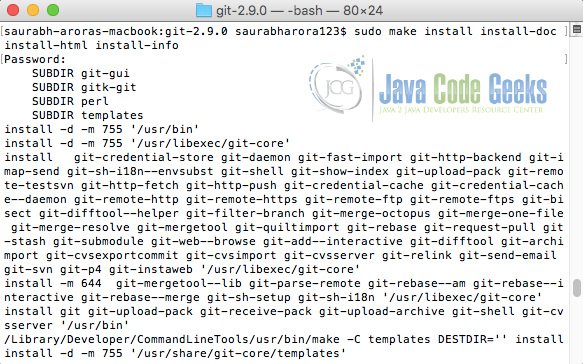
$ sudo make install install-doc install-html install-info
To verify the installation, we can use command git and the output will be as follows.
4. Conclusion
In this article we learnt what is the purpose of installing Git from source and the steps we need to follow to install Git using the same.

