1. Introduction
As we all know, Git has been widely used by software developers. It’s free and open-source. Compared with other Version Control Systems, such as SVN (Apache Subversion) and CVS (Concurrent Version System), Git has its own advantages.
Firstly, Git is powerful by its distributed nature, fast operation and branch handling mechanism. The distributed property makes it easy and efficient for multiple developers to work together, towards the same project. Also, Git works fast with its lightweight operations. Furthermore, every developer can work with the code as its own branch. Others can merge different branches, which makes cooperation-work quite easy.
Github is a web-based Git repository. It is also called remote repository, compared to the local repository. It provides web-based GUI and desktop GUI, as well as mobile integration. Also, it provides access control and other features for collaboration. This is very useful for bug tracking, task management and wikis for every project.
For Git and Github, they do have close connections with each other. We can use different commands to make them connect. For more command options, go to my previous Git tutorial. You may also need to install Git and set up Github. For instructions on this, you may refer to my previous article Git clone repository example.
In this article, we will focus more on a very important Git command: git push. Also I’ll show you how to push local project to remote repository: Github.
All the examples below is shown in MacOS EI Capitan Version 10.11.5 and the Git version is 2.7.4.
2. Git push branch to remote example
2.1 Git repository
Before we go to the real command, we need to be familiar with Git repository. Below is a flowchart for Git with some common Git commands.

In the figure above, we can see that there’ll be four different repositories. And we will work a lot with them:
- Workspace: it’s the place where you see in your computer system, or the directory where you check out your files. Files in the workspace could be added to the Git by using
git addcommand. Basically it could be any folders in your computer. - Index: it’s also called stating area. It’s an invisible space, where you can add files that you want to commit. To add commit, you can use
git commitcommand. - Local repository: it’s also an invisible repository. Actually it’s stored in the .git folder, which is hidden in the folder you created.
- Remote repository: this could be another computer, or it could be the server of others, such as Github, which we can consider it as a remote repository. To access to the remote repository, git push or
git pullcould be used.
2.2 Basic concepts
In addition to the Git repositories, we also need to have ideas about some other concepts:
- Branch: it’s used to create another line of code. Usually it’s for creating another new feature. Once the new feature has been completed, it can be merged back the the master branch.
- Master Branch: we can consider it as the main branch/code to work on. You can add other branches if needed. But the whole project can only have one master branch.
- Commit: it holds the current state of the repository. It can be considered as a node of a linked-list. Every commit has a pointer to the parent commit object. You can go back to the parent commit object by changing the pointer.
- HEAD: it is the pointer to the most recent commit on the current branch. It’s actually a hash value of current commit, which is calculated by SHA-1 hash on a file with a hash value of 160 bits that uniquely identifies the contents of the file.
2.3 Git clone example
Then, we can try with a project and see how it works. For example, we try with Datastax java driver for NoSQL database Apache Cassandra. We can get the Github link from here https://github.com/datastax/java-driver. In the figure below we see how it looks for this Git project.
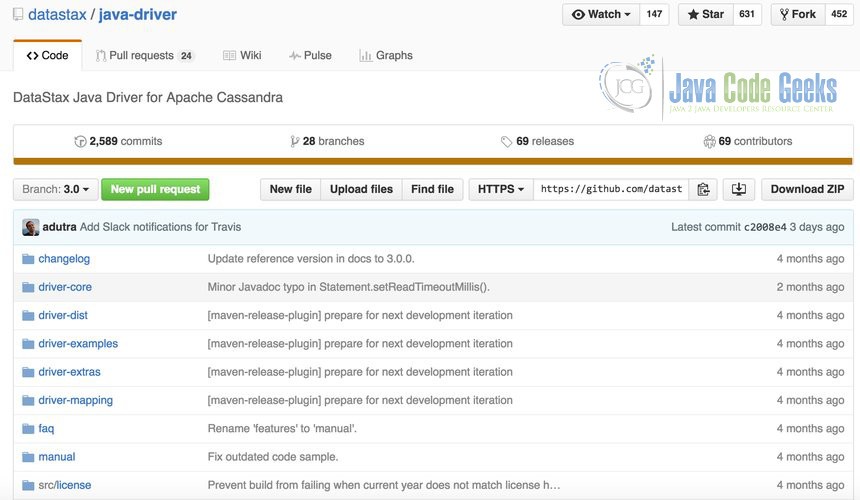
Then, if you want to download it and work on this project on your local machine, you can use git clone command. To do this, you need to find the git link for this project. For this project, the git link is https://github.com/datastax/java-driver.git. The position of this link is below with blue part marked and you can copy it.

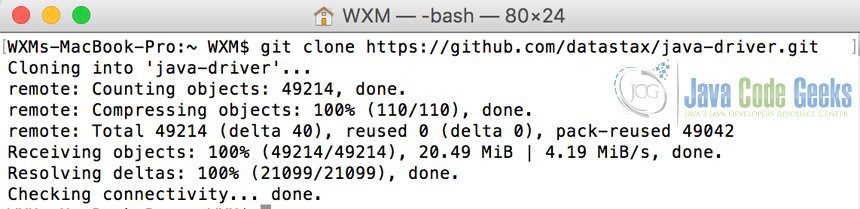
After this, open your terminal and go to the position you want to save this project. Type git clone https://github.com/datastax/java-driver.git. Then it’ll download this project to your local machine like below:
The git clone command will clone all the branches to your local machine. Go inside the folder. You can check all the branches with command git branch -a in your terminal like below:
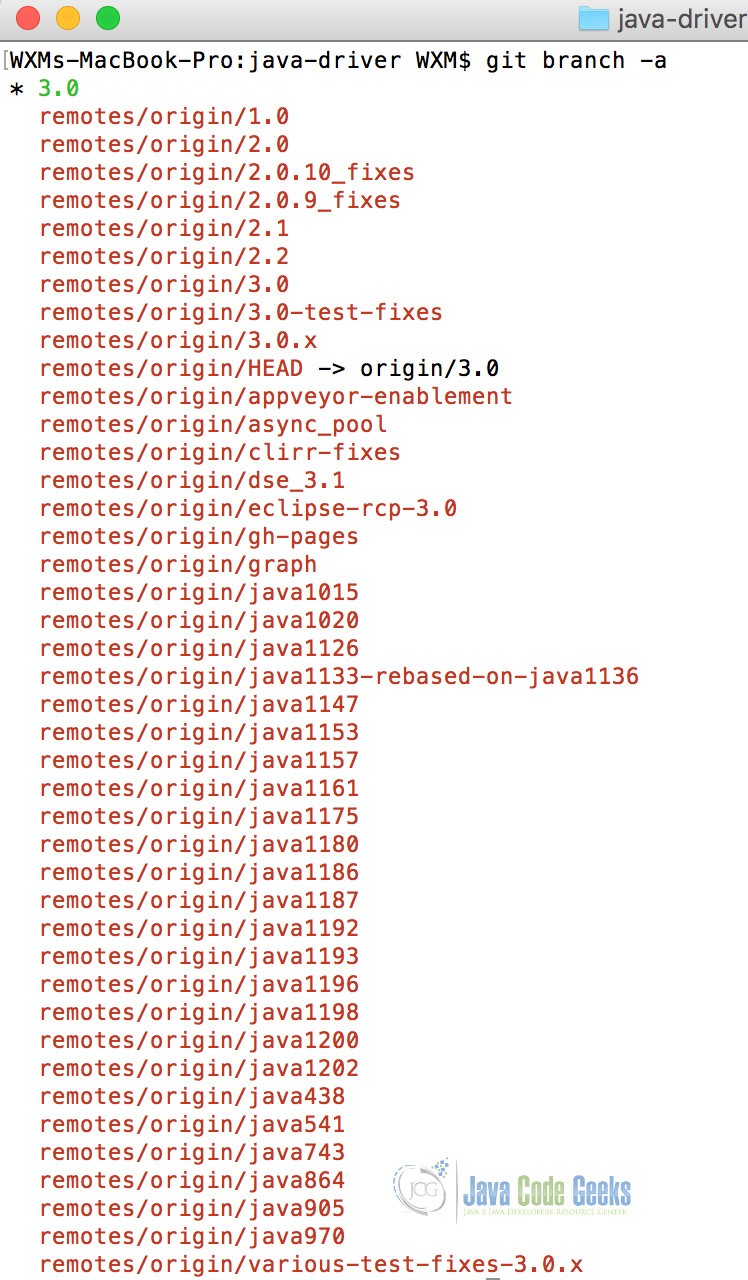
In the figure above, you may find out different numbers like 1.0, 2. 0, 3.0 etc. Actually, these are the version name or branches for this project. Here, there’s a 3.0 with a star * before it. This is the branch in the local repository. remotes means the remote repository. origin is the name for the remote repository and 1.0, 2.0 are the branches inside the remote repository.
2.4 Git remote
Furthermore, we can also get the information about origin with command git remote and git remote show origin
WXMs-MacBook-Pro:java-driver WXM$ git remote
origin
WXMs-MacBook-Pro:java-driver WXM$ git remote show origin
* remote origin
  Fetch URL: https://github.com/datastax/java-driver.git
  Push  URL: https://github.com/datastax/java-driver.git
  HEAD branch: 3.0
  Remote branches:
    1.0                             tracked
    2.0                             tracked
    2.0.10_fixes                    tracked
    2.0.9_fixes                     tracked
    2.1                             tracked
    2.2                             tracked
    3.0                             tracked
    3.0-test-fixes                  tracked
    3.0.x                           tracked
    appveyor-enablement             tracked
    async_pool                      tracked
    dse_3.1                         tracked
    gh-pages                        tracked
    graph                           tracked
    java1015                        tracked
    java1020                        tracked
    java1126                        tracked
    java1133-rebased-on-java1136    tracked
    java1153                        tracked
    java1157                        tracked
    java1161                        tracked
    java1180                        tracked
    java1192                        tracked
    java1193                        tracked
    java1196                        tracked
    java1201                        tracked
    java1206                        tracked
    java1212                        new (next fetch will store in remotes/origin)
    java1227                        new (next fetch will store in remotes/origin)
    java1233                        new (next fetch will store in remotes/origin)
    java438                         tracked
    java541                         tracked
    java743                         tracked
    java864                         tracked
    java905                         tracked
    java970                         tracked
    refs/remotes/origin/clirr-fixes stale (use 'git remote prune' to remove)
    refs/remotes/origin/java1175    stale (use 'git remote prune' to remove)
    refs/remotes/origin/java1186    stale (use 'git remote prune' to remove)
    refs/remotes/origin/java1187    stale (use 'git remote prune' to remove)
    refs/remotes/origin/java1198    stale (use 'git remote prune' to remove)
    refs/remotes/origin/java1200    stale (use 'git remote prune' to remove)
    refs/remotes/origin/java1202    stale (use 'git remote prune' to remove)
    various-test-fixes-3.0.x        tracked
  Local branch configured for 'git pull':
    3.0 merges with remote 3.0
  Local ref configured for 'git push':
    3.0 pushes to 3.0 (up to date)
2.5 Git push branch to remote
According to the flowchart for Git, we know that we can push/upload our code to remote repository. Here, git push is the command that we can use for it. It’s used for pushing commits made on your local branch to remote repository.

The git push takes two arguments: a remote name, for example origin; a branch name for example, master. The format for this could be:
git push REMOTENAME BRANCHNAME
Normally, we work a lot with git push origin master. This command pushes the local changes to remote repository.
Firstly, we need to have a new branch to push to the remote. We can create a new branch named newBranch. We can type the command below:
git branch newBranch
Then a new brach with name newBranch is created. We can check this out with command git branch -a. This will list all branches inside this repository. Here I’ll show you a simple example other than the Datastax java driver. You can find my example in my remote repository with link: https://github.com/wuxiaomin98/GitLearning.
Initially there’ll only be one master branch for this project. I want to add a new branch to this project. Then I clone it to my local machine with git clone command like below:
WXMs-MacBook-Pro:~ WXM$ git clone https://github.com/wuxiaomin98/GitLearning.git
Cloning into 'GitLearning'...
remote: Counting objects: 50, done.
remote: Total 50 (delta 0), reused 0 (delta 0), pack-reused 50
Unpacking objects: 100% (50/50), done.
Checking connectivity... done.
Then you can check the branch with git branch command.
WXMs-MacBook-Pro:~ WXM$ cd GitLearning/
WXMs-MacBook-Pro:GitLearning WXM$ git branch
* master
WXMs-MacBook-Pro:GitLearning WXM$ git branch -a
* master
  remotes/origin/HEAD -> origin/master
  remotes/origin/master
After this you may create a new brach named newBranch like below. In addition, you can list the branches with git branch -a.
WXMs-MacBook-Pro:GitLearning WXM$ git branch newBranch
WXMs-MacBook-Pro:GitLearning WXM$ git branch -a
* master
  newBranch
  remotes/origin/HEAD -> origin/master
  remotes/origin/master
Here, you should notice that there’s a newBranch just after the default branch master. Then you can switch to the new brach with command git checkout newBranch.
WXMs-MacBook-Pro:java-driver WXM$ git checkout newBranch
Switched to branch 'newBranch'
Right now, you can see the star * before the new branch. After this, you can push the new branch to the remote repository with command git push master newBranch
WXMs-MacBook-Pro:GitLearning WXM$ git push origin newBranch
Total 0 (delta 0), reused 0 (delta 0)
To https://github.com/wuxiaomin98/GitLearning.git
 * [new branch]      newBranch -> newBranch
Now, you can check the remote repository again, you’ll see something different:
WXMs-MacBook-Pro:GitLearning WXM$ git remote show origin
* remote origin
  Fetch URL: https://github.com/wuxiaomin98/GitLearning.git
  Push  URL: https://github.com/wuxiaomin98/GitLearning.git
  HEAD branch: master
  Remote branches:
    master    tracked
    newBranch tracked
  Local branch configured for 'git pull':
    master merges with remote master
  Local refs configured for 'git push':
    master    pushes to master    (up to date)
    newBranch pushes to newBranch (up to date)
Right now, we have two branches: master and newBranch. Then, you can work on any of them.
3. Conclusion
In conclusion, this article shows you how to work with remote repository. Basically you need to clone to your local machine. Then work on separate branch. After this, push it to your remote repository. Done!
