Majority of programmers start with a “Hello World” tutorial when trying to learn something new. Fernando was new to Atlassian JIRA Add-on Development and he wanted to learn about making an Atlassian JIRA Add-on. There is no better place to start than at the Atlassian Developers website. Like everybody else, he started with the Atlassian Hello World tutorial.
1. Requirements
Fernando’s six year old Windows 7 laptop contained the Atlassian SDK, Apache Maven and a simple text editor. This was the minimum requirements for the Hello World tutorial. He familiarized himself with the Atlassian SDK and Maven.
2. Creating Hello World
He created his first add-on project by executing atlas-create-jira-plugin in the command prompt. He inputted com.javacodegeeks.example for the groupId and hello-world for the artifactId. He just pressed ENTER to accept the defaults and accepted everything by pressing Y.
Define value for groupId: : com.javacodegeeks.example
Define value for artifactId: : hello-world
Define value for version:  1.0.0-SNAPSHOT: :
Define value for package:  com.javacodegeeks.example: :
Confirm properties configuration:
groupId: com.javacodegeeks.example
artifactId: hello-world
version: 1.0.0-SNAPSHOT
package: com.javacodegeeks.example
 Y: : Y
The hello-world directory contained the basic skeleton code of an Atlassian JIRA plugin. His file structure looked like the one below:
pom.xmlREADMELICENSE- Under “src” directory – contained the stub code and resource files
3. Running Hello World
Finally he was ready to run his add-on. After creating the skeleton code he executed atlas-run. He thought it would be smooth sailing but he got an error:
[INFO] ------------------------------------------------------------------------
[INFO] BUILD FAILURE
[INFO] ------------------------------------------------------------------------
[INFO] Total time: 20.236 s
[INFO] Finished at: 2017-02-19T12:15:38+08:00
[INFO] Final Memory: 18M/214M
[INFO] ------------------------------------------------------------------------
[ERROR] Failed to execute goal on project hello-world: Could not resolve depende
ncies for project com.javacodegeeks.example:hello-world:atlassian-plugin:1.0.0-S
NAPSHOT: Could not find artifact jta:jta:jar:1.0.1 in atlassian-public (https://
maven.atlassian.com/repository/public) -> [Help 1]
It looks like he is missing some jars. But why didn’t Maven automatically download the jars? It wasn’t automatically downloaded because it didn’t exist in Atlassian’s public Maven repository. Atlassian is unable to distribute some third party libraries because of licensing restrictions.
4. Install Missing Jars
If you didn’t receive any build errors because you already have installed the libraries below, lucky you. Poor Fernando, he was unlucky. You may already have some of these libraries in your local Maven repository because of some other project. These are the jars he manually installed:
Then he executed the following commands below to install the third party jars to his local .m2 Maven repository. Just substitute the path accordingly.
mvn install:install-file -DgroupId=javax.jms -DartifactId=jms -Dversion=1.1 -Dpackaging=jar -Dfile=$HOME/Downloads/jms-1.1.jar
mvn install:install-file -DgroupId=com.sun.jmx -DartifactId=jmxri -Dversion=1.2.1 -Dpackaging=jar -Dfile=$HOME/Downloads/jmx-1_2_1-bin/lib/jmxri.jar
mvn install:install-file -DgroupId=com.sun.jdmk -DartifactId=jmxtools -Dversion=1.2.1 -Dpackaging=jar -Dfile=$HOME/Downloads/jmx-1_2_1-bin/lib/jmxtools.jar
mvn install:install-file -DgroupId=jndi -DartifactId=jndi -Dversion=1.2.1 -Dpackaging=jar -Dfile=$HOME/Downloads/jndi.jar
mvn install:install-file -DgroupId=jta -DartifactId=jta -Dversion=1.0.1 -Dpackaging=jar -Dfile=$HOME/Downloads/jta-1_0_1B-classes.jar
mvn install:install-file -DgroupId=com.oracle -DartifactId=ojdbc7 -Dversion=12.1.0.1.0 -Dpackaging=jar -Dfile=$HOME/Downloads/ojdbc7.jar
Check out Building JIRA from source for more information.
5. Final Output
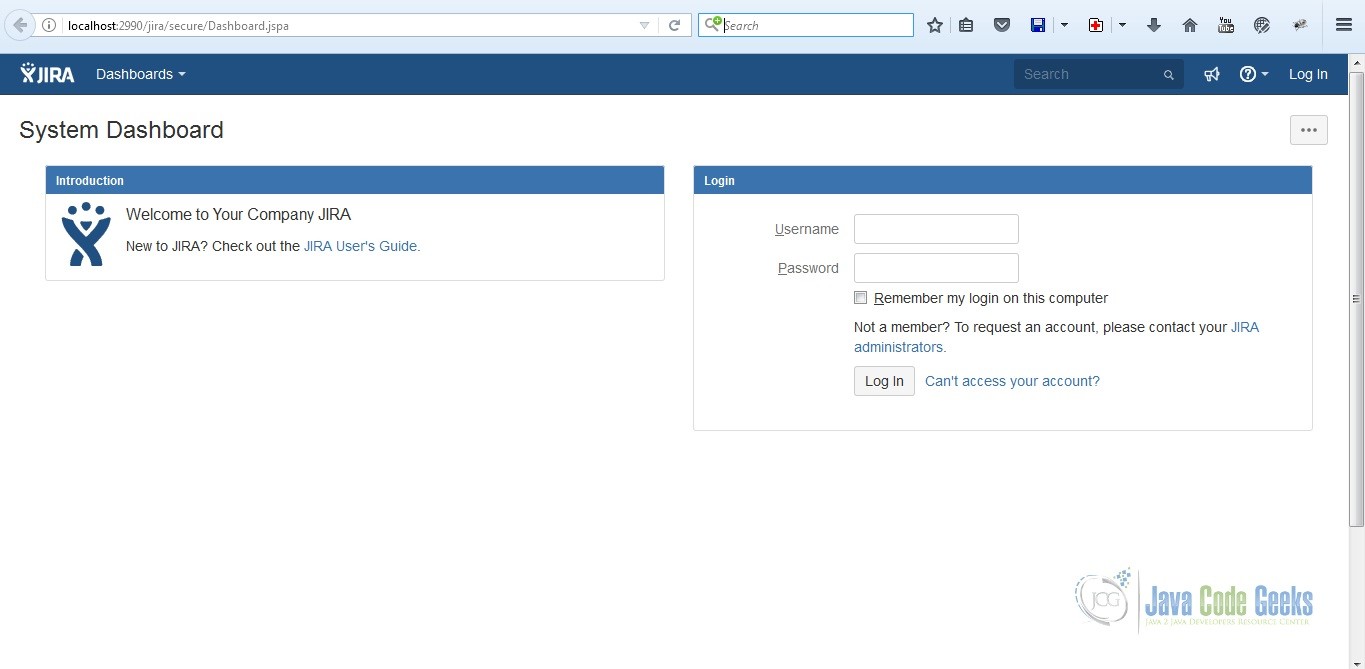
After installing the jars, Fernando was able to see JIRA in action at http://localhost:2990/jira. He is now ready to take on Atlassian JIRA Add-on development.
6. Summary
Before Fernando was able to develop a simple JIRA add-on, he had to install the missing jars. The missing jars were not mentioned in the Atlassian Hello World tutorial. This made Fernando do a little bit of research as why the simple tutorial didn’t work out of the box. The third party jars are jms-1.1.jar, jmxri.jar, jmxtools.jar, jndi.jar, jta-1_0_1B-classes.jar, and ojdbc7.jar.
7. Download the Source Code
This is a “Hello World” example of Atlassian JIRA Add-on.
You can download the source code of this example here: setup-system-jira-addon-development.tar.gz.
