In this article we will cover how to unit test your Confluence add-on. Agile testing relies primarily on unit tests. This kind of testing is designed to prevent bugs. It is efficient and cheap because it can be run several times in a day. Other than being able to pinpoint bugs, frequent changes are safe. Unit testing prevents fixed bugs from coming back or finding side-effects of changes.
1. Requirements
- Atlassian SDK.
- Mars Eclipse.
- Have created a simple Atlassian Confluence add-on. See Atlassian Confluence Add-on Development Examples if you haven’t done so.
- Familiar with Apache Maven.
2. Create a Simple Macro Add-on
We will just go through creating the simple macro plug-in briefly. See How to Build a Macro Add-on for Atlassian Confluence Server for in depth details.
We run the atlas-create-confluence-plugin command to create the add-on skeleton. We’ll use com.javacodegeeks.example when we’re prompted for groupId and unit-testing for our artifactId. In the version and package prompts, we just press ENTER to accept the defaults. Finally, we press Y to accept everything inputted.
We will prune the skeleton code so that we will have something like this:
pom.xmlREADMELICENSE- Under “src/main/resources” –
atlassian-plugin.xml,unit-testing.properties, css folder, images folder, js folder, and META-INF folder (all folders contain their default files) - Under “src/main/java” –
com.javacodegeeks.examplepackage and under itSpacesMacro.java - Under “src/test/java” –
com.javacodegeeks.examplepackage and under itSpacesMacroTest.java
We will add the SpaceMacro.java and SpacesMacroTest.java later. Next, we add the Mockito dependency in our pom.xml. We may use other versions as long as it’s available in the public Atlassian Maven Repository or we can manually install the latest Mockito library in our local repository.
pom.xml
<dependency>
  <groupId>org.mockito</groupId>
  <artifactId>mockito-all</artifactId>
  <version>1.9.5<version>
  <scope>test</scope>
</dependency>
Let’s create .classpath and .project so that we can import the project into Eclipse. Run atlas-mvn eclipse:eclipse.
3. Create the Macro Add-on to Test
SpacesMacro.java
package com.javacodegeeks.example;

import java.util.List;
import java.util.Map;

import org.springframework.beans.factory.annotation.Autowired;

import com.atlassian.confluence.content.render.xhtml.ConversionContext;
import com.atlassian.confluence.macro.Macro;
import com.atlassian.confluence.macro.MacroExecutionException;
import com.atlassian.confluence.spaces.Space;
import com.atlassian.confluence.spaces.SpaceManager;
import com.atlassian.plugin.spring.scanner.annotation.component.Scanned;
import com.atlassian.plugin.spring.scanner.annotation.imports.ComponentImport;

@Scanned
public class SpacesMacro implements Macro {

	private final SpaceManager spaceManager;

	@Autowired
	public SpacesMacro(@ComponentImport SpaceManager spaceManager) {
		this.spaceManager = spaceManager;
	}

	@Override
	public String execute(Map map, String body, ConversionContext context)
			throws MacroExecutionException {
		List spaces = spaceManager.getAllSpaces();

		StringBuilder builder = new StringBuilder();

		builder.append("<ul>");
		for (Space space : spaces) {
			builder.append("<li>");
			builder.append(space.getName());
			builder.append("</li>");
		}
		builder.append("</ul>");

		return builder.toString();
	}

	@Override
	public BodyType getBodyType() {
		return BodyType.NONE;
	}

	@Override
	public OutputType getOutputType() {
		return OutputType.BLOCK;
	}

}
Our macro prints an unordered list of the available spaces in our Confluence server. A spaces directory so to speak. Our focus in this article is unit testing. To learn more about creating a macro, read How to build a Macro Add-on for Atlassian Confluence Server.
4. Create the Macro Test Class
SpacesMacroTest.java
package com.javacodegeeks.example;

import java.util.Arrays;
import java.util.HashMap;

import org.junit.Test;
import org.junit.runner.RunWith;
import org.mockito.Mock;
import org.mockito.runners.MockitoJUnitRunner;

import static org.junit.Assert.assertEquals;
import static org.mockito.Mockito.when;
import static org.mockito.Mockito.verify;

import com.atlassian.confluence.content.render.xhtml.ConversionContext;
import com.atlassian.confluence.spaces.Space;
import com.atlassian.confluence.spaces.SpaceManager;

@RunWith (MockitoJUnitRunner.class)
public class SpacesMacroTest {

	@Mock
    private SpaceManager spaceManager;

	@Mock
    private ConversionContext context;

	@Test
	public void testBasicOperation() throws Exception {
		Space space1 = new Space();
		space1.setName("Demonstration Space");
		Space space2 = new Space();
		space2.setName("Microsoft");
		Space space3 = new Space();
		space3.setName("Oracle");
		when(spaceManager.getAllSpaces()).thenReturn(Arrays.asList(space1, space2, space3));

		SpacesMacro macro = new SpacesMacro(spaceManager);

		String actual = macro.execute(new HashMap(), "", context);

		String expected = "<ul><li>Demonstration Space</li><li>Microsoft</li><li>Oracle</li></ul>";

		verify(spaceManager).getAllSpaces();
		assertEquals(expected, actual);
	}

}
We have created a JUnit test. We have imported the Mockito and JUnit packages. We also have static imports of the methods we will be using (highlighted lines #11-13). Our class has the same name as our class under test but suffixed with Test. Our packaging is also the same with the class under test. The public void method which will do the test is annotated with the @Test annotation (highlighted line #28).
The method tests the output of our macro. It makes sure that the spaces are returned.
First we created 3 spaces as our sample spaces. Then we created the SpacesMacro which is the macro we are testing and called its execute method. Finally, we checked if the actual value is the same as our expected value (highlighted line #45).
We are mocking objects since we don’t want to run the Confluence server (e.g., SpaceManager) while running our tests. Mockito mock objects are initialised using the MockitoJUnitRunner class (highlighted line #19). We can then apply @Mock annotations to the objects we want to create mock instances (highlighted lines #22, 25). Any method call on a mocked object will return the default value of the method’s return type. So we need to customize the method calls we need to return a value. This is called stubbing a method. The when stubs the method getAllSpaces() to return a list of spaces (highlighted line #36). The verify call makes sure that getAllSpaces() was called by the class under test.
5. Run the Test
In Eclipse, we can run the test by right clicking on SpacesMacro.java then Run As -> JUnit Test. We should see our test pass (green color). Or we can do it on the command line using the atlas-mvn test command. We should see something like below:
console output
-------------------------------------------------------
 T E S T S
-------------------------------------------------------
Running com.javacodegeeks.example.SpacesMacroTest
Tests run: 1, Failures: 0, Errors: 0, Skipped: 0, Time elapsed: 0.545 sec

Results :

Tests run: 1, Failures: 0, Errors: 0, Skipped: 0

[INFO] ------------------------------------------------------------------------
[INFO] BUILD SUCCESS
[INFO] ------------------------------------------------------------------------
[INFO] Total time: 18.521 s
[INFO] Finished at: 2017-02-26T15:03:59+08:00
[INFO] Final Memory: 54M/285M
[INFO] ------------------------------------------------------------------------
6. Try the Plug-in
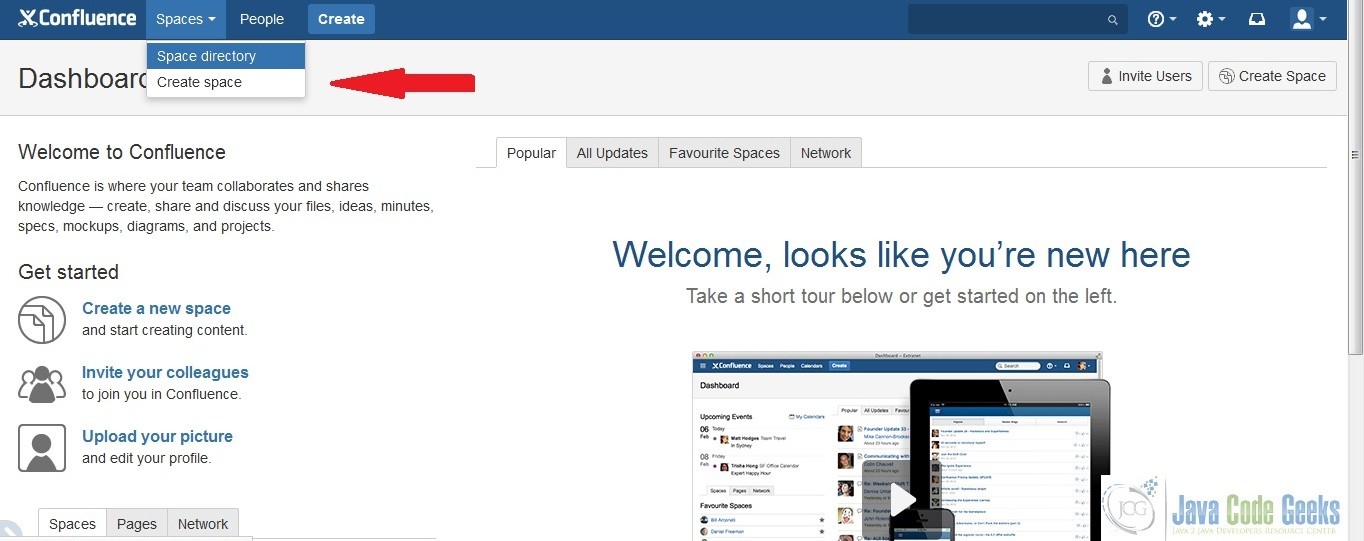
Execute atlas-run. Our Confluence Server is accessible at http://localhost:1990/confluence. The username and password is “admin”. Add a couple of spaces to go with the default “Demonstration Space”. Click on “Create Space”. Name the spaces Microsoft and the other Oracle.
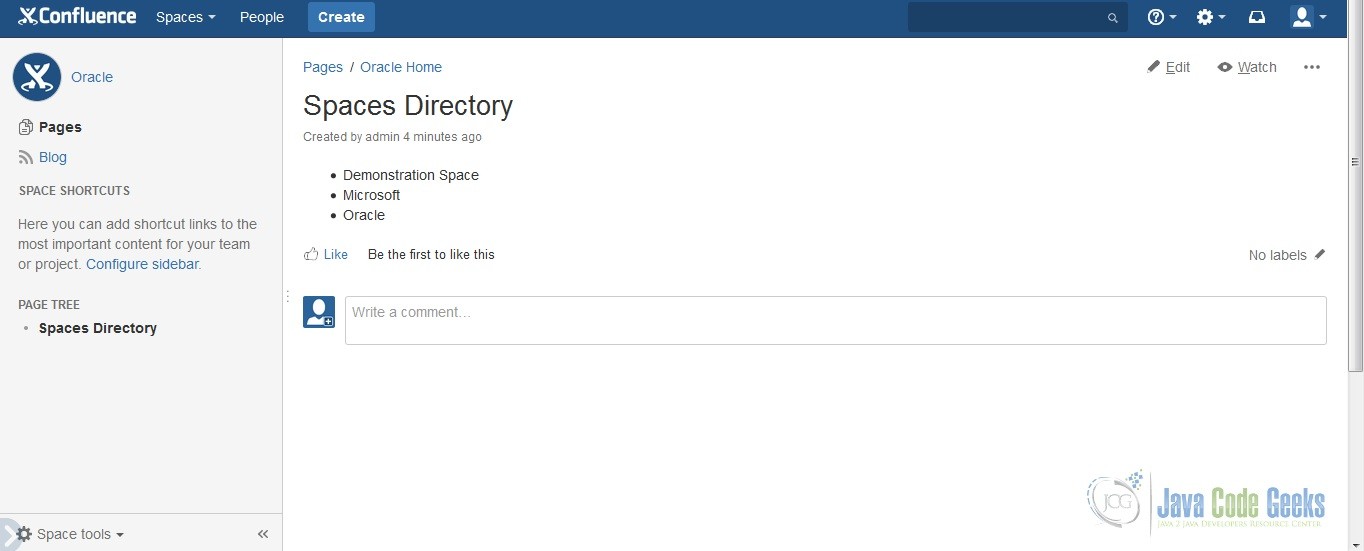
After creating the spaces, create a page with the title “Spaces Directory” and add our SpacesMacro to the page. It should look like the one below:
7. Summary on How to Unit Test your Confluence Add-on
We demonstrated in this article the mocking of objects in order to test our Confluence add-on. Every line of our code has been tested which means we have increased our code coverage. Increasing code coverage lowers our technical debt. Adding unit tests prevents fixed bugs from coming back and helps us find side-effects of changes we have made. Unit testing is testing at the method level. We have proven that our macro add-on works by having a test to back it up.
8. Download The Source Code
This is a How to Unit Test your Confluence Add-on example.
You can download the source code of this example here: unit-test-confluence-addon.tar.gz.
