This article its a Selenium tutorial that explains how to run selenium tests in Java language.
1. What is selenium
Selenium is used to automate browsers. Selenium supports various programming languages such as C#, Haskell, Java, JavaScript, Python, and Ruby through Selenium drivers. It supports various browsers such as Chrome, Firefox, Safari, Opera, and Internet Explorer.
2. When is selenium used
Selenium has found its place in test automation for web applications. It is used to create robust, browser-based regression automation suites and tests. It can be used for end-to-end testing of an application. This ensures that the application works as designed.
3. Selenium example with Java
We will look at how to create a simple selenium project with Java through this Selenium tutorial. Maven is used to adding the dependencies needed for the project. We will explore the maven file first to understand the setup for this project.
pom.xml
<project xmlns="http://maven.apache.org/POM/4.0.0"
	xmlns:xsi="http://www.w3.org/2001/XMLSchema-instance"
	xsi:schemaLocation="http://maven.apache.org/POM/4.0.0 https://maven.apache.org/xsd/maven-4.0.0.xsd">
	<modelVersion>4.0.0</modelVersion>
	<groupId>com.jcg</groupId>
	<artifactId>selenium</artifactId>
	<version>0.0.1-SNAPSHOT</version>
	<name>Selenium</name>
	<dependencies>
		<dependency>
			<groupId>org.junit.jupiter</groupId>
			<artifactId>junit-jupiter-api</artifactId>
			<version>5.6.2</version>
			<scope>test</scope>
		</dependency>
		<dependency>
			<groupId>org.seleniumhq.selenium</groupId>
			<artifactId>selenium-java</artifactId>
			<version>3.141.59</version>
			<scope>test</scope>
		</dependency>
	</dependencies>
</project>
groupIdis used to indicate the umbrella under which this project belongs.artifactIdrefers to the name provided for the artifact for consumption by other projects.- the name refers to the project name.
- dependencies contain all the dependencies for this project.
- Here, selenium is specified as a dependency for the project with a version number of 3.141.59
- The only other dependency for our project is JUnit which is specified with a version number of 5.6.2
Maven downloads all the dependencies mentioned from the maven repository available. The next step is to download the chrome driver to execute the test case using Selenium. In the case of Firefox, download the web driver for Firefox. The latest Chrome version as on date is 83 and hence the corresponding link for web driver is available here. After downloading the chrome driver, extract the chromedriver.exe file and add it to the root of the project.
We will use selenium to test google.com website. Create the file SeleniumTest.java under the src/test/java folder following convention for maven project
public class SeleniumTest {

	WebDriver webDriver;

	@BeforeAll
	public static void setUp() {
		System.setProperty("webdriver.chrome.driver", "chromedriver.exe");
	}

	@BeforeEach
	public void initializeDriver() {
		ChromeOptions options = new ChromeOptions();
		webDriver = new ChromeDriver(options);
	}

        @AfterEach
	public void closeDriver() {
		webDriver.quit();
	}
....
}
@BeforeAllruns before any of the test case are run. We set the chrome driver executable path to be available in the execution path.@BeforeEachruns before every test case. We initialize the chrome driver with default chrome options.@AfterEachruns after every test case. We close the web driver to ensure the browser instance is closed. For each test case, a new browser window is opened and this closes the instance after the test case finishes.
@Test
	public void testCase1() {
		webDriver.navigate().to("http://www.google.com");
		assertEquals("Google", webDriver.getTitle(), "Title is not google");
	}
This is the first test case of the application. It fires the Chrome browser to open google.com and checks if the title of the opened web page is Google. If not, the test case fails and error is thrown.

@Test
	public void testCase2() {
		webDriver.navigate().to("http://www.google.com");
		webDriver.findElement(By.cssSelector("input[type=submit")).click();
	}
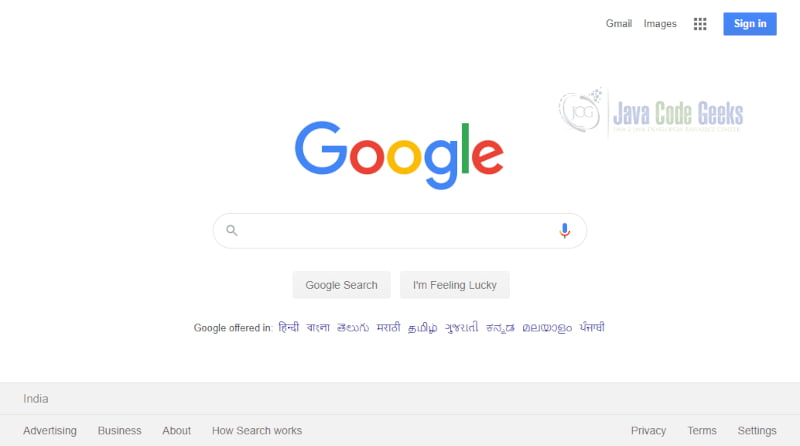
The second case is similar to browser automation. We navigate to google.com and click on the search icon without typing anything in the input. The below screenshot shows how the google.com is rendered in the browser during selenium testing.
TakesScreenshot scrShot =((TakesScreenshot)webDriver);
		File srcFile=scrShot.getScreenshotAs(OutputType.FILE);
		Files.copy(srcFile, new File("screenshot.png"));
The code above is used to take a screenshot during the testing. WebDriver is converted to instance of TakeScreenshot. The screenshot is exported as file. We use Java Files api to copy the file to the local filesystem by specifying the path.
4. Download the Source code
You can download the full source code of this example here: Selenium Java Introduction
