In this tutorial, we will demonstrate how to download, install/set up, and start using the Apache Netbeans IDE in Java, as your JDK.
You can also check this tutorial in the following video:

1. Introduction
Let us first start by downloading the required software from this link: NetBeans Download
Download the appropriate executable from this link. If you’re a Windows user, then an .exe executable can be downloaded or even a binary zip package can also be downloaded. For linux users, an .sh package is available and for Mac users, .dmg file has to be downloaded.
At the time of writing this article, we will talk about NetBeans ide java version 12.1 is latest update. As a best practice, it is always advisable to download the latest version package as it would contain all the necessary bug fixes and updates.
As a prerequisite, JDK 8 or higher needs to be installed in the system. Download and install Java from here.
After downloading, run the executable (which will install the application) or extract the binary zip package at the desired location and run the NetBeans IDE application.
In Windows env, NetBeans ide java after pressing the Windows Button on the keyboard. This will start the NetBeans IDE. It takes few seconds to load up and initialize and a screen like below is displayed:

This tutorial takes 10 minutes to complete and after completing the tutorial, you would be able to create Java projects using Apache Maven, build your code and run the application to test it.
Voila! Let us start.
After successfully installing the IDE, open it in your relevant OS environment, viz., Windows, Linux or Mac. The below screen should open up:
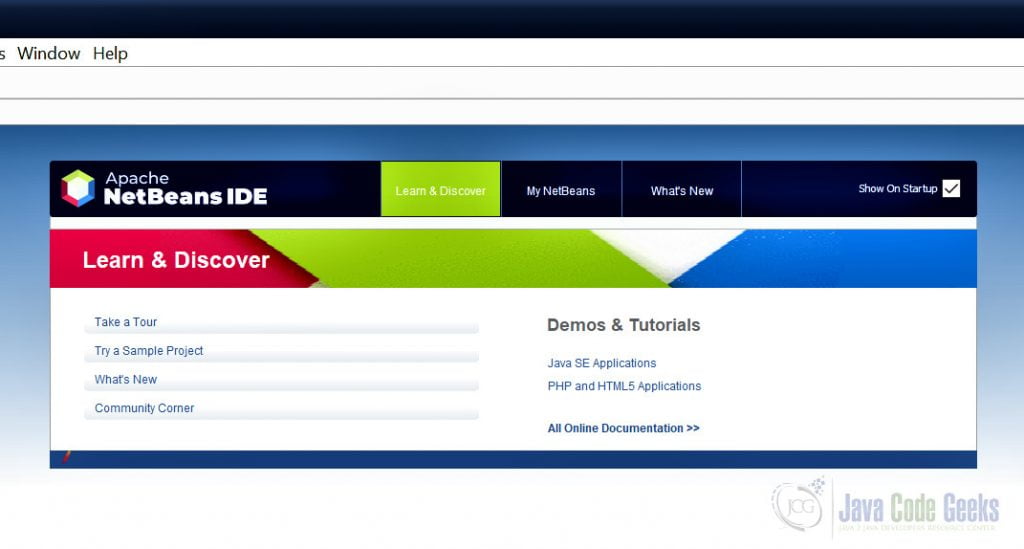
2. Configuring NetBeans
Before you start creating a project and developing on the NetBeans platform, it is always a good practice to configure the IDE.
In order to configure, navigate to Tools menu and click on Options
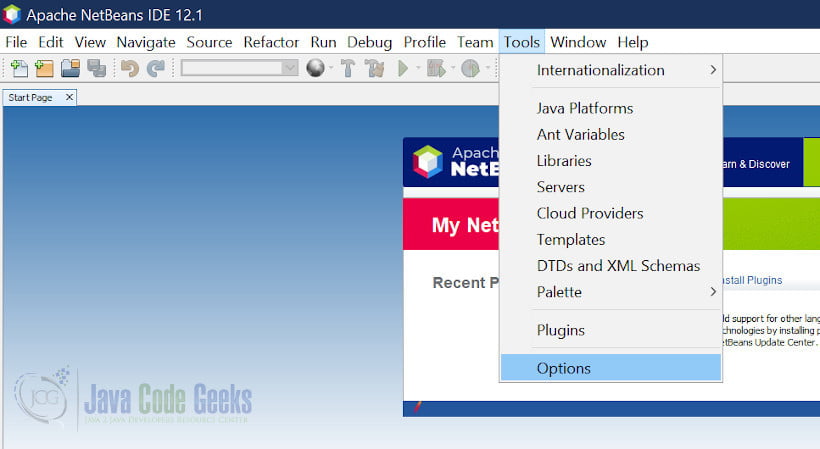
A new dialog box will appear like below:
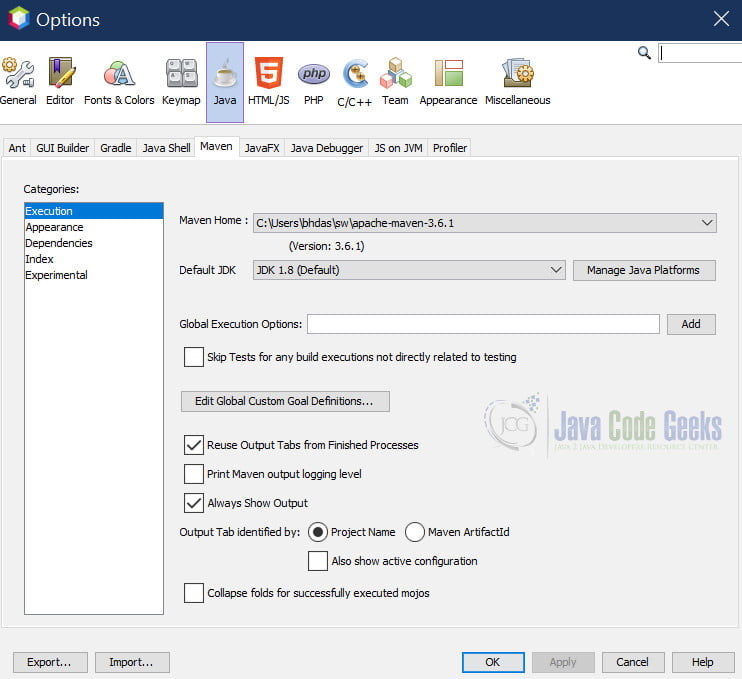
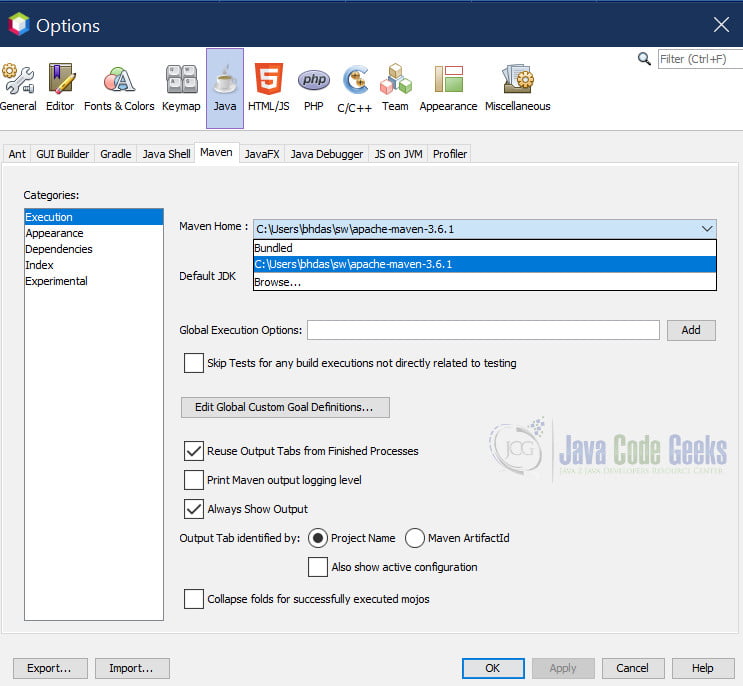
Click on the Maven Tab, since the project that we would create would be a Java Maven project. Once inside the Maven Tab, configure the Maven Home. If you have a specific version of Apache Maven installed and would want to use that with your NetBeans installation, this is the place to configure that.
Similarly, if you want to use a particular JDK version, click on the Manage Java Platforms button inside the Maven Tab and choose the Java Home directory as shown below:
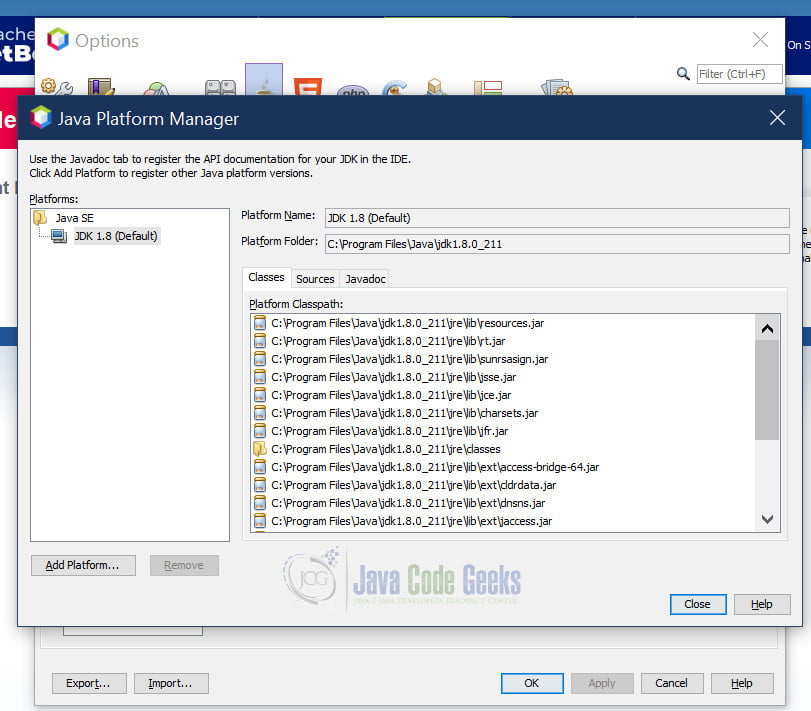
If you want to use the default options with NetBeans, leave all options as is and click on OK and exit the dialog box.
At this point, NetBeans IDE is successfully configured for Maven based Java application development.
Next is to create the project, which is illustrated in the next section.
3. Setting Up the Project
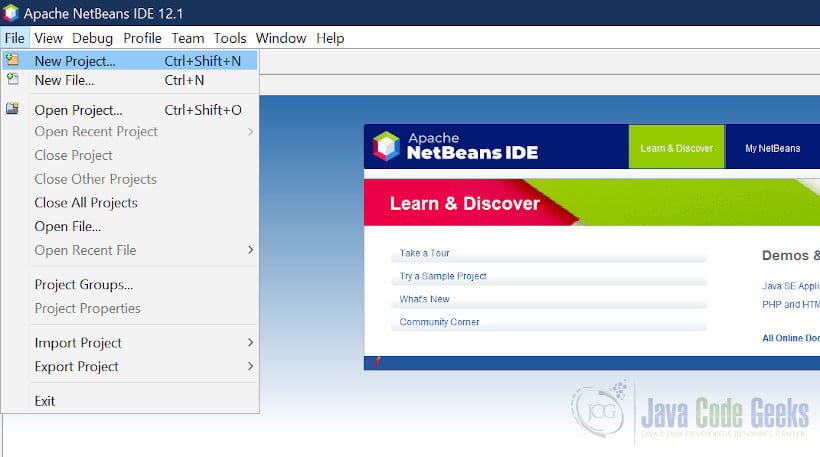
For creating a new Java Maven project, click on File -> New Project as shown below:
After clicking on New Project, a small dialog box will open as shown below:
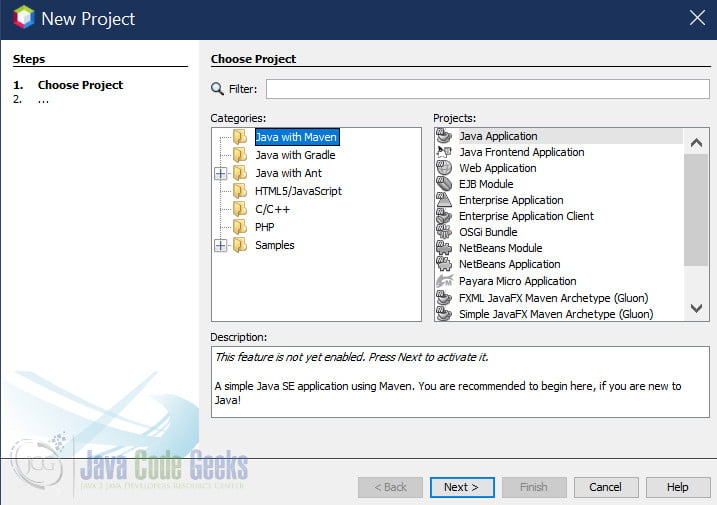
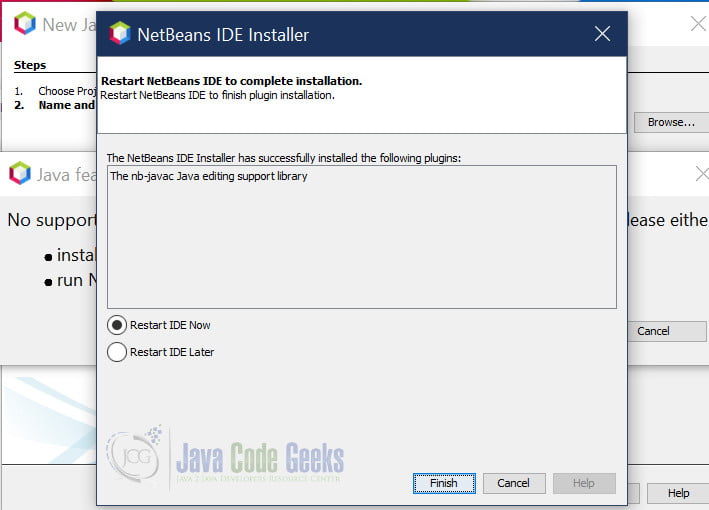
Under the Categories section, select the first Option, Java with Maven and in the Projects section, select the first option, Java Application and click on Next. Once you click Next, NetBeans might ask you to install the plugin nb-javac plugin. Install the plugin as per the instructions displayed on the screen and you would be presented with a screen like below:
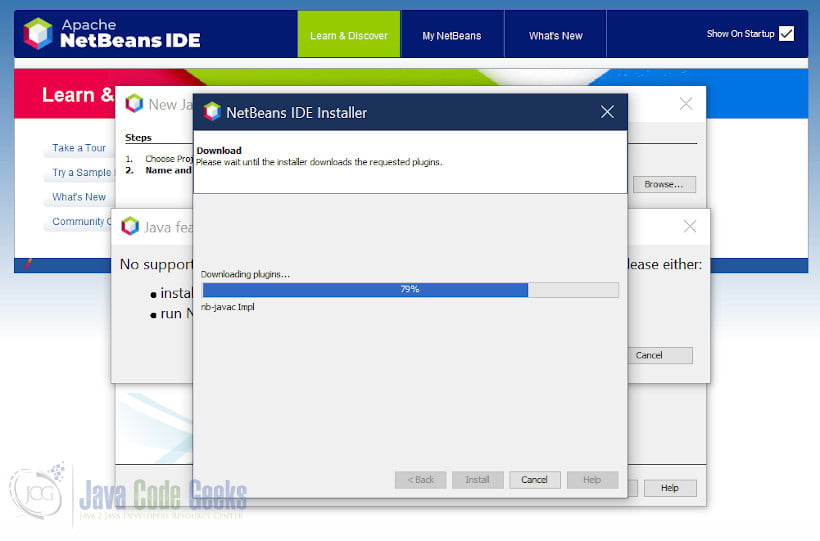
Once the plugin is installed, restart the IDE:
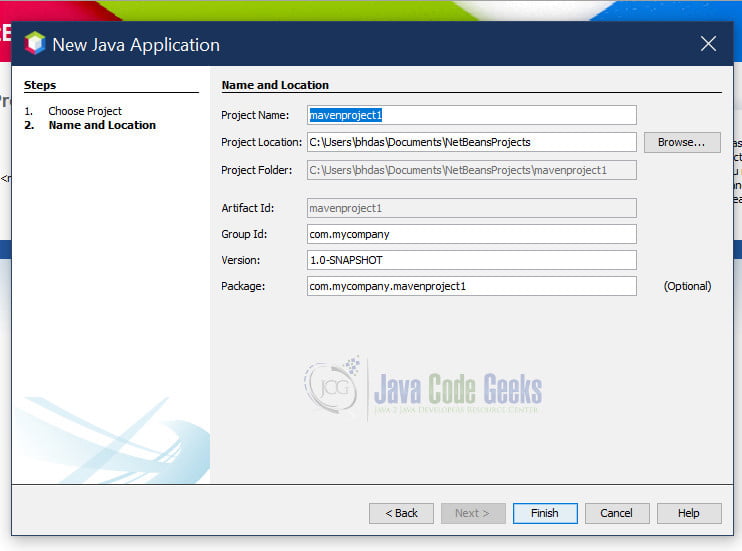
In the New Java Application dialog box, give a Project Name of your choice.
Let us discuss all the options in detail:
Project Location
Give an appropriate Project Location in your file system.
Artifact Id
Artifact Id is the same as the project name.
Group Id
Group Id is a namespace identifier that tells the Maven runtime environment where to look for JAR artifacts in the Maven repository when any Java application is run. The convention for defining the group id is reverse of the company website address. For example, if the company name is Example Inc. and the corresponding website url is https://www.example.com, then group id can be defined as com.example.
Version
For Version, we normally follow the below convention:
<MajorVersion>.<MinorVersion>.<BuildVersion>-SNAPSHOT
<MajorVersion>.<MinorVersion>.<BuildVersion>-RELEASE
SNAPSHOT versions are the JAR/WAR artifacts created during the development stages of a project
RELEASE versions are the JAR/WAR artifacts created when a final version is released for a project.
Package
This field represents the final folder structure that would be created in the maven repository and the generated JAR artifacts would be placed inside this folder structure. This is an optional field and is auto-generated. It is best to leave it as is and be auto-generated.
Now click on Finish and let NetBeans create the Java Maven project for us.
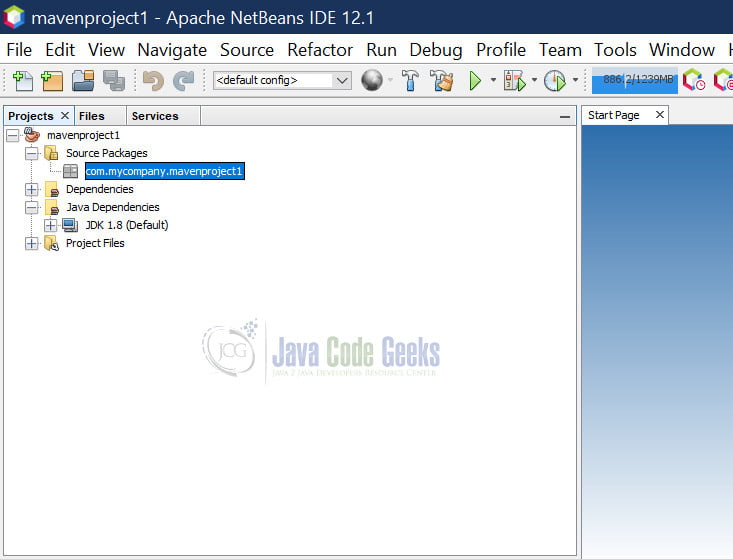
Once, the project has been created, the screen should look something like below:
4. Add a Java source file
You have our project setup done! Let us proceed to add a Java source file. We will create a simple Hello World application in Java.
In order to do this, add a new Java file. Navigate to the Projects tab at the left side of the IDE, the project will be listed. In the example shown here, the project is named “mavenproject1”. Expand the project, and inside the Source Packages, the default namespace (packages in Java parlance) would be listed:
com.mycompany.mavenproject1
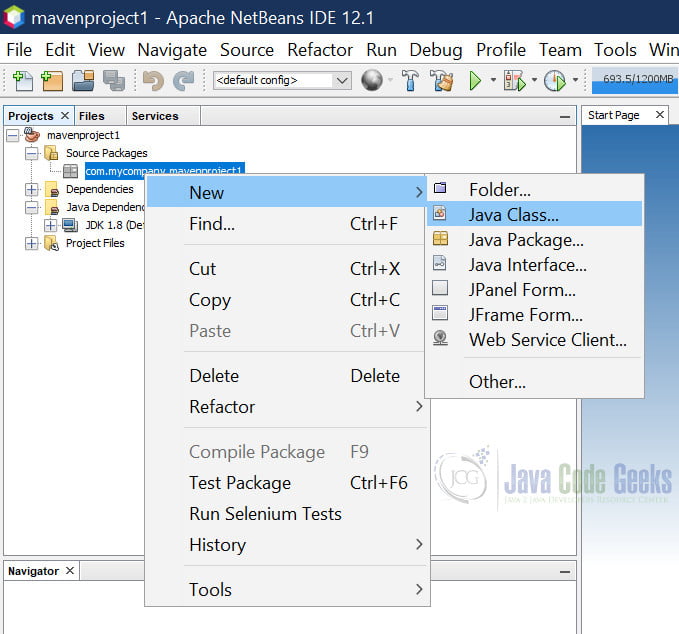
Right click on this package and select New->Java Class as shown below:
In the New Java Class dialog box, give the class a name: MyFirst and click on Finish Button
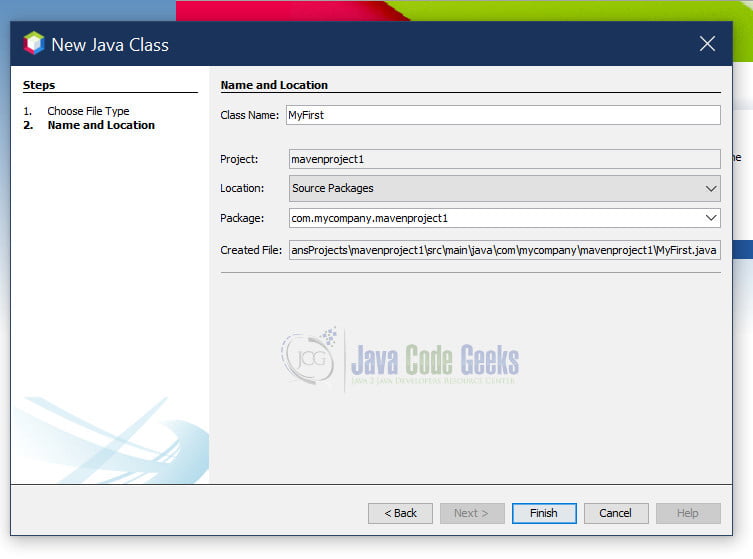
The file that would be created in the file system would be MyFirst.java inside the below folder hierarchy:
${USER.HOME_DIR}\Documents\NetBeansProjects\mavenproject1\src\main\java\com\mycompany\mavenproject1
For you, the exact folder hierarchy could be different.When the file is created, you can proceed to add some code in to it:
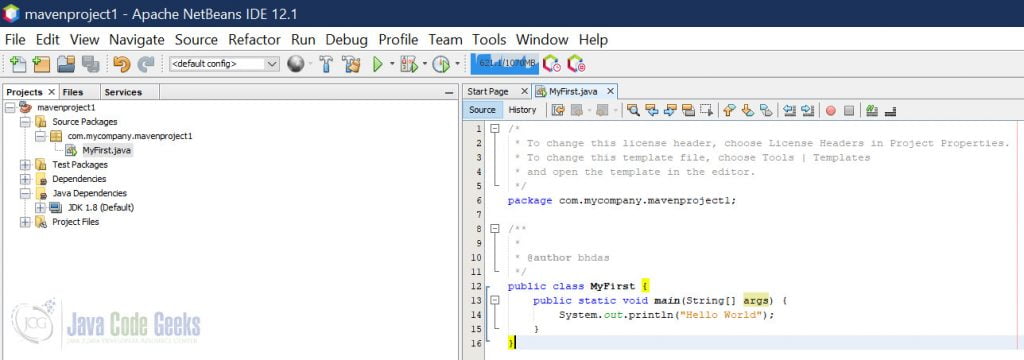
Add the below code inside the MyFirst java class:
    public static void main(String[] args) {
        System.out.println("Hello World");
    }
Above is the main function in the MyFirst java class which enables us to run the application. The code inside the main function will print Hello World in the console when the application is run.
Your source code is in place. Next, build the code and create the JAR artifact to be deployed.
5. Compile And Run
In order to compile, click on the Clean and Build Button highlighted in the image below:
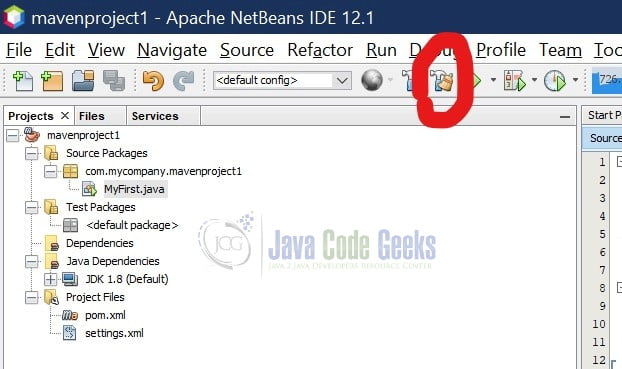
Clicking on the Build and Deploy button will open the Output Tab screen, which will display the build progress and whether the compilation process was a success or a failure. In the case of Build Success, the process would have created a JAR file. You can verify the jar file at the location listed below:
C:\Users\bhdas\Documents\NetBeansProjects\mavenproject1\target
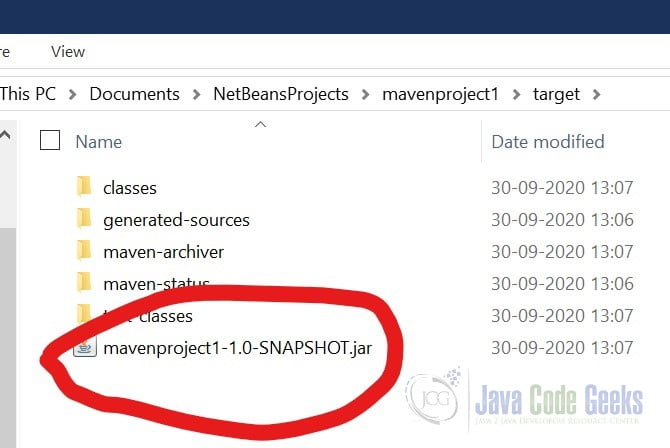
The exact path could be slightly different for case to case. The JAR file is always created inside the ${PROJECT_ROOT_DIR}/target folder. The exact value of ${PROJECT_ROOT_DIR} could be different from case to case.
Once, we have been able to successfully compile and create the JAR file, it is time to run the application and test our code.
To do this, click on the Run Project button as highlighted below:

As you can see from the screenshot above, the application ran successfully and printed Hello World in the console output.
5.1 Additional Tip – How to Debug Java Maven Application in NetBeans
It is very easy to debug a maven based Java application in NetBeans. The IDE has inherently very good support for doing that.
Let us see quickly how can we debug an application. For example, we would want to pause the execution of the application at the line we added in our Java source file:
System.out.println("Hello World");In order to add a debug point, just click on the line number shown at the left hand side of the code editor. After a debug pointer has been added to a line, it would be highlighted like below:
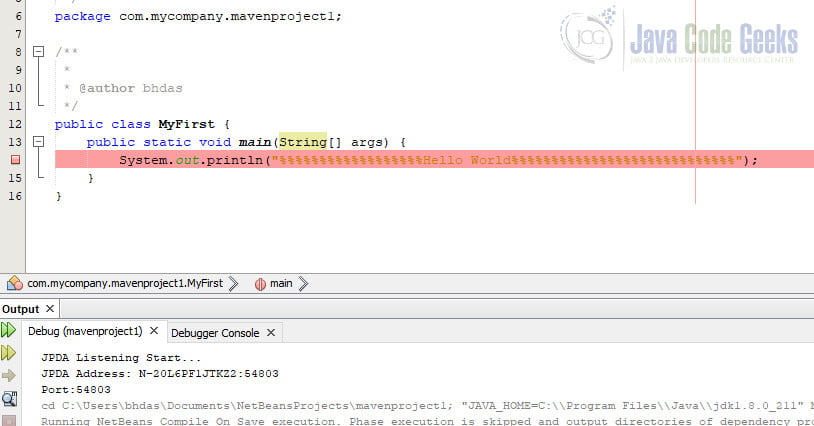
Then, click on the Debug button and the code execution should stop at the debug pointer that we added and the line would now be highlighted in green color, like below:
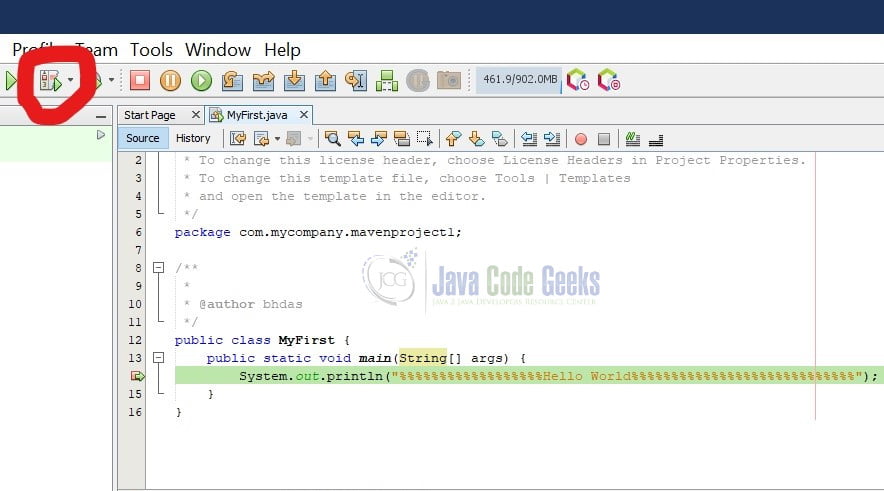
In order to proceed with the execution of the code, click the Play button on the toolbar and the application execution would continue and give the desired output by printing Hello World in the console as before.
6. Summary
At this point, you would have successfully installed NetBeans ide java in your system. You would have also configured NetBeans to your liking and set up your development environment, created your first Apache Maven based Java project, compiled it, and ran it to see the results.
Additionally, you should be well-equipped to debug the code that you’re going to write.
Hope this tutorial was of help. Let us know your views and concerns in the comments section. You can find more articles related to Netbeans here.
Happy coding!
