NetBeans
How to Install NetBeans IDE 8.0 in Ubuntu
In this example we shall show you how to install NetBeans IDE 8.0 which was finally released on March 18, 2014, it provides out-of-the-box code analyzers and editors for working with the latest Java 8 technologies.
Besides the Java 8 support, the IDE also has a range of new enhancements that further improve its support for Maven, Java EE with PrimeFaces, new tools for HTML5 (in particular for AngularJS), improvements to PHP and C/C++ support. See the release note for more details.
Let’s see the necessary steps:
- Download the installer, NetBeans IDE 8.0 works better and faster with JDK distribution, so you can download the oracle’s Co-bundled package from here.
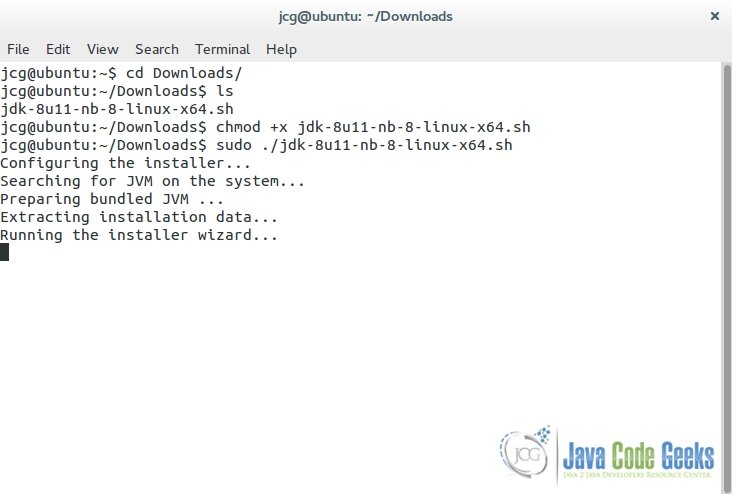
- Go to the Downloads directory and give the installer file executable permission using the below command.
chmod +x jdk-8u11-nb-8-linux-x64.sh
- Run the installer using the below command, This will bring up the install wizard.
sudo ./jdk-8u11-nb-8-linux-x64.sh
Tip
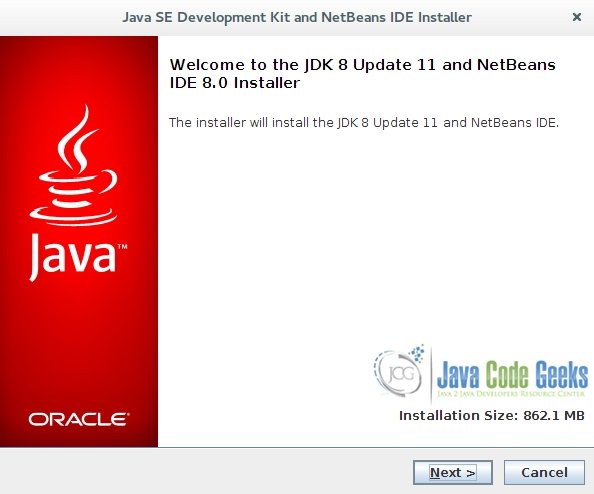
we are usingsudoas we will need read/write permissions to choose some user directories for installing jdk and netbeans installation files. - At the Welcome page of the installation wizard, click Next.
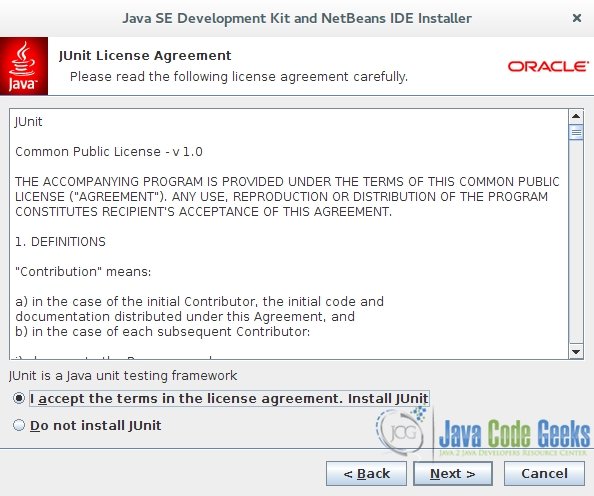
- At the JUnit License Agreement page, decide if you want to install JUnit and click the appropriate option, click Next.
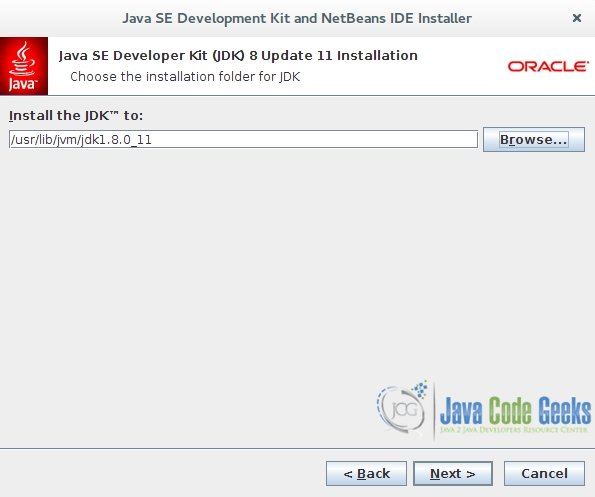
- Choose the installation directory for jdk like “/usr/lib/jvm/jdk1.8.0_11” and click Next.
- Accept the default installation directory for the NetBeans IDE or specify another directory and click Next.
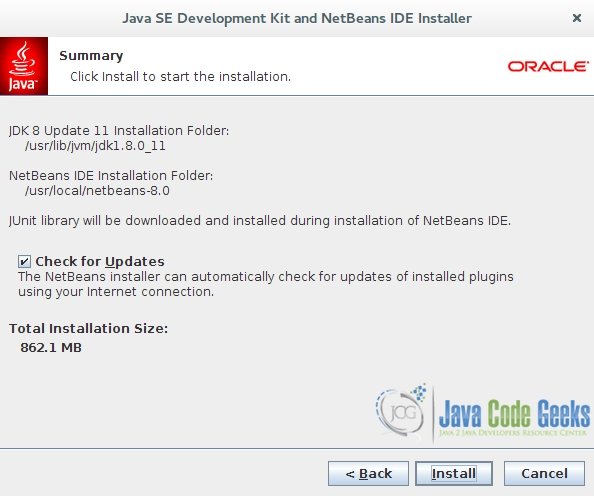
- At the Summary page, do the following:
- Verify that the list of components to be installed is correct.
- Select the Check for Updates check box if you want to check the Update Center for possible updates.
- Verify that you have adequate space on your system for the installation.
- Click Install to begin the installation.
- Monitor the progress of the NetBeans IDE installation.
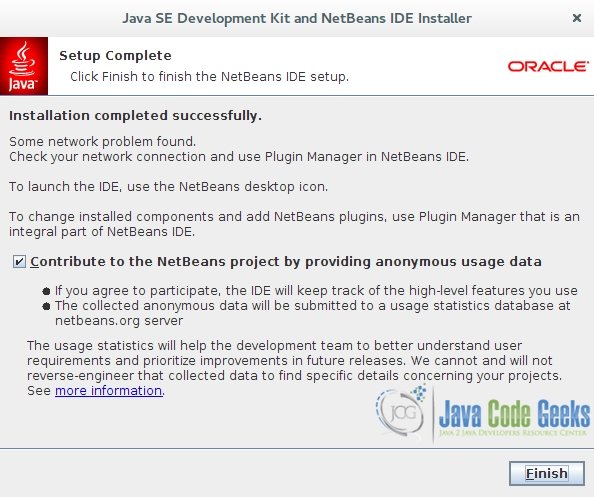
- Click finish.
- Launch the NetBeans IDE.
In this example we explained the appropriate steps to successfully install the NetBeans IDE on your Ubuntu linux.


