Solr Delete Query Example
In this example of Solr Delete Query Example, we will discuss about various options available in Solr to delete the indexed documents. We will also discuss different client options available in Solr. To demonstrate the delete query usage, we will create a core in Solr using basic configuration and index a sample file shipped along with Solr installation.
Our preferred environment for this example is solr-5.0.0. Before you begin the Solr installation make sure you have JDK installed and Java_Home is set appropriately. We will also use Eclipse and Maven to build a client using SolrJ.
1. Install Apache Solr
To begin with, lets download the latest version of Apache Solr from the following location:
http://lucene.apache.org/solr/downloads.html
Apache Solr has gone through various changes from 4.x.x to 5.0.0, so if you have a different version of Solr you need to download the 5.x.x. version to follow this example.
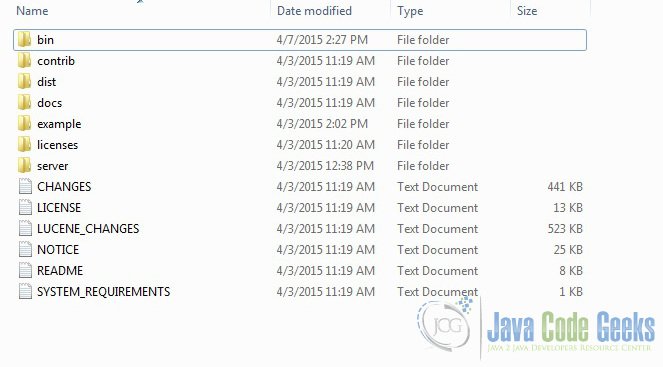
Once the Solr zip file is downloaded, unzip it into a folder. The extracted folder will look like the below:
The bin folder contains the scripts to start and stop the server. The example folder contains few example files. We will be using one of them to demonstrate how Solr indexes the data. The server folder contains the logs folder where all the Solr logs are written. It will be helpful to check the logs for any error during indexing. The solr folder under server holds different collection or core. The configuration and data for each of the core/ collection are stored in the respective core/ collection folder.
Apache Solr comes with an inbuilt Jetty server. But before we start the solr instance we must validate the JAVA_HOME is set on the machine.
We can start the server using the command line script. Lets go to the bin directory from the command prompt and issue the following command:
solr start
This will start the Solr server under the default port 8983.
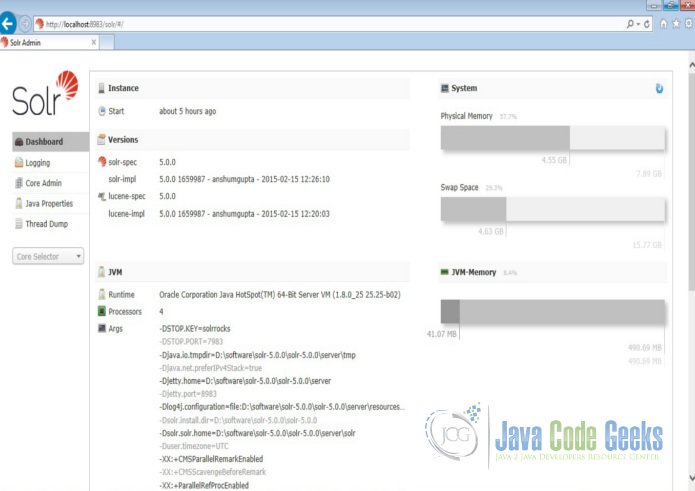
We can now open the following URL in the browser and validate that our Solr instance is running. The specifics of solr admin tool is beyond the scope of the example.
http://localhost:8983/solr/
2. Configuring Apache Solr
In this section, we will show you how to configure the core/collection for a solr instance and how to define the fields. Apache Solr ships with an option called Schemaless mode. This option allow users to construct effective schema without manually editing the schema file. But for this example we will use the Schema configuration for understanding the internals of the Solr.
2.1 Creating a Core
When the Solr server is started in Standalone mode, the configuration is called core and when it is started in SolrCloud mode, the configuration is called Collection. In this example we will discuss about the standalone server and core. We will park the SolrCloud discussion for later time.
First, we need to create a Core for indexing the data. The Solr create command has the following options:
- -c <name> – Name of the core or collection to create (required).
- -d <confdir> – The configuration directory, useful in the SolrCloud mode.
- -n <configName> – The configuration name. This defaults to the same name as the core or collection.
- -p <port> – Port of a local Solr instance to send the create command to; by default the script tries to detect the port by looking for running Solr instances.
- -s <shards> – Number of shards to split a collection into, default is 1.
- -rf <replicas> – Number of copies of each document in the collection. The default is 1.
In this example we will use the -c parameter for core name and -d parameter for the configuration directory. For all other parameters we make use of default settings.
Now navigate the solr-5.0.0\bin folder in the command window and issue the following command:
solr create -c jcg -d basic_configs
We can see the following output in the command window.
Creating new core 'jcg' using command:
http://localhost:8983/solr/admin/cores?action=CREATE&name=jcg&instanceDir=jcg

{
 "responseHeader":{
 "status":0,
 "QTime":663},
 "core":"jcg"}
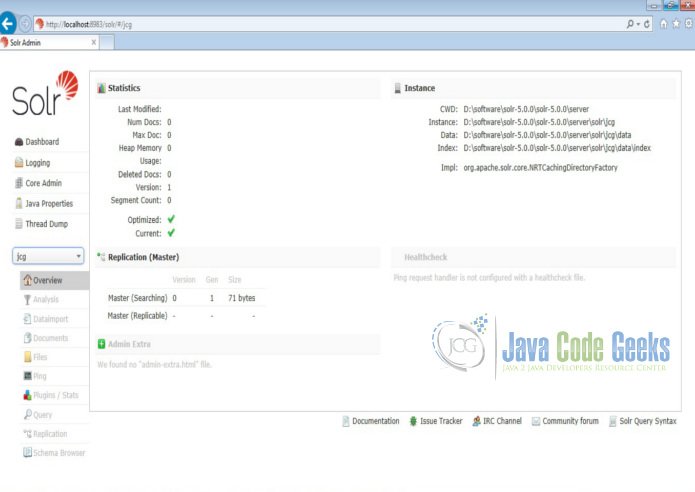
Now we navigate to the following URL and we can see jcg core being populated in the core selector. You can also see the statistics of the core.
http://localhost:8983/solr
2.2 Modify the schema.xml file
We need to modify the schema.xml file under the folder server\solr\jcg\conf to include the fields. We will use one of the example file “books.csv” shipped along with Solr installation for indexing. The file is located under the folder solr-5.0.0\example\exampledocs
Now we navigate to the folder server\solr directory. You will see a folder called jcg created. The sub-folders namelyconf and data have the core’s configuration and indexed data respectively.
Now edit the schema.xml file in the \server\solr\jcg\conf folder and add the following contents after the uniqueKey element.
schema.xml
<uniqueKey>id</uniqueKey>
<!-- Fields added for books.csv load-->
<field name="cat" type="text_general" indexed="true" stored="true"/>
<field name="name" type="text_general" indexed="true" stored="true"/>
<field name="price" type="tdouble" indexed="true" stored="true"/>
<field name="inStock" type="boolean" indexed="true" stored="true"/>
<field name="author" type="text_general" indexed="true" stored="true"/>
We have set the attribute indexed to true. This specifies the field is used for indexing and the record can be retrieved using the index. Setting the value to false will make the field only stored but can’t be queried with.
Also note we have another attribute called stored and set it to true. This specifies the field is stored and can be returned in the output. Setting this field to false will make the field only indexed and can’t be retrieved in output.
We have assigned the type for the fields present in the “books.csv” file here. The first field in the CSV file “id” is automatically taken care by the uniqueKey element of schema.xml file for indexing.
Since we have modified the configuration we have to stop and start the server. To do so, we need to issue the following command from bin directory through command line:
solr stop -all
The server will be stopped now. Now to start the server issue the following command from bin directory through command line:
solr start
3. Indexing the Data
Apache Solr comes with a Standalone Java program called the SimplePostTool. This program is packaged into JAR and available with the installation under the folder example\exampledocs.
Now we navigate to the example\exampledocs folder in the command prompt and type the following command. You will see a bunch of options to use the tool.
java -jar post.jar -h
The usage format in general is as follows:
Usage: java [SystemProperties] -jar post.jar [-h|-] [<file|folder|url|arg>

[<file|folder|url|arg>...]]
As we said earlier, we will index the data present in the “books.csv” file shipped with Solr installation. We will navigate to the solr-5.0.0\example\exampledocs in the command prompt and issue the following command.
java -Dtype=text/csv -Durl=http://localhost:8983/solr/jcg/update -jar post.jar books.csv
The SystemProperties used here are:
- -Dtype – the type of the data file.
- -Durl – URL for the jcg core.
The file “books.csv” will now be indexed and the command prompt will display the following output.
SimplePostTool version 5.0.0
Posting files to [base] url http://localhost:8983/solr/jcg/update using content-
type text/csv...
POSTing file books.csv to [base]
1 files indexed.
COMMITting Solr index changes to http://localhost:8983/solr/jcg/update...
Time spent: 0:00:00.647
4. Using SimplePostTool
There are two ways to delete a document from the index.
- “Delete by ID” – deletes the document with the specified ID, and can be used only if a UniqueID field has been defined in the schema.
- “Delete by Query” – deletes all documents matching a specified query.
A single delete message can also contain multiple delete operations and can have combination of “Delete by ID” and “Delete by Query”. In this section we will show you how to use the SimplePostTool that is shipped along with Solr to perform the delete operations.
4.1 Delete by ID
Now navigate to the path solr-5.0.0\example\exampledocs in the command prompt and issue the following command:
java -Ddata=args -Dcommit=true -Durl=http://localhost:8983/solr/jcg/update -jar post.jar "<delete><id>0553573403</id></delete>"
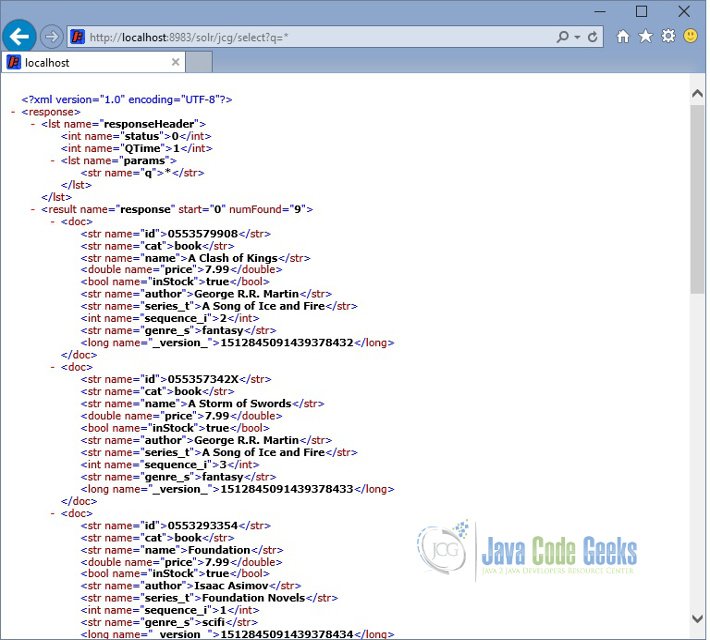
Note, we have set the commit parameter to true. If we set the value to false then we have to explicitly perform the commit again. Open the following URL and note down the number of records. The total number of records would have decreased by one.
http://localhost:8983/solr/jcg/select?q=*
4.2 Delete by Query
Now navigate to the path solr-5.0.0\example\exampledocs in the command prompt and issue the following command:
java -Ddata=args -Dcommit=true -Durl=http://localhost:8983/solr/jcg/update -jar post.jar "<delete><query>name:Clash</query></delete>"
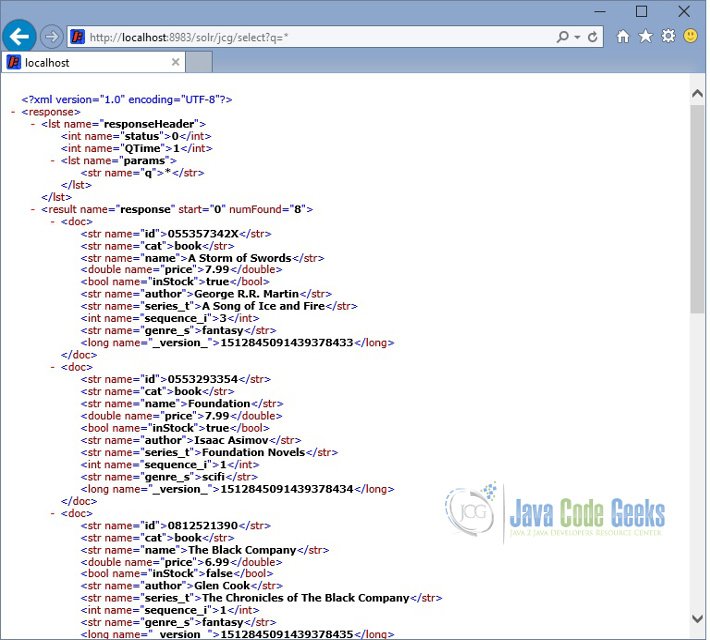
Here, we have used the query instead of id. This query will delete all the matching records for the given criteria. In our case, we have only one record matching the name Clash. Open the following URL and note down the number of records. The total number of records would have further decreased by one.
http://localhost:8983/solr/jcg/select?q=*
5. Using SolrJ
In this section we will discuss how to use SolrJ client to perform the delete operation on a document. Let’s create a maven project called solrdelete with archetype maven–archetype–quickstart. We will add the following dependency to the pom.xml for SolrJ.
pom.xml
 <dependency>
 <groupId>org.apache.solr</groupId>
 <artifactId>solr-solrj</artifactId>
 <version>5.3.0</version>
 </dependency>
 <dependency>
 <groupId>commons-logging</groupId>
 <artifactId>commons-logging</artifactId>
 <version>1.2</version>
 </dependency>
5.1 Delete by ID
The SolrClient provides two methods deleteById() and deleteByQuery() to delete a document from index. Let’s create a Class named SolrDelete in the package com.javacodegeeks.snippets.enterprise.solrdelete
The code is pretty simple, we have created a HttpSolrClient and used the deleteById method to perform the delete operation based on the ID passed as argument to the function.
SolrDelete.java
package com.javacodegeeks.snippets.enterprise.solrdelete;
import java.io.IOException;
import org.apache.solr.client.solrj.SolrClient;
import org.apache.solr.client.solrj.SolrServerException;
import org.apache.solr.client.solrj.impl.HttpSolrClient;
public class SolrDelete {
public static void main(String args[]) {
 String urlString = "http://localhost:8983/solr/jcg";
 SolrClient solr = new HttpSolrClient(urlString);
 try {
 solr.deleteById("0553293354");
 solr.commit();
 } catch (SolrServerException e) {
 // TODO Auto-generated catch block
 e.printStackTrace();
 } catch (IOException e) {
 // TODO Auto-generated catch block
 e.printStackTrace();
 }
 }
}
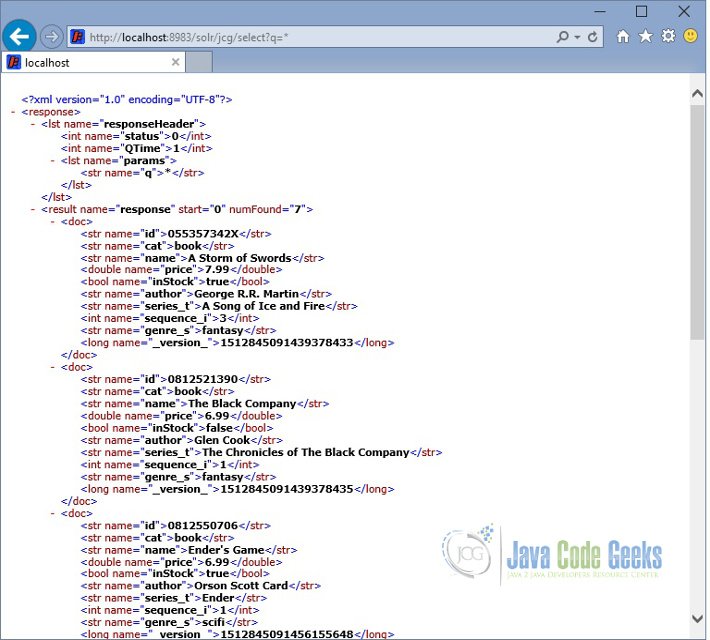
Now run the Class as Java application. Open the following URL and note down the number of records. The total number of records would have further decreased by one.
http://localhost:8983/solr/jcg/select?q=*
5.2 Delete by Query
We will use the method deleteByQuery() to delete the documents matching the query. We will modify the above class as shown below. The query name:Black will remove all the documents having the matching name Black.
SolrDelete.java
package com.javacodegeeks.snippets.enterprise.solrdelete;
import java.io.IOException;
import org.apache.solr.client.solrj.SolrClient;
import org.apache.solr.client.solrj.SolrServerException;
import org.apache.solr.client.solrj.impl.HttpSolrClient;
public class SolrDelete {
public static void main(String args[]) {
String urlString = "http://localhost:8983/solr/jcg";
SolrClient solr = new HttpSolrClient(urlString);
try {
solr.deleteByQuery("name:Black");
solr.commit();
} catch (SolrServerException e) {
// TODO Auto-generated catch block
e.printStackTrace();
} catch (IOException e) {
// TODO Auto-generated catch block
e.printStackTrace();
}
}
}
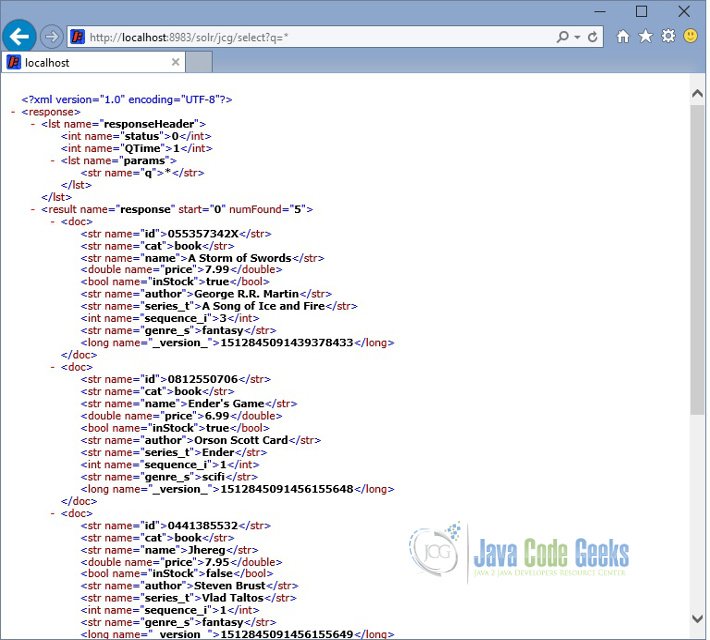
Now run the Class as Java application. Open the following URL and note down the number of records. The total number of records would have further decreased by two in this case because we have two instances of Black in our indexed records.
http://localhost:8983/solr/jcg/select?q=*
6. Download the source code
This was an example of solr delete queries.
You can download the full source code of this example here: solrdelete and download the configuration here schema

