Eclipse is a platform that has been designed from the ground up for building integrated web and application development tooling.
1. Introduction
By design, the platform does not provide a great deal of end user functionality by itself. The value of the platform is what it encourages: rapid development of integrated features based on a plug-in model. Eclipse provides a common user interface (UI) model for working with tools. It is designed to run on multiple operating systems while providing robust integration with each underlying OS.
Plug-ins can program to the Eclipse portable APIs and run unchanged on any of the supported operating systems. At the core of Eclipse is an architecture for dynamic discovery, loading, and running of plug-ins. The platform handles the logistics of finding and running the right code. The platform UI provides a standard user navigation model. Each plug-in can then focus on doing a small number of tasks well. What kinds of tasks? Defining, testing, animating, publishing, compiling, debugging, diagramming…the only limit is your imagination. There are various ways to install a plugin in Eclipse.
2. Plug it in
The Eclipse platform is structured as a core runtime engine and a set of additional features that are installed as platform plug-ins. Plug-ins contribute functionality to the platform by contributing to pre-defined extension points. The workbench UI is contributed by one such plug-in. When you start up the workbench, you are not starting up a single Java program. You are activating a platform runtime which can dynamically discover registered plug-ins and start them as needed.
When you want to provide code that extends the platform, you do this by defining system extensions in your plug-in. The platform has a well-defined set of extension points – places where you can hook into the platform and contribute system behavior. From the platform’s perspective, your plug-in is no different than basic plug-ins like the resource management system or the workbench itself.
3. Eclipse Marketplace
In this section we will see how to use Eclipse Marketplace to install a new plugin.
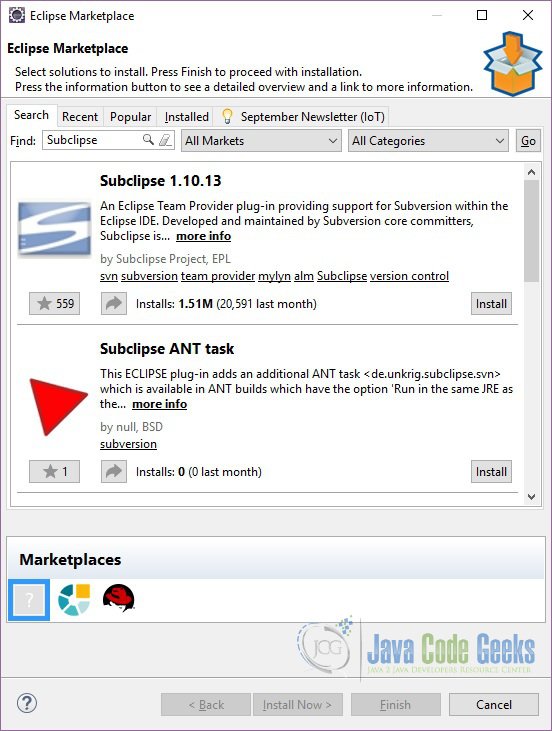
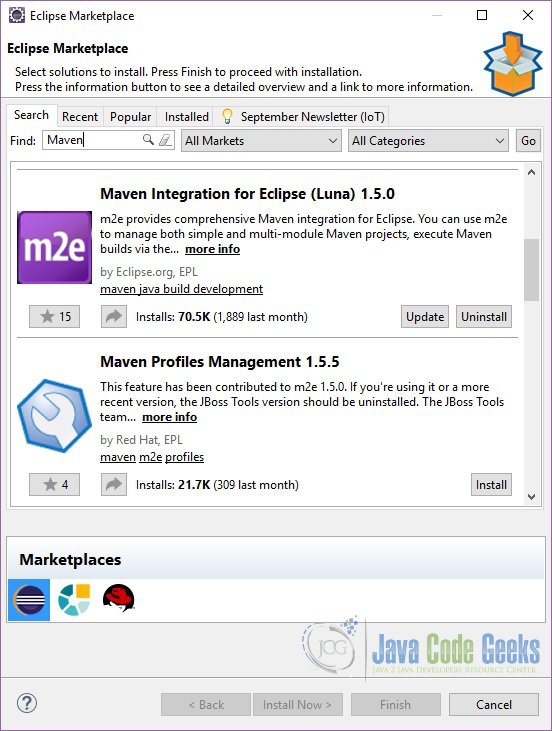
Go to Help=>Eclipse Marketplace… A pop-up will appear as shown below:

In the Find text box write the name of the plugin you want to install and click the search icon. Let say we want to install the Subclipse plugin. We will type ‘Subclipse’ in the search box and will click the search icon. Eclipse will display the results matching the criteria:
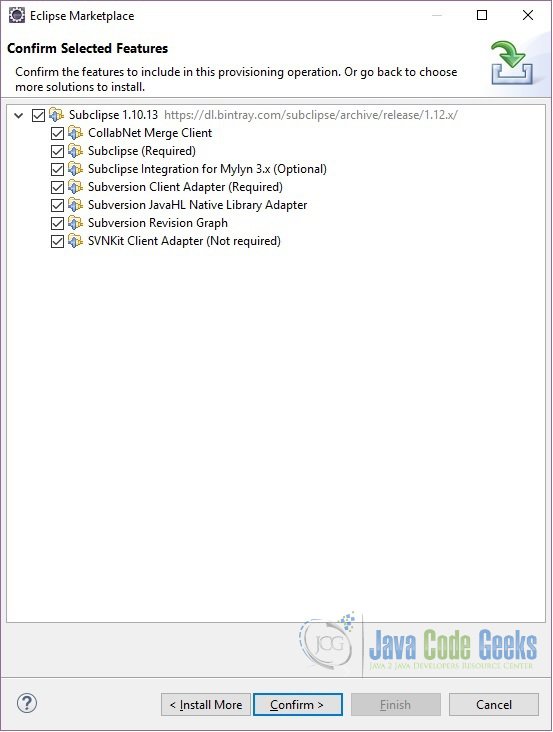
Click on the Install button for the plugin you want to install. In the next window you will be required to Confirm the selected feature. Here you can unselect the Option features as well. Eclipse helps you to decide by putting the (Optional) text in front of the features which are not Required.
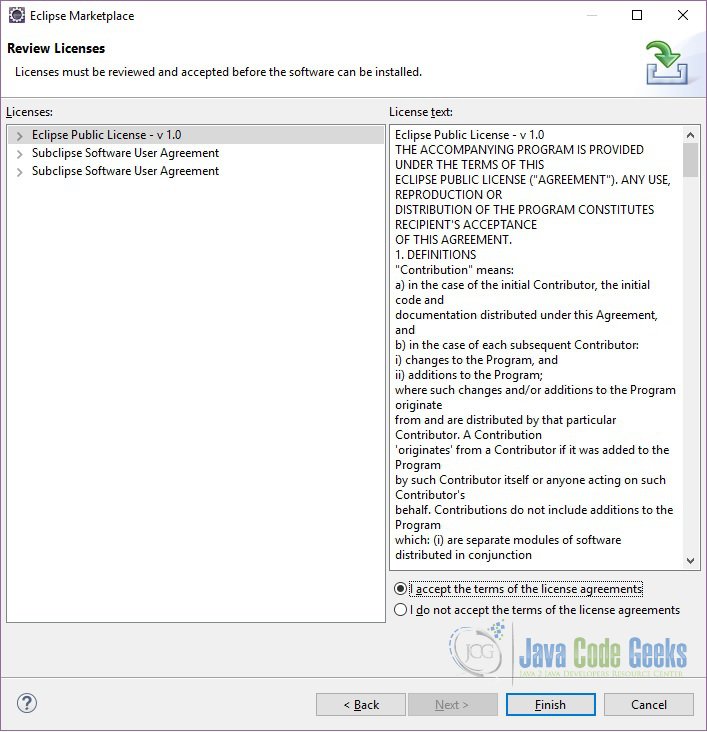
On the next window we need to Accept the licenses. Click on the ‘I accept the terms of the license agreements‘ radio button and then click Finish.
Eclipse will start installing the plugin. Eclipse will display a Warning pop-up, click OK. Once the features are installed Eclipse will ask you to restart the Eclipse for the changes to take effect. Click Yes. Once the Eclipse has restarted you can verify whether the plugin was properly installed or not. Go to Help=>Eclipse Marketplace… then click on the ‘Installed‘ tab. Here you can see the list of plugins that are been installed.
After the Find text box there are two other drop-downs which you can use to filter the search. The first one lets you choose where you want to search the plugin and the second one lets you choose the category for the plugin.
4. Install New Software
The other way to install a plugin is you use the Available Software window. Go to Help=>Install New Software… Eclipse will displace a pop-up window like below:
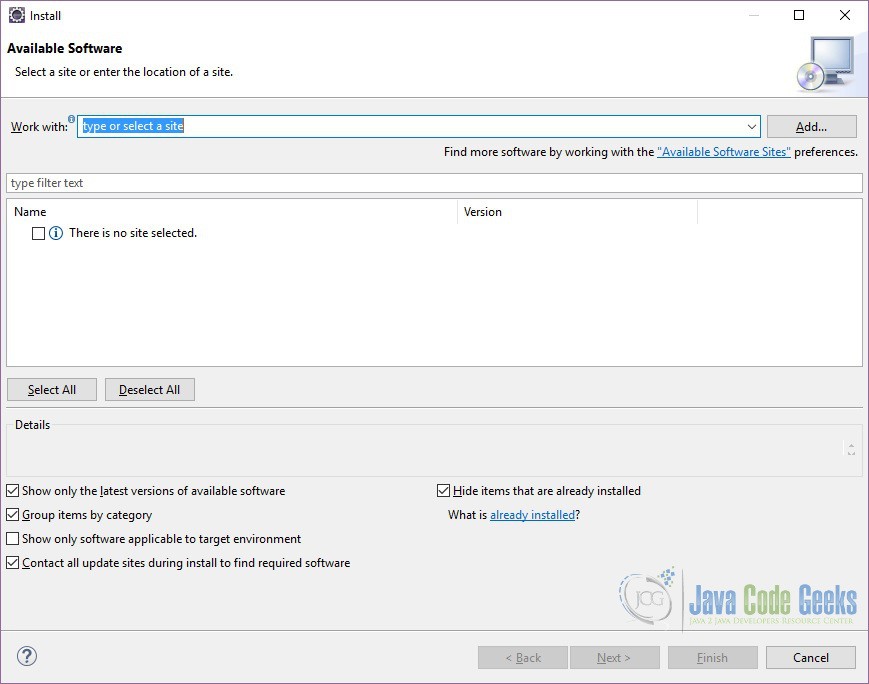
In the Work with search text box type the site name. You can also select from the existing sites which can be found by clicking the drop-down button. Let’s say we want to install the Subclipse, enter the URL: https://dl.bintray.com/subclipse/releases/subclipse/4.2.x/ in the search box and click Add. Eclipse will display a pop-up window as below:

Give the name of the repository. We will use Subclipse. Click OK. Eclipse will display the search result. Choose the features you want to install and click Next. IN the next window Eclipse will ask you you review the items to be installed. Click Next. In the next window accept the license and click Finish. Eclipse will install the selected plugin.
5. Installed Plugins
In this section we will see how to see the list of installed plugin. Go to Help=>Installation Details. Here you will see the list of installed plugins:
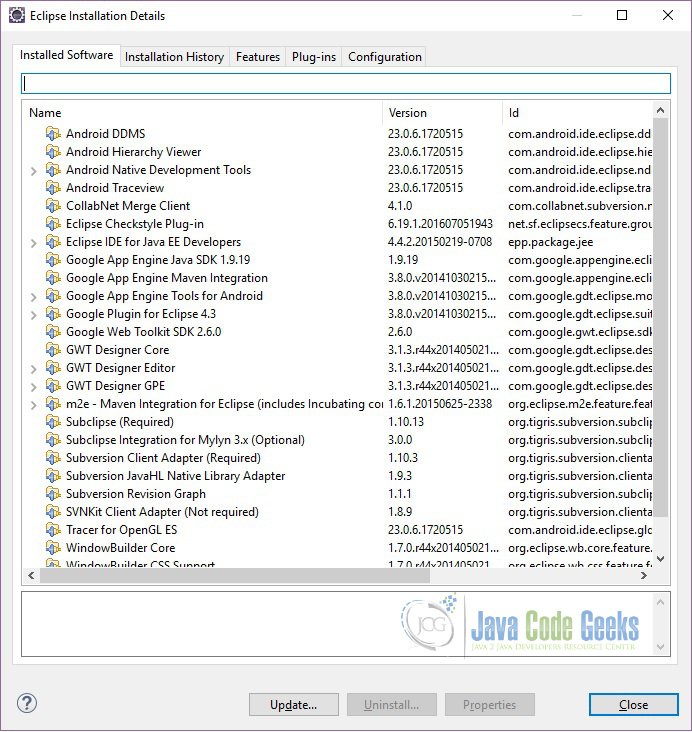
In this window you can see the Name, Version, Id and the Provider of the Plugin. You can search for a particular plugin by typing the name in the search text box on the top of the window. To see the History of the installation click on the ‘Installation History‘ tab:
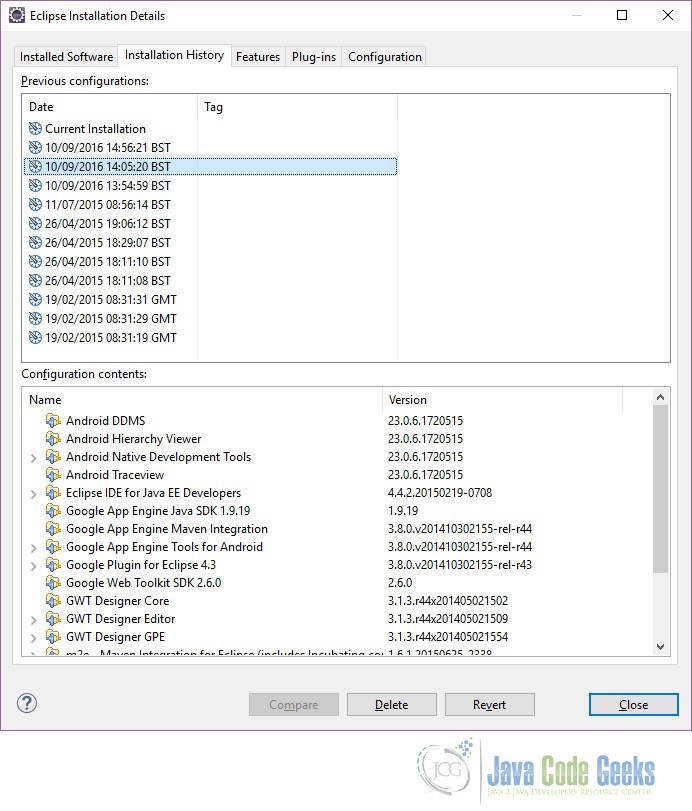
In this window you can see the installation history by dates.
6. Update Plugin
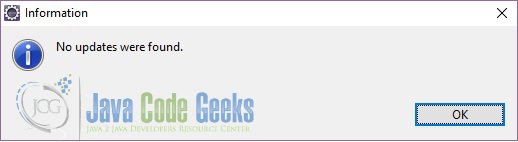
To update a plugin, go to Help=>Installation Details. Click on the plugin you want to update and then click on the ‘Update’ button at the bottom of the window. Eclipse will update the plugin accordingly. If there is no updates Eclipse will display a pop-up saying ‘No updates were found‘.
You can also update the plugin using Eclipse Marketplace. Go to Eclipse Marketplace and in the search text box insert the plugin name which you want to update. Eclipse will display the ‘Update‘ button which you can use to update the plugin:
7. Remove Plugin
In this section we will see how we can uninstall a plugin. To Uninstall a plugin go to Help=>Installation Details. Now select the plugin which you want to uninstall and click the ‘Uninstall…’ button. Eclipse will ask you to review and confirm that you want to uninstall the particular plugin. Click Finish. The plugin will be removed from the Eclipse. You will be required to restart the Eclipse for the changes to take effect.
You can also uninstall a plugin using Eclipse Marketplace. Go to Eclipse Marketplace and in the search text box insert the plugin name which you want to uninstall. Eclipse will display the ‘Uninstall‘ button which you can use to uninstall the plugin
8. Conclusion
In this article we saw what is an Eclipse plugin and how useful it can be. We also saw how we can install/update/uninstall a plugin. We also discussed the various ways of using a plugin and how Eclipse Marketplace makes it easy for us to manage the plugins.
