Gradle! … Yes, it is is a flexible yet model-driven JVM-based build tool. Gradle is one of the advanced build automation tools available in the market.
In this example, we will see how to use Gradle as a plugin through our favorite Eclipse IDE.
To know more about Gradle please visit here.
1. Introduction
As a developer, you could have already experienced that there are many common processes in building any software including compiling the source files, packaging the compiled output to a compressed format (ZIP, JAR or any other format), and adding the required resource files and configuration files to the packaging… et cetera.
Efficient project automation is one of the key factors for delivering quality software to the end user. For this we need a flexible and maintainable approach to model our automation needs.
Yes, Gradle is the good option now. Gradle’s core strength is that it provides you with easy-to-understand but powerful tooling to automate your project end-to-end.
Above all, as a developer if you get official support for Gradle as a plugin from your favorite Eclipse IDE, I hope that would be a great help for building software with a professional approach.
2. Buildship
Buildship is an official Gradle support for Eclipse. It is developed by the creators of Gradle with a collection of Eclipse plug-ins.
Buildship aims to provide a deep integration of Gradle into Eclipse.
OK, let us see how to install this plugin in Eclipse. This example was tested with Eclipse Version: Mars.1 Release (4.5.1).
2.1 Buildship – Installation
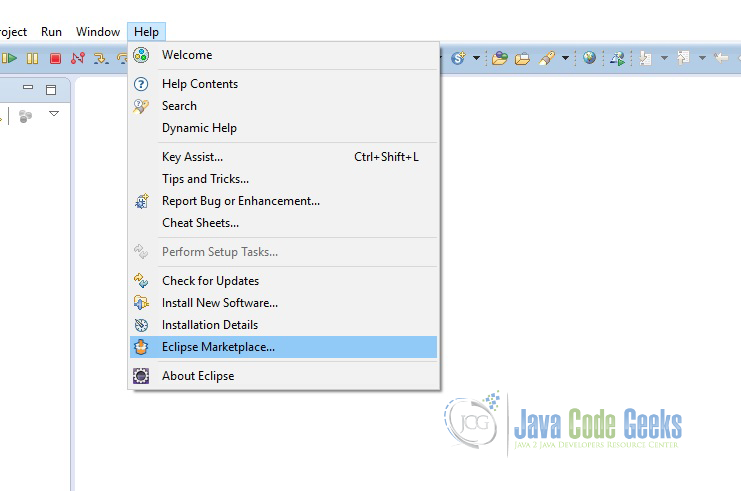
To install ‘Buildship’ easily, we should use Eclipse Marketplace. Please refer the picture shown below and open Eclipse Marketplace.
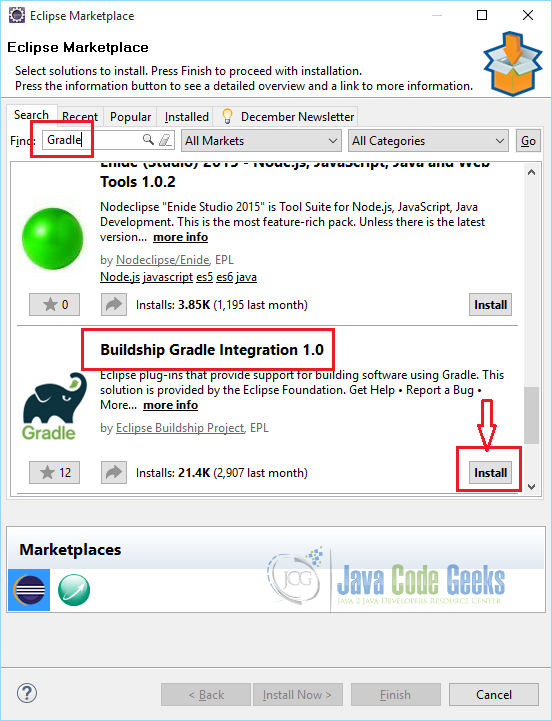
Type ‘Gradle’ in the search box and hit search button. You may get a list of Eclipse Plugins with Gradle support but you need to scroll down to locate ‘Buildship’. Click ‘Install’ button as shown below.
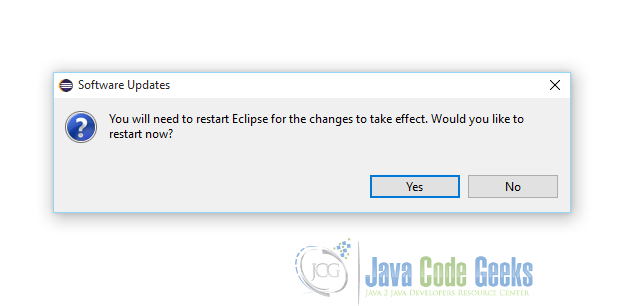
Confirm it / accept terms / restart your eclipse, yes that is all. Your IDE is now ready with Gradle Plugin.
2.2 Buildship – Installation from Update site
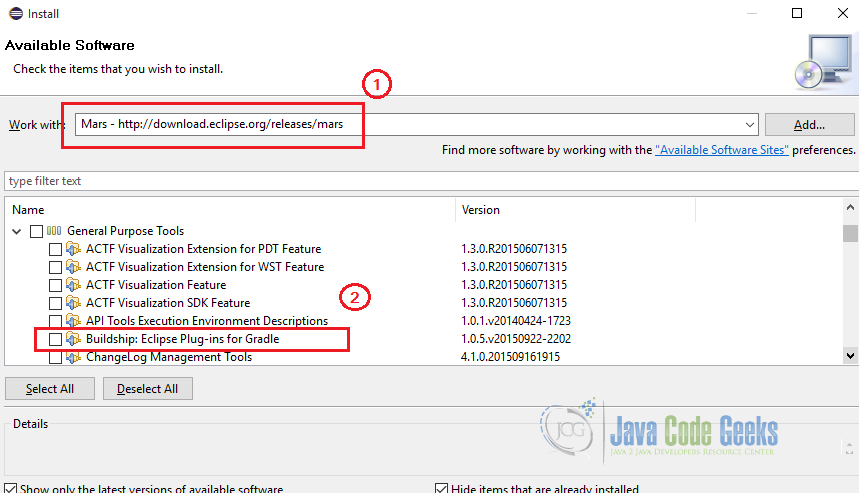
Buildship can also be installed from the Help → Install New Software menu path, if it was not included by default.
The URL for the Mars update site for the Eclipse Mars release is ‘http://download.eclipse.org/releases/mars’
Select Buildship plug-in under General Purpose Tools as shown below. Click Next.
Review the items selected, accept the terms and finish.
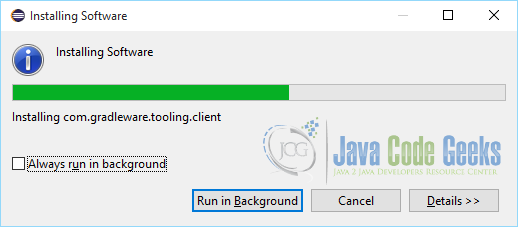
You will have to restart the IDE for the changes to take effect.
3. Check Installation
Please refer the image shown below. This is captured from ‘File – New – Other’ menu option. This is how you will be creating new ‘Gradle Project’
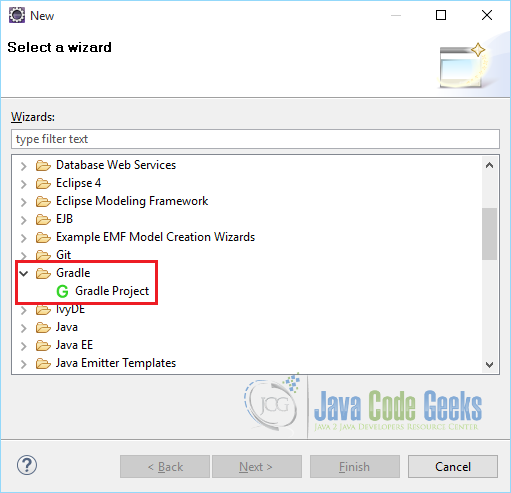
This shows that the plug-in has been installed successfully.
But, the show doesn’t end here. We will see how to use this plugin with Eclipse IDE for our routine works as a Java Developer.
4. Gradle – Standalone Setup
First let us do a standalone setup of Gradle in the system. Following are the steps for installing Gradle on Windows:
- Download Gradle from here.
- Unpack the Gradle distribution on the hard drive.
- Set GRADLE_HOME variable to the Gradle’s installed path (for example, F:\java\build\gradle-2.10). Note that this location should be the parent directory of the bin or the lib folder.
- Add the GRADLE_HOME/bin to the PATH variable.
Please make sure JAVA_HOME to your JDK directory is already set, if not, you need to set JAVA_HOME environment variable.
Now, open your command window and type gradle -version You should see something similar to the one shown below:
------------------------------------------------------------
Gradle 2.10
------------------------------------------------------------

Build time:   2015-12-21 21:15:04 UTC
Build number: none
Revision:     276bdcded730f53aa8c11b479986aafa58e124a6

Groovy:       2.4.4
Ant:          Apache Ant(TM) version 1.9.3 compiled on December 23 2013
JVM:          1.7.0_55 (Oracle Corporation 24.55-b03)
OS:           Windows 8.1 6.3 amd64
4.1 First Gradle Script
We saw how to install Gradle in the system. Now we will create our very first Gradle script.
This script will print ‘Hello Gradle’ on the console. Just open a text editor, type in the following three lines, and save the file as build.gradle
task helloGradle << {
println 'Hello Gradle'
}
Then execute the gradle helloGradle command as follows:
gradle helloGradle
:helloGradle
Hello Gradle

BUILD SUCCESSFUL

Total time: 3.066 secs
So, now we have a created a Gradle build script file called build.gradle and executed it in a standalone setup.
Apart from the command-line arguments and tools, Gradle provides a graphical user interface. It can be launched with the help of the following command-line option:
gradle --gui
As a standalone tool, you can do many tasks with Gradle. Again, if this is done along with the IDE, then that would be really an enjoyable task. So, let us build a project With Eclipse and Buildship
5. Gradle with Eclipse
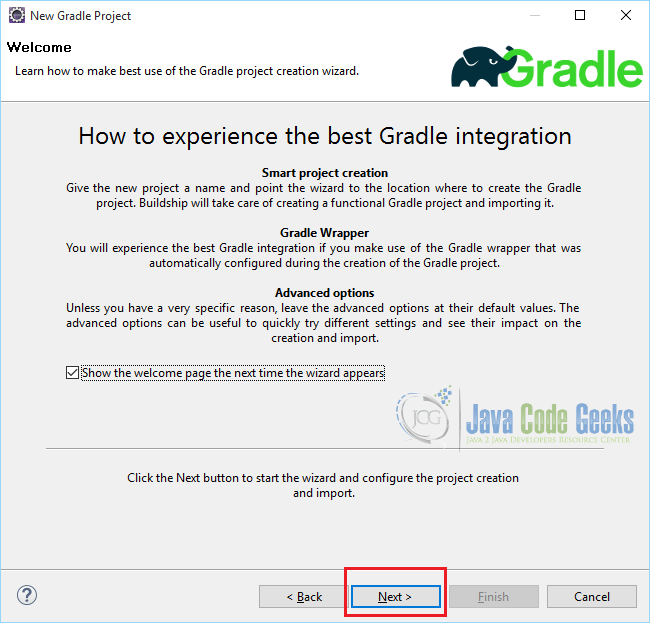
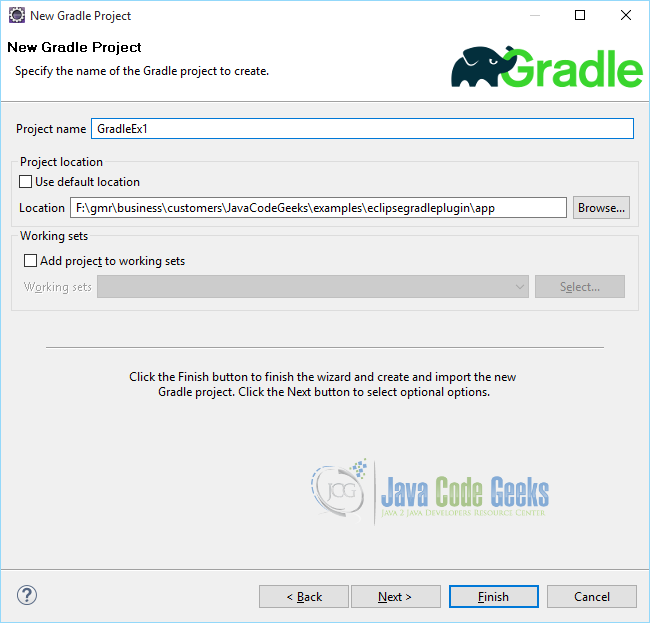
Please create new project as explained earlier ‘File – New – Other (Ctrl+N) – Gradle – Gradle Project’. The screen shown below appears.
Enter Project Details:
Enter local installation directory of Gradle and Java home directory:
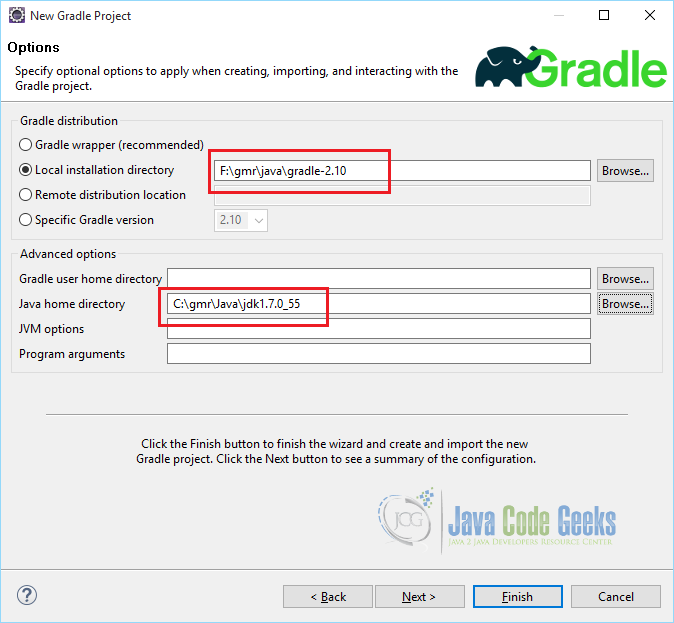
Click ‘Next’ – ‘Finish’. Gradle Project is created. Please refer the image shown below. You should see the project structure on the left side and a list of tasks on the right view side.
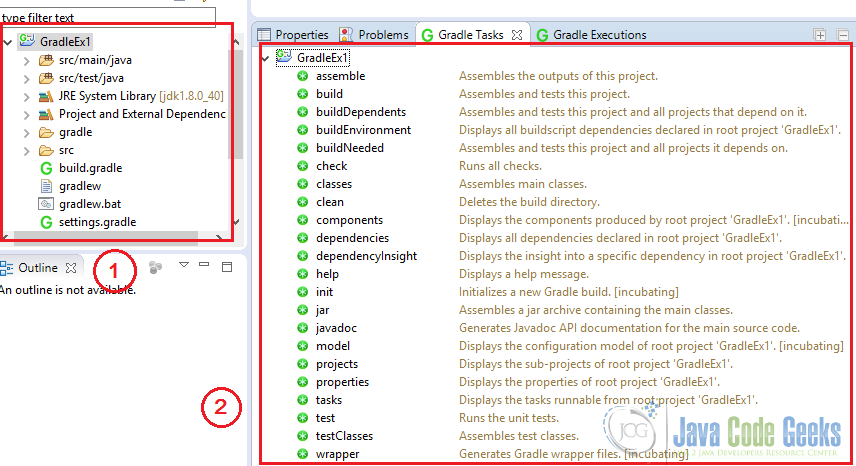
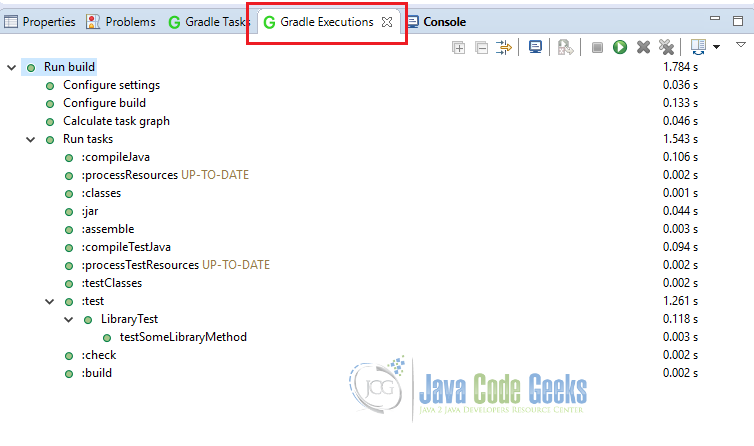
Now, right click on any task and execute it. You don’t need to remember any commands now:
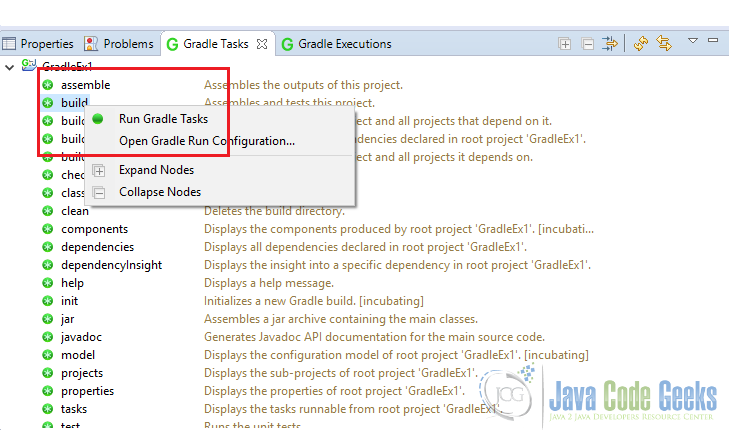
Looks to be so simple and quick. Here is the task execution report:
6. The Gradle build file
Gradle build file is written in Groovy. Groovy is a general-purpose scripting language that runs on the Java Virtual Machine (JVM) and can largely be viewed as a super-set of Java.
Every Gradle build file is an executable Groovy script.
Inside of a Gradle build file, the fundamental unit of build activity is the task. Tasks are named collections of build instructions that Gradle executes as it performs a build. Task is a part of the parent entity called Project.
Look at the basic script created by the plugin.
build.gradle
/*
 * This build file was auto generated by running the Gradle 'init' task
 * by 'jajotech' at '1/6/16 11:43 PM' with Gradle 2.10
 *
 * This generated file contains a sample Java project to get you started.
 * For more details take a look at the Java Quickstart chapter in the Gradle
 * user guide available at https://docs.gradle.org/2.10/userguide/tutorial_java_projects.html
 */

// Apply the java plugin to add support for Java
apply plugin: 'java'

// In this section you declare where to find the dependencies of your project
repositories {
    // Use 'jcenter' for resolving your dependencies.
    // You can declare any Maven/Ivy/file repository here.
    jcenter()
}

// In this section you declare the dependencies for your production and test code
dependencies {
    // The production code uses the SLF4J logging API at compile time
    compile 'org.slf4j:slf4j-api:1.7.13'

    // Declare the dependency for your favourite test framework you want to use in your tests.
    // TestNG is also supported by the Gradle Test task. Just change the
    // testCompile dependency to testCompile 'org.testng:testng:6.8.1' and add
    // 'test.useTestNG()' to your build script.
    testCompile 'junit:junit:4.12'
}
The following line is mentioned to use the Java plugin in the build file:
apply plugin:'java'
This is all we need to define for a Java project. This will apply the Java plugin to the project, which adds a number of tasks to the project.
Production source codes are given under src/main/java and the test source codes under src/test/java folder.
Also, files written under src/main/resources will be included in the JAR file as resources, and the files under src/test/resources will be included in the classpath used to run the tests.
All output files are created under the build directory, with the JAR file ending up in the build/libs directory.
7. Conclusion
It was a pleasure showing you the usage of Eclipse’s officially supported Gradle plugin ‘Buildship’.
Happy Gradling!!!

while we applied for the gradle update in eclipse ide.we facing some error.Can please explain aboout the what are error we facing while we install the gradle integration with eclipse ide
We facing the some error while we integrating the gradle file with eclipse ide.So kindly please share what are the issue we are facing while we integrating the gradle with eclipse ide