Java Build Tools: Ant vs. Maven vs. Gradle
In this tutorial, we will compare the Java build tools such as ant, maven and gradle. These tools can be used for unit testing and building web applications.
1. Overview
We will take a look at different java build tools such as Ant, Maven and Gradle.
Table Of Contents
2. Java Build Tools Comparison
2.1 Prerequisites
Java 8 is required on the linux, windows or mac operating system. Ant 1.10.5 is required for ant projects. Maven 3.6.1 is required for building the java and web applications. Gradle 5.4.1 version can be used for building gradle projects.
2.2 Download
You can download Java 8 from the Oracle web site . Apache Ant 1.10.5 can be downloaded from this link. Apache Maven 3.6.1 can be downloaded from Apache site. Gradle 5.4.1 can be downloaded from this website.
2.3 Setup
You can set the environment variables for JAVA_HOME and PATH. They can be set as shown below:
Java Environment
JAVA_HOME=”/jboss/jdk1.8.0_73″
export JAVA_HOME
PATH=$JAVA_HOME/bin:$PATH
export PATH
2.3.1 Ant – setup
The environment variables for ant are set as below:
Ant Environment
ANT_HOME= "Users/bhagvan.kommadi/desktop/opensource/apache-ant-1.10.5"
export ANT_HOME=$ANT_HOME\bin\ant
export PATH=$ANT_HOME:$PATH
2.3.2 Maven – setup
The environment variables for maven are set as below:
Maven Environment
export M2_HOME=/users/bhagvan.kommadi/Desktop/apache-maven-3.6.1
export M2=$M2_HOME/bin
export PATH=$M2:$PATH
2.3.3 Gradle – setup
The environment variables for gradle are set as below:
Gradle Environment
GRADLE_HOME="/opt/gradle/gradle-5.4.1/bin"
export GRADLE_HOME=$GRADLE_HOME\bin\
export PATH=$PATH:$GRADLE_HOME
2.4 Running the build tool
2.4.1 Ant – Running
Apache Ant is an opensource Java library and command-line tool. The tool drives the build files where targets and extension points are set. Ant is used to build java applications.The command for running ant is as below:
Ant Command
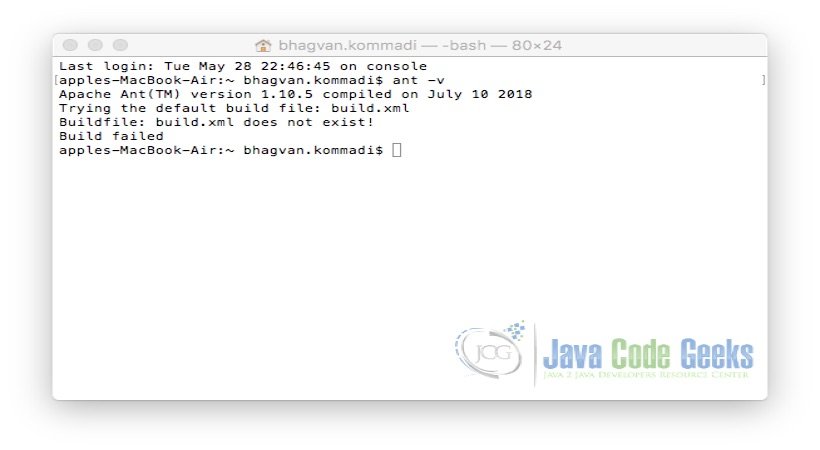
ant -v
The output of the executed ant version command is shown below.
2.4.2 Maven – Running
Apache Maven is an open source build tool. This tool is based on the project object model (POM). The command for running maven is as below:
Maven Command
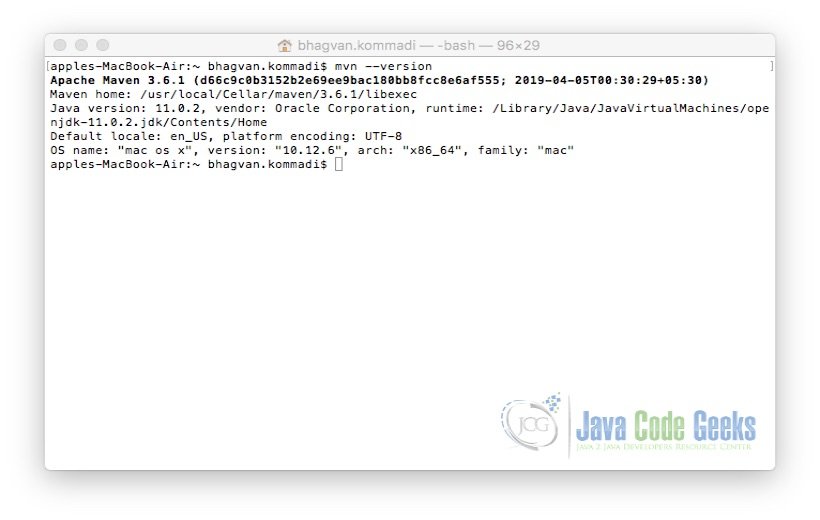
mvn --version
The output of the executed maven command is shown below.
2.4.3 Gradle – Running
Gradle is an open-source build tool. The build scripts are written using Groovy or Kotlin DSL. The command for running gradle is as below:
Gradle Command
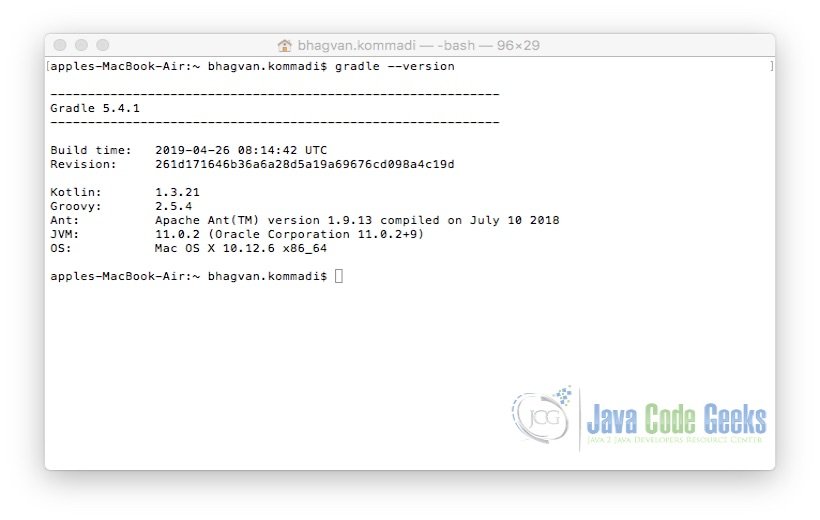
gradle --version
The output of the executed gradle command is shown below.
2.5 Building Java Projects
A sample java application is built. A class Calculator has method getProduct to calculate the product of two integers. Two integers 43 and 4 are passed to the getProduct method and the product of th e integers is printed. A Calculator class is built and shown below:
Run Command
/**
 *  Calculator class
 */
public class Calculator
{
   /**
    * getProduct
    * @param val1 integer
    * @param val2 integer
    * @return product of val1 and val2
    */
   public int getProduct(int val1, int val2)
    {
		   return val1*val2;
    }

   /**
    * main method
    * @param args arguments
    */
   public static void main(String[] args)
   {
        Calculator calc = new Calculator();

        int product = calc.getProduct(43,4);

        System.out.println("Product of " + " 43 and 4 is "+product);
   }
}
2.5.1 Ant – Building Java Project
AntHello project is built for the Calculator Java application. The build.xml has targets for init, compile, builddist,jar, test and run. Ant build.xml is shown below:
Ant build.xml
<?xml version="1.0" encoding="UTF-8"?>
<?xml version="1.0" encoding="UTF-8"?>
<project name="ANTHello" basedir="." default="builddist">
    <property name="src.dir"     value="src"/>
    <property name="lib.dir"     value="lib"/>
    <property name="bin.dir"     value="bin"/>
    <property name="dist.dir"     value="dist"/>
    <property name="build.dir"   value="build"/>
    <property name="classes.dir" value="${build.dir}/classes"/>
    <property name="jar.dir"     value="${build.dir}/jar"/>
    <property name="test.reports.dir"  value="${build.dir}/testreports"/>

	<!-- The Class-Path for the build is defined here-->
	<path id="cp">
		<fileset dir="${lib.dir}" includes="*.jar" />
	</path>

	<!-- The Class-Path for the JUnit Test is defined here.This also includes the compiled classes directory-->
	<path id="jUnit.cp">
		<fileset dir="${lib.dir}" includes="*.jar" />
		<pathelement location="${bin.dir}" />
	</path>

	<!-- Clean the bin, dist & report folder  -->
	<target name="clean">
		<delete dir="${bin.dir}" />
		<delete dir="${dist.dir}" />
		<delete dir="${test.reports.dir}" />
	</target>

	<!-- Create the bin,dist & report folders for fresh build -->
	<target name="init" depends="clean">
		<mkdir dir="${bin.dir}" />
		<mkdir dir="${dist.dir}" />
		<mkdir dir="${test.reports.dir}" />
	</target>

	<!-- Compilation of Java Src Files into bin folder -->
	<target name="compile" depends="init">
		<echo>Compiling now...</echo>
		<javac destdir="bin" debug="true" srcdir="${src.dir}" includeantruntime="false">
			<classpath refid="cp" />
		</javac>
		<echo>Compilation successful!</echo>
	</target>
    <target name="jar" depends="compile">
        <mkdir dir="${jar.dir}"/>
        <jar destfile="${jar.dir}/${ant.project.name}.jar" basedir="${classes.dir}">
            <manifest>
                <attribute name="Main-Class" value="${main-class}"/>
            </manifest>
        </jar>
    </target>

	<!-- Package the build into a JAR File after compilation & testing tasks are completed-->
	<target name="builddist" depends="compile,test">
		<jar destfile="${dist.dir}/anthello.jar" basedir="${bin.dir}" excludes="**/*Test.class">
		</jar>
	</target>

    <target name="run" depends="jar">
        <java jar="${jar.dir}/${ant.project.name}.jar" fork="true"/>
    </target>

	<!-- 	This task is Used to Unit-Test the Compiled Java Files -->
	<target name="test">
		<junit printsummary="yes" fork="true" haltonfailure="yes">
			<classpath refid="jUnit.cp" />
			<formatter type="plain" />
			<batchtest fork="yes" todir="${test.reports.dir}">
				<fileset dir="${src.dir}">
					<include name="**/*Test.java" />
				</fileset>
			</batchtest>
		</junit>
	</target>

</project>
The command below is used to compile the project using ant.
Ant Compile
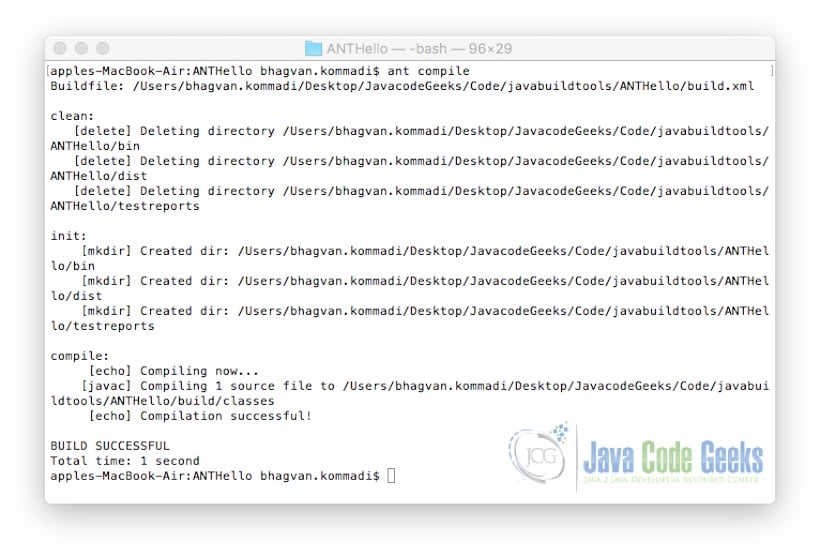
ant compile
The output of the executed ant compile command is shown below.
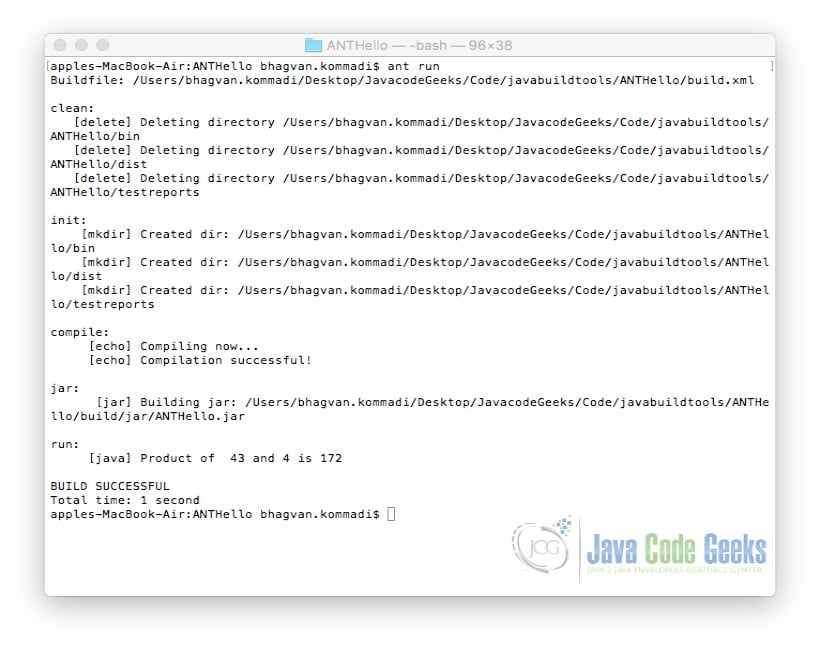
To run the ant project, the following command is used.
ant run command
ant run
The output of the executed ant run command is shown below.
2.5.2 Maven – Building Java Project
You can create MavenHello project for Calculator Java application. The following command is used:
Create Maven Project
mvn archetype:generate -DgroupId=org.build.maventool -DartifactId=my-app -DarchetypeArtifactId=maven-archetype-quickstart -DarchetypeVersion=1.4 -DinteractiveMode=false
The pom.xml has dependencies, build phases and main class. The pom.xml can be edited and it will be as shown below:
Maven pom.xml
<?xml version="1.0" encoding="UTF-8"?>
<project xmlns="http://maven.apache.org/POM/4.0.0"
         xmlns:xsi="http://www.w3.org/2001/XMLSchema-instance"
         xsi:schemaLocation="http://maven.apache.org/POM/4.0.0 http://maven.apache.org/xsd/maven-4.0.0.xsd">
    <modelVersion>4.0.0</modelVersion>
    <groupId>maven-hello</groupId>
    <artifactId>Maven-project</artifactId>
    <packaging>jar</packaging>
    <version>1.0</version>
    <name>Maven-project</name>
    <url>http://maven.apache.org</url>

    <properties>
        <!-- https://maven.apache.org/general.html#encoding-warning -->
        <project.build.sourceEncoding>UTF-8</project.build.sourceEncoding>
        <maven.compiler.source>1.8</maven.compiler.source>
        <maven.compiler.target>1.8</maven.compiler.target>
    </properties>

    <dependencies>
        <dependency>
            <groupId>junit</groupId>
            <artifactId>junit</artifactId>
            <version>4.12</version>
            <scope>test</scope>
        </dependency>
        <dependency>
            <groupId>commons-codec</groupId>
            <artifactId>commons-codec</artifactId>
            <version>1.11</version>
        </dependency>
    </dependencies>
    <build>
        <plugins>
            <plugin>
                <groupId>org.apache.maven.plugins</groupId>
                <artifactId>maven-shade-plugin</artifactId>
                <version>3.2.0</version>
                <executions>
                    <!-- Attach the shade into the package phase -->
                    <execution>
                        <phase>package</phase>
                        <goals>
                            <goal>shade</goal>
                        </goals>
                        <configuration>
                            <transformers>
                                <transformer
                                        implementation="org.apache.maven.plugins.shade.resource.ManifestResourceTransformer">
                                    <mainClass>org.build.maventool.Calculator</mainClass>
                                </transformer>
                            </transformers>
                        </configuration>
                    </execution>
                </executions>
            </plugin>
        </plugins>
    </build>
</project>
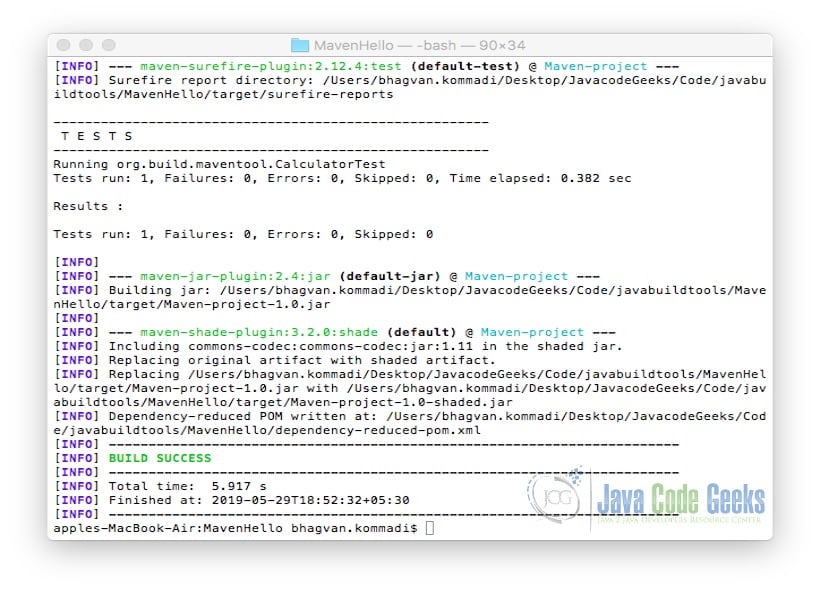
The command below is used to compile the project using maven.
Compile Maven Project
mvn package
The output of the executed mvn package command is shown below.
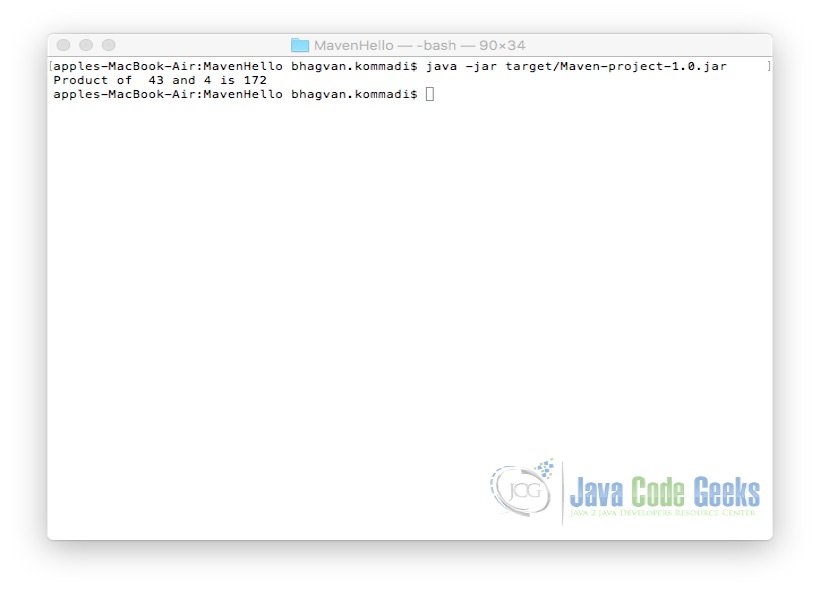
To run the project, the following java command is used.
Run Command
java -jar target/Maven-project-1.0.jar
The output of the executed java command is shown below.
2.5.3 Gradle – Building Java Project
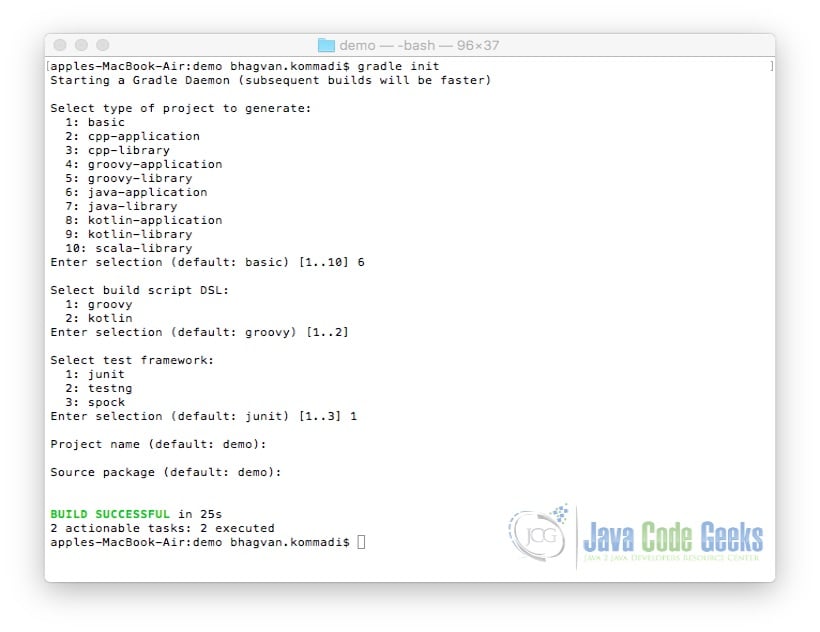
You can create GradleHello project for <code>Calculator</code> java application. The command used for creating the gradle project is shown below.
Run Command
gradle init
The output of the executed gradle init command is shown below.
You can edit the gradle settings for this project. settings.gradle is edited to set the rootProject name. The file is shown below:
settings.gradle
rootProject.name = 'GradleHello'
you can edit the build.gradle to set the main class name. build.gradle has the plugins, dependencies and the main class. The build.gradle is shown as below:
settings.gradle
plugins {
    id 'java'
    id 'application'
}

repositories {
    jcenter()
}

dependencies {
    implementation 'com.google.guava:guava:27.0.1-jre'
    testImplementation 'junit:junit:4.12'
}

mainClassName = 'org.build.gradletool.Calculator'
To build the gradle project, the following command is used.
build command
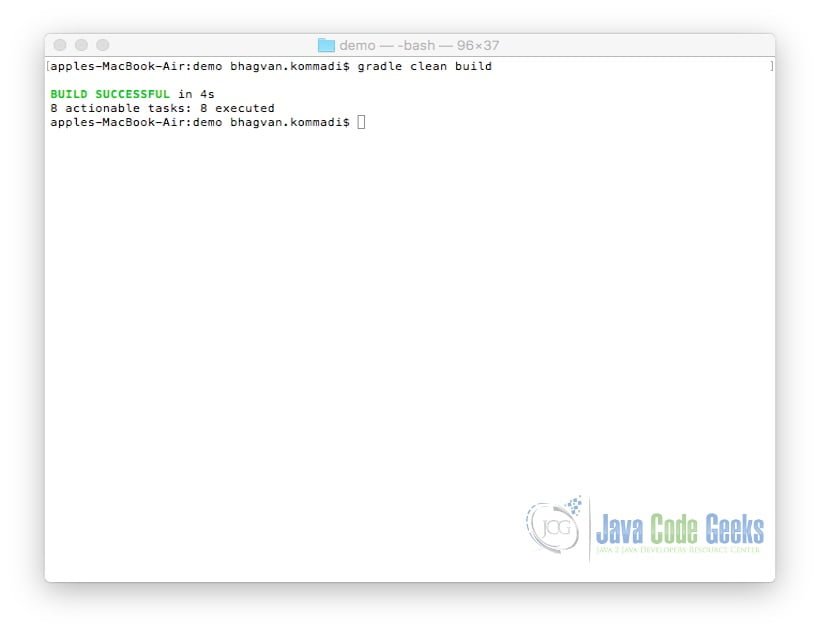
gradle clean build
The output of the executed gradle command is shown below.
To run the gradle project, the following command is used.
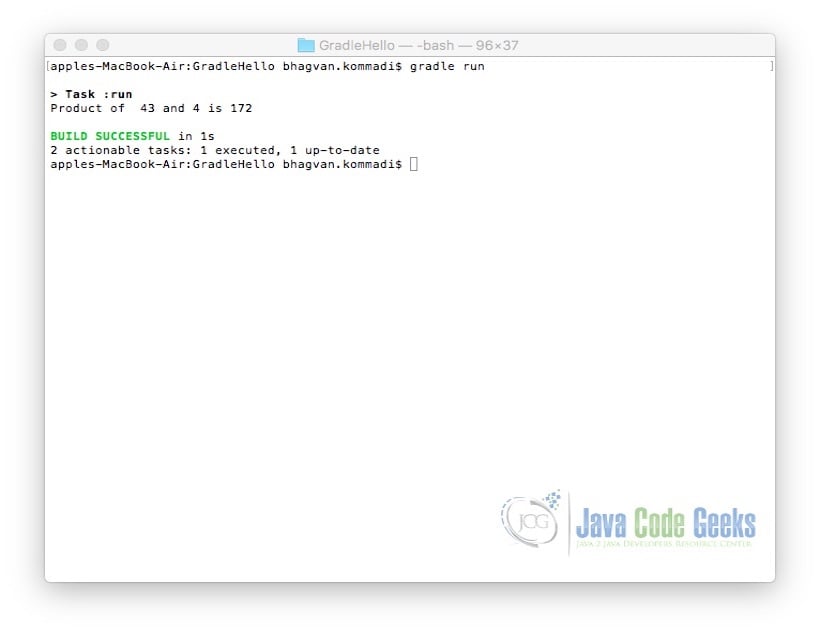
run command
gradle run
The output of the executed gradle command is shown below.
2.6 Testing Java Projects
A unit test CalculatorTest is created for the Calculator application. The unit test implementation is shown below:
Calculator Unit Test
package org.build.gradletool;

import static org.junit.Assert.*;

import org.junit.Test;

/**
 *  Calculator Unit Test class
 */
public class CalculatorTest
{

		/**
		 * Test method for {@link org.build.anttool.Calculator#getProduct(int, int)}.
		 */
		@Test
		public void testGetProduct()
		{
				Calculator calc = new Calculator();
				assertEquals(6, calc.getProduct(3, 2));
		}

}
2.6.1 Ant – Unit Testing Java Project
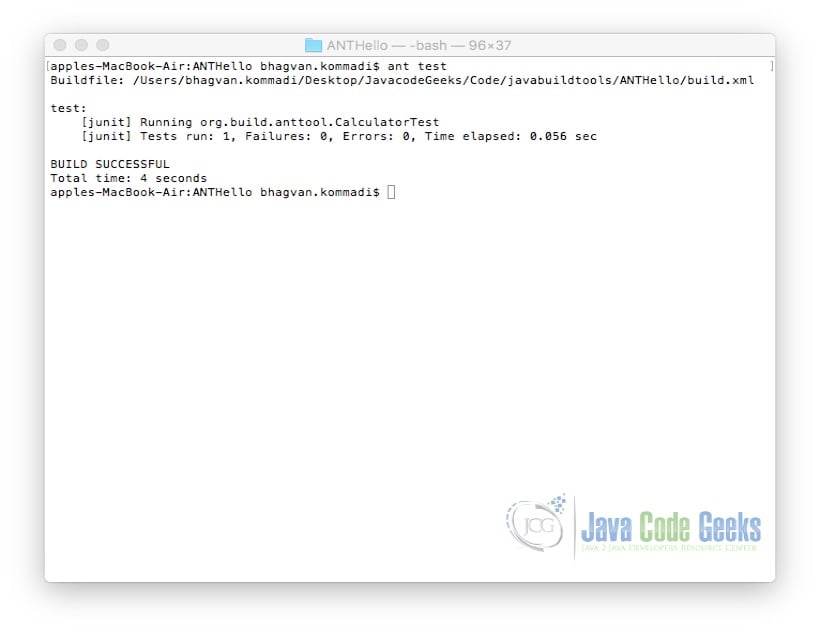
To build and run the ant project for the unit testing, the following command is used.
test command
ant test
The output of the executed ant test command is shown below.
2.6.2 Maven- Unit Testing Java Project
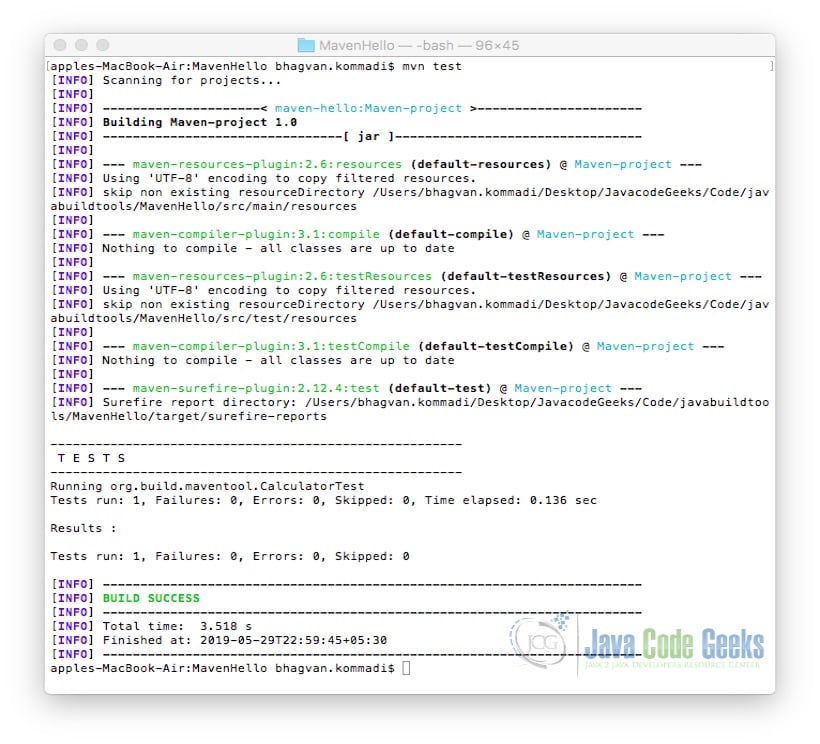
To build and execute the maven project for unit testing, the following command is used.
test command
mvn test
The output of the executed mvn test command is shown below.
2.6.3 Gradle – Unit Testing Java Project
To build and test the gradle project, the following command is used.
test command
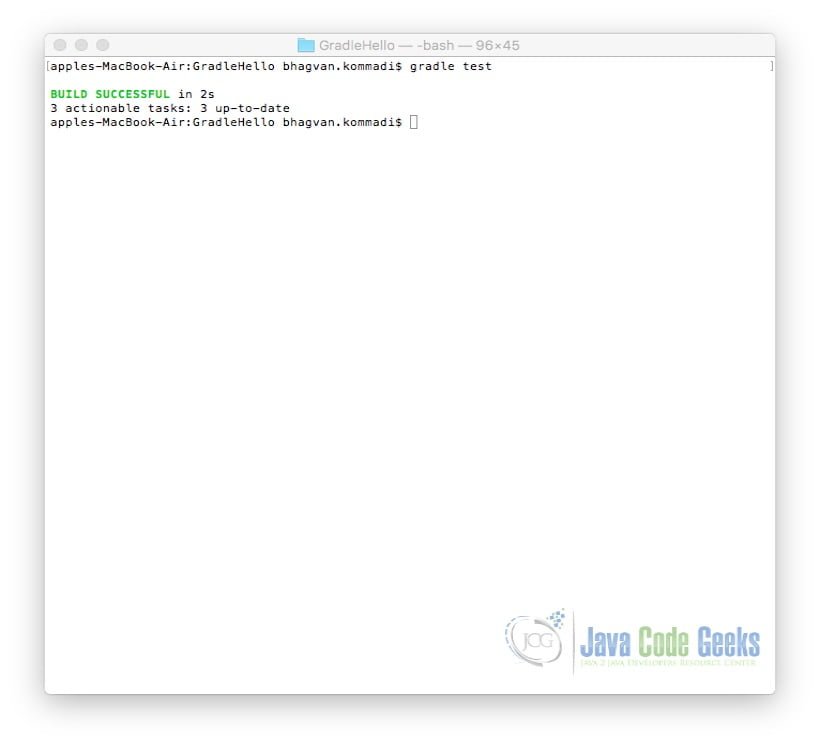
gradle test
The output of the executed gradle test command is shown below.
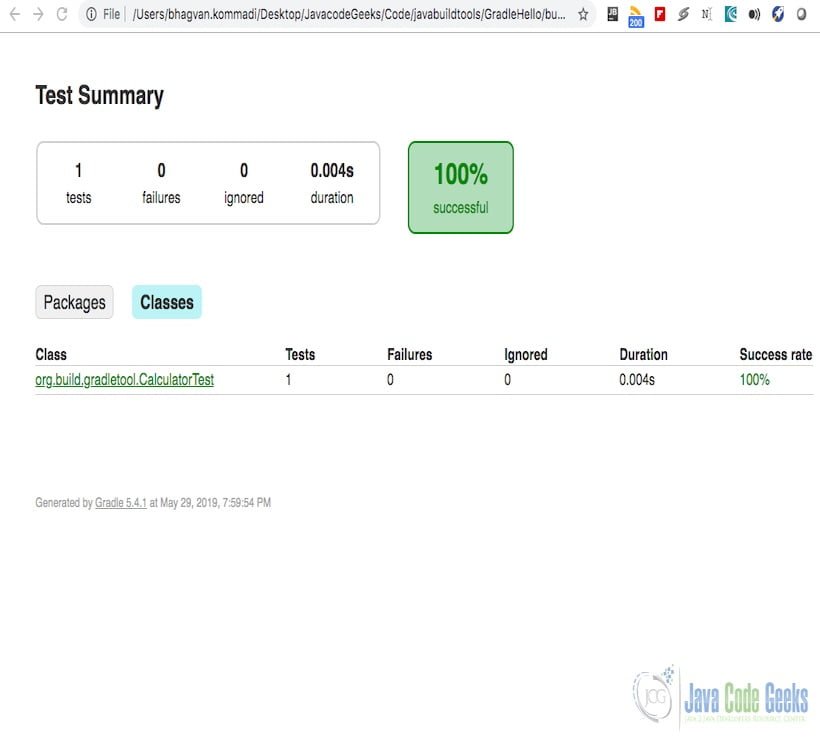
You can check the test reports in the directory GradleHello/build/reports/tests/test/index.html
2.7 Style guides for build tools
Ant style guide can found at ant wiki site. The maven style guide is available at apache maven website. Gradle style guide can be obtained from gradle guides site.
2.8 Building Web Projects
A sample web project can be created with a Java Class and a JSP. HelloWorld Class is created. The code is shown below:
HelloWorld Class
/**
 * package org.build.hello
 */
package org.build.hello;

/**
 * @author bhagvan.kommadi
 * HelloWorld Class
 */
public class HelloWorld {

	/**
	 * Constructor
	 */
	public HelloWorld() {

	}

    /**
     * Method getMessage
     */
	public String getMessage()
	{
		return "Hello Message";
	}

}
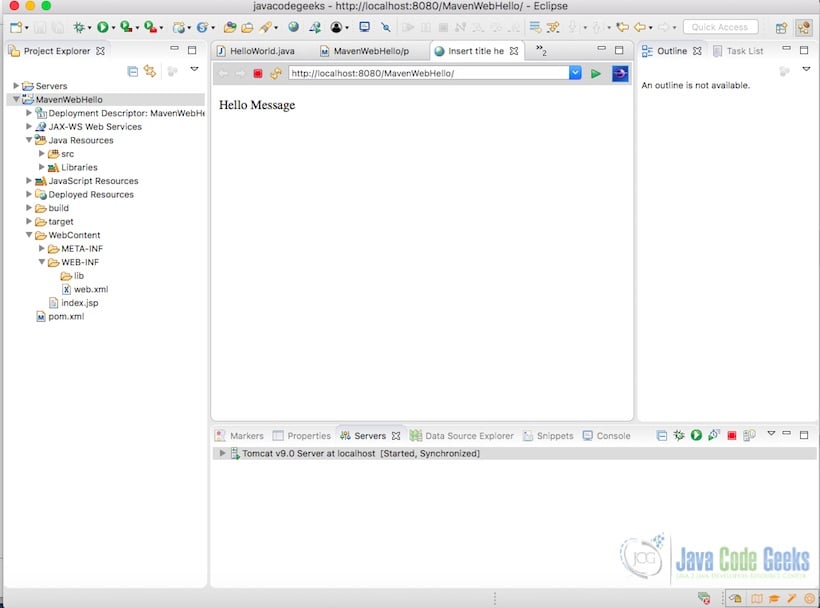
index.jsp calls the HelloWorld Class method getMessage and displays the message. The jsp code is shown below:
JSP File
<%@ page language="java" contentType="text/html; charset=UTF-8"
    pageEncoding="UTF-8"%>
<%@ page import="org.build.hello.*" %>
<!DOCTYPE html PUBLIC "-//W3C//DTD HTML 4.01 Transitional//EN" "http://www.w3.org/TR/html4/loose.dtd">
<html>
<head>
<meta http-equiv="Content-Type" content="text/html; charset=UTF-8">
<title>Insert title here</title>
</head>
<body>
<%
  HelloWorld helloWorld = new HelloWorld();
  String message = helloWorld.getMessage();
%>
<p>
<%= message %>
</p>
</body>
</html>
When the war file is executed on the apache tomcat, the page displays as below on the eclipse browser.
2.8.1 Ant – building web project
You can create a build.xml for the web HelloWorld project. The build.xml is as shown below:
build.xml
<?xml version="1.0" ?>
<project name="WebHello" default="war">

	<path id="compile.classpath">
		<fileset dir="WebContent/WEB-INF/lib">
			<include name="*.jar"/>
		</fileset>
	</path>

	<target name="init">
		<mkdir dir="build/classes"/>
		<mkdir dir="dist" />
	</target>

	<target name="compile" depends="init" >
		<javac destdir="build/classes" debug="true" srcdir="src">
			<classpath refid="compile.classpath"/>
		</javac>
	</target>

	<target name="war" depends="compile">
		<war destfile="dist/WebHello.war" webxml="WebContent/WEB-INF/web.xml">
			<fileset dir="WebContent"/>
			<lib dir="WebContent/WEB-INF/lib"/>
			<classes dir="build/classes"/>
		</war>
	</target>

	<target name="clean">
		<delete dir="dist" />
		<delete dir="build" />
	</target>

</project>
You can configure the helloworld web project using this article.
2.8.2 Maven – building web project
You can create Maven pom.xml for a web Helloworld project. The pom.xml will be as shown below:
pom.xml
<project xmlns="http://maven.apache.org/POM/4.0.0" xmlns:xsi="http://www.w3.org/2001/XMLSchema-instance" xsi:schemaLocation="http://maven.apache.org/POM/4.0.0 http://maven.apache.org/xsd/maven-4.0.0.xsd">
  <modelVersion>4.0.0</modelVersion>
  <groupId>MavenWebHello</groupId>
  <artifactId>MavenWebHello</artifactId>
  <version>0.0.1-SNAPSHOT</version>
  <packaging>war</packaging>
  <name>MavenWebHello</name>
  <build>
    <sourceDirectory>src</sourceDirectory>
    <plugins>
      <plugin>
        <artifactId>maven-compiler-plugin</artifactId>
        <version>3.7.0</version>
        <configuration>
          <source>1.8</source>
          <target>1.8</target>
        </configuration>
      </plugin>
      <plugin>
        <artifactId>maven-war-plugin</artifactId>
        <version>3.0.0</version>
        <configuration>
          <warSourceDirectory>WebContent</warSourceDirectory>
        </configuration>
      </plugin>
    </plugins>
  </build>
</project>
You can create a maven project from the Helloworld web project using this link.
2.8.3 Gradle – building web project
You can create a gradle web Helloworld project with build.gradle configured. The configuration file is as below:
build.gradle
apply plugin : 'java'
apply plugin : 'war'
apply plugin : 'eclipse-wtp'

repositories {
  mavenCentral()
}

dependencies {
  providedCompile 'javax.servlet:servlet-api:2.5'
  runtime 'javax.servlet:jstl:1.1.2'
}
HelloWorld Web project can be enhanced to a gradle project using this link.
2.9 Extending the build tool
Ant has tasks and extension points to customize for new tasks and processes. Similarly, Maven has plugins and extensions to extend the tool for custom scenarios. Gradle can also be extended with custom plugins for new tasks and purposes.
2.10 Optimizing the build run times
You can skip some of the modules like javascript, css to improve the build run time. Parallel builds can be created in any build tool to optimize the build runtime. Building new changes is a very common practice to bring down the run time.
2.11 IDE Integration
You can integrate Eclipse with Ant using this link. Likewise, Maven can be integrated with eclipse as mentioned in this website. Gradle also can be installed and integrated using this reference.
3. Download the Source Code
You can download the full source code of this example here: Java Build Tools Comparison: Ant vs Maven vs Gradle


I moved to gradle about a decade ago. Never looked back.
why?
I thought this would be about the different capabilities of the build tools and their evolution… but not so much.
I thought so too, the title doesn’t have the best wording. But it does have quite useful examples and comparisons so it ended up being very useful. It would be clearer if the author reworded the title