1. Introduction
Working on a project with multiple teams that develops multiple features, you will need to have something like a version of control to be able to manage and integrate your changes into your project. Most of the IDEs are able to manage these code changes and view the differences. A useful tool that will be presented in this article is Sourcetree. More details about this software will be presented in the below sections.
2. What is Sourcetree?
Sourcetree is a Graphical User Interface (GUI) that will facilitate the interaction with a GIT repository with simple commands so that you can simply focus only on the code. This GUI makes it easy to visualize and manage your repository with a new level of confidence.
Advantages of Sourcetree
- Utilize a simple user interface with most of the general GUI commands
- Manage the GIT repository through a simple client
- Simple commands for commit, push, or merge, just one click away
- Additional support for Patch-Handling, Rebase, Regal, Cherry Picking
- Connect to different version control like Bitbucket, Stash, Microsoft TFS, or GitHub.
- Perform reviews directly from the interface
- Checking your outgoing and incoming changesets
- Customize changeset and stashes
- Choose between branches
- Apply patches, rebase or simply put your changes on shelves
- Bookmarks given you a summarized view of all projects and repositories in real-time
- Follow the detailed branching diagrams
3. What is GIT?
GIT is a free and open source software for version control, designed to manage projects from small to very large projects.
The original author is Linus Torvalds and the initial release was on 7 April 2005. This is a software for tracking changes in any set of files and coordinating work between programmers to develop a project. Its goals include speed, data integrity, and support for distributed non-linear workflows.
Git concept refers to having multiple local branches that can be entirely independent of each other. Managing branches to delete, create and merge takes seconds.
Most of the operations on GIT are performed locally, giving it a huge speed on centralized systems where it constantly has to communicate with a server. Git was built to work on the Linux Kernel. The source code of this is C, reducing the overhead of runtimes associated with higher-level languages. The primary goal for this was the performance from the beginning.
For more information about the GIT you can check out here and the official documentation here.
4. Installing Sourcetree Step-by-Step
This software is available on Windows and macOS. For the purpose of this demo, I will show how to install it on Windows machines step-by-step.
Firstly access the official website to download the latest version of this software.
Secondly, choose the platform where you want to install it.
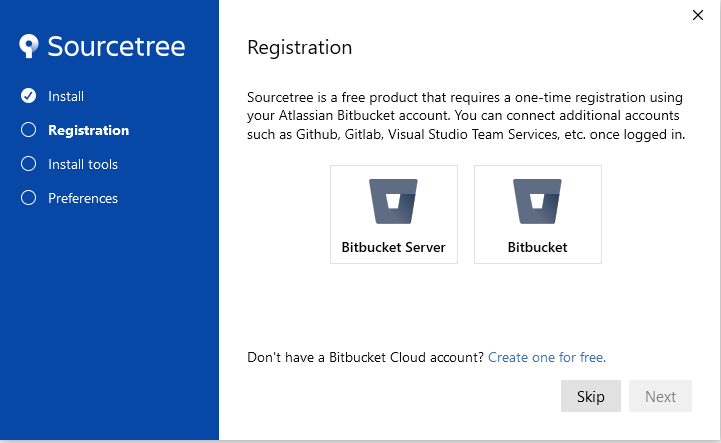
After you downloaded successfully and launched the executable you will have two options: Registration as Bitbucket Server or Bitbucket. You can choose to skip this step.
At the Install, Tools step you will be able to install additional tools to manage a local repository like Git or Mercurial. After you finish this step, the next tab is for Preferences in the git config, what name/email should be shown in your git commits.
As a final step after you set up your preferences, you can choose to load the ssh key or to create a new one.
After everything is done you will be able to add a new git repository and handle all the actions through this friendly UI.
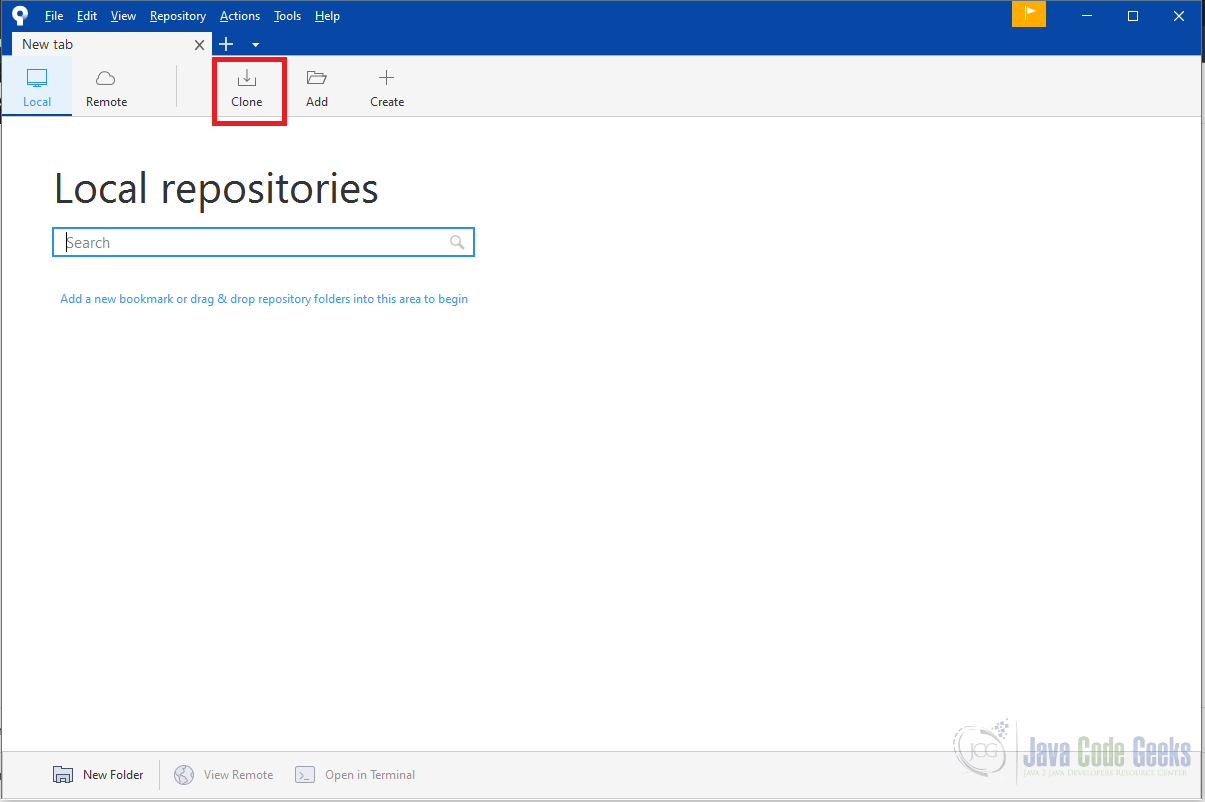
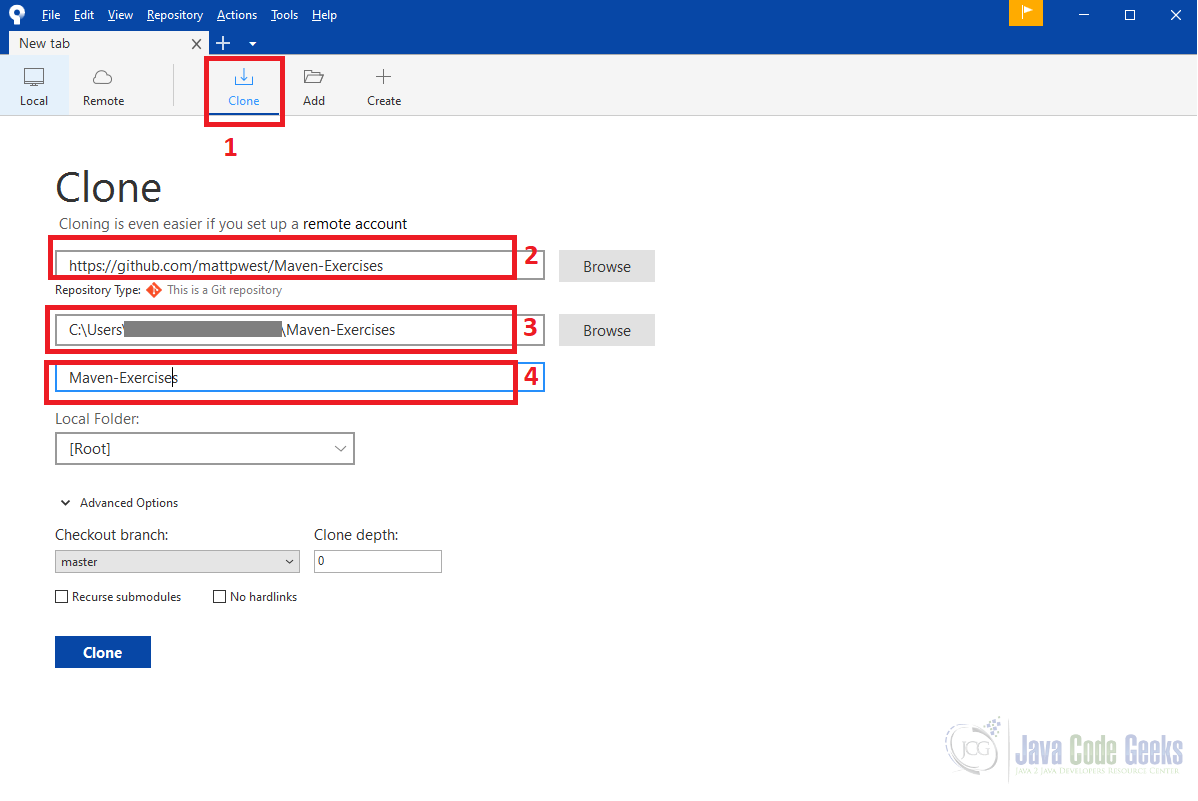
5. Clone a new project with Sourcetree
To clone a repository from remote, you will have to press the Clone button, and set up the Source Path/URL, Destination Path, and a name for the cloned project. Besides that, you have Advanced options like checkout branch and Clone depth, recurse submodules and hard links. The default values for these options are master, 0, unchecked and unchecked. After you set up everything, press the Clone button to get the repo from the remote.
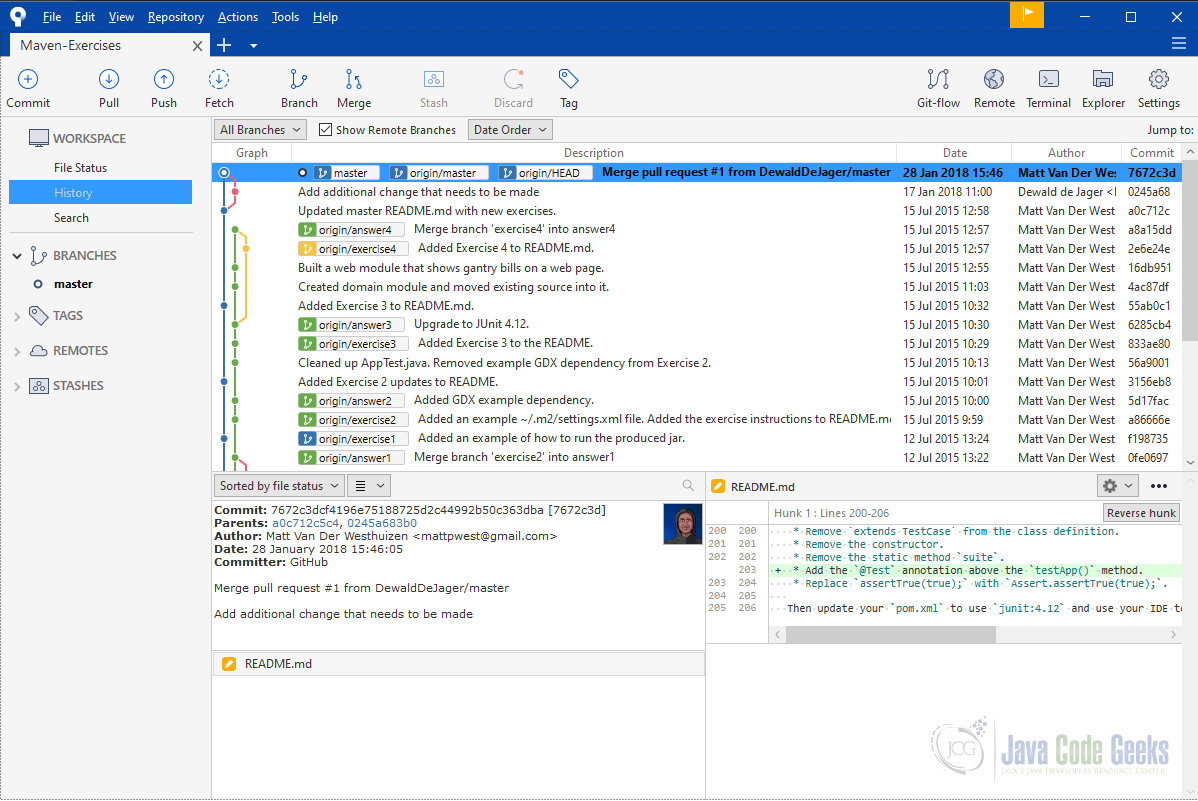
After a successfully clone you will see something like this:
6. Final words
This article will help you to understand the concepts of GIT as a version of control. Having that in mind will help to gain knowledge about this. Also in this article, we covered a GUI tool called Sourcetree that will help you to manage GIT commits/branches that are locally or remotely.
