In this article, we will explain how to install Java on Linux Mint.
1. Introduction
Java is the most popular programming language of all due to its platform independence nature and versatile features such as OOPS, Multi-threading, Multitasking, concurrent programming, and many more. In this tutorial, we are going to see how we can install Java on the Linux Mint flavor of OS. Hence if you are having a Linux Mint version installed in your computer you could go through the following steps to install Java in it and make it ready for all types of Java programming. Java comes in 3 different editions i.e.
- Java Standard Edition(J2SE)
- Java Enterprise Edition(J2EE)
- Java Micro edition(J2ME)
Moreover it is available in 2 diffferent implementations i.e.
- Open JDK: This is the open-source implementation of Java and does not require any license to use.
- Oracle JDK: This is the implementation of Java distributed by Oracle and requires license for its commercial use.
Before we install Java, we should also be familiar with the following two terms in context to the Java Technology :
- Java Development Kit(JDK): It is a software having all the Java APIs that would be required to write Java code in your system.
- Java Runtime Environment(JRE): It is a run time environment that enables us to run/execute programs written in Java successfully in our system.
2. Prerequisite
You should have a non-root user account in your Linux mint System with Sudo privileges before proceeding with the installation.
3. Steps to install Java on Linux Mint 20 Ulyana
3.1 Install Open JDK 10
Currently, Open JDK 10 is the default version of Java for Linux Mint 19. To install the same please follow the given steps:
3.1.1 Package manager index
Update the package manager index typing the following command:
sudo apt update
The following image depicts the output after running the sudo apt update command.

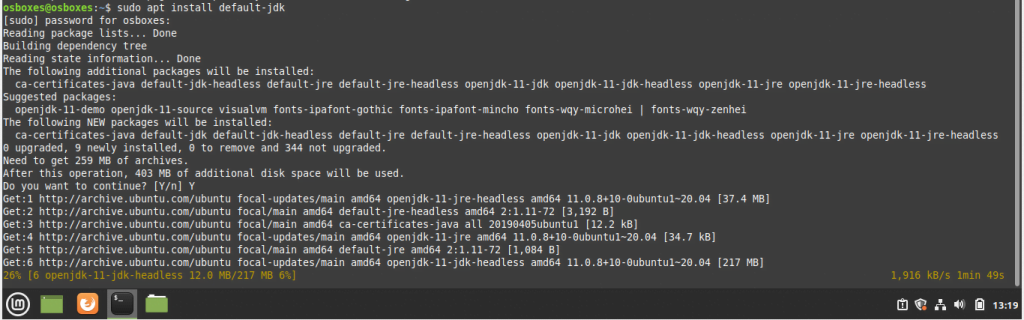
3.1.2 Install the default Open JDK on Linux Mint 19
sudo apt install default-jdk
The following figure depicts the output after running the command sudo apt install default-jdk
The following figure depicts the output after running the command suso apt install default-JDK

3.1.3 Confirm the installation
java -version
Output
openjdk version "11.0.8" 2020-07-14
OpenJDK Runtime Environment (build 11.0.8+10+post-Ubuntu-0ubuntu120.04)
OpenJDK 64-Bit Server VM (build 11.0.8+10-post-Ubuntu-oubuntu120.04, mixed mode, sharing)

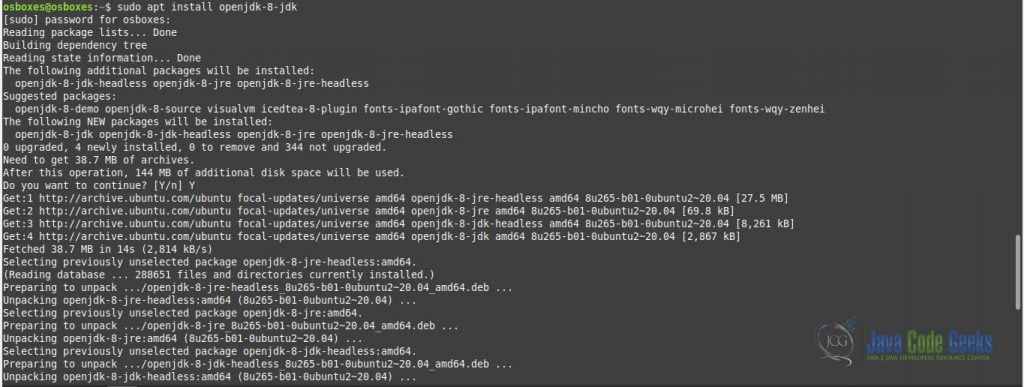
3.2 Installing specific version of Open JDK
3.2.1 Put the version no. to install a specific version of open JDK:
sudo apt install openjdk-[version no.]-jdk
For. e.g. if you wish to install the OpenJDK version 8, which is the default LTS version of the OpenJDK, you need to run the following command:
sudo apt install openjdk-8-jdk
3.3 Installing Oracle Java with apt
Oracle Java which is the official version of Java from Oracle can be installed by following the below steps:
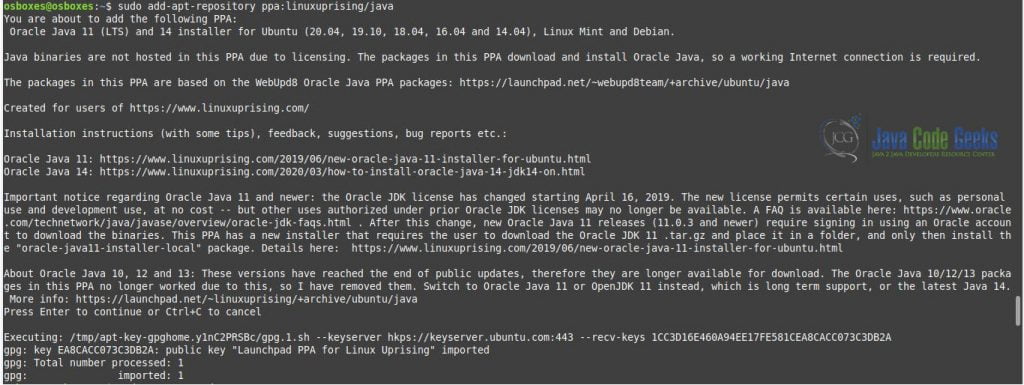
3.3.1 Adding the “Linux Uprising” PPA
sudo add-apt-repository ppa:linuxuprising/java
The following figure depicts the output after running the command sudo-apt-repository ppa:linuxuprising/java
3.3.2 Download all the package information and apply updates and patches
sudo apt-get update
The following figure depicts the output after running the command Sudo apt update command
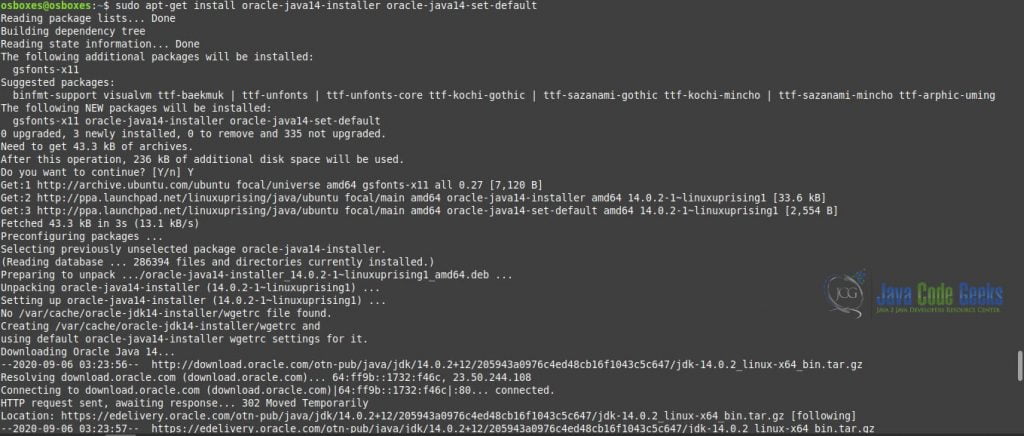
3.3.3 Install the Oracle Java 14 from the Oracle official website and set it as default
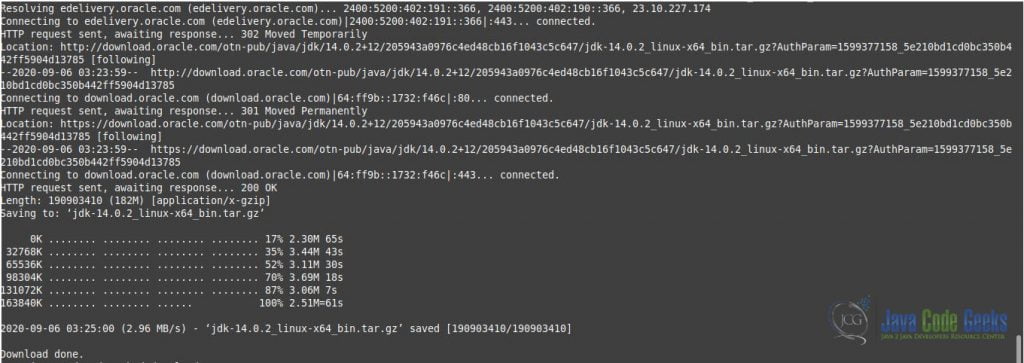
sudo apt-get install oracle-java14-installer oracle-java14-set-default
The following figure depicts the output after running the command sudo apt-get install oracle-java14-installer oracle-java14-set-default
The following figure depicts the output after running the command sudo apt-get-install oracle-java14-install oracle-java14-set-default
Accept the License Agreement by clicking on the ok and yes button on the respective windows.
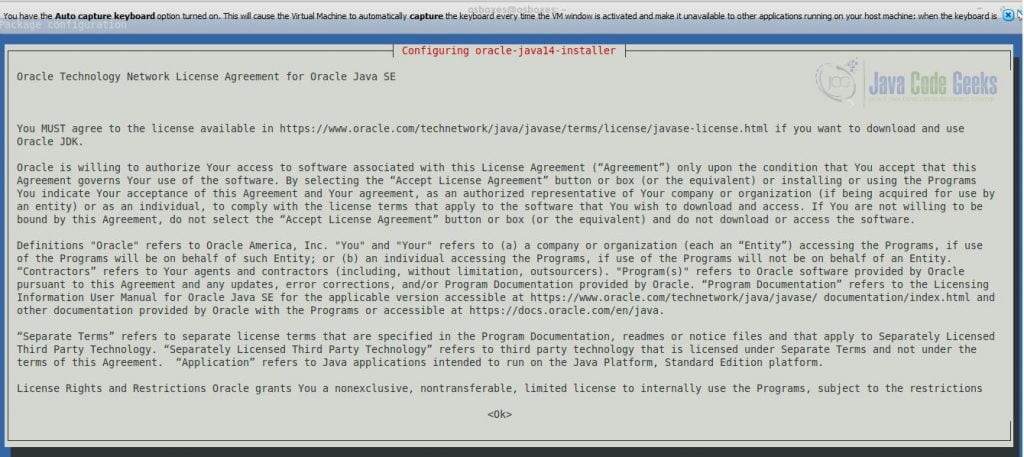

After accepting the License Agreement Page, finish with the rest of the installation.
The following figure depicts the output after running the command sudo apt-get install oracle-java14-installer oracle-java14-set-default
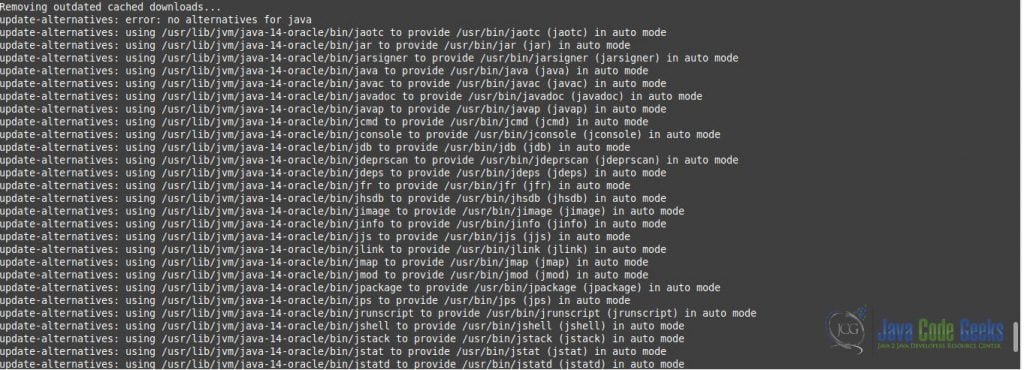
The following figure depicts after running the command sudo apt-get install oracle-java14-install oracle-java14-installer oracle-java14-set-default

The following figure depicts the output after running the command sudo apt-get install oracle-java14-installer oracle-java14-set-default
4. Summary
In this tutorial, we understood how to install the Java development kit, both Open JDK and Oracle Java version, in Linux Mint 20 Ulyana version.
You can also check the following articles:
