In this post, we feature a comprehensive article about how to download Java 64 bit which contains the Java Virtual Machine(JVM), Java Runtime Environment and Java Development Toolkit(JDK).
As we all know, Java is a very popular programming language mainly because it is free and platform independence. To develop the java program, the first step is to download and install the java.
This article will guide you on how to download and install java 64 bit on Windows and on Linux. 5 simple steps have to be followed. These are:
- Identify your need
- Choose Windows or Ubuntu OS
- Download
- Install
- Verify
1. Identify your need
- If you want to execute a java program, you need its java runtime environment (JRE).
- If you want to execute java program in the browser, you need to enable java web plugin in the browser.
- If you want to develop and execute java application, you need a Java development kit (JDK) because it contains all the necessary tools along with the JRE.
Our need is to install JDK 64 bit. Let’s start downloading…
2. Download Java 64 bit for Windows
2.1 Download JDK
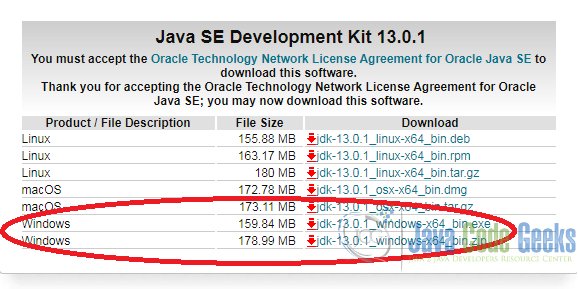
- Go to https://www.oracle.com/technetwork/java/javase/downloads/jdk13-downloads-5672538.html
- Download jdk-13.0.1_windows-x64_bin.exe after accepting the agreement.
- Save the .exe to a specific folder or it will be available in the download directory.
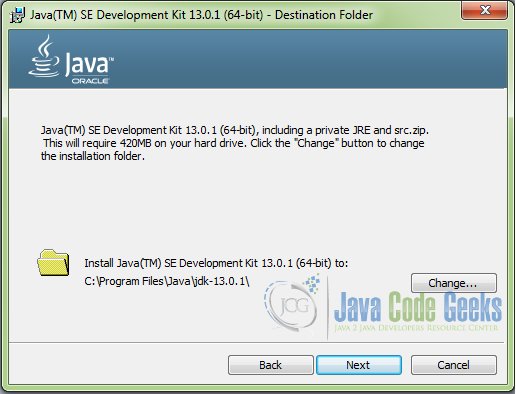
2.2 Installation
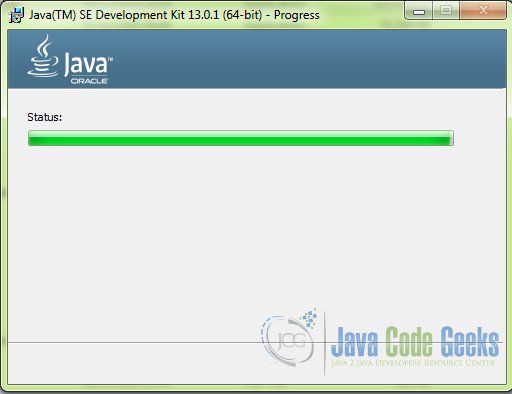
- Go to downloaded directory and double click the .exe and follow the instructions to install

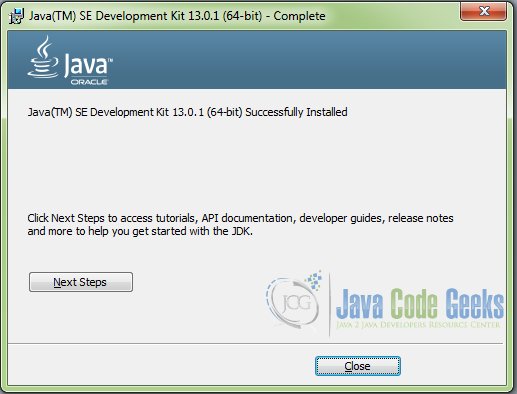
- Close the dialog as the installation is successful.
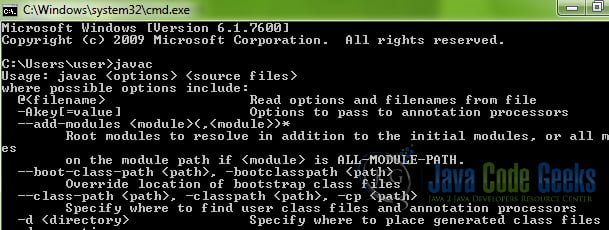
- Now go to command prompt and type ‘javac’, you will get below output.
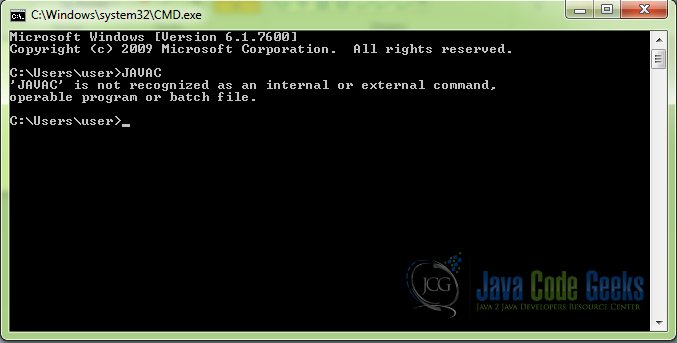
2.3 Set environment variables
- Javac is not recognized error is because of not setting the environment path.
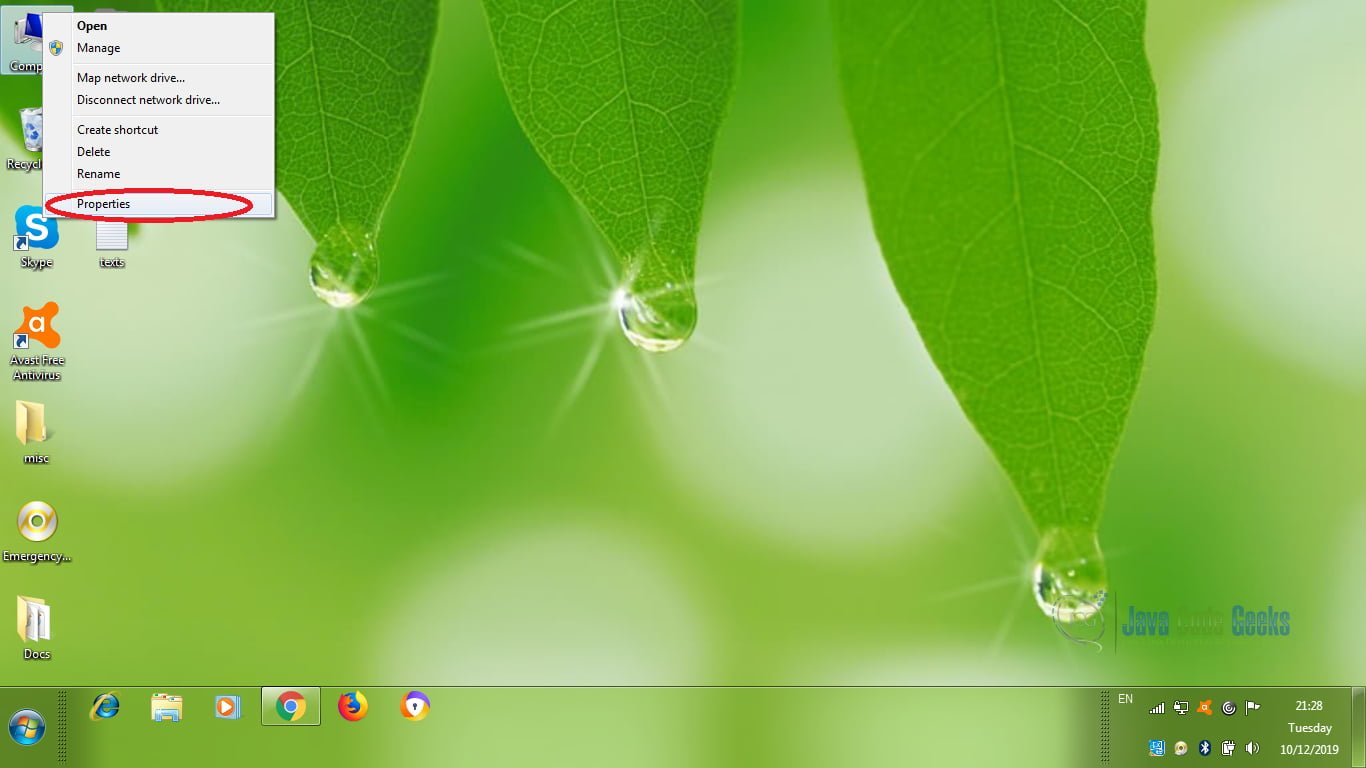
- Goto Computer -> Properties -> Advanced system settings
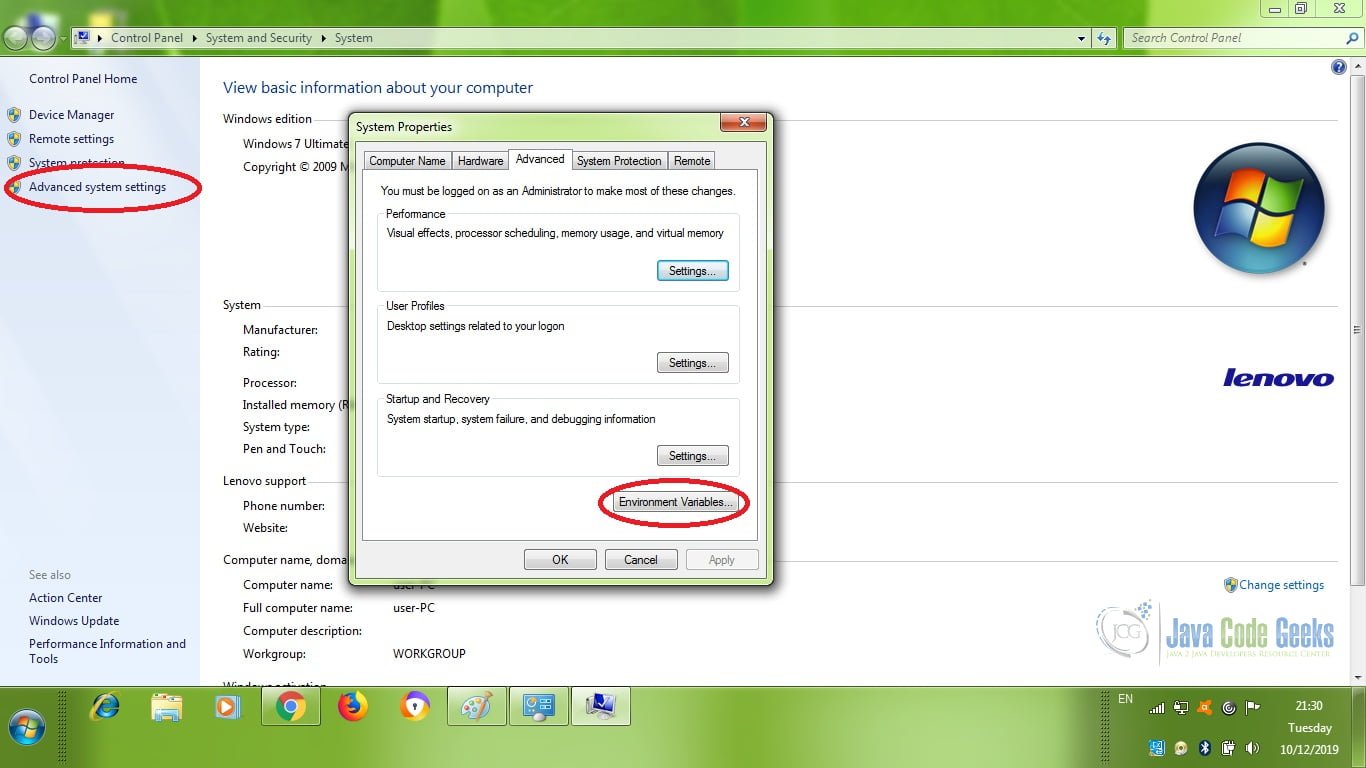
- Go to Advanced system settings -> Environment variables
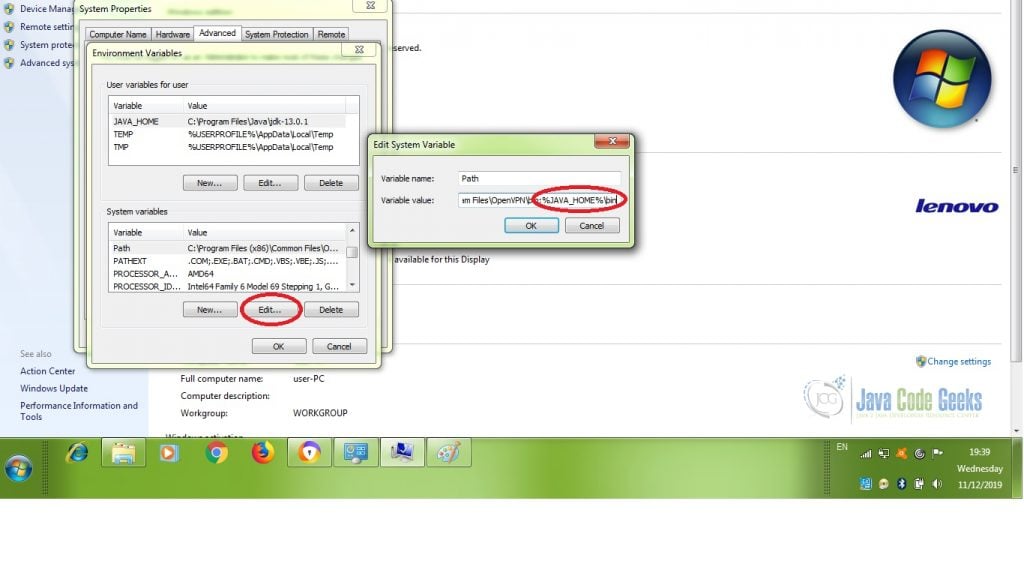
- Select add ‘New User variable’ and include JAVA_HOME as a variable name and installed java path as a variable value.

- Now select a new ‘System variable’ and include PATH as a variable name and %JAVA_HOME%\bin as a variable value.
- If you already have a PATH variable, then just edit and add at the end “;%JAVA_HOME%\bin”
- In some cases, you might need a restart to make it successful.
2.4 Verification
- Now, enter javac in command prompt and check whether you are getting the below output.
- Enter java -version in command prompt and check
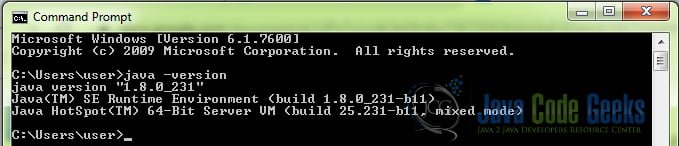
The above output shows Java installed successfully on your windows.
3. Download Java 64 bit on Ubuntu
In many ways, you can install Java on ubuntu. Here I will show you the easiest way to installing Java on Ubuntu
- Installing the default Open JDK
- Installing Oracle JDK
3.1 Install default JDK
To install the default JDK, execute the below command in terminal
sudo apt-get update
sudo apt-get install default-jdk
3.2 Install Oracle JDK
To install the Oracle JDK, follow the below instruction
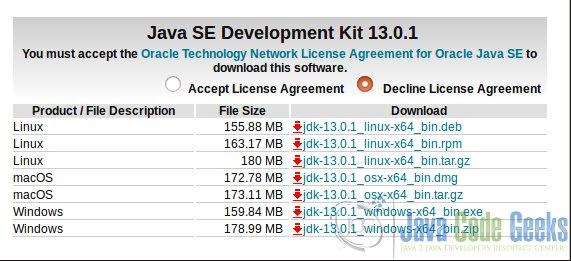
- Go to https://www.oracle.com/technetwork/java/javase/downloads/jdk13-downloads-5672538.html
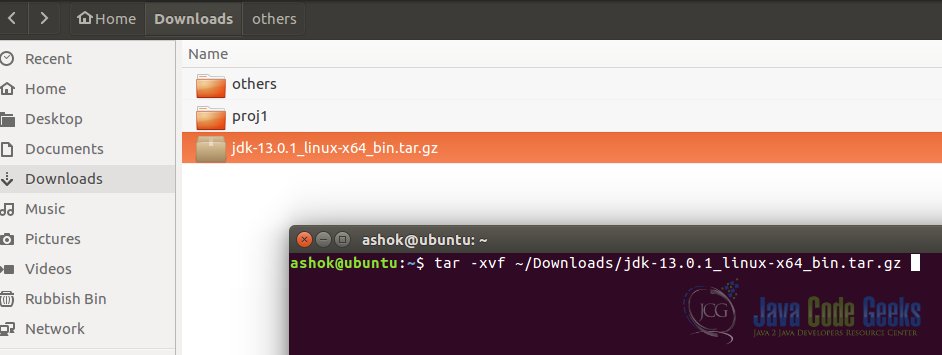
- Download jdk-13.0.1_linux-x64_bin.tar.gz after accepting the agreement.
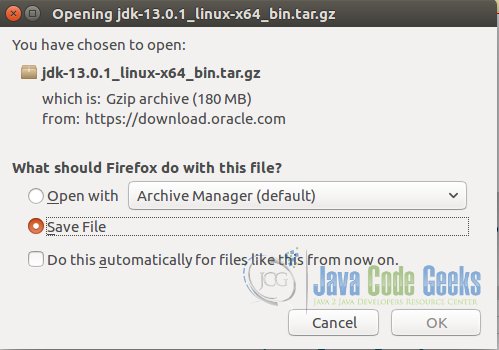
- Extract the saved file using below command
tar -xvf ~/Downloads/jdk-13.0.1_linux-x64_bin.tar.gz
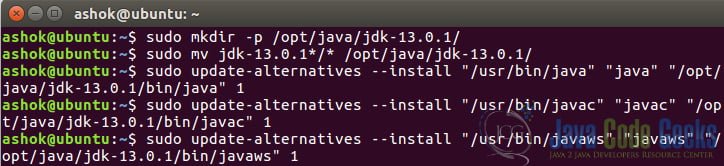
- Create a directory
sudo mkdir -p /opt/java/jdk-13.0.1/
- Move the extracted JDK into the newly created directory
sudo mv jdk13.0.1*/* /opt/java/jdk-13.0.1/
- Configure the java

 sudo update-alternatives --install "/usr/bin/java" "java" "/opt/java/jdk-13.0.1/bin/java" 1
sudo update-alternatives --install "/usr/bin/javac" "javac" "/opt/java/jdk-13.0.1/bin/javac" 1
sudo update-alternatives --install "/usr/bin/javaws" "javaws" "/opt/java/jdk-13.0.1/bin/javaws" 1
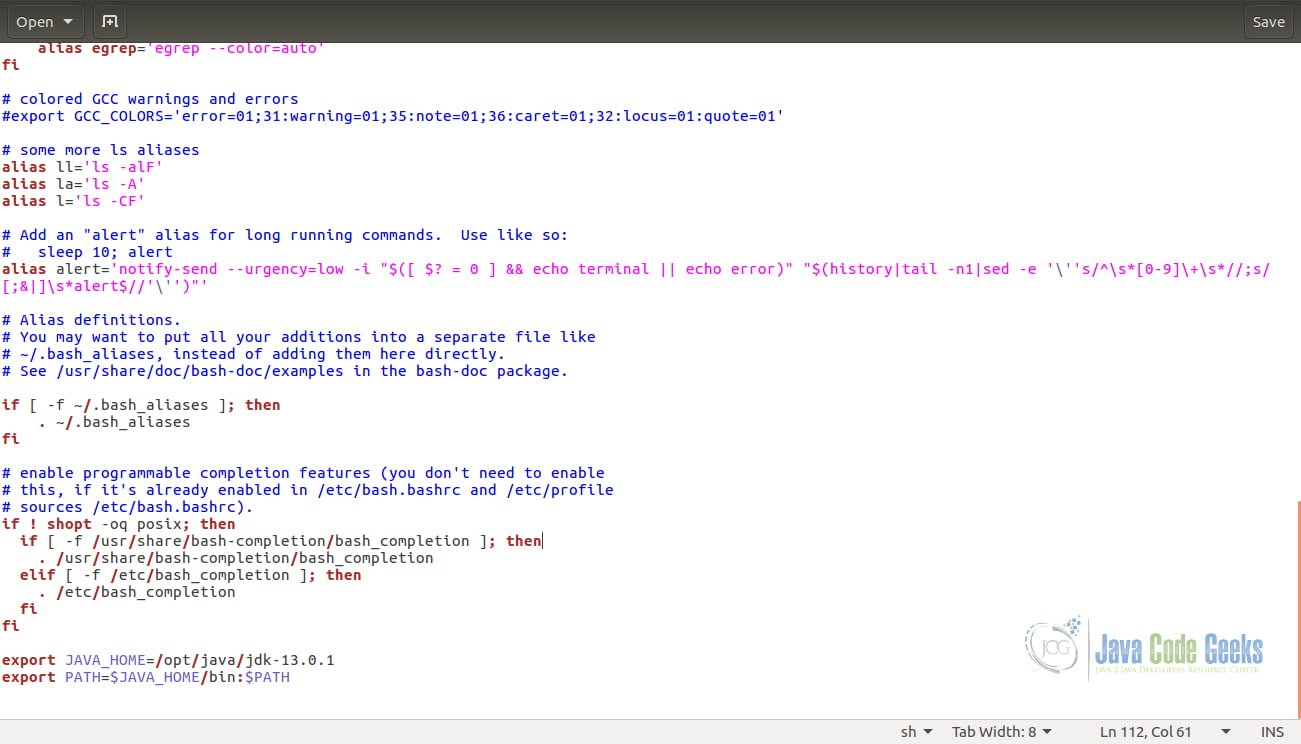
- If you want to include system variables, you can directly include the java path in .bashrc file (or) in /etc/profile. Easiest is to include it in .bashrc file.
- .bashrc is the hidden file. Access the file using below command
sudo gedit . bashrc.
- Add the java path at the end of the file, save and close it.
 export JAVA_HOME=/opt/java/jdk-13.0.1
export PATH=$JAVA_HOME/bin:$PATH
- Now its time to verify the java installation
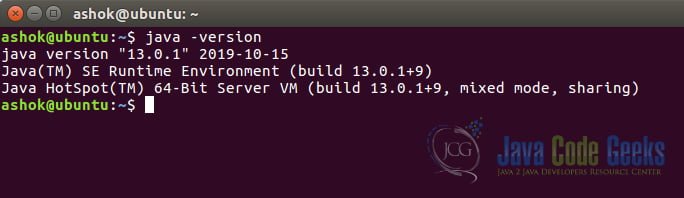
The above output shows Java installed successfully on your Ubuntu.
I hope this article helps you with your first step towards Java by downloading and installing it in your system. Happy coding!!!
