1. Introduction
While developing a new feature you will have multiple stages until that feature is completed. Git offers different options to manage your git commits like squash, cherry-pick, amend and others.
2. What is Git Squash?
Git Squash means to combine multiple commits into a single one and rewrite the git change log (commit history). This feature is most often done when merging branches.
One thing to note is that in git, there is no such thing as a stand alone git squash command. Squashing is rather an option when you perform different Git commands like interactive rebase or merge.
3. When to use it?
When you have a lot of messy commits and you want to merge that request into a feature branch, it would be recommended to squash your commits to have a clear git history on the feature branch to be easier for the team to read. In GitLab, you have the possibility to configure the project that at every merge into a branch to automatically squash your commits.
For more information on how to set up in GitLab check out this.
4. Squash using IDE’s
For the purpose of this article, we will show proof of git squash in IntelliJ IDE (used: v.2022.1.1 Community Edition).
After you have installed open your project into the IDE. What you have to do next for squashing your commits, is to open the git log and select the commits that you want to squash.
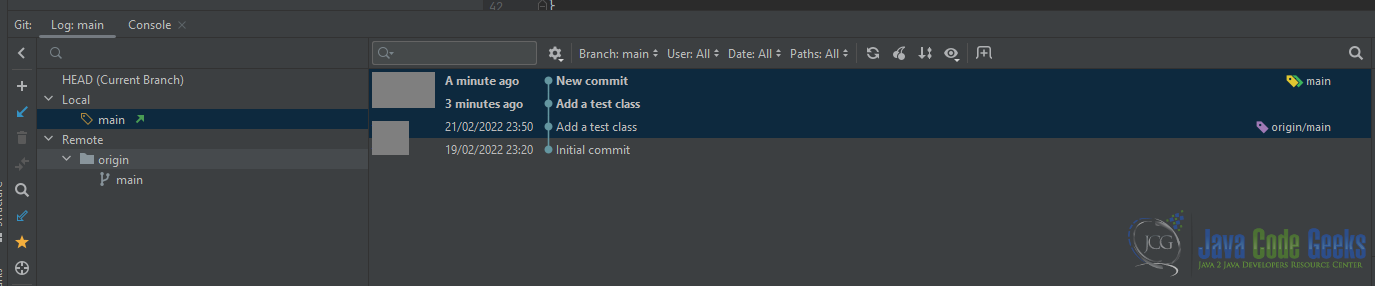
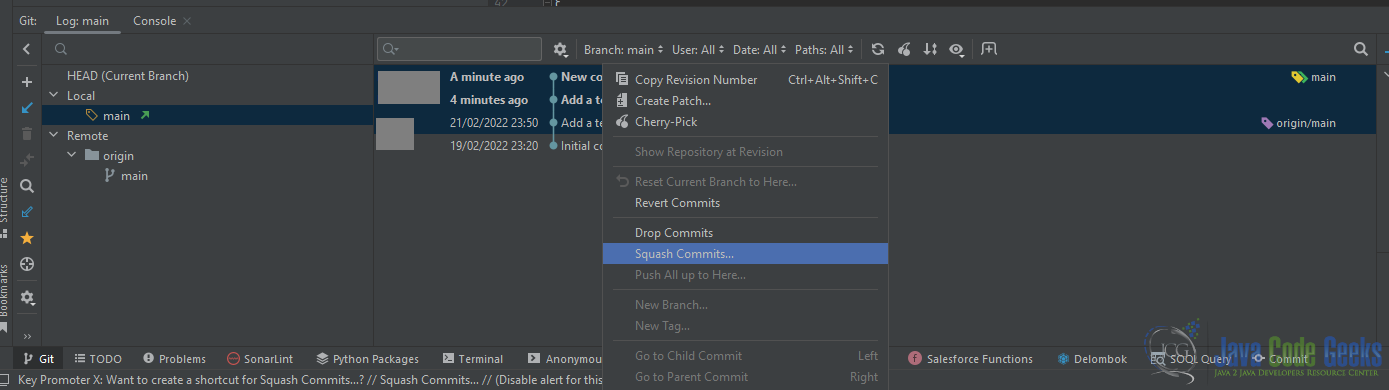
Select your commits that you want to squash, then right-click on the commits and then select the option: Squash Commits.
In the next step, you will see a new window where you can set a commit message for that squash.
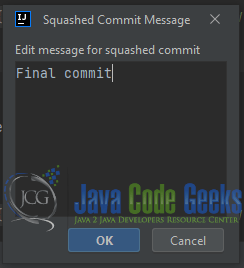
After you set your commit message and press the OK button a notification message will show in your IDE that notes your commits successfully squashed.
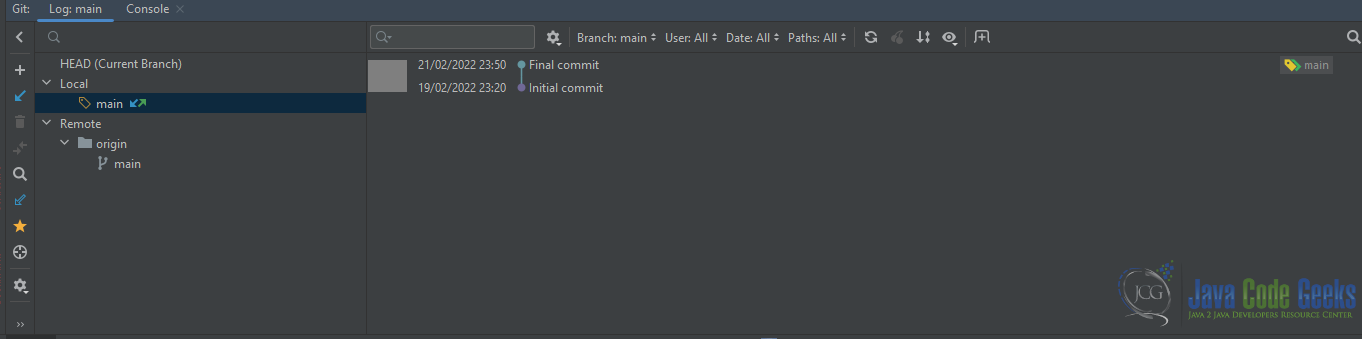
Your commit logs were then merged into a single one with that commit message you set before.
NOTE: To put your changes on the remote repository you have to use the Push action with force in order to re-write your change log (commits history).
5. Squashing by interactive rebase
To squash with interactive rebase you can use this command: git rebase -i HEAD~<last number of commits that you want to squash>
For the purpose of this article we will squash the last 3 commits into a single one:
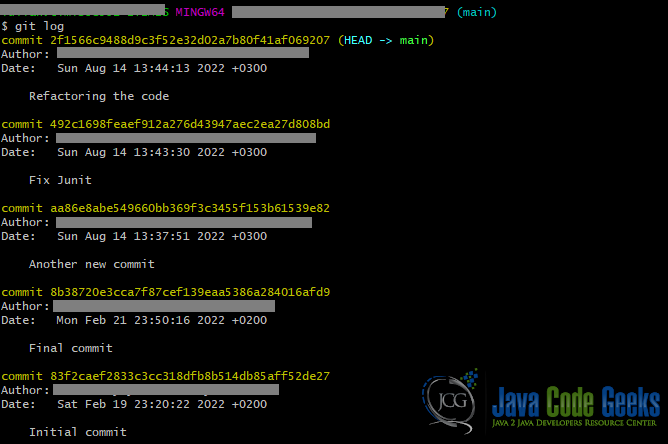
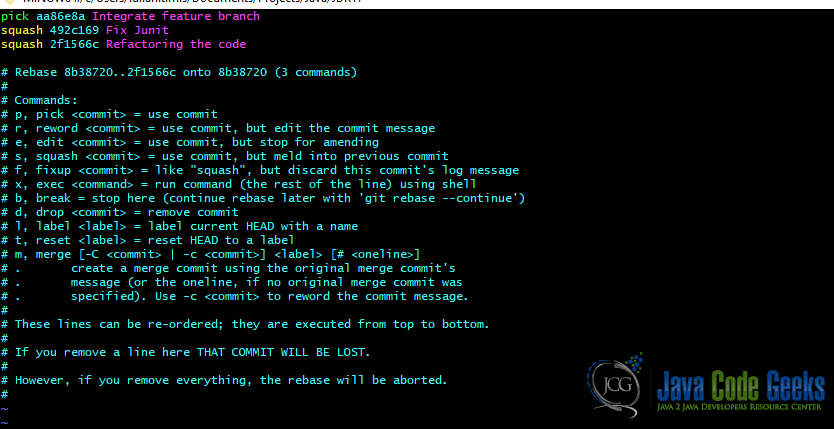
To proceed further squashing the last 3 commits we ran this command: git rebase -i HEAD~3. A new window will pop up where you can select the commits to squash. For the first commit, we set the value pick (on the left of the hash commit and commit message) and change the commit message. The first commit will be kept and the last commits will be integrated into that one. For the last two commits, we will change the value into squash.
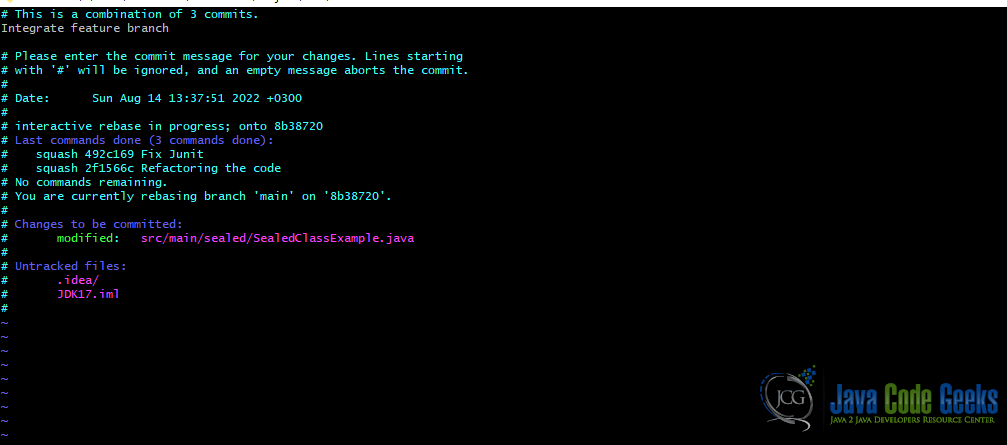
Save that changes and continue the rebase by executing this command: git rebase –continue. A new window will pop up where you can set the commit message that will show for those 3 commits.
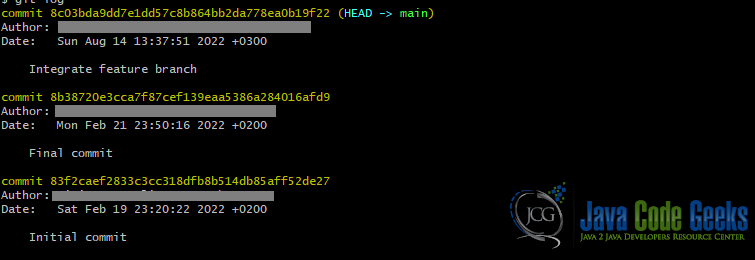
In the next image, we will show the result of the git change log after squashing the last 3 commits.
6. Using the –squash option
Another option to squash your commits at the merge step is to use the option --squash in the merging phase (basically when you integrate your feature branch).
To prove the functionality of that option --squash we created a new branch called: feature/search added new commits on that branch and integrated that in the master.
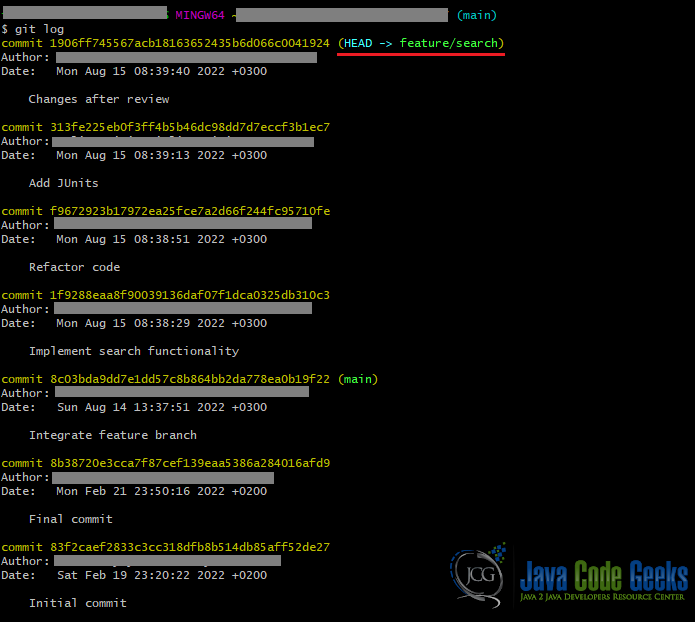
After we have done with that feature and we want to integrate it on the master branch, we will first move on the master branch (git checkout master) and after that, we will execute this command: git merge --squash feature/search.

The changes from that feature branch will show up locally after executing the previous command.

To apply that changes to the master branch we will execute: git commit. An interactive window will show up to be able to set the commit message.

In the next image, we will show the change commit log with the message that you set on the previous step.

7. Conclusion
In this article, we present the concept of squashing commits, what that means and when to use it. Besides that, we show some examples of how to do git squash in different ways. Understanding the basic concept of this git functionality it would be easy to apply this on a daily basis.
