How to download Java 10 for Windows
Albeit you can use Java online, it is better to use it on a local machine. This tutorial is about downloading Java 10 on the Windows machine.
1. Downloading Java
Google is your friend! Search for “download Java 10” on Google, and hit the button on the first link.

Or, you can also click here to Download Java 10!
Consequently, you will now be on the page with different versions of JDK (Java Development Kit). Scroll down the page to find JDK 10. The picture below shows the JDK 10 that you need to download. Click on the one which is for Windows.
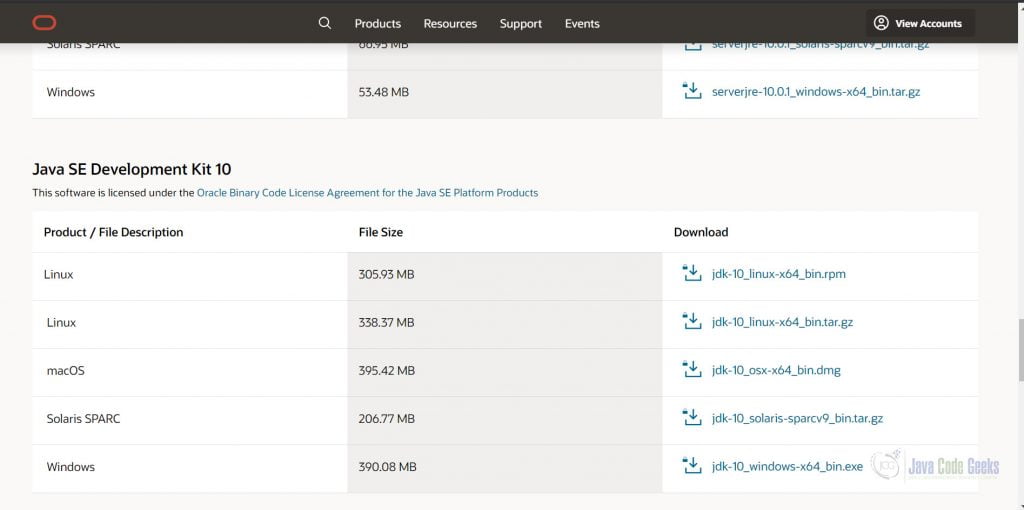
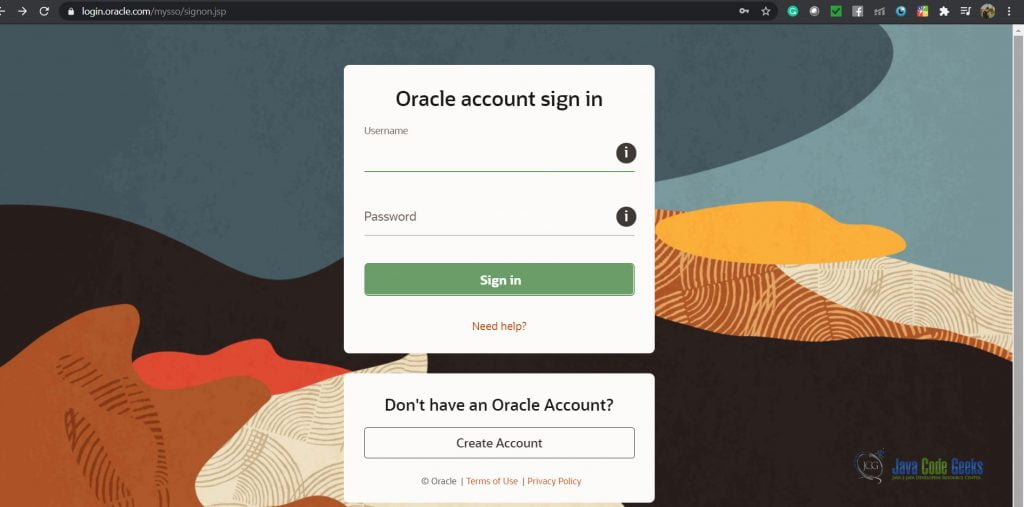
After clicking the link, you will be asked to accept the agreement. Accept it, and then you will need to sign in. If you don’t have an account on Oracle, kindly create it. And, then the downloading will begin.
2. Installing the set-up
After you have downloaded the setup, it is time to install it. You will have a dialog box opened as shown in the picture below.
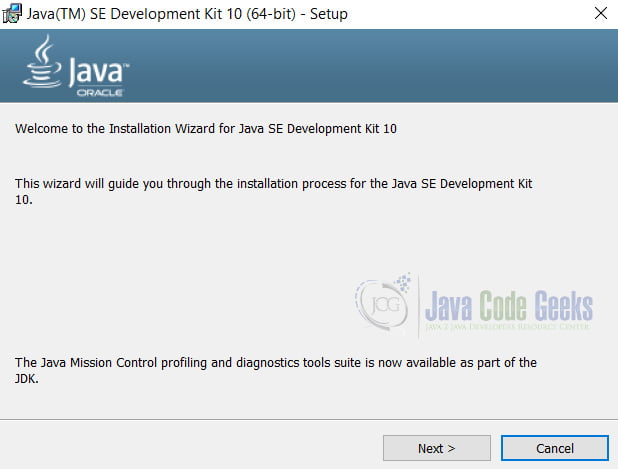
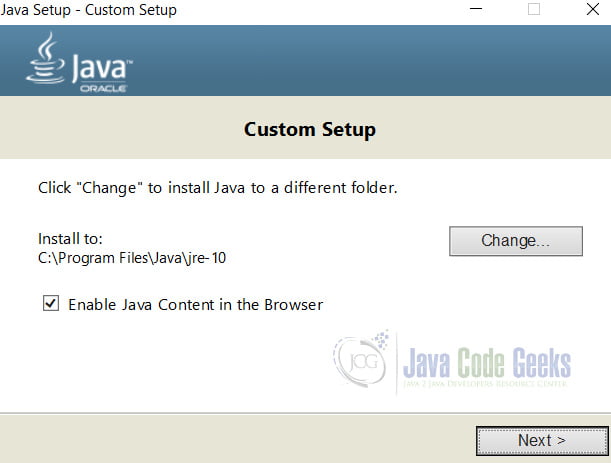
If you are interested in changing the default location of the installation folder, then you can change it by clicking on ‘Change’. Otherwise, you don’t need to make any changes here. Simply click next, and continue with the installation.
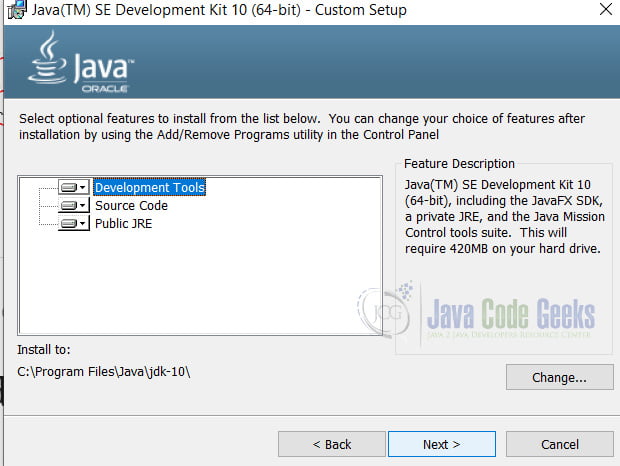
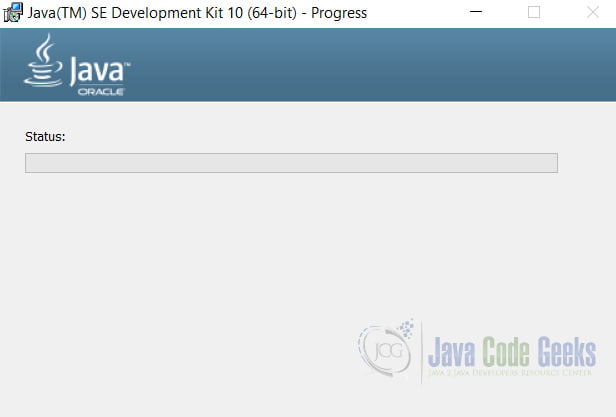
When you click ‘Next’, the installation for JDK (Java development kit) will begin. This will take 5-10 minutes. Do not panic if you don’t see the status bar turning green as yet.
Similarly, you will be asked to change the location for JRE. Do the needful as required.
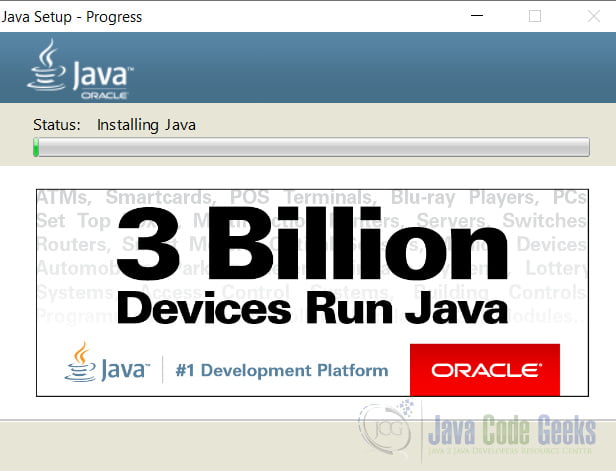
Then, the installation for JRE (Java Runtime Environment) begins. This may take 10-15 minutes.
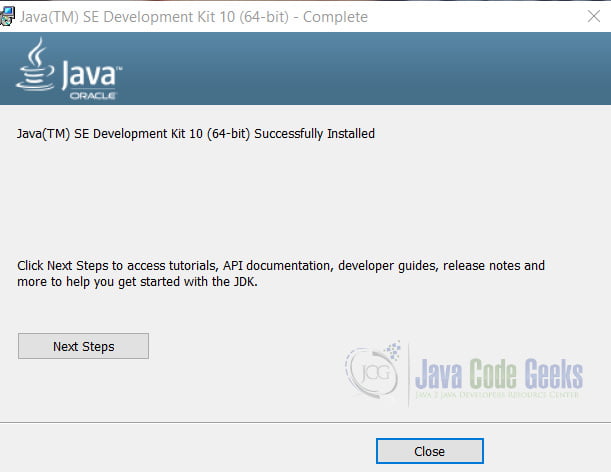
Thus, Java has been installed successfully.
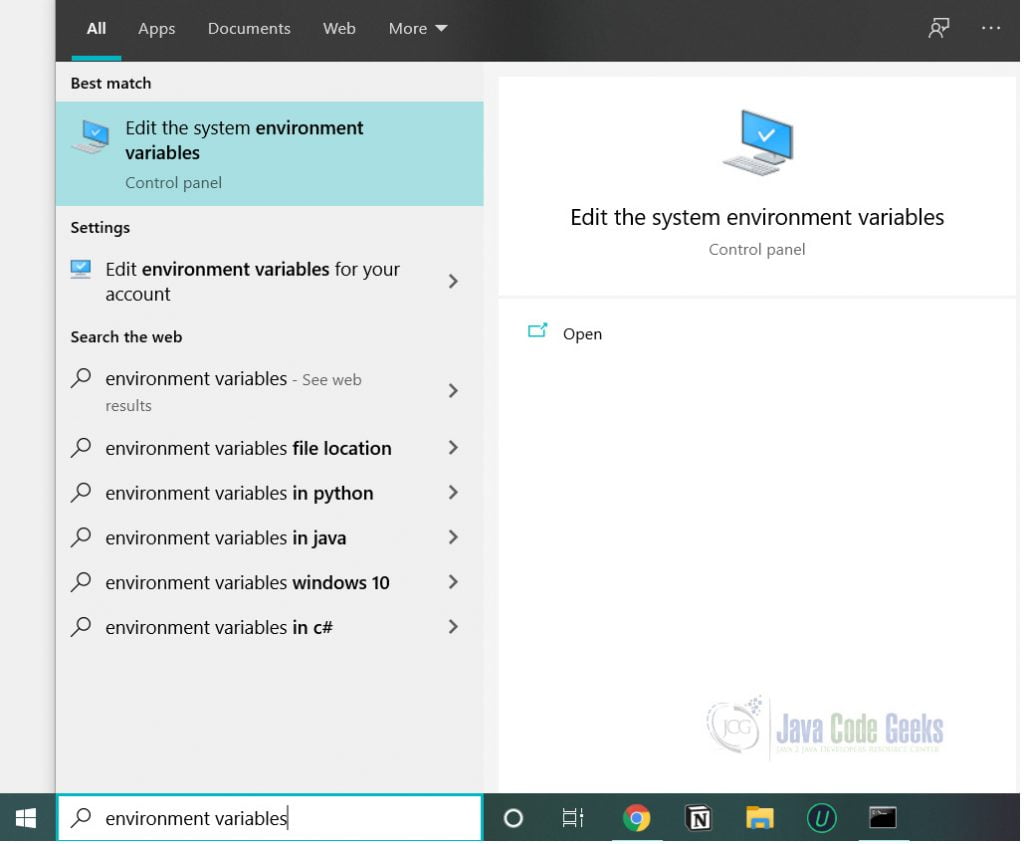
Once you have installed the set-up, you will now need to add the path of JDK and JRE to the environment variables. For this, press start and search for environment variables.
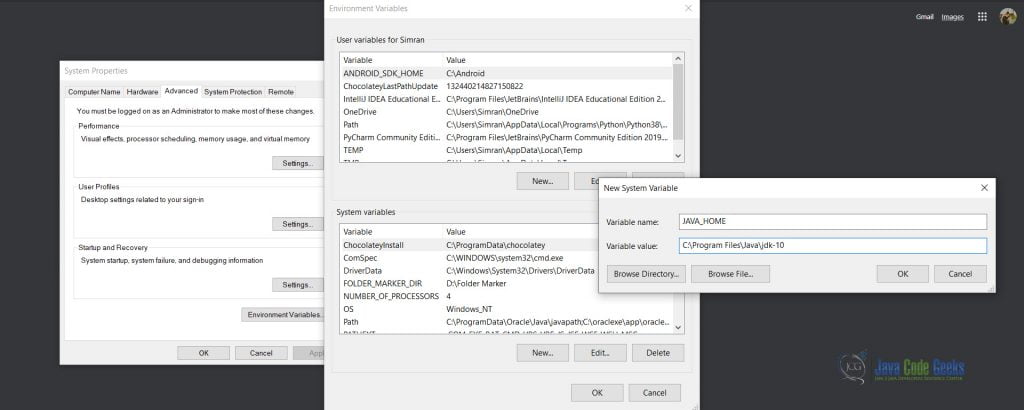
Click on Advanced > Environment Variables > New (System Variables) > Add the JAVA_HOME variable with the path of JDK-10 (as on your local machine).
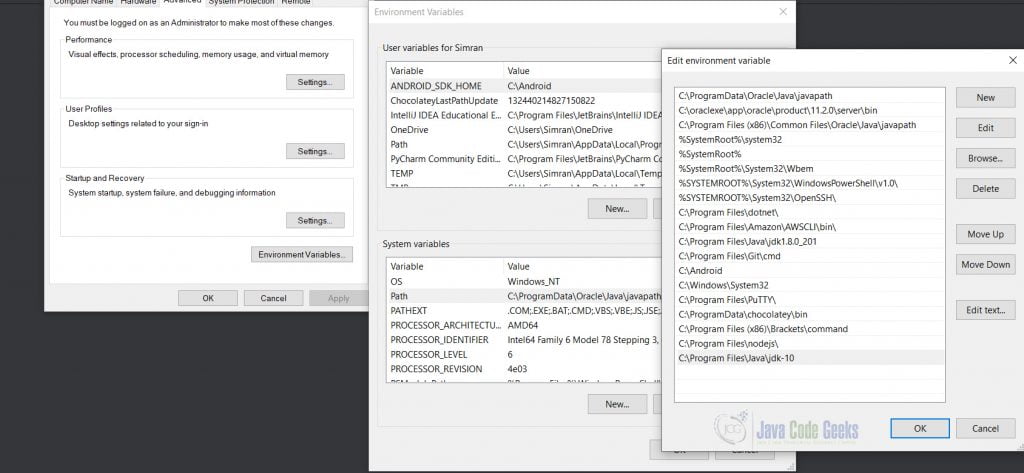
Also, add the path of JRE 10 (bin folder) to the PATH System Variable.
And, hence, you have completed the entire installation process of Java – JDK and JRE.
3. Compiling a Java program with an example
There are two commands used to run and compile a Java program. These are javac and java.
Let us now compile a Java program using CLI. Given below is a basic program to add 2 numbers. Save the file with the extension ‘.java’. In this example, I have saved it as “Example.java”.
Example.java
import java.util.*;
class Example
{
	public static void main(String[] args) {
	Scanner scan = new Scanner(System.in);
	int a = scan.nextInt();
	int b = scan.nextInt();
	System.out.println("SUM OF "+a+" and "+b+" is: "+(a+b));

	}
}
So, there are two steps of compilation.
- javac filename.java
- java classname
Note: When you run the second command, do not add the extension of the class file. The class file is generated as soon as you run the first command.
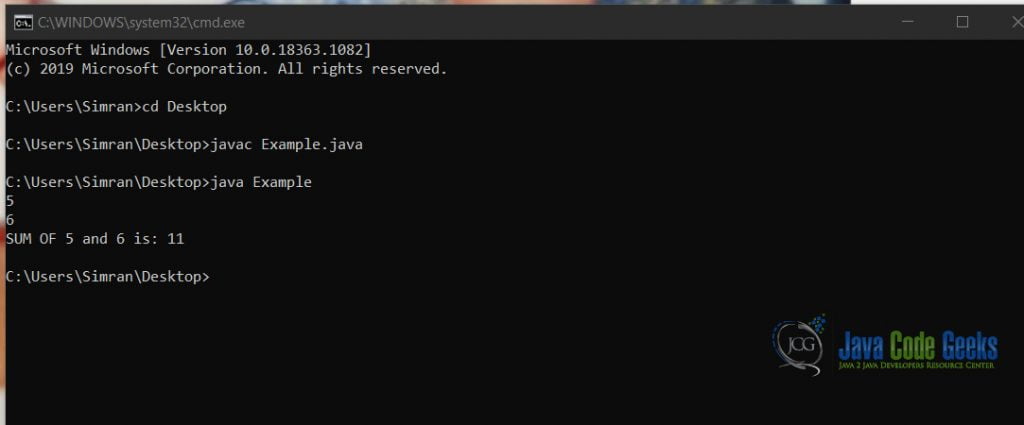
Hence, you have successfully compiled a program of Java. Kindly note if you find an error as “javac is not recognized as an internal or external command”, then please check the environment variables carefully.
4. Summary
Here’s a gist of what we have covered in the article:
- How to download and install Java
- Compiling a java program using the Command Line Interface (CLI).
5. Download the Source Code
This was an example of compilation of a Java program on local machine.
You can download the full source code of this example here: How to download Java 10 for Windows


