Modern rapid application development environments usually have a visual tool to make the UI. The visual tool allows to put the widgets on the application without use code.
1. The tools
- Java JDK 8
- Latest Eclipse Mars
- Vaadin 7.6.6
- Tomcat Server 8
2. Introduction
In this example we are going to bind widgets in Vaadin using some common techniques. We are going to use some text boxes to bind labels using the same data. This can be used to bind any widget with either, widgets or a back end with data as a data source.
3. Prerequisites
- JDK installed
- Eclipse Mars installed and working
- Vaadin plug-in installed
- Tomcat 8 installed and running
4. Set up the project
4.1 Get the Visual Designer
We are going to use the trial version of Vaadin Visual Designer. Go to the page Vaadin Designer. Click on Start your free trial.

Log in into your Vaadin account and now you can see the follow screen.
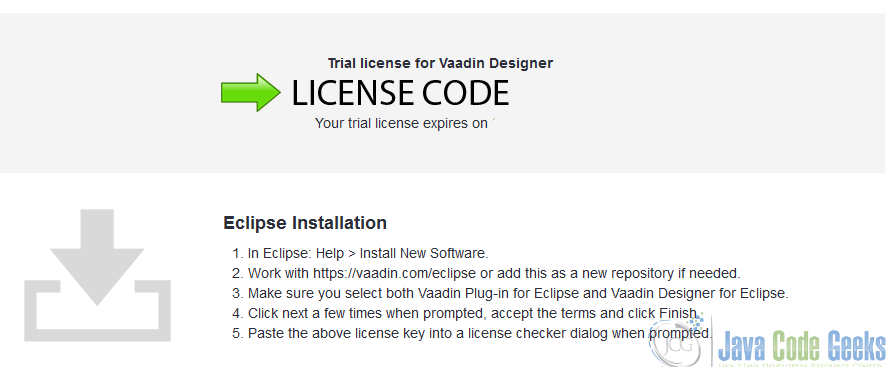
In this pop-up you can see your Vaadin license code and the installation instructions to get the Visual designer working. Start eclipse and follow the instructions to install the visual designer.
4.2 Create the project
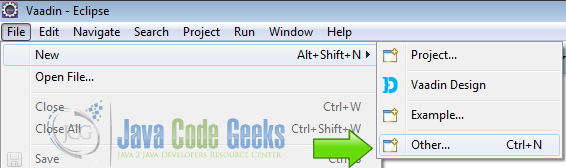
In eclipse file menu click on new -> other.
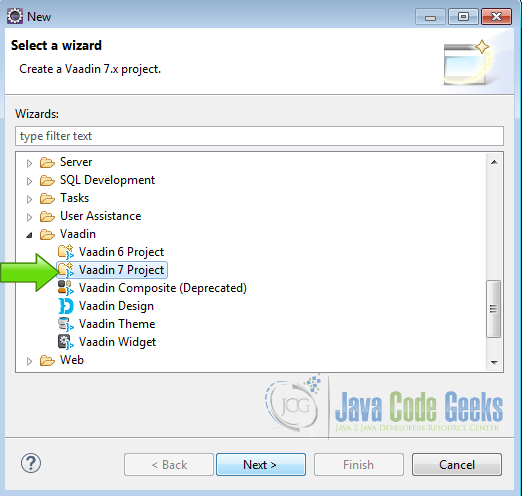
Choose Vaadin 7 project from the drop down list.
Name the project.
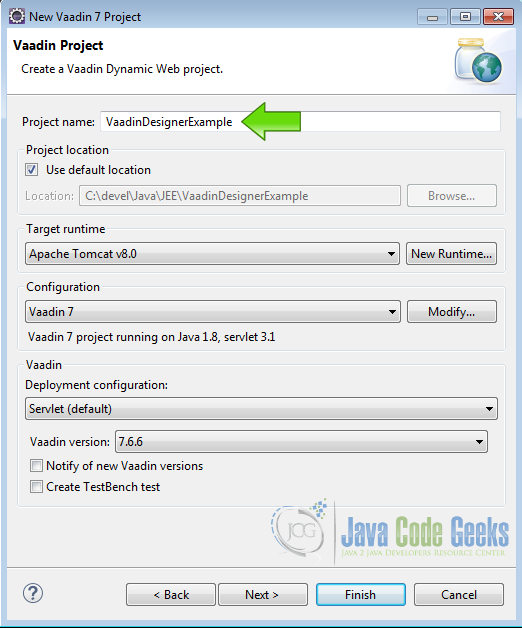
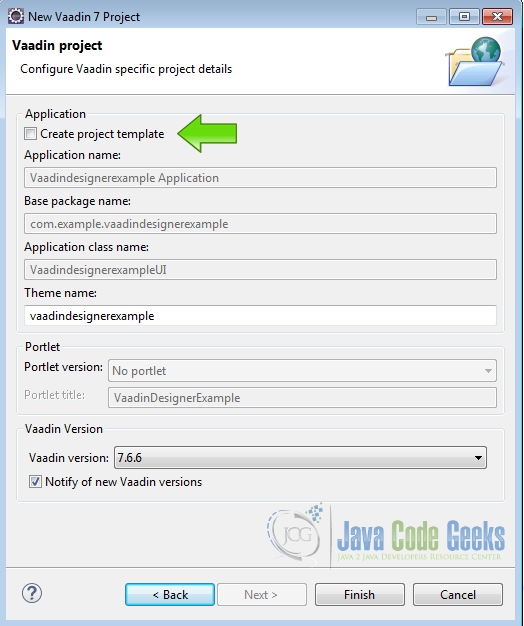
Click next until the last screen and deselect the option “Create project template” and press finish.
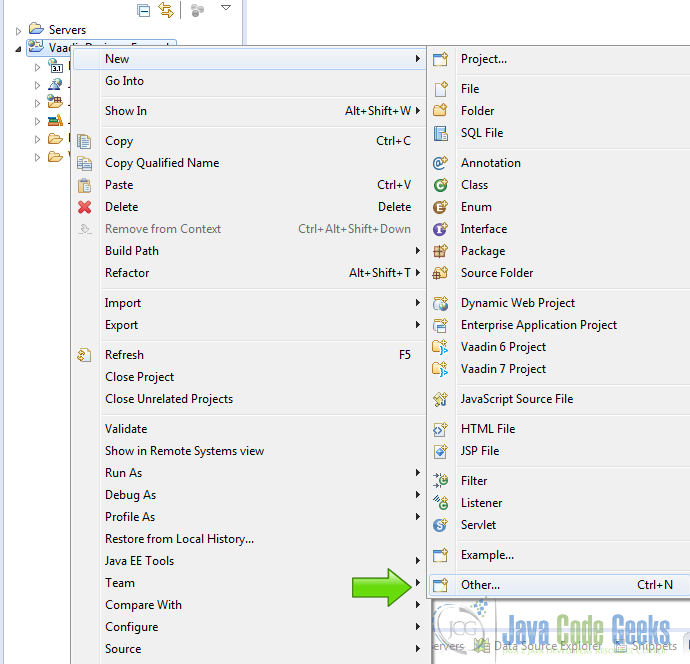
Right click on the project folder and choose New -> Other.
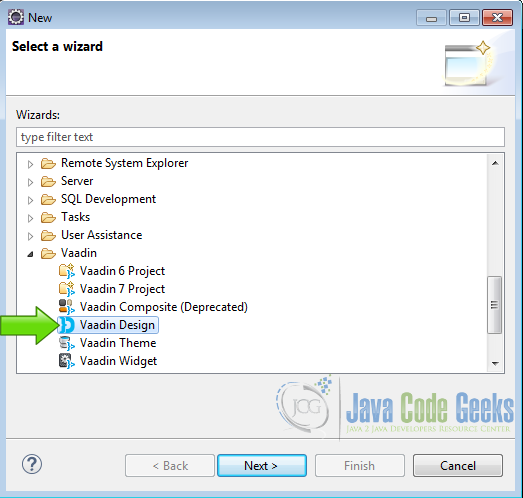
From the list choose Vaadin Design and hit next.
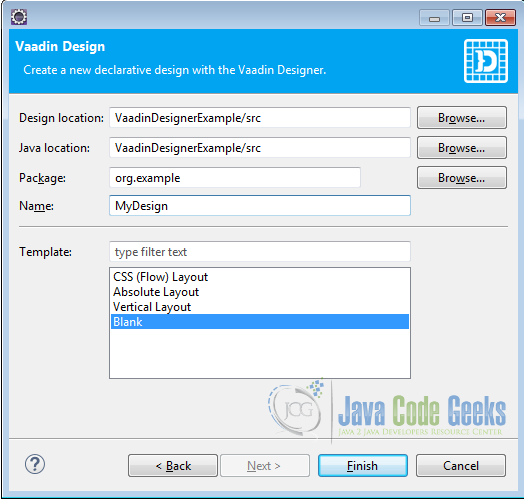
Fill the name and the package of the design. Also choose the main layout and hit finish.
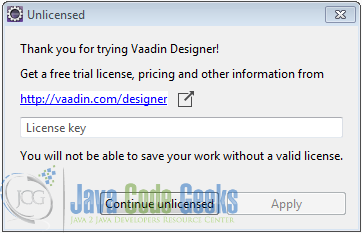
Now Vaadin is gonna ask for the license code of the designer, write the code and click apply.
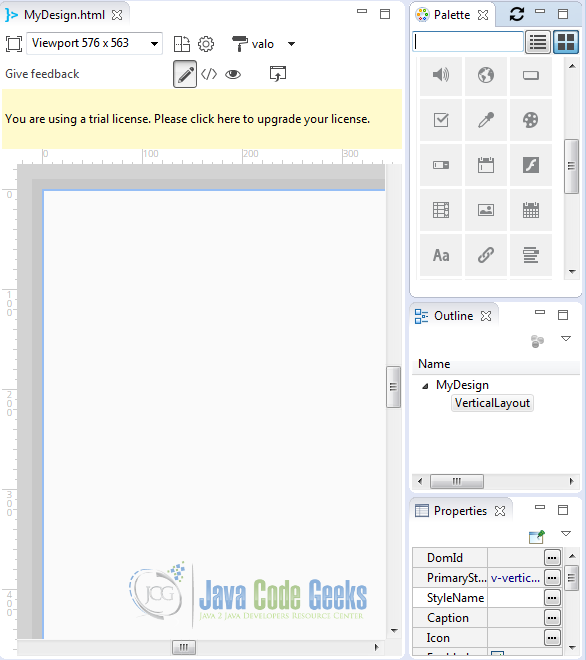
Now eclipse changes the perspective to show the Vaadin visual designer. On the center of the screen you can see your design and on the right side you can see 3 panels. The first panel has the widget pallette, the second panel has the outline of the design and the third panel has the properties of the current selected widget.
5. Coding the example
From the widget palette, drag a button into the design view.
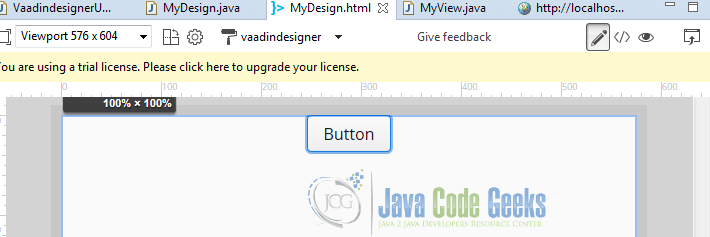
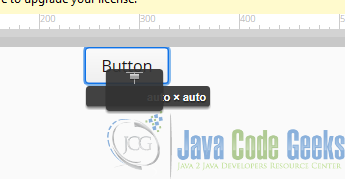
Click on the button and you can see the controls to expand and position the widget on a predefined place of the screen. Center the button in the top center position of the screen, using the controls.
Make sure the button is selected in the outline.
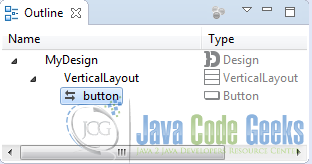
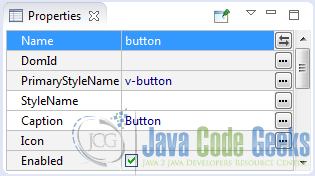
Assign a name to the button in the properties panel to use it later.
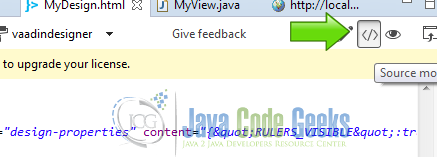
Open the code created by the designer using the button in the toolbar.
Design code
<!doctype html>
<html>
 <head>
  <meta charset="UTF-8" name="design-properties" content="{"RULERS_VISIBLE":true,"GUIDELINES_VISIBLE":false,"SNAP_TO_OBJECTS":true,"SNAP_TO_GRID":true,"SNAPPING_DISTANCE":10,"JAVA_SOURCES_ROOT":"src","THEME":"vaadindesigner"}">
 </head>
 <body>
  <vaadin-vertical-layout size-full>
   <vaadin-button plain-text _id="button" :center>
     Button
   </vaadin-button>
  </vaadin-vertical-layout>
 </body>
</html>
The code is a normal HTML5 document with special Vaadin tags for the layouts and the widgets. vaadin-vertical-layout size-full is the main vertical layout used when we created the design. vaadin-button plain-text _id="button" :center is our button.
The designer also created a class for every view created by the designer. Open the class MyDesign.java.

MyDesign.java
package com.example.vaadindesigner;

import com.vaadin.annotations.AutoGenerated;
import com.vaadin.annotations.DesignRoot;
import com.vaadin.ui.Button;
import com.vaadin.ui.VerticalLayout;
import com.vaadin.ui.declarative.Design;

/**
 * !! DO NOT EDIT THIS FILE !!
 *
 * This class is generated by Vaadin Designer and will be overwritten.
 *
 * Please make a subclass with logic and additional interfaces as needed,
 * e.g class LoginView extends LoginDesign implements View { }
 */
@DesignRoot
@AutoGenerated
@SuppressWarnings("serial")
public class MyDesign extends VerticalLayout {
	protected Button button;

	public MyDesign() {
		Design.read(this);
	}
}
As you can see this class is only for Vaadin internal use. When you want to add code to the design you must create a subclass. Design.read(this); reads the declarative design for the given root component.
Create a subclass of my design to use it.
MyDesign subclass
public class MyView extends MyDesign {

	private static final long serialVersionUID = 1L;

	public MyView() {
		button.addClickListener(new ClickListener() {

			private static final long serialVersionUID = 1L;

			@Override
			public void buttonClick(ClickEvent event) {
				Notification.show("Button");

			}
		});
	}

}
public class MyView extends MyDesign extends the design. button.addClickListener(new ClickListener() using the name of the button, adds a listener.
Notification.show("Button"); when the button is clicked a notification is shown.
Create the main class of our example.
Main Class
public class VaadindesignerUI extends UI {

	@WebServlet(value = "/*", asyncSupported = true)
	@VaadinServletConfiguration(productionMode = false, ui = VaadindesignerUI.class, widgetset = "com.example.vaadindesigner.widgetset.VaadindesignerWidgetset")
	public static class Servlet extends VaadinServlet {
	}

	@Override
	protected void init(VaadinRequest request) {
		MyView myview = new MyView();
		setContent(myview);
	}

}
In the init method of the main class:
MyView myview = new MyView(); instantiates the view, that is a subclass of the design. setContent(myview); sets the root of the project to the view.
6. The complete source code
VaadindesignerUI.java
package com.example.vaadindesigner;

import javax.servlet.annotation.WebServlet;

import com.vaadin.annotations.Theme;
import com.vaadin.annotations.VaadinServletConfiguration;
import com.vaadin.server.VaadinRequest;
import com.vaadin.server.VaadinServlet;
import com.vaadin.ui.UI;

@SuppressWarnings("serial")
@Theme("vaadindesigner")
public class VaadindesignerUI extends UI {

	@WebServlet(value = "/*", asyncSupported = true)
	@VaadinServletConfiguration(productionMode = false, ui = VaadindesignerUI.class, widgetset = "com.example.vaadindesigner.widgetset.VaadindesignerWidgetset")
	public static class Servlet extends VaadinServlet {
	}

	@Override
	protected void init(VaadinRequest request) {
		MyView myview = new MyView();
		setContent(myview);
	}

}
MyDesign.java
package com.example.vaadindesigner;

import com.vaadin.annotations.AutoGenerated;
import com.vaadin.annotations.DesignRoot;
import com.vaadin.ui.Button;
import com.vaadin.ui.VerticalLayout;
import com.vaadin.ui.declarative.Design;

/**
 * !! DO NOT EDIT THIS FILE !!
 *
 * This class is generated by Vaadin Designer and will be overwritten.
 *
 * Please make a subclass with logic and additional interfaces as needed,
 * e.g class LoginView extends LoginDesign implements View { }
 */
@DesignRoot
@AutoGenerated
@SuppressWarnings("serial")
public class MyDesign extends VerticalLayout {
	protected Button button;

	public MyDesign() {
		Design.read(this);
	}
}
MyView.java
package com.example.vaadindesigner;

import com.vaadin.ui.Button.ClickEvent;
import com.vaadin.ui.Button.ClickListener;
import com.vaadin.ui.Notification;

public class MyView extends MyDesign {

	private static final long serialVersionUID = 1L;

	public MyView() {
		//Button myB = (Button) this.getComponent(0);
		button.addClickListener(new ClickListener() {

			private static final long serialVersionUID = 1L;

			@Override
			public void buttonClick(ClickEvent event) {
				Notification.show("Button");

			}
		});
	}

}
MyDesign.html
<!doctype html>
<html>
 <head>
  <meta charset="UTF-8" name="design-properties" content="{"RULERS_VISIBLE":true,"GUIDELINES_VISIBLE":false,"SNAP_TO_OBJECTS":true,"SNAP_TO_GRID":true,"SNAPPING_DISTANCE":10,"JAVA_SOURCES_ROOT":"src","THEME":"vaadindesigner"}">
 </head>
 <body>
  <vaadin-vertical-layout size-full>
   <vaadin-button plain-text _id="button" :center>
     Button
   </vaadin-button>
  </vaadin-vertical-layout>
 </body>
</html>
7. Running the example
Right click on the project folder and choose Run as -> Run on server choose Tomcat 8 server and hit finish.
8. Results
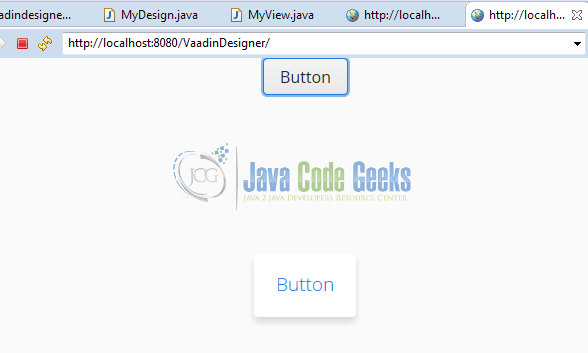
As you can see, you have on the screen a button centered and when youn click on it you get a Vaadin notification.
9. Download the Source Code
This was an example of: Vaadin Designer.
