Suppose you need a reusable component in you web application, a component widget that you need to add in multiple places into your application, instead of code the component functionality every time, Vaadin offers in handy the possibility of create a reusable widget that you can use every time you need it, saving your time and giving you a more elegant solution than code the whole thing every time.
1. The tools
- Java JDK 8
- Latest Eclipse Mars
- Vaadin 7.6.2
2. Introduction
In this example we are going to create a Vaadin widget that you can adapt to your needs. With the Vaadin plugin you have an automated way to make the widget and add it to your project ready to customize and use. Let’s get started!
3. Prerequisites
- JDK installed
- Eclipse Mars installed and working
- Vaadin Plugin 7.6.2
4. Create the project
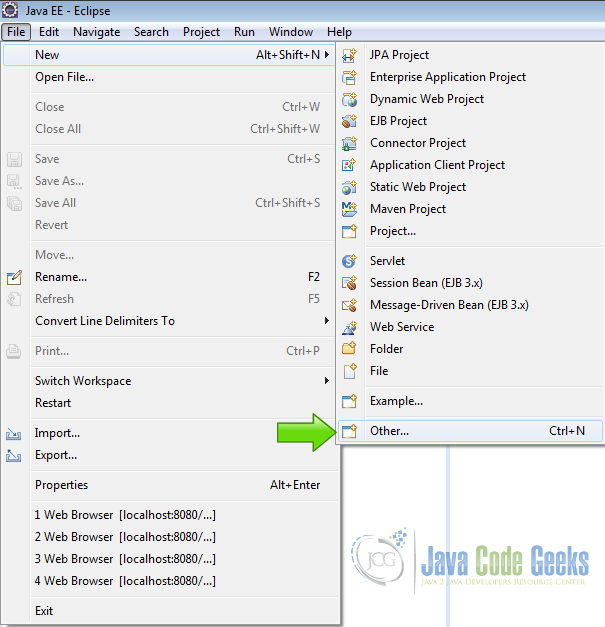
Fire up eclipse and go to the menu File -> New -> Other:
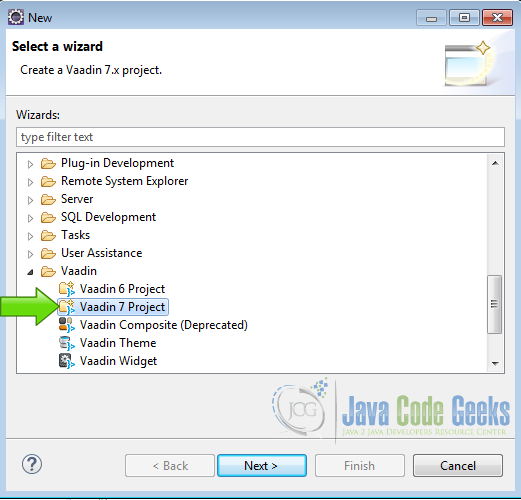
Choose from the list Vaadin 7 Project and hit next.
Name your project and hit finish:
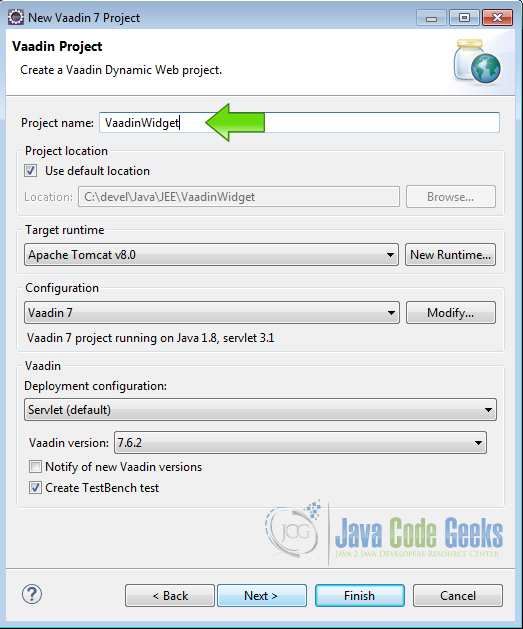
Now you have a fresh Vaadin project ready to run. Let’s add the custom component to the project.
5. Create the Vaadin custom component
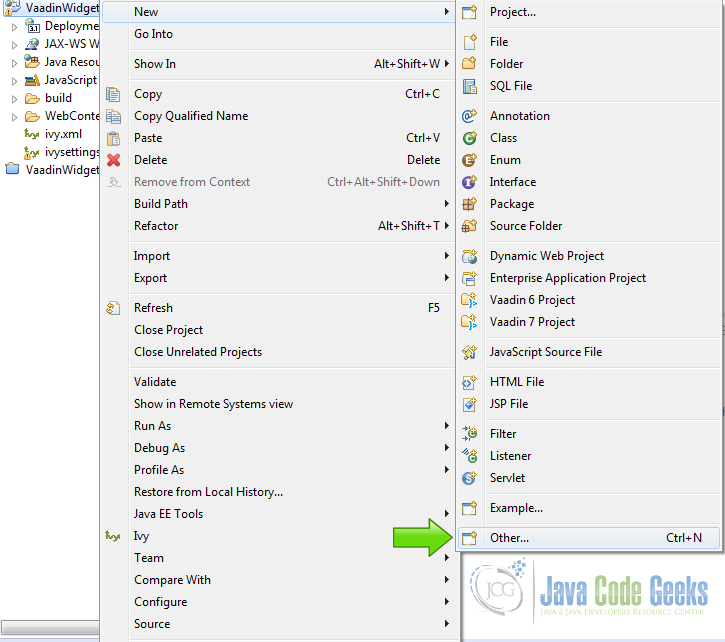
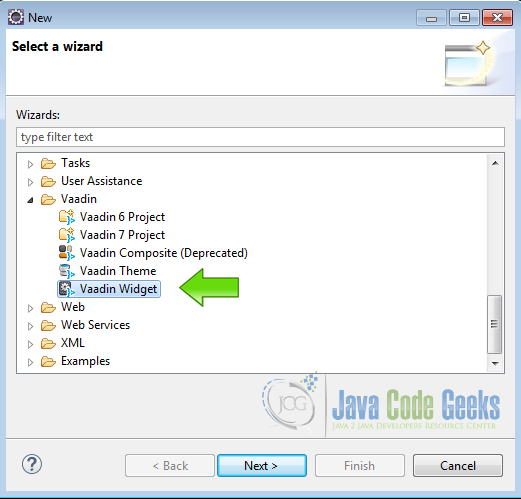
Right click in the project folder inside eclipse and choose New -> Other:
In the following pop-up window, choose from the list Vaadin Widget and hit next.
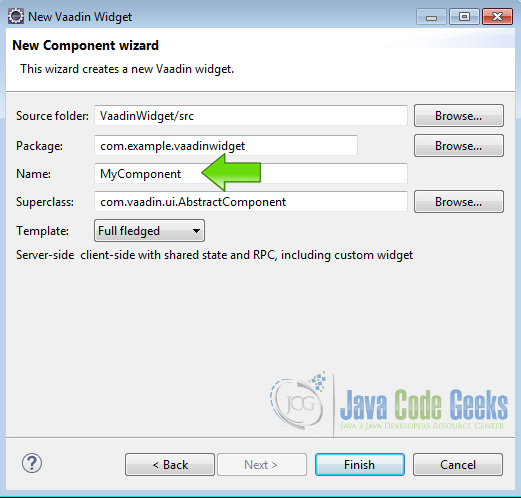
Now pick a name for your component and hit finish.
You are done creating the custom widget.
6. Review your project
Take a look at your project tree and note that Vaadin have created a bunch of files for you saving you to type a lot of boilerplate code, also note that Vaadin organize your project in packages with your main application in one package com.example.vaadinwidget and the custom component in other package com.example.vaadinwidget.client.mycomponent, abstracting the inner details of the widget.
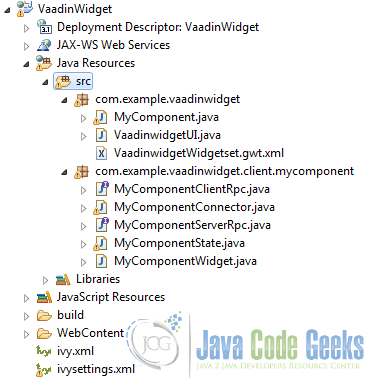
All the code of the widget are in the project for you to customize if your widget is complex enough or if you need to.
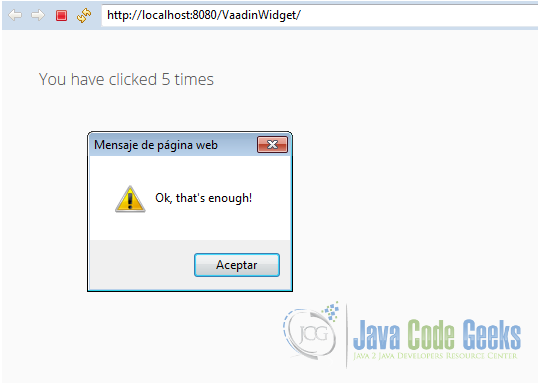
Vaadin have created a client side text widget when you click on it, it changes the text of the widget and if you click 5 times, make the application fire an alert with a message.
Look at the code of the file that manage the functionality of the component, it extends com.vaadin.ui.AbstractComponent
MyComponent.java
package com.example.vaadinwidget;

import com.example.vaadinwidget.client.mycomponent.MyComponentClientRpc;
import com.example.vaadinwidget.client.mycomponent.MyComponentServerRpc;
import com.vaadin.shared.MouseEventDetails;
import com.example.vaadinwidget.client.mycomponent.MyComponentState;

public class MyComponent extends com.vaadin.ui.AbstractComponent {

    private MyComponentServerRpc rpc = new MyComponentServerRpc() {
        private int clickCount = 0;

        public void clicked(MouseEventDetails mouseDetails) {
            // nag every 5:th click using RPC
            if (++clickCount % 5 == 0) {
                getRpcProxy(MyComponentClientRpc.class).alert(
                        "Ok, that's enough!");
            }
            // update shared state
            getState().text = "You have clicked " + clickCount + " times";
        }
    };

    public MyComponent() {
        registerRpc(rpc);
    }

    @Override
    public MyComponentState getState() {
        return (MyComponentState) super.getState();
    }
}
we have clickCount that counts the mouse clicks and also we have a function clicked that capture the mouse click and when clickCount is 5 it fire an alert also modifies the widget text with getState().text = "You have clicked " + clickCount + " times";

7. Compile the widgetset
From the Vaadin button in the toolbar choose compile widgetset.
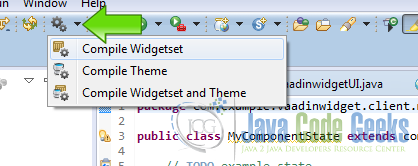
and after a while you widgetset is compiled using the GWT compiler shipped with the Vaadin plugin.
8. Run The project
Right click in the project folder and choose Run As -> Run on server.
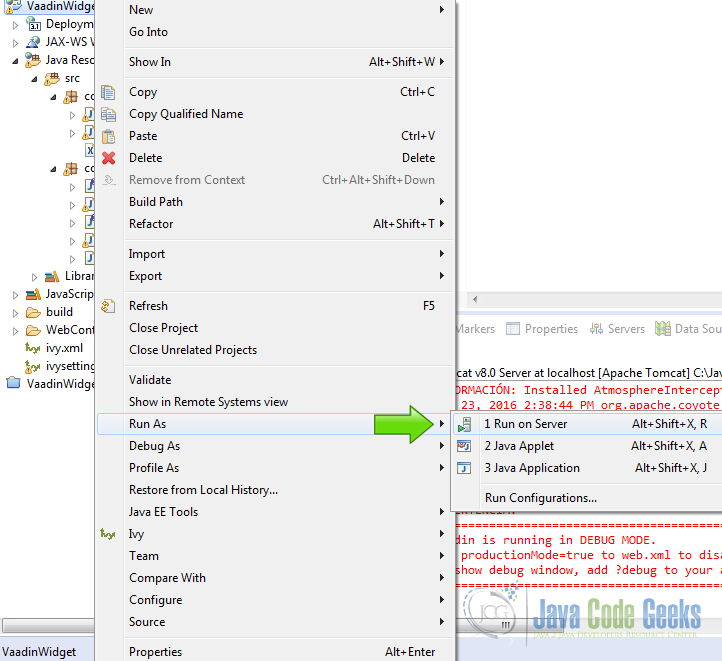
Then choose your favorite server and hit finish.

9. Application output
You should have your custom component running in your application:
10. Get the source code
This was an example about Vaadin Custom Component.
You can download the Eclipse project here: VaadinWidget
