This is an example of how to handle exceptions in Spring MVC. In Spring MVC Framework exceptions may occur when a controller is invoked. These exceptions may be handled either with the help of SimpleMappingExceptionResolver class, or with the @ExceptionHandler annotation.
SimpleMappingExceptionResolver is a HandlerExceptionResolver implementation for mapping exception class names to view names, either for a set of given handlers or for all handlers in the DispatcherPortlet. It is set and defined in the container xml configuration file. On the other hand, when xml configuration needs to be avoided, the @ExceptionHandler annotation can be used on Controller methods that will thus be invoked to handle the exception.
Below you can check on how to implement both ways. We will create a simple project with two Controller classes, each one for a case. We will also create a custom Exception class to be used as the exception to handle, and an error page that will be the view part of our MVC project example.
You may skip project creation and jump directly to the beginning of the example below.
Our preferred development environment is Eclipse. We are using Eclipse Juno (4.2) version, along with Maven Integration plugin version 3.1.0. You can download Eclipse from here and Maven Plugin for Eclipse from here. The installation of Maven plugin for Eclipse is out of the scope of this tutorial and will not be discussed. We are also using JDK 7_u_21. Tomcat 7 is the application server used.
Let’s begin,
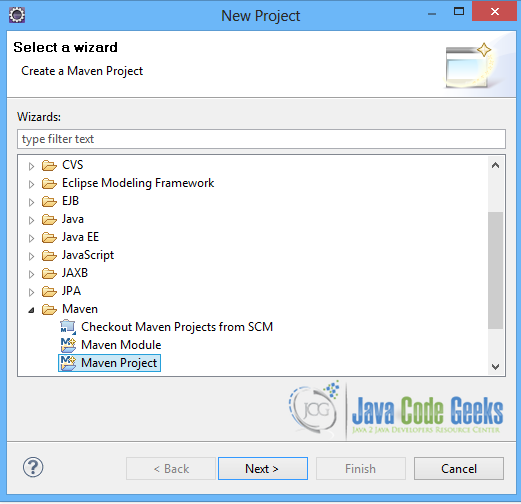
1. Create a new Maven project
Go to File -> Project ->Maven -> Maven Project.
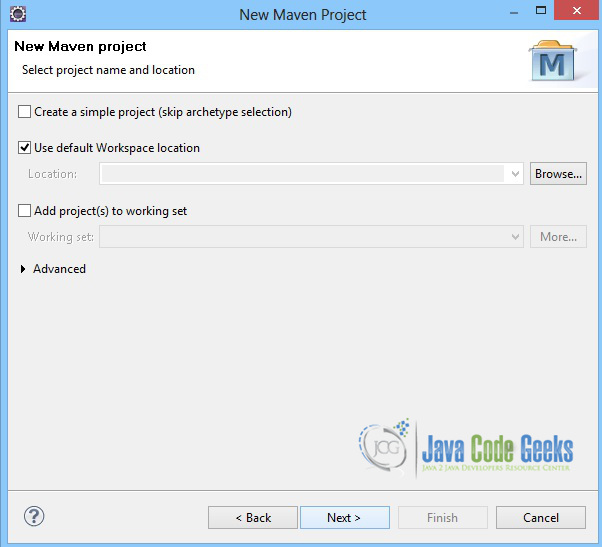
In the “Select project name and location” page of the wizard, make sure that “Create a simple project (skip archetype selection)” option is unchecked, hit “Next” to continue with default values.
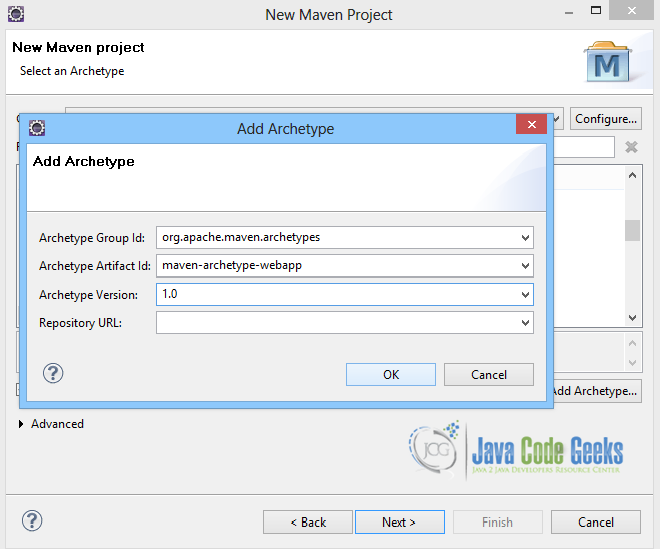
Here the maven archetype for creating a web application must be added. Click on “Add Archetype” and add the archetype. Set the “Archetype Group Id” variable to "org.apache.maven.archetypes", the “Archetype artifact Id” variable to "maven-archetype-webapp" and the “Archetype Version” to "1.0". Click on “OK” to continue.
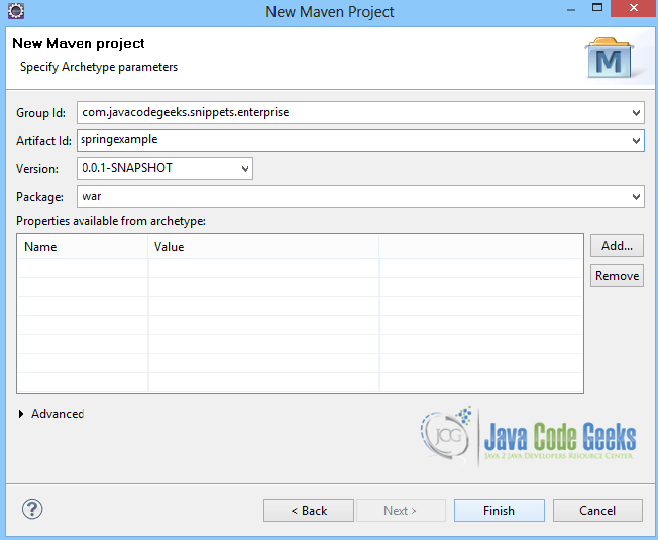
In the “Enter an artifact id” page of the wizard, you can define the name and main package of your project. Set the “Group Id” variable to "com.javacodegeeks.snippets.enterprise" and the “Artifact Id” variable to "springexample". The aforementioned selections compose the main project package as "com.javacodegeeks.snippets.enterprise.springexample" and the project name as "springexample". Set the “Package” variable to "war", so that a war file will be created to be deployed to tomcat server. Hit “Finish” to exit the wizard and to create your project.
The Maven project structure is shown below:
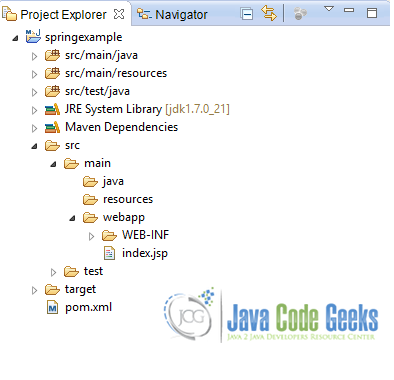
- It consists of the following folders:
- /src/main/java folder, that contains source files for the dynamic content of the application,
- /src/test/java folder contains all source files for unit tests,
- /src/main/resources folder contains configurations files,
- /target folder contains the compiled and packaged deliverables,
- /src/main/resources/webapp/WEB-INF folder contains the deployment descriptors for the Web application ,
- the pom.xml is the project object model (POM) file. The single file that contains all project related configuration.
2. Add Spring-MVC dependencies
Add the dependencies in Maven’s pom.xml file, by editing it at the “Pom.xml” page of the POM editor. The dependency needed for MVC is the spring-webmvc package. We also add the jstl package, since we will make use of it in the view part.
pom.xml:
<project xmlns="http://maven.apache.org/POM/4.0.0" xmlns:xsi="http://www.w3.org/2001/XMLSchema-instance"
	xsi:schemaLocation="http://maven.apache.org/POM/4.0.0 http://maven.apache.org/maven-v4_0_0.xsd">
	<modelVersion>4.0.0</modelVersion>
	<groupId>com.javacodegeeks.snippets.enterprise</groupId>
	<artifactId>springexample</artifactId>
	<packaging>war</packaging>
	<version>0.0.1-SNAPSHOT</version>
	<name>springexample Maven Webapp</name>
	<url>http://maven.apache.org</url>
	<dependencies>

		<dependency>
			<groupId>org.springframework</groupId>
			<artifactId>spring-webmvc</artifactId>
			<version>${spring.version}</version>
		</dependency>

		<dependency>
			<groupId>javax.servlet</groupId>
			<artifactId>servlet-api</artifactId>
			<version>2.5</version>
		</dependency>
		<dependency>
			<groupId>javax.servlet</groupId>
			<artifactId>jstl</artifactId>
			<version>1.2</version>
			<scope>runtime</scope>
		</dependency>
	</dependencies>
	<build>
		<finalName>springexample</finalName>
	</build>

	<properties>
		<spring.version>3.2.3.RELEASE</spring.version>
	</properties>
</project>
3. Configure the application
The files that we must configure in the application are the web.xml file and the mvc-dispatcher-servlet.xml file.
The web.xml file is the file that defines everything about the application that a server needs to know. It is placed in the /WEB-INF/ directory of the application. The <servlet> element declares the DispatcherServlet. When the DispatcherServlet is initialized, the framework will try to load the application context from a file named [servlet-name]-servlet.xml located in /WEB-INF/ directory. So, we have created the mvc-dispatcher-servlet.xml file, that will be explained below. The <servlet-mapping> element of web.xml file specifies what URLs will be handled by the DispatcherServlet.
web.xml
<?xml version="1.0" encoding="UTF-8"?>
<web-app xmlns:xsi="http://www.w3.org/2001/XMLSchema-instance" xmlns="http://java.sun.com/xml/ns/javaee" xmlns:web="http://java.sun.com/xml/ns/javaee/web-app_2_5.xsd" xsi:schemaLocation="http://java.sun.com/xml/ns/javaee http://java.sun.com/xml/ns/javaee/web-app_3_0.xsd" id="WebApp_ID" version="3.0"> <display-name>Archetype Created Web Application</display-name>

	<servlet>
		<servlet-name>mvc-dispatcher</servlet-name>
		<servlet-class>
			org.springframework.web.servlet.DispatcherServlet
        </servlet-class>
		<load-on-startup>1</load-on-startup>
	</servlet>

	<servlet-mapping>
		<servlet-name>mvc-dispatcher</servlet-name>
		<url-pattern>/</url-pattern>
	</servlet-mapping>
</web-app>
The mvc-dispatcher-servlet.xml file is also placed in WebContent/WEB-INF directory. The org.springframework.web.servlet.view.InternalResourceViewResolver bean is used as internal resource views resolver, meaning that it will find the jsp and html files in the WebContent/WEB-INF/ folder. We can also set properties such as prefix or suffix to the view name to generate the final view page URL. This is the file where all beans created, such as Controllers, will be placed and defined, as shown below:
mvc-dispatcher-servlet.xml
<beans xmlns="http://www.springframework.org/schema/beans"
	xmlns:context="http://www.springframework.org/schema/context"
	xmlns:mvc="http://www.springframework.org/schema/mvc" xmlns:xsi="http://www.w3.org/2001/XMLSchema-instance"
	xsi:schemaLocation=" http://www.springframework.org/schema/beans http://www.springframework.org/schema/beans/spring-beans-3.0.xsd http://www.springframework.org/schema/context
        http://www.springframework.org/schema/context/spring-context-3.0.xsd http://www.springframework.org/schema/mvc http://www.springframework.org/schema/mvc/spring-mvc-3.0.xsd">

	<bean
class="org.springframework.web.servlet.view.InternalResourceViewResolver">
		<property name="prefix">
			<value>/WEB-INF/</value>
		</property>
		<property name="suffix">
			<value>.jsp</value>
		</property>
	</bean>

</beans>
4. Create the error page
The error page is a simple jsp page, placed in /WEB-INF/ folder. It shows the value of the attribute that was set to the Exception when thrown by the controller.
helloWorld.jsp
<html>
<body>
	<h1>Spring 3.2.3 MVC</h1>

	<h3>Error page..:  "${exception.message}"</h3>
</body>
</html>

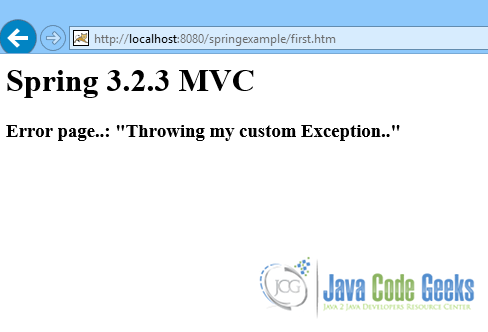
5. SimpleMappingExceptionResolver case
In this case a simple controller is created that throws an exception when invoked. Its configuration will be shown in mvc-dispatcher-servlet.xml file below. FirstController.java class extends the org.springframework.web.servlet.mvc.AbstractController and overrides its handleRequestInternal(HttpServletRequest request, HttpServletResponse response) method, where the exception is thrown.
FirstController.java
package com.javacodegeeks.snippets.enterprise;

import javax.servlet.http.HttpServletRequest;
import javax.servlet.http.HttpServletResponse;

import org.springframework.web.servlet.ModelAndView;
import org.springframework.web.servlet.mvc.AbstractController;

public class FirstController extends AbstractController {

	@Override
	protected ModelAndView handleRequestInternal(HttpServletRequest request,
			HttpServletResponse response) throws Exception {

		throw new CustomException("Throwing my custom Exception..");

	}
}
CustomException.java class is the exception that will be thrown in both cases. Note that the same steps can be followed in the controllers when we need to handle all types of Java exceptions, such as java.lang.Exception.
CustomException.java
package com.javacodegeeks.snippets.enterprise;

public class CustomException extends Exception {

	private static final long serialVersionUID = -4744430183523721711L;

	private String message = "This is an exception..";

	public CustomException(String message) {
		this.message = message;
	}

	public String getMessage() {
		return message;
	}

	public void setMessage(String message) {
		this.message = message;
	}
}
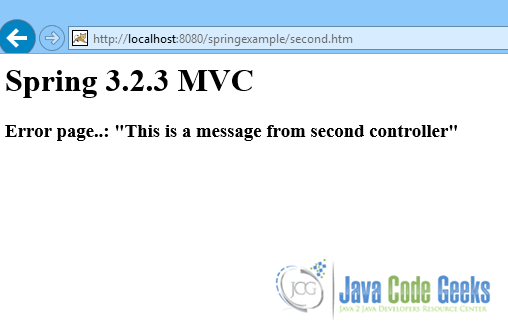
6. @ExceptionHandler case
The second controller makes use of the @ExceptionHandler annotation. SecondController.java class is an @Controller annotated class, thus declaring that it is a Controller. It has a method, second(), annotated with the @RequestMapping annotation. This annotation maps a URL to either an entire class or a particular handler method. This method also throws a CustomException.
In this case the exception is handled by the @ExecptionHandler annotation, which is set in the handleCustomException(CustomException ex) method. This method returns the error view created above, making use of the org.springframework.web.servlet.ModelAndView class.
SecondController.java
package com.javacodegeeks.snippets.enterprise;

import org.springframework.stereotype.Controller;
import org.springframework.web.bind.annotation.ExceptionHandler;
import org.springframework.web.bind.annotation.RequestMapping;
import org.springframework.web.bind.annotation.RequestMethod;
import org.springframework.web.servlet.ModelAndView;

@Controller
public class SecondController {

	@RequestMapping(value = "/second", method = RequestMethod.GET)
	public ModelAndView second() throws CustomException {
		System.out.println("Throwing exception");
		throw new CustomException("This is a message from second controller");
	}

	@ExceptionHandler(CustomException.class)
	public ModelAndView handleCustomException(CustomException ex) {
		System.out.println("Handling exception");
		ModelAndView model = new ModelAndView("error");
		model.addObject("exception", ex);
		return model;

	}

}
7. Configure mvc-dispatcher-servlet.xml file
The mvc-dispatcher-servlet.xml file must be enriched with configuration concerning both controllers.
For the first controller, the org.springframework.web.servlet.mvc.support.ControllerClassNameHandlerMapping is used, which is defined as a bean. It is used to map any URL requests that start with first or first* to the FirstController.java class. The first controller is also defined as a bean here.
The important bean to define and configure for the first controller is the org.springframework.web.servlet.handler.SimpleMappingExceptionResolver bean. It has a property named exceptionMappings. Its value is a key-value pair, consisting of the CustomException class declaration and the error.jsp page declaration. This is where the mapping of the exception and the view is configured for the first controller.
For the second controller, the context:component-scan base-package tag is used, so that the container will scan the base package declared to search for the annotated class. The mvc:annotation-driven tag is also used, to declare explicit support for annotations in the controller.
mvc-dispatcher-servlet.xml
<beans xmlns="http://www.springframework.org/schema/beans"
	xmlns:context="http://www.springframework.org/schema/context"
	xmlns:mvc="http://www.springframework.org/schema/mvc" xmlns:xsi="http://www.w3.org/2001/XMLSchema-instance"
	xsi:schemaLocation=" http://www.springframework.org/schema/beans http://www.springframework.org/schema/beans/spring-beans-3.0.xsd http://www.springframework.org/schema/context http://www.springframework.org/schema/context/spring-context-3.0.xsd http://www.springframework.org/schema/mvc http://www.springframework.org/schema/mvc/spring-mvc-3.0.xsd">

	<bean
		class="org.springframework.web.servlet.view.InternalResourceViewResolver">
		<property name="prefix">
			<value>/WEB-INF/</value>
		</property>
		<property name="suffix">
			<value>.jsp</value>
		</property>
	</bean>

	<bean
		class="org.springframework.web.servlet.mvc.support.ControllerClassNameHandlerMapping" />

	<bean class="com.javacodegeeks.snippets.enterprise.FirstController" />

	<bean
		class="org.springframework.web.servlet.handler.SimpleMappingExceptionResolver">
		<property name="exceptionMappings">
			<props>
				<prop key="com.javacodegeeks.snippets.enterprise.CustomException">
					error
				</prop>
			</props>
		</property>
	</bean>

	<context:component-scan base-package="com.javacodegeeks.snippets.enterprise" />
	<mvc:annotation-driven/>
</beans>
8. Run the application
After deploying the application to tomcat server, you can take a look at the two controllers’ results below:
This was an example of how to handle exceptions in Spring MVC.
Download the Eclipse project of this tutorial : SpringMVCExceptionHandling

got the concept, but how and where will we log the exception.