EL means the Expression Language, which is used for accessing the data and makes it possible to easily access the application data stored in the JavaBean’s components and other objects like request, session, and application etc. The JSP expression language allows a page author to access a bean using a simple syntax such as $(expr).
Table Of Contents
1. Introduction
The Expression language (EL) has been introduced in JSP 2.0. The main purpose of this EL is to simplify the process of accessing the data from the bean properties and from the implicit objects. By using JSP Expression Language developers can get the data from JavaBeans, Maps, Arrays, and Lists that have been stored as attributes of a web application. Before JSP 2.0, developers could use only Scriptlets, Expressions, or the custom tag to include the server-state in the JSP page output.
- EL makes it easier to integrate the server-side state with the presentation output
- EL expressions are no longer limited to the
JSTLaction attributes but may be used in any standard or custom action attribute declared to accept a runtime expression - EL expressions can be used in the static text and can directly be used in the template text outside of any actions
- EL expressions are always written between the delimiters i.e.
${and}
1.1 Syntax of Expression Language (EL)
In a JSP, by default, the scripting elements are enabled and EL statement/expressions are disabled. To enable the EL expression in a JSP, developers need to use following page directive.
<%@ page isELIgnored="false"%>
EL Syntax
$(expression)
- In JSP, whatever is present in the braces gets evaluated at runtime and sent to the output stream
- The expression is a valid EL expression and can be mixed with a static text and can be combined with other expressions to form a larger expression
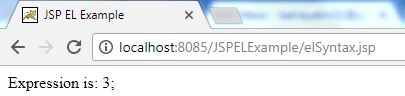
To get a better idea, on how expression works in a JSP, we will see the below example where EL is used as an operator to add two numbers and get the output.
<%@ page language="java" contentType="text/html; charset=ISO-8859-1" pageEncoding="ISO-8859-1"%>
<!DOCTYPE html PUBLIC "-//W3C//DTD HTML 4.01 Transitional//EN" "http://www.w3.org/TR/html4/loose.dtd">
<html>
	<head>
	    <meta http-equiv="Content-Type" content="text/html; charset=ISO-8859-1">
	    <title>JSP EL Example</title>
	</head>
	<body>
		<div id="demoDivId">
			<span id="demoExpressionId">Expression is: </span><span id="outputResultId">${1+2};</span>
		</div>
	</body>
</html>
At code line no. 10, Expression Language (EL) is set where we are adding the two numbers i.e. 1+2, hence the code will give output as: 3.
When developers will execute the above code, they will have the following output.
1.2 Implicit Objects in Expression Language (EL)
JSP Expression Language (EL) provides many implicit objects that developers can use to get the attributes from different scopes and parameter values.
Note: Do note, these Implicit Objects are different from JSP Implicit Objects and can be used only with JSP EL.
The list is given below.
| Implicit Objects | Type | Description |
|---|---|---|
pageScope | Map | It maps the given attribute name with the value set in the page scope. |
requestScope | Map | It maps the given attribute name with the value set in the request scope. |
sessionScope | Map | It maps the given attribute name with the value set in the session scope. |
applicationScope | Map | It maps the given attribute name with the value set in the application scope. |
param | Map | It maps the request parameter to the single value. |
paramValues | Map | It maps the request parameter to an array of values. |
header | Map | It maps the request header name to the single value. |
headerValues | Map | It maps the request header name to an array of values. |
cookie | Map | It maps the given cookie name to the cookie value. |
initParam | Map | It maps the initialization parameters. |
pageContext | pageContext | It provides access to many objects i.e. request, session etc. |
1.3 Reserve Words in Expression Language (EL)
There are many reserved words in the Expression Language (EL) and the list is given below.
| lt | le | gt | ge |
| eq | ne | true | false |
| and | or | not | instanceof |
| div | mod | empty | null |
2. JSP Expression Language Tutorial
2.1 Tools Used
We are using Eclipse Kepler SR2, JDK 8 and Maven. Having said that, we have tested the code against JDK 1.7 and it works well.
2.2 Project Structure
Firstly, let’s review the final project structure, in case you are confused about where you should create the corresponding files or folder later!

2.3 Project Creation
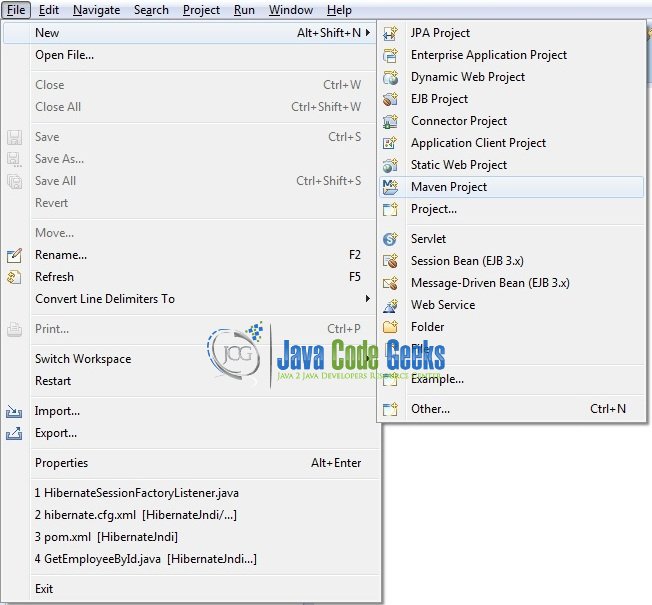
This section will demonstrate on how to create a Java-based Maven project with Eclipse. In Eclipse IDE, go to File -> New -> Maven Project.
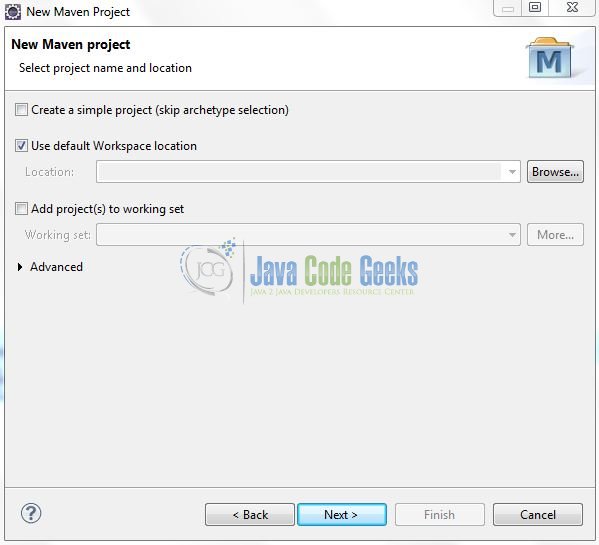
In the New Maven Project window, it will ask you to select project location. By default, ‘Use default workspace location’ will be selected. Just click on next button to proceed.
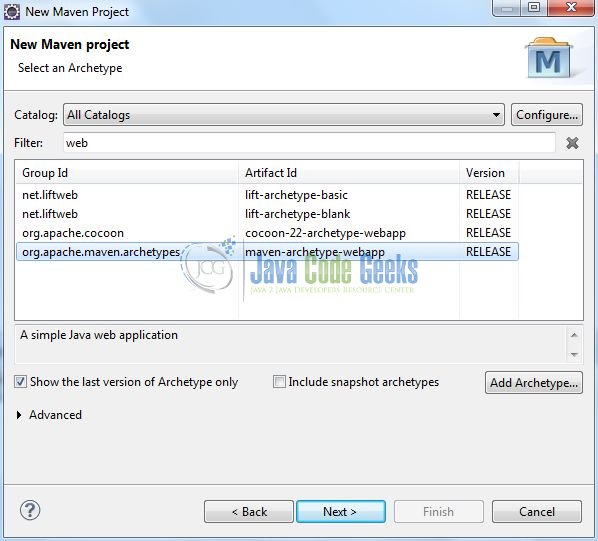
Select the Maven Web App Archetype from the list of options and click next.
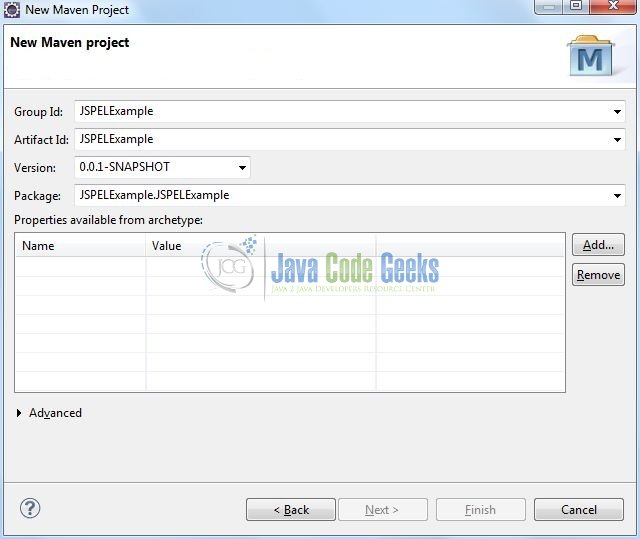
It will ask you to ‘Enter the group and the artifact id for the project’. We will input the details as shown in the below image. The version number will be by default: 0.0.1-SNAPSHOT.
Click on Finish and the creation of a maven project is completed. If you observe, it has downloaded the maven dependencies and a pom.xml file will be created. It will have the following code:
pom.xml
<project xmlns="http://maven.apache.org/POM/4.0.0" xmlns:xsi="http://www.w3.org/2001/XMLSchema-instance" xsi:schemaLocation="http://maven.apache.org/POM/4.0.0 http://maven.apache.org/xsd/maven-4.0.0.xsd">
	<modelVersion>4.0.0</modelVersion>
	<groupId>JSPELExample</groupId>
	<artifactId>JSPELExample</artifactId>
	<version>0.0.1-SNAPSHOT</version>
	<packaging>war</packaging>
</project>
We can start adding the dependencies that developers want like Junit, Servlet, and JSP API etc. Let’s start building the application!
3. Application Building
Below are the steps involved in developing this application.
3.1 Maven Dependencies
Here, we specify the dependencies for the Servlet and the JSP API. The updated file will have the following code:
pom.xml
<project xmlns="http://maven.apache.org/POM/4.0.0" xmlns:xsi="http://www.w3.org/2001/XMLSchema-instance"
	xsi:schemaLocation="http://maven.apache.org/POM/4.0.0 http://maven.apache.org/maven-v4_0_0.xsd">
	<modelVersion>4.0.0</modelVersion>
	<groupId>JSPELExample</groupId>
	<artifactId>JSPELExample</artifactId>
	<packaging>war</packaging>
	<version>0.0.1-SNAPSHOT</version>
	<name>JSPELExample Maven Webapp</name>
	<url>http://maven.apache.org</url>
	<dependencies>
		<!-- Servlet API Dependency -->
		<dependency>
			<groupId>javax.servlet</groupId>
			<artifactId>javax.servlet-api</artifactId>
			<version>3.0.1</version>
		</dependency>
		<dependency>
			<groupId>javax.servlet.jsp</groupId>
			<artifactId>jsp-api</artifactId>
			<version>2.1</version>
		</dependency>
	</dependencies>
	<build>
		<finalName>${project.artifactId}</finalName>
	</build>
</project>
3.2 Java Class Creation
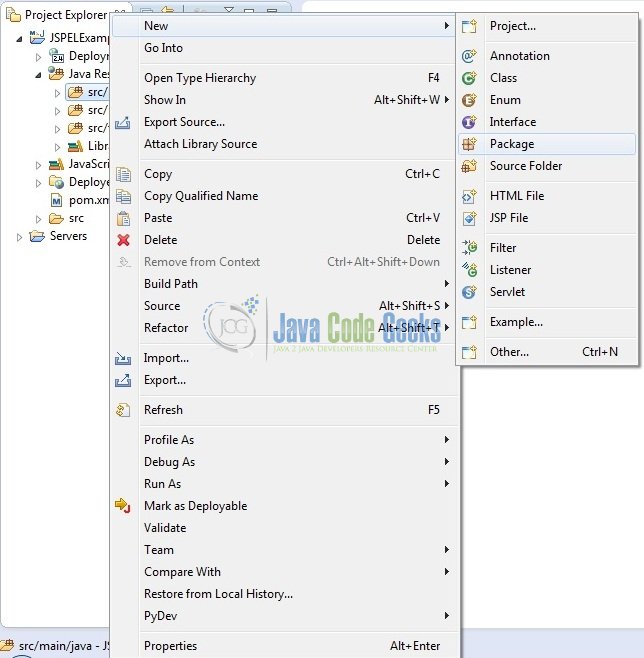
Let’s create the required Java files. Right-click on src/main/java folder, New -> Package.
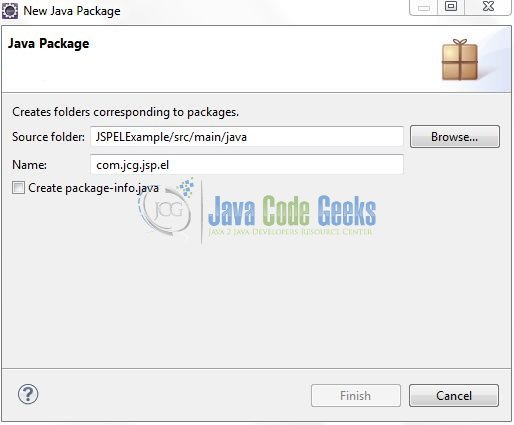
A new pop window will open where we will enter the package name as: com.jcg.jsp.el.
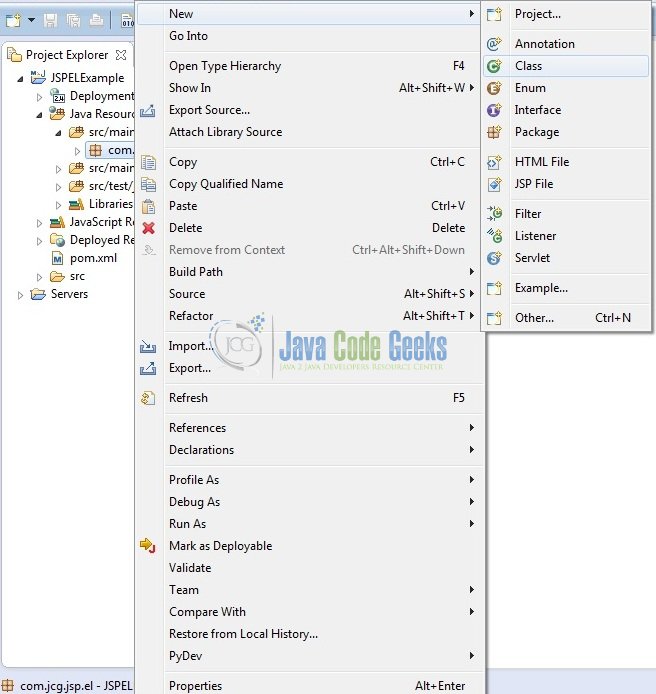
Once the package is created in the application, we will need to create the servlet controller and model (i.e. POJO) classes. Right-click on the newly created package: New -> Class.
A new pop window will open and enter the file name as: HomeServlet. The Servlet Controller class will be created inside the package: com.jcg.jsp.el.
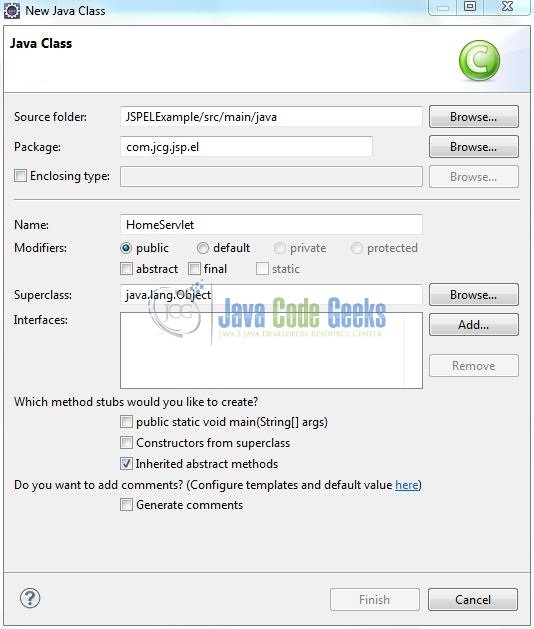
Repeat the step (i.e. Fig. 9) and create the following model classes i.e. Candidate, Address, and Person.
3.2.1 Implementation of Servlet Controller Class
This is simple servlet controller class where we will set some attributes and add the following code to it:
HomeServlet.java
package com.jcg.jsp.el;

import java.io.IOException;

import javax.servlet.RequestDispatcher;
import javax.servlet.ServletException;
import javax.servlet.annotation.WebServlet;
import javax.servlet.http.Cookie;
import javax.servlet.http.HttpServlet;
import javax.servlet.http.HttpServletRequest;
import javax.servlet.http.HttpServletResponse;
import javax.servlet.http.HttpSession;

@WebServlet("/myHomeServlet")
public class HomeServlet extends HttpServlet {

	private static final long serialVersionUID = 1L;

	protected void doGet(HttpServletRequest request, HttpServletResponse response) throws ServletException, IOException {

		// Setting Some Sample Attributes In The Request Scope
		Person personObj = new Candidate();
		personObj.setName("Harry");
		request.setAttribute("personReqObj", personObj);

		// Setting Some Sample Attributes In The Session Scope
		Candidate candidateObj = new Candidate();
		Address addressObj = new Address();
		addressObj.setAddress("Greece");
		candidateObj.setAddress(addressObj);
		candidateObj.setId(101);
		candidateObj.setName("Java Code Geek");

		HttpSession session = request.getSession();
		session.setAttribute("candidateReqObj", candidateObj);

		// Setting Some Sample Attributes In The Cookie
		Cookie ck = new Cookie("Username.Cookie", "Hi! My Name Is Cookie!");
		response.addCookie(ck);

		// Setting Some Sample Attributes In The Application Scope
		getServletContext().setAttribute("User.Cookie", "Tomcat User");

		RequestDispatcher dispatcherObj = getServletContext().getRequestDispatcher("/home.jsp");
		dispatcherObj.forward(request, response);
	}
}
3.3 Web Deployment Descriptor
In a Java web application, a file named web.xml is known as the Deployment Descriptor. It is an XML file and whenever a request comes to the web server, the web server uses this file to map the URL of the request to a specific code that can handle the request. Add the following code to this file for defining the context initialization parameters.
web.xml
<web-app xmlns:xsi="http://www.w3.org/2001/XMLSchema-instance"
	xmlns="http://java.sun.com/xml/ns/javaee" xmlns:web="http://java.sun.com/xml/ns/javaee/web-app_2_5.xsd"
	xsi:schemaLocation="http://java.sun.com/xml/ns/javaee http://java.sun.com/xml/ns/javaee/web-app_2_5.xsd"
	version="2.5">

	<display-name>JSPELExample</display-name>

	<context-param>
		<param-name>AppId</param-name>
		<param-value>150</param-value>
	</context-param>
</web-app>
3.4 Creating JSP Views
Right-click on JSPELExample/src/main/webapp folder, New -> JSP File.
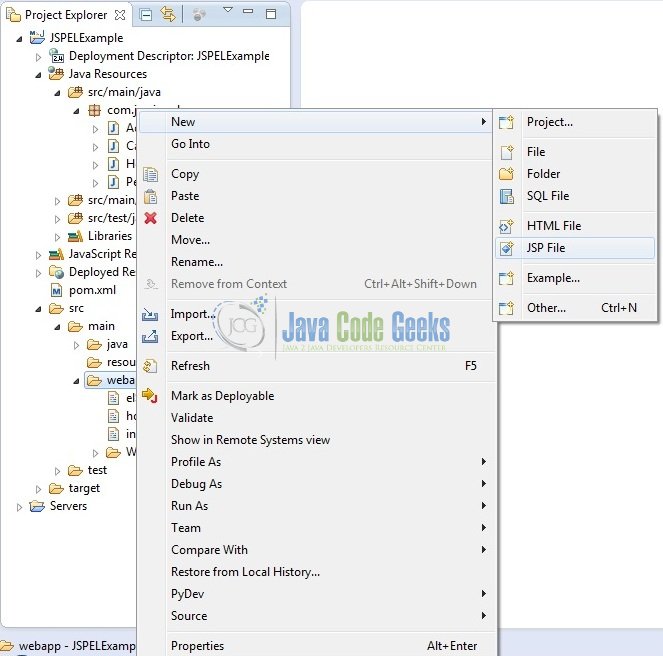
Verify the parent folder location as: JSPELExample/src/main/webapp and enter the filename as: home.jsp. Click Finish.

This is a JSP code using Expression Language (EL) to create the views. Add the following code to it:
home.jsp
<%@ page language="java" contentType="text/html; charset=US-ASCII" pageEncoding="US-ASCII" import="java.util.*"%>
<%@ page isELIgnored="false"%>
<!DOCTYPE html PUBLIC "-//W3C//DTD HTML 4.01 Transitional//EN" "http://www.w3.org/TR/html4/loose.dtd">
<html>
	<head>
		<meta http-equiv="Content-Type" content="text/html; charset=US-ASCII">
		<title>JSP EL Example</title>
	</head>
	<body>
	<%
			List<String> dummyNames = new ArrayList<String>();
			dummyNames.add("Daniel Atlas");
			dummyNames.add("Lucifer Morningstar");
			pageContext.setAttribute("names", dummyNames);
	%>
	<div id="sampleElExpressionsDiv">
		<span><strong>EL Example?= </strong> ${requestScope.personReqObj.name}</span><br /><br />
		<span><strong>EL Example (Without Scope)?= </strong> ${personReqObj.name}</span><br /><br />
		<span><strong>Application Scope Example?= </strong> ${applicationScope["User.Cookie"]}</span><br /><br />
		<span><strong>Multiple EL Example?= </strong> ${sessionScope.candidateReqObj.id} <span id="pipeSeparator">|</span> ${sessionScope.candidateReqObj.name} <span id="pipeSeparator">|</span> ${sessionScope.candidateReqObj.address.address}</span><br /><br />
		<span><strong>List EL Example?= </strong> ${names[0]} <span id="pipeSeparator">|</span> ${names[1]}</span><br /><br />
		<span><strong>Header Information EL Example?= </strong> ${header["Accept-Encoding"]}</span><br /><br />
		<span><strong>'pageContext' EL Example?= </strong> <span id="httpMethodId">Http Method Is?= </span>${pageContext.request.method}</span><br /><br />
		<span><strong>Context Param EL Example?= </strong> ${initParam.AppId}</span><br /><br />
		<span><strong>Arithmetic Operator EL Example?= </strong> ${initParam.AppId + 200}</span><br /><br />
		<span><strong>Relational Operator EL Example?= </strong> ${initParam.AppId < 200}</span><br /><br />
	</div>
	</body>
</html>
4. Run the Application
As we are ready with all the changes, let us compile the project and deploy the application on the Tomcat7 server. To deploy the application on Tomat7, right-click on the project and navigate to Run as -> Run on Server.
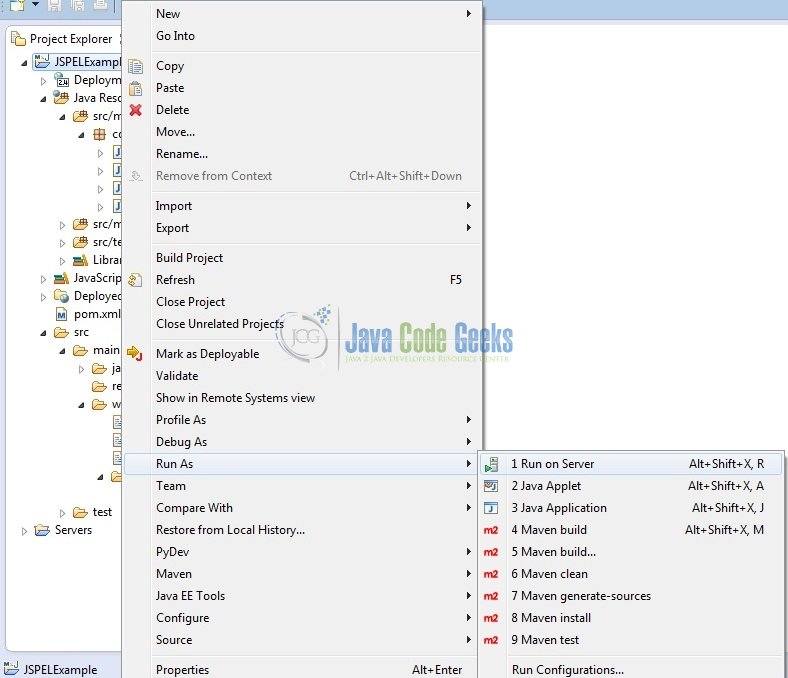
Tomcat will deploy the application in its web-apps folder and shall start its execution to deploy the project so that we can go ahead and test it on the browser.
5. Project Demo
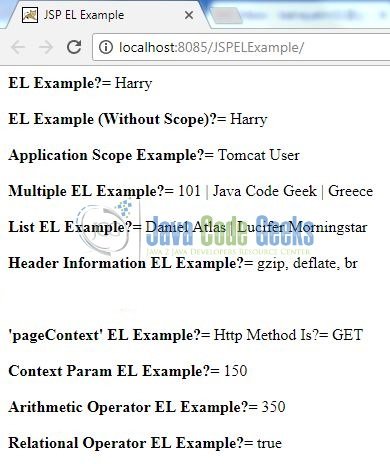
Open your favorite browser and hit the following URL. The output page will be displayed.
http://localhost:8085/JSPELExample/code>
Server name (localhost) and port (8085) may vary as per your tomcat configuration. Developers can debug the example and see what happens after every step. Enjoy!
That’s all for this post. Happy Learning!!
6. Conclusion
In this section, developers learned how to create and use the JSP Expression Language (EL) through a simple application. For practice, developers can download the sample application as an Eclipse project from the Downloads section.
7. Download the Eclipse Project
This was an example of Expression Language (EL) in JSP.
You can download the full source code of this example here: JSPELExample
