In this article, we will discuss the step-by-step process to download and install JDK (Java Development Kit) 8 in your machine and then compile and execute a java program from the command prompt.
1. Java 8 Download
1.1 Go to the jdk site
To download Java 8, go to the site JDK 8. Go to the link, and you will find different variants of JDK available based on the operating system(as per their hardware specification, both 32 and 64 bit)
1.2 Choosing the appropriate JDK
Choose the JDK as per your OS specification under the download column, i.e., macOS in my case. After clicking the link, you will get a pop-up asking for accepting the Oracle Technology Network License agreement
1.3 License Agreement
Accept the license agreement by selecting the checkbox and then click the download button. Once clicked, it will redirect you to the Oracle Login page, where you need to enter your credentials to download the JDK. If you don’t have an account, you can create the account and then download it.
2. Installing Java (JDK) 8
Go to the folder of the downloaded file and double-click on it. The installer will launch and follow the screen instructions and complete the installation.
After the installation is done, verify whether the folder installed correctly, open the terminal and type the command as shown below to check whether is installed correctly.
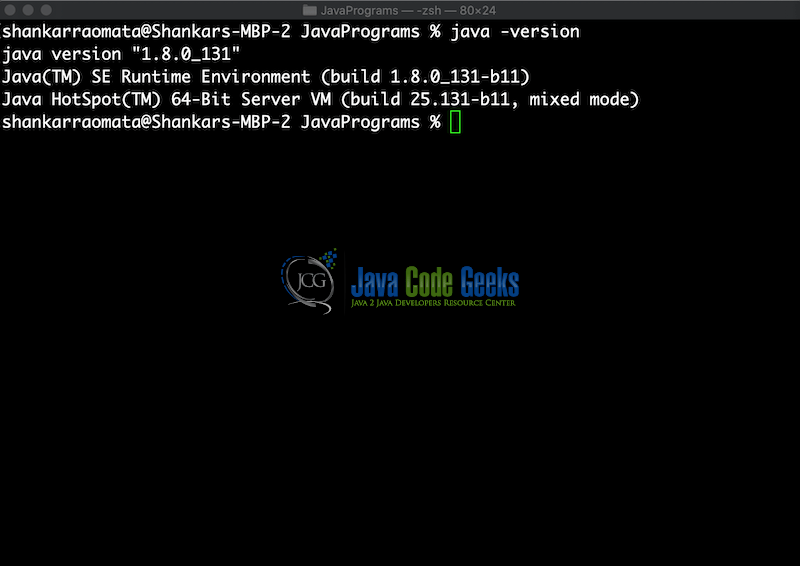
2.1 On macOS
Upon installation, JDK path is set to your environment in macOS automatically. But if you are unable to verify the jdk version, there may be high chances the is not being added in your environment. So in order to do it manually. Just find the installation directory and set as shown below in your bash profile(either .bashrc or .bash_profile). Java is installed at the location “/Library/Java/JavaVirtualMachines/” in my machine
export JAVA_HOME=/Library/Java/JavaVirtualMachines/jdk1.8.0_131.jdk/Contents/Home
2.2 On Windows
For Windows, we need to manually set up the java in the environment variables to be able to execute program from the command line. In order to set it into the environment variables we need to know where the java has been installed and just copy the path till the bin for example it could be like this
C:\Program Files\Java\jdk1.8.0_131.jdk\bin
Now go to the My Compute–> Right Click and go to the properties–> Click on the Advanced System Settings –> Go to the environment variables –> Click New and add a variable as PATH and paste the path of the bin folder you copied previously.
In case if you already have a variable called PATH in the environment variables, you can just Go to Edit and add the value as shown below
PATH=%PATH%;C:\Program Files\Java\jdk1.8.0_131.jdk\bin;
3. Compiling and Executing your first Java program
Once verifying the installation, now we can run the programs. In order to run your first java program open any text editor of your choice. Create a file with any name of your choice. Make sure the file have the extension as java( to make sure java recognises that), for example MyFirstJavaJCGProgram.java. Once created write the content as shown below to the java file
public class MyFirstJavaJCGProgram
{
    public static void main(String args[])
    {
        System.out.println("Hello world from JCG");
    }
}
3.1 Compiling your program
Save the file in a folder and go to the folder from the terminal. You can see the name of the file should always be same as the public class in a java file.Now to compile the java program enter the command as shown below
javac MyFirstJavaJCGProgram.java
javac is a compiler that compiles the program(check for the syntax errors) and generates the .class file on a successful compilation of the program.
The .class file, MyFirstJavaJCGProgram.class in our case contains the bytecode. Bytecode is the intermediary code that java generates and get executed by the JVM.
3.2 Executing/Running your program
Once the compilation is done, we can execute the program by using the below command
java MyFirstJavaJCGProgram
Find the screenshot below and you will be able to see the output of the program.
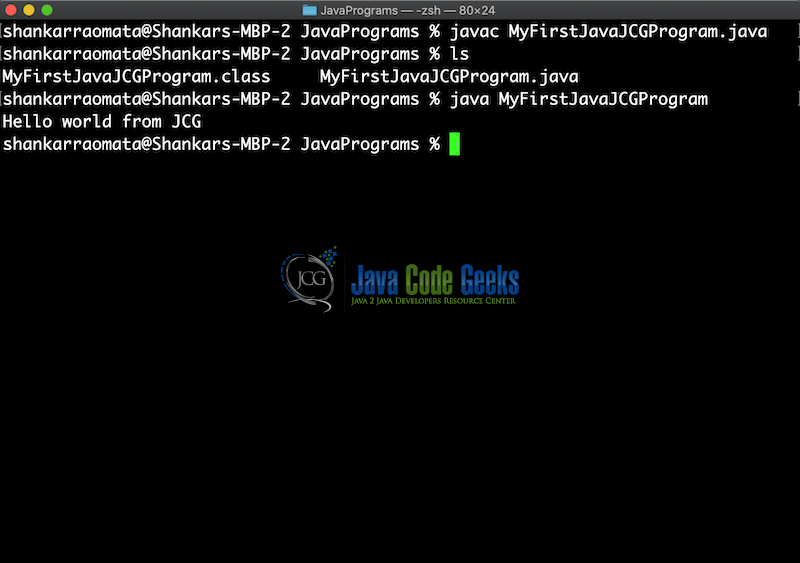
You can see the class file generated in the folder. After the execution of the program, the output is printed in the terminal.
4. Summary
In this article, we discussed step by step the process to download and install Java 8 on macOS and Windows. We also demonstrated how to compile a java program from the command line.
5. More tutorials
- Java 8 Features Tutorial – The ULTIMATE Guide
- How to Check Java version in Windows, Linux, MacOS
- How to download Java 14 for Windows 10
- Download and Install Java Development Kit (JDK) 13
- How to update Java for Windows 10, macOS, and Android
- Download and Install Java Development Kit (JDK) 11
Last updated on March 2nd, 2022

Disapointed, I’m looking to download the jdk but I don’t want to create false account just to download a file.
No solution given here