In this example we shall show you how to install NetBeans IDE 8.0 which was finally released on March 18, 2014, it provides out-of-the-box code analyzers and editors for working with the latest Java 8 technologies.
Besides the Java 8 support, the IDE also has a range of new enhancements that further improve its support for Maven, Java EE with PrimeFaces, new tools for HTML5 (in particular for AngularJS), improvements to PHP and C/C++ support. See the release note for more details.
Let’s see the necessary steps:
- Download the installer, NetBeans IDE 8.0 works better and faster with JDK distribution, so you can download the oracle’s Co-bundled package from here.

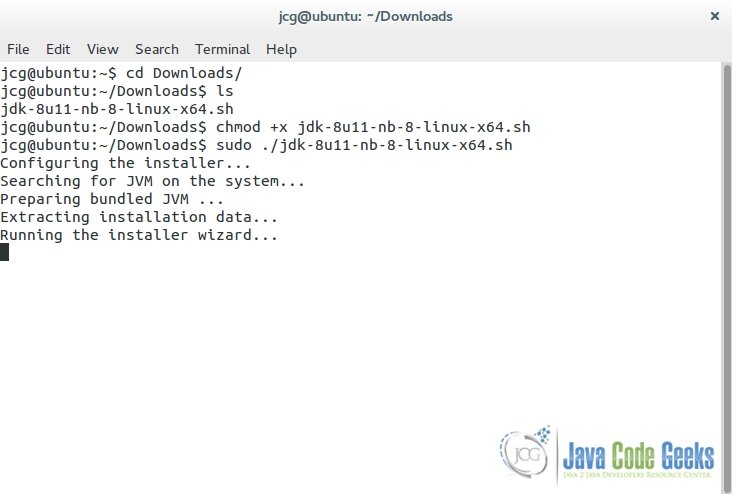
Download Netbeans source - Go to the Downloads directory and give the installer file executable permission using the below command.
chmod +x jdk-8u11-nb-8-linux-x64.sh
- Run the installer using the below command, This will bring up the install wizard.
sudo ./jdk-8u11-nb-8-linux-x64.sh
Tip
we are usingsudoas we will need read/write permissions to choose some user directories for installing jdk and netbeans installation files.
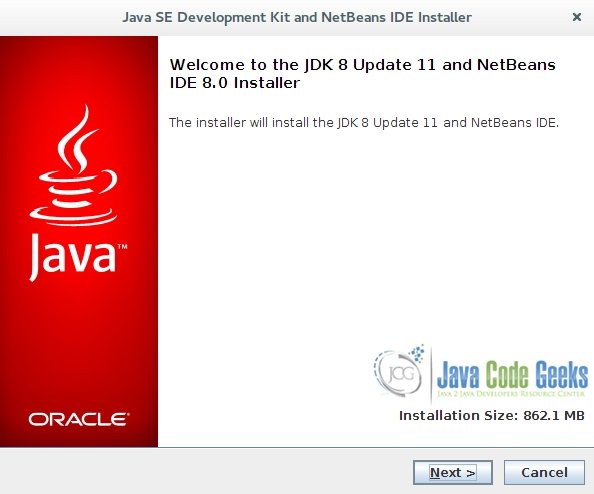
Downloads directory and the installer file permission - At the Welcome page of the installation wizard, click Next.

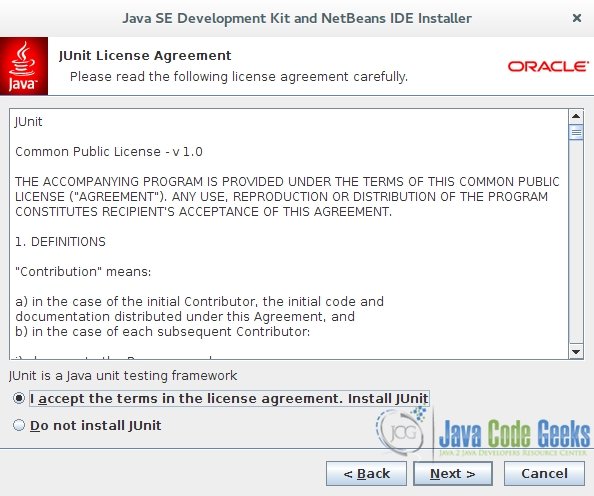
Netbeans installation wizard - At the JUnit License Agreement page, decide if you want to install JUnit and click the appropriate option, click Next.

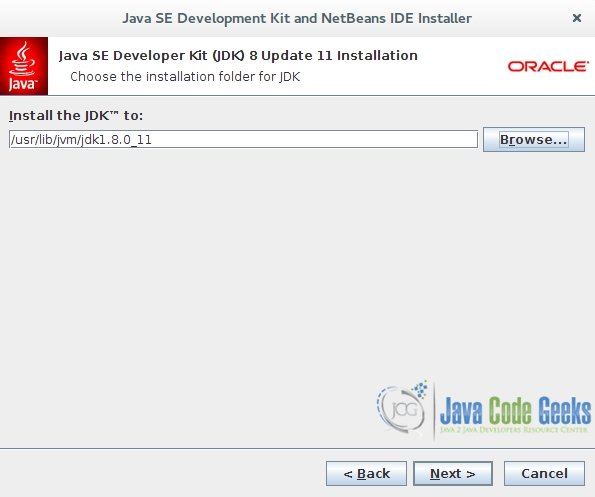
JUnit License Agreement - Choose the installation directory for jdk like “/usr/lib/jvm/jdk1.8.0_11” and click Next.

JDK installation directory - Accept the default installation directory for the NetBeans IDE or specify another directory and click Next.

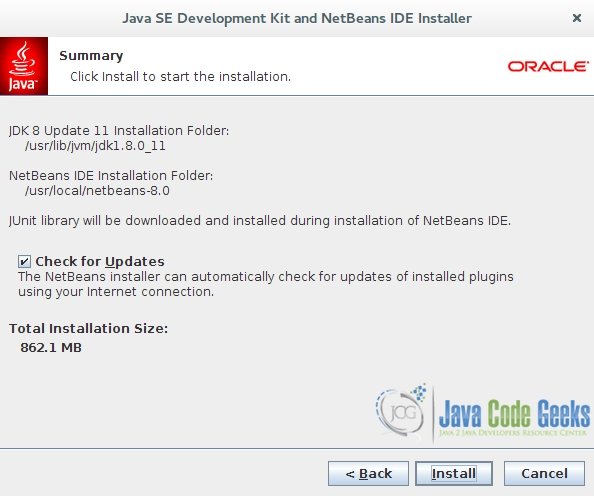
Netbeans installation directory - At the Summary page, do the following:
- Verify that the list of components to be installed is correct.
- Select the Check for Updates check box if you want to check the Update Center for possible updates.
- Verify that you have adequate space on your system for the installation.
- Click Install to begin the installation.
Netbeans installation summary - Monitor the progress of the NetBeans IDE installation.

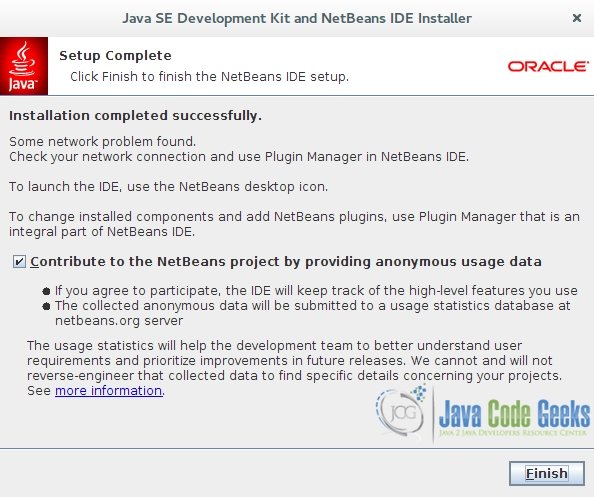
NetBeans installation progress - Click finish.
Installation complete successfully - Launch the NetBeans IDE.

NetBeans IDE


In this example we explained the appropriate steps to successfully install the NetBeans IDE on your Ubuntu linux.
