In this article we will learn how to use the Angular JS plugin for Eclipse. Eclipse is the most commonly used Integrated Development Environment (IDE) by Java developers. AngularJS is a JavaScript framework. It can be added to an HTML page with a <script> tag. AngularJS extends HTML attributes with Directives, and binds data to HTML with Expressions.
AngularJS Eclipse is based on tern.java to manage powerfull completion on HTML files (AngularsJS Expression, directive, modules) and Javascripts files. For this example we will use Eclipse Luna 4.4.2
1. Introduction
HTML is great for declaring static documents, but it falters when we try to use it for declaring dynamic views in web-applications. AngularJS lets you extend HTML vocabulary for your application. The resulting environment is extraordinarily expressive, readable, and quick to develop. Other frameworks deal with HTML’s shortcomings by either abstracting away HTML, CSS, and/or JavaScript or by providing an imperative way for manipulating the DOM. Neither of these address the root problem that HTML was not designed for dynamic views.
AngularJS Eclipse Plugin extends Eclipse WTP to provides an HTML editor which supports AngularJS expression and directive. It provides an Angular Explorer view which displays modules, controllers of your project in a tree. It also provides a Javascript editor which supports AngularJS features (modules, etc).
2. AngularJS
AngularJS is a JavaScript framework. It is a library written in JavaScript. AngularJS is distributed as a JavaScript file, and can be added to a web page with a script tag:
<script src="https://ajax.googleapis.com/ajax/libs/angularjs/1.4.8/angular.min.js"></script>
AngularJS extends HTML with ng-directives. The ng-app directive defines an AngularJS application. The ng-model directive binds the value of HTML controls (input, select, textarea) to application data. The ng-bind directive binds application data to the HTML view.
<!DOCTYPE html>
<html>
  <script src="https://ajax.googleapis.com/ajax/libs/angularjs/1.4.8/angular.min.js"></script>
  <body>
    <div ng-app="">
      <p>Name: <input type="text" ng-model="name"></p>
      <p ng-bind="name"></p>
    </div>
  </body>
</html>
AngularJS starts automatically when the web page has loaded. The ng-app directive tells AngularJS that the <div> element is the owner of an AngularJS application. The ng-model directive binds the value of the input field to the application variable name. The ng-bind directive binds the innerHTML of the <p> element to the application variable name.
3. Installing AngularJS Plugin
In this section we will see how to install the AngularJS plugin for Eclipse.
Open Eclipse and go to Help => Eclipse Marketplace… In the Find text box enter ‘AngularJS’ and press enter:
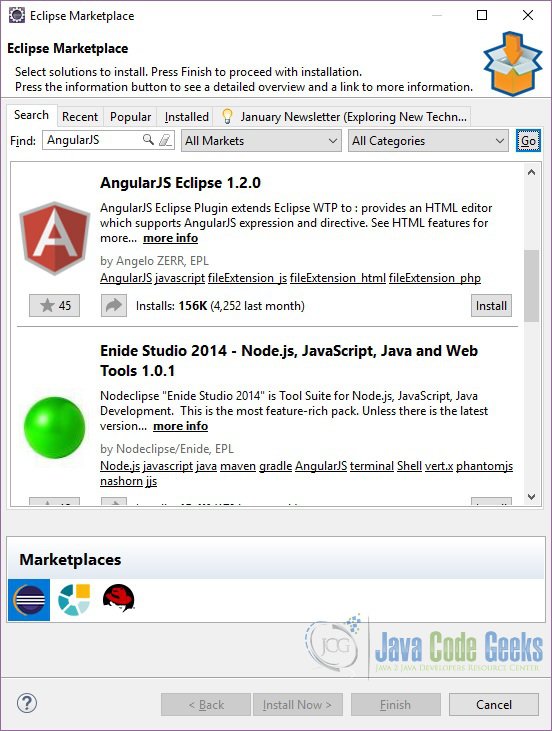
Look for the plugin ‘AngularJS Eclipse 1.2.0’. Click Install. Eclipse will ask you to confirm the selected features:
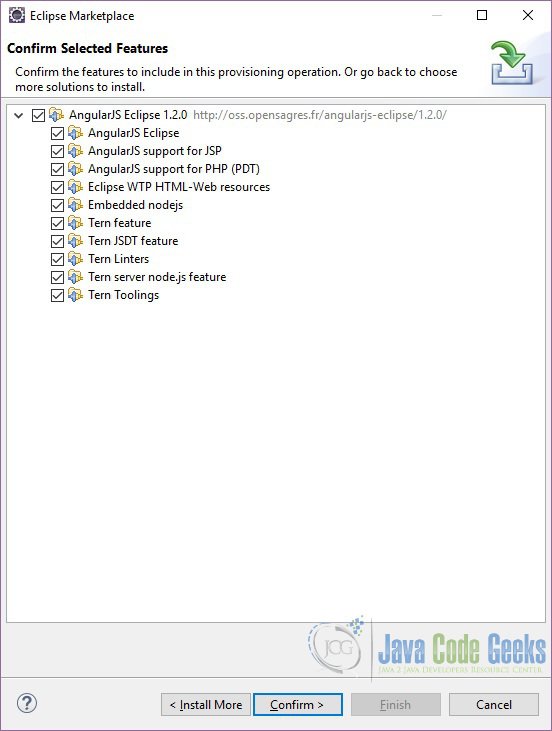
Click Confirm. Eclipse will ask you to Review the Licenses. Click ‘I accept the terms of the license agreement‘ and press Finish.
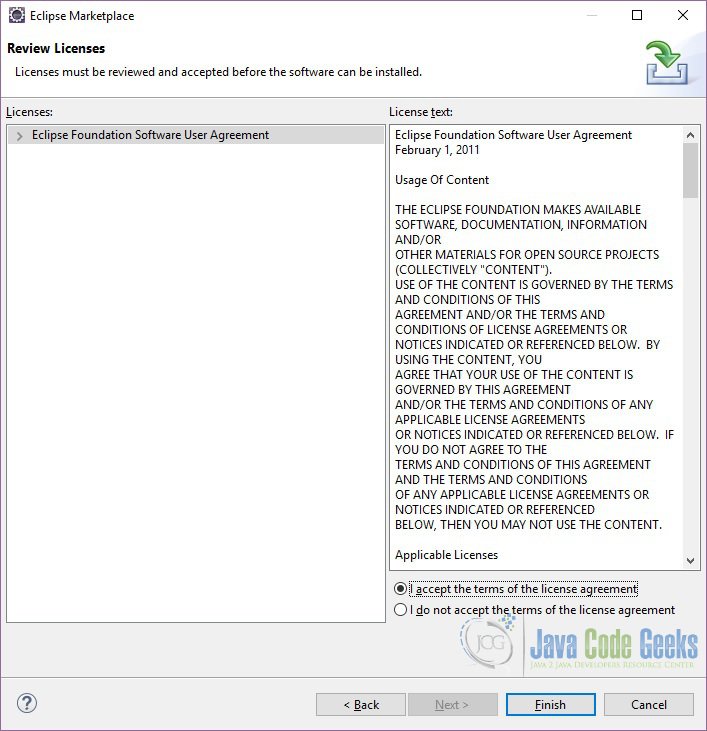
Eclipse will start installing the plugin. Eclipse will show you a Security Warning pop-up as below. Click OK.
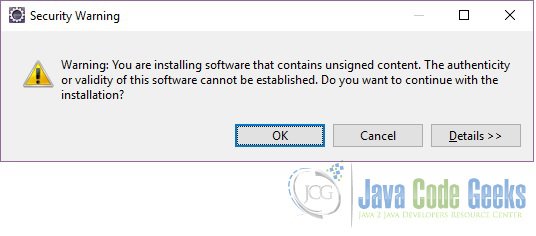
Eclipse will ask you to restart for the changes to take effect. Click Yes. To confirm that the plugin was installed correctly you can go to Help => Installation Details and look for the AngularJS Eclipse plugin in the Installed Software tab.
4. Creating AngularJS Project in Eclipse
In this section we will learn how to create an AngularJS project in Eclipse.
Open Eclipse and go to File => New => Static Web Project.

If you haven’t created a static web project recently then you might not see this option. In that case you need to choose Other and in the pop-up type static.
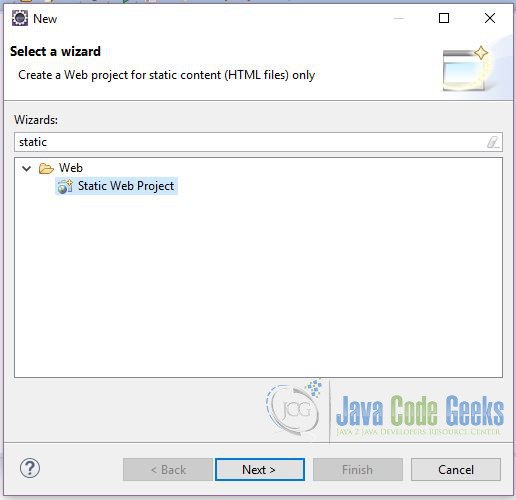
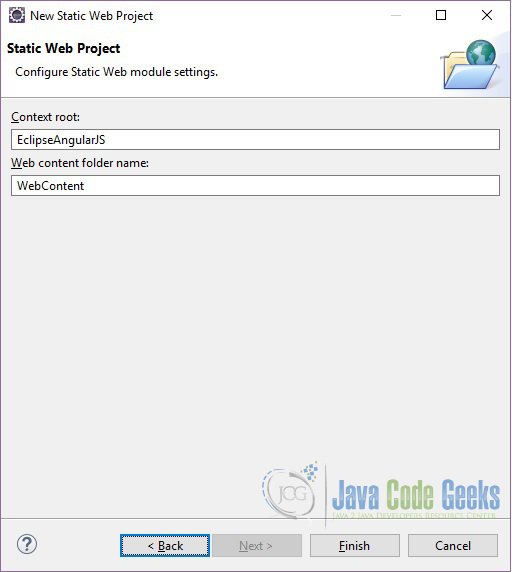
In the New Static Web Project pop-up enter the project name and leave the other options as default:

Click Next. In this window you can modify the Context root and web content folder name. For this example we will keep the default one. Eclipse use the project name as the context root and ‘WebContent’ as the web content folder name by default.
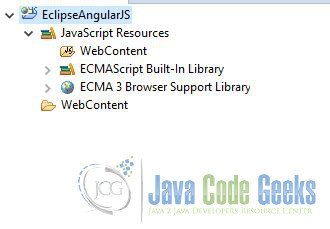
Click Finish. Eclipse will create a project structure as below:
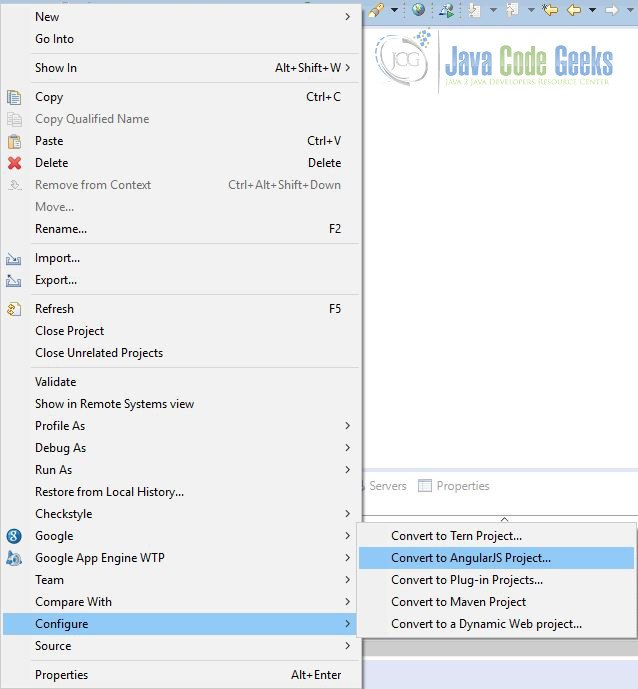
Now we will convert this project to an AngularJS project. Right click on the project and go to Configure => Convert to AngularJS Project
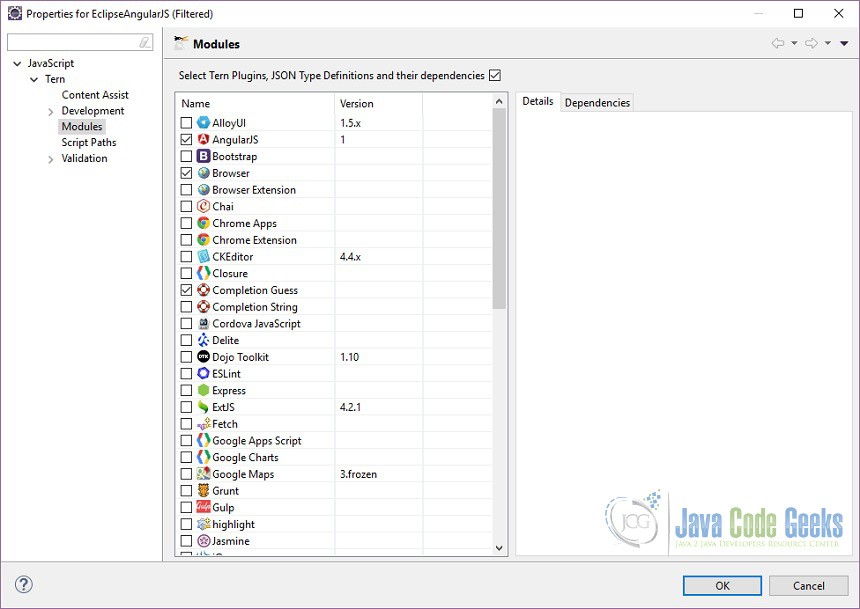
In the next window Eclipse will ask you to choose any module property. Leave the default as it is and click OK.
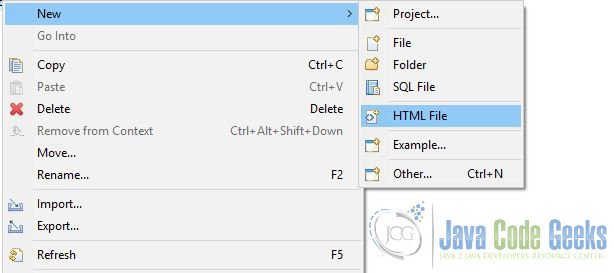
Now we will create a new HTML file. Right click on the WebContent folder and go to New => HTML File.
In the next window enter the file name (HelloWorld.html). Copy the below code in the html file.
HelloWorld.html
<!doctype html>
<html ng-app>
  <head>
    <script src="https://ajax.googleapis.com/ajax/libs/angularjs/1.6.1/angular.min.js"></script>
  </head>
  <body>
    <div>
      <label>Name:</label>
      <input type="text" ng-model="yourName" placeholder="Enter a name here">
      <hr>
        <h1>Hello {{yourName}}!</h1>
    </div>
  </body>
</html>
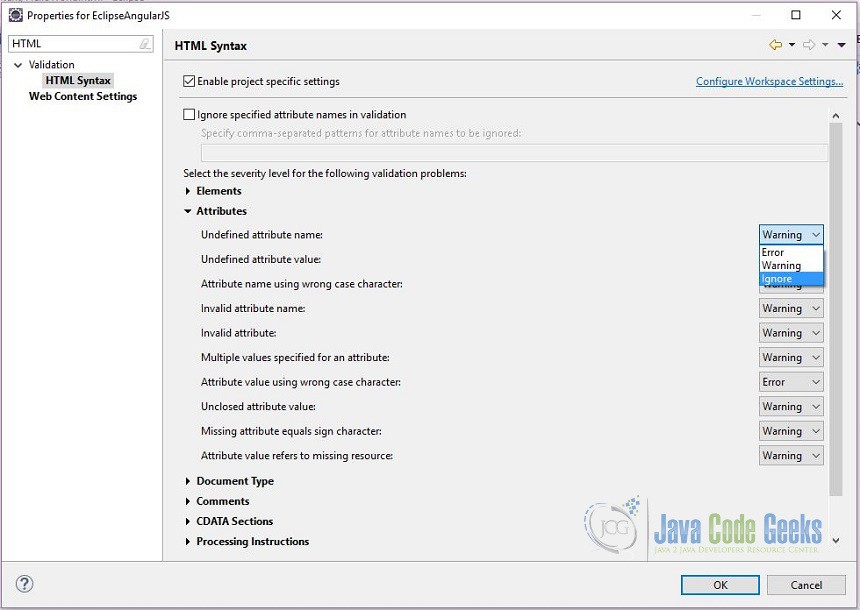
You will see that Eclipse will give you a warning for the angularJS tags – Undefined attribute name. To fix this issue open the project’s properties and go to HTML Syntax under Validation. Click the ‘Enable project specific settings’. Under Attribute choose Ignore for the item – Undefined attribute name.
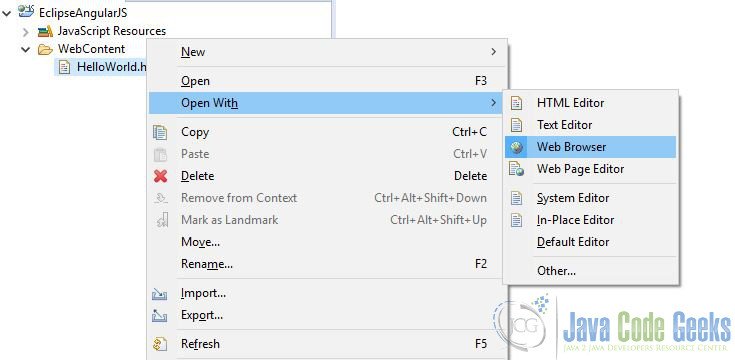
Now if you hover the mouse on the AngularJS tags Eclipse will display the details in the pop-up window. Since at the moment we only have one page, we can view it directly without needing a Web Server. Right click on the HelloWorld.html file and choose Open With => Web Browser
Eclipse will open the file in Eclipse default web browser. If you start typing something in the Name textbox you will see that the label also gets modified accordingly.

You can also open the html fie in the web page editor to see and modify the design of the page.
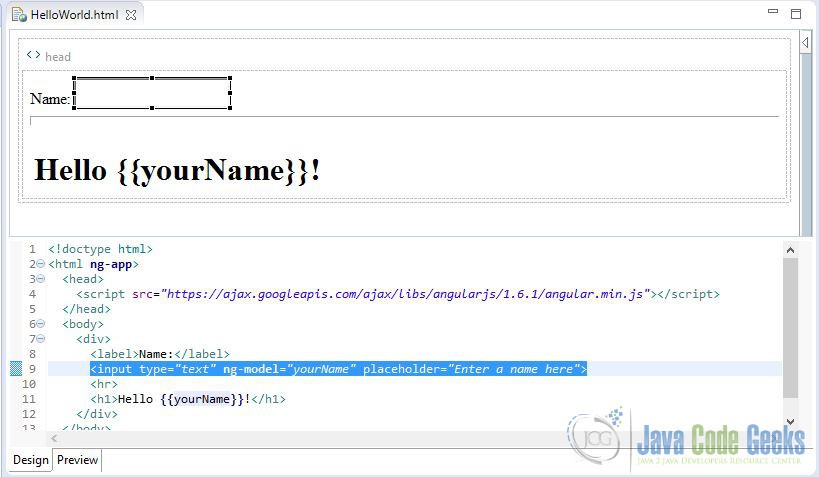
Opening up the Preview tab (from the default Design tab) will allow us to test the page currently being edited. This means that (when in the Design tab) we can edit the AngularJS HTML page and see the changes immediately:
5. Add controls
In this section we will see how to add some controls for AngularJS. The code exaple is taken from AngularJS. Unlike other frameworks, there is no need to inherit from proprietary types in order to wrap the model in accessors methods. AngularJS models are plain old JavaScript objects. This makes your code easy to test, maintain, reuse, and again free from boilerplate.
Data Binding
Data-binding is an automatic way of updating the view whenever the model changes, as well as updating the model whenever the view changes. This is awesome because it eliminates DOM manipulation from the list of things you have to worry about.
Controller
Controllers are the behavior behind the DOM elements. AngularJS lets you express the behavior in a clean readable form without the usual boilerplate of updating the DOM, registering callbacks or watching model changes.
Now update the HelloWorld.html file as below
HelloWorld.html
<!doctype html>
<html ng-app="todoApp">
  <head>
    <script src="https://ajax.googleapis.com/ajax/libs/angularjs/1.6.1/angular.min.js"></script>
    <script src="todo.js"></script>
    <link rel="stylesheet" href="todo.css">
  </head>
  <body>
    <h2>Todo</h2>
    <div ng-controller="TodoListController as todoList">
      <span>{{todoList.remaining()}} of {{todoList.todos.length}} remaining</span>
      [ <a href="" ng-click="todoList.archive()">archive</a> ]
      <ul class="unstyled">
        <li ng-repeat="todo in todoList.todos">
          <label class="checkbox">
            <input type="checkbox" ng-model="todo.done">
            <span class="done-{{todo.done}}">{{todo.text}}</span>
          </label>
        </li>
      </ul>
      <form ng-submit="todoList.addTodo()">
        <input type="text" ng-model="todoList.todoText" size="30" placeholder="add new todo here">
        <input class="btn-primary" type="submit" value="add">
      </form>
    </div>
  </body>
</html>
Now create a new java script file called todo.js in the same location as the html file.
todo.js
angular.module('todoApp', [])
  .controller('TodoListController', function() {
    var todoList = this;
    todoList.todos = [
      {text:'learn AngularJS', done:true},
      {text:'build an AngularJS app', done:false}];

    todoList.addTodo = function() {
      todoList.todos.push({text:todoList.todoText, done:false});
      todoList.todoText = '';
    };

    todoList.remaining = function() {
      var count = 0;
      angular.forEach(todoList.todos, function(todo) {
        count += todo.done ? 0 : 1;
      });
      return count;
    };

    todoList.archive = function() {
      var oldTodos = todoList.todos;
      todoList.todos = [];
      angular.forEach(oldTodos, function(todo) {
        if (!todo.done) todoList.todos.push(todo);
      });
    };
  });
Now create a css file as below in the same location
todo.css
.done-true {
  text-decoration: line-through;
  color: grey;
}
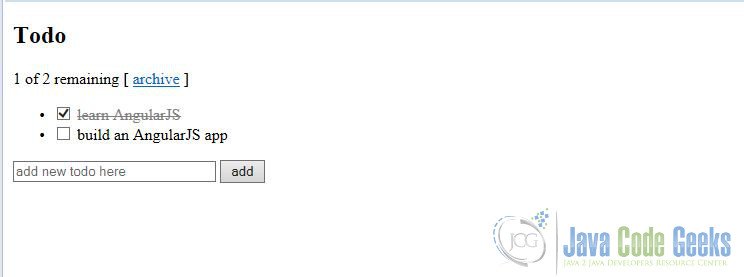
Now open the html file in the web browser the HTML file will look something like below
6. Conclusion
In this article we saw how to install an AngularJS plugin in Eclipse. We discussed how to create a simple AngularJS application using this plugin. We discussed the usage of Web Page Editor and how it makes building a web page easy and intuitive. We also examined how to add controls to an AngularJS application.

Wonderful tutorial to get started with angularJs and eclipse.Thanks a lot.
i have followed the whole steps provided in this tutorial but still getting the binding data syntax in the web browser as- Hello {{yourName}}!
using eclipse java EE luna 4.2.2
Nice for startupers
Thanks for sharing this valuable information
Thanks for this tutorial. It helped me getting started with my first AngularJS project in Eclipse.