In this tutorial, we shall show users the way to test the HttpServletRequest using the JUnit. JUnit HttpServletRequest Example will help you to understand, how we can test the servlet part of the web application.
We have seen in previous tutorials how we can use JUnit for testing our applications. It is the main testing framework that is used by the Java developers world wide.
1. Introduction
In this example we will be using the JUnit and Mockito to test the HttpServletRequest. We have seen in this tutorial the use of Mockito framework.
We have also seen the use of JUnit to test the web applications in this tutorial.
But that was a simple example. Today we will process with the Servlet side of the web application. We will see how we can use the JUnit and test the HttpServletRequest class that we use in our servlet. Sometimes we have a situation where we have to test the servlets also and it’s a must for every developer to test them.
Let’s see the technologies that we are using to build our example.
2. Technologies Used
We will be using the following technologies while building an example. Here we are taking the latest version of each technology.
- Java 1.8 – We will be using the latest version of Java. There is no specific feature of Java 1.8 that has been used.
- JUnit 4.12 – This is the main testing framework that we will be using.
- Maven – This is the build and dependency tool for this example.
- Mockito – Mockito is an open source testing framework built on top of the JUnit.
- Eclipse – IDE for writing the code.
For links to the latest versions and there websites visit the reference section of the tutorial.Now, we have defined the technologies to be used. Let’s start the setup of our example.
3. Project Setup
You may skip project creation and jump directly to the beginning of the example below.
As you already know, we are using the Eclipse. So start by opening the Eclipse.
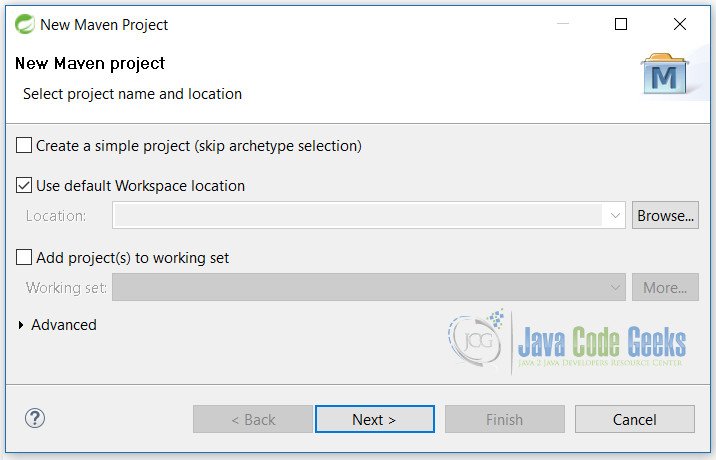
Click on the File -> New -> Maven Project.
On this screen, we will do nothing. We will proceed with the default settings here. Simply click on Next button.
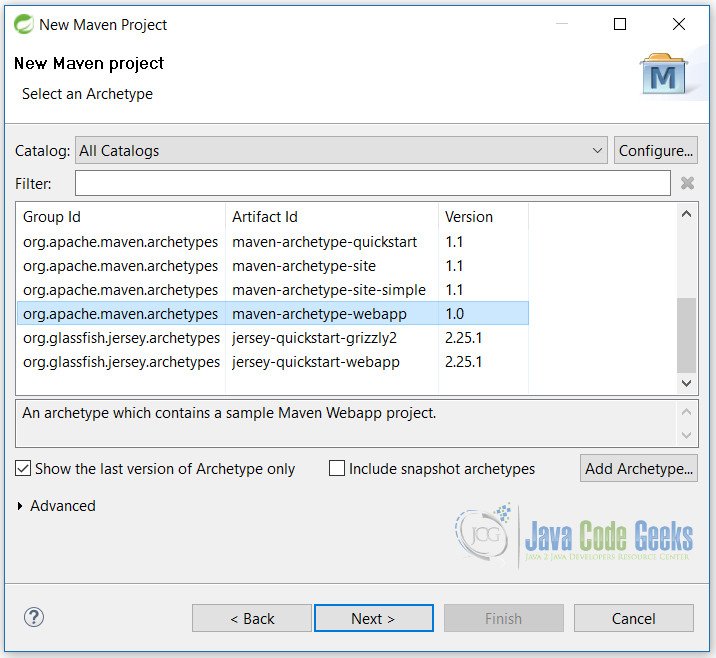
Here, we need to select the maven archetype as web. Click on Next button.
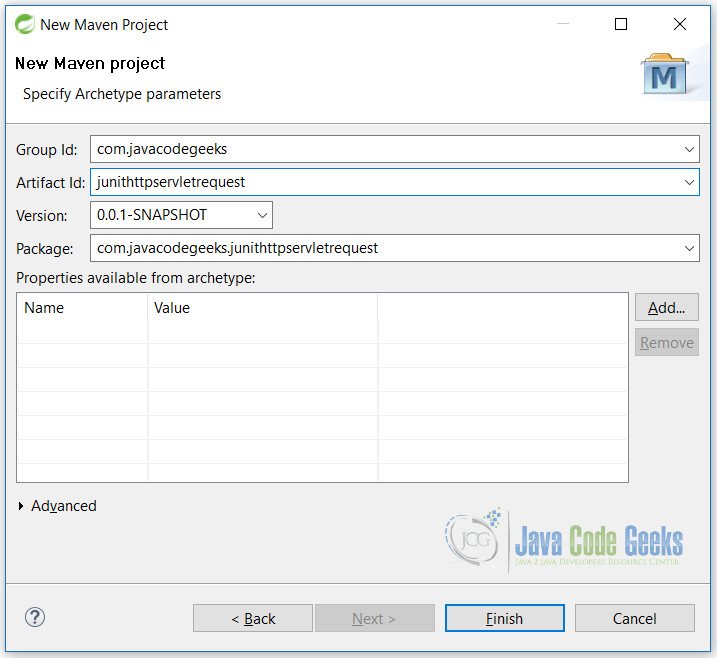
Fill in the details as shown here and click on Finish button.
Now, we are ready with the blank Maven project of our example. But before start coding we need to add some lines to pom.xml file.
pom.xml
 <dependencies>
     <dependency>
         <groupId>junit</groupId>
         <artifactId>junit</artifactId>
         <version>4.12</version>
         <scope>test</scope>
     </dependency>
     <dependency>
         <groupId>javax.servlet</groupId>
         <artifactId>javax.servlet-api</artifactId>
         <version>3.0.1</version>
         <scope>provided</scope>
     </dependency>
     <dependency>
         <groupId>org.mockito</groupId>
         <artifactId>mockito-core</artifactId>
         <version>2.8.47</version>
     </dependency>
 </dependencies>
 <build>
     <finalName>junithttpservletrequest</finalName>
     <plugins>
         <plugin>
             <groupId>org.apache.maven.plugins</groupId>
             <artifactId>maven-compiler-plugin</artifactId>
             <version>2.5.1</version>
             <inherited>true</inherited>
             <configuration>
                 <source>1.8</source>
                 <target>1.8</target>
            </configuration>
        </plugin>
    </plugins>
 </build>
At line 3, we are asking for JUnit dependency from Maven.
Similarly at line 9 and 15, dependency for Servlet and Mockito is declared.
At line 29 and 30, we simply say that this project will use Java 8 for compilation.
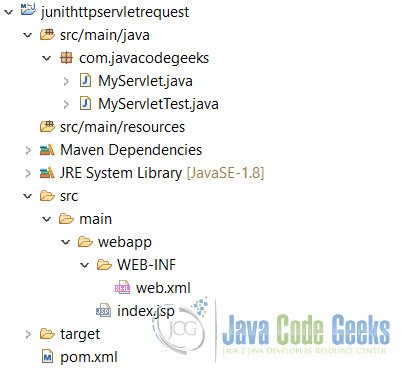
Before start coding we need to create a java folder inside the src/main folder. By default when you follow the above procedure no src folder is created for java files. You need to manually create a folder. Final structure after finishing will be like:
4. JUnit HttpServletRequest Example
First of all, we will create a new servlet. To create that, we simply right click on project name -> New -> Other -> Servlet under Web. Click on the Next button to proceed.


Next, fill in the details and click on the Finish button.
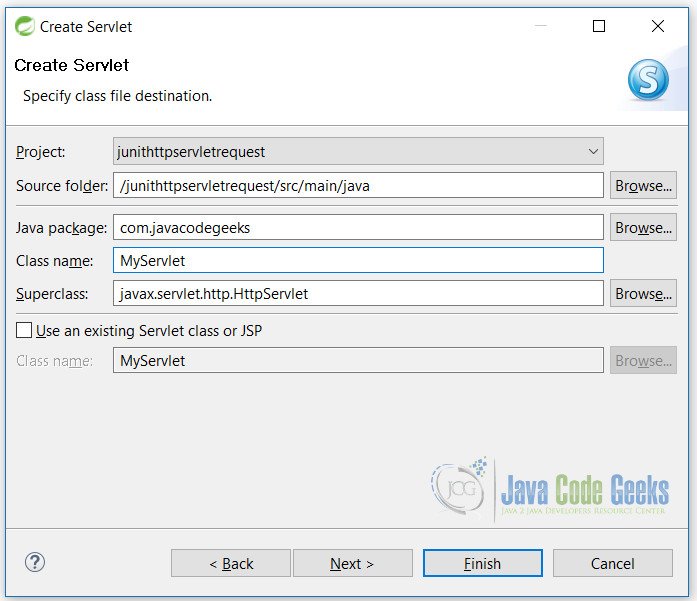
This will create a default servlet. We will change the doGet() method of the servlet with the below code.
MyServlet.java
        ...
    protected void doGet(HttpServletRequest request, HttpServletResponse response)
            throws ServletException, IOException {
        String firstName = request.getParameter("fn");
        String lastName = request.getParameter("ln");

        response.getWriter().append("Full Name: " + firstName + " " + lastName);
    }
        ...
This code will simply get parameters and print those on the page after concatenating.
Here, we are simply getting parameters from request i.e. fn and ln.
4.1 Test Class
After creating the servlet we need to create a class to test it.
MyServletTest.java
package com.javacodegeeks;

import static org.junit.Assert.assertEquals;
import static org.mockito.Mockito.when;

import java.io.IOException;
import java.io.PrintWriter;
import java.io.StringWriter;

import javax.servlet.ServletException;
import javax.servlet.http.HttpServletRequest;
import javax.servlet.http.HttpServletResponse;

import org.junit.Before;
import org.junit.Test;
import org.mockito.Mock;
import org.mockito.MockitoAnnotations;

public class MyServletTest {

    @Mock
    HttpServletRequest request;

    @Mock
    HttpServletResponse response;

    @Before
    public void setUp() throws Exception {
        MockitoAnnotations.initMocks(this);
    }

    @Test
    public void testFullName() throws IOException, ServletException {

        when(request.getParameter("fn")).thenReturn("Vinod");
        when(request.getParameter("ln")).thenReturn("Kashyap");

        StringWriter sw = new StringWriter();
        PrintWriter pw = new PrintWriter(sw);

        when(response.getWriter()).thenReturn(pw);

        MyServlet myServlet =new MyServlet();
        myServlet.doGet(request, response);
        String result = sw.getBuffer().toString().trim();
        assertEquals(result, new String("Full Name: Vinod Kashyap"));

    }
}
Let’s analyze what’s going on this class step by step.
Line 22 and 25 will create a mock object of HttpServletRequest and HttpServletResponse respectively.
At line 29, we are initializing all mock objects.
Now coming to test method. First we will getting parameters i.e. fn and ln and passing them values Vinod and Kashyap respectively.
Next, we are creating object for StringWriter and passing it to PrintWriter. After that we are getting the writer from response and passing it a PrintWriter object as parameter.
In next step, we are creating an object of MyServlet class, and then calling doGet() method.
After that, we get the value in a result variable.
On the last step, we are simply, comparing the output with the desired one.
5. Conclusion
In this tutorial, we have seen how we can use the JUnit with the Mockito framework. It helps us to test the HttpServletRequest class through the servlet example.
Unit testing is an integral part of developer code. And JUnit plays a very important role in that.
6. Download the Eclipse Project
This is a JUnit HttpServletRequest Example.
You can download the full source code of this example here: junithttpservletrequest.zip

Very Helpful. Thank you very much.
Great Tutorial thank you although it may seem simple but it’s exactly what I’ve been looking for and it answered my question on how to test a Servlet, Thanks a lot
StringWriter sw =new
StringWriter();
PrintWriter pw =
new
PrintWriter(sw);
for what?