In this example, we shall show users how they can test a REST service with the help of the JUnit. We will use the Jersey and REST assured for this example.
Table Of Contents
1. Introduction
In the previous examples written by me, we have seen lot of things and scenarios which we can test with the help of JUnit. If you are looking at this example, then there is a brighter chance that you have already know something about the JUnit.
In this example, we will carry a different scenario i.e. we will test our REST API with the help of JUnit. But JUnit alone cannot do the trick. We need to use some of the libraries outside which are built on top of the JUnit to help test. We will also use the Jersey for creating a REST project.
In our case we will be using the REST-assured library. This library is very powerful and enriched with tools to test our scenario. We will not cover all the scenarios in this example, as here we will try to understand the basic usage of the REST-assured.
2. Technologies Used
- Java: Language to write code
- JUnit 4.12: Testing framework
- Eclipse: IDE for writing code
- Jersey 2.25.1: Framework to write the REST services
- REST assured 3.0.3: Framework to test the REST web servcies
3. What is Jersey
As per the Jersey website,
To simplify development of RESTful Web services and their clients in Java, a standard and portable JAX-RS API has been designed. Jersey RESTful Web Services framework is open source, production quality, framework for developing RESTful Web Services in Java that provides support for JAX-RS APIs and serves as a JAX-RS (JSR 311 & JSR 339) Reference Implementation.
In simple words, we will use Jersey to create a REST project and then we will test those API using REST-assured in our example.
4. What is REST assured
REST-assured is a library to test the REST API’s. It provides various methods like get(), body(), when(), then() to test the various scenarios. We will see below in our example how we can use these to test.
5. Project Setup
You may skip project creation and jump directly to the beginning of the example below. But we recommend to follow all steps.
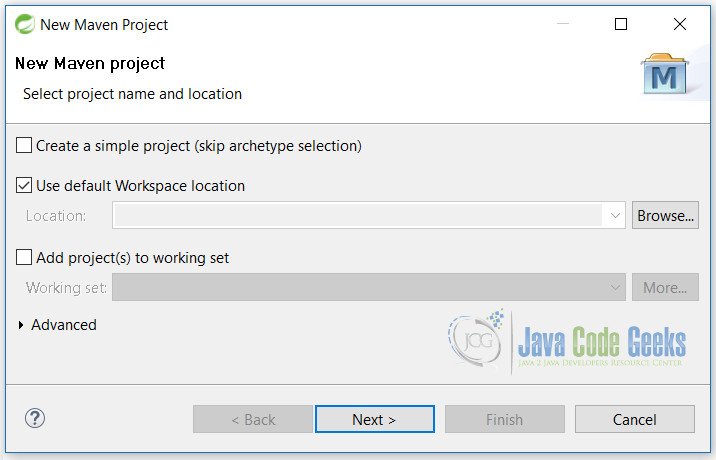
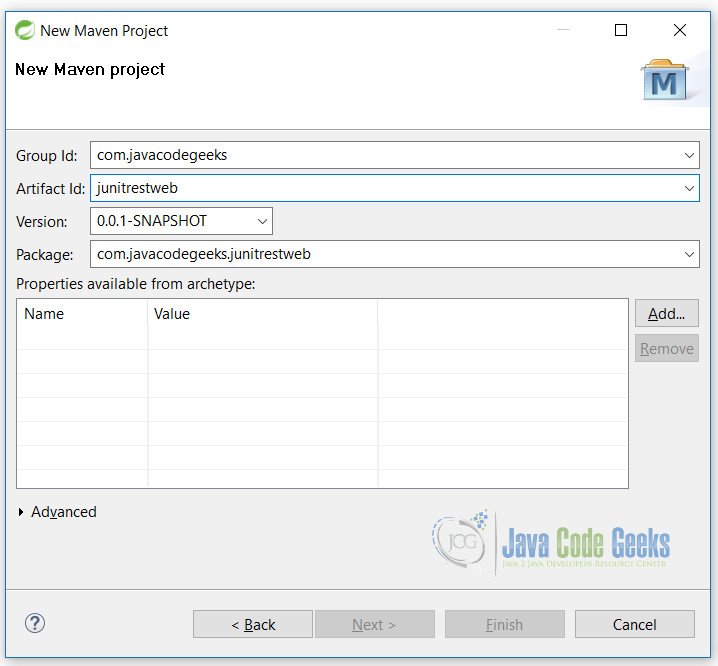
Since we are using the Jersey, we will create Maven project with the help of the eclipse. First of all, we create a Maven project. Click File -> New -> Maven project, you will see the below screen. We do not have to do anything on the screen so, we will click on Next button.
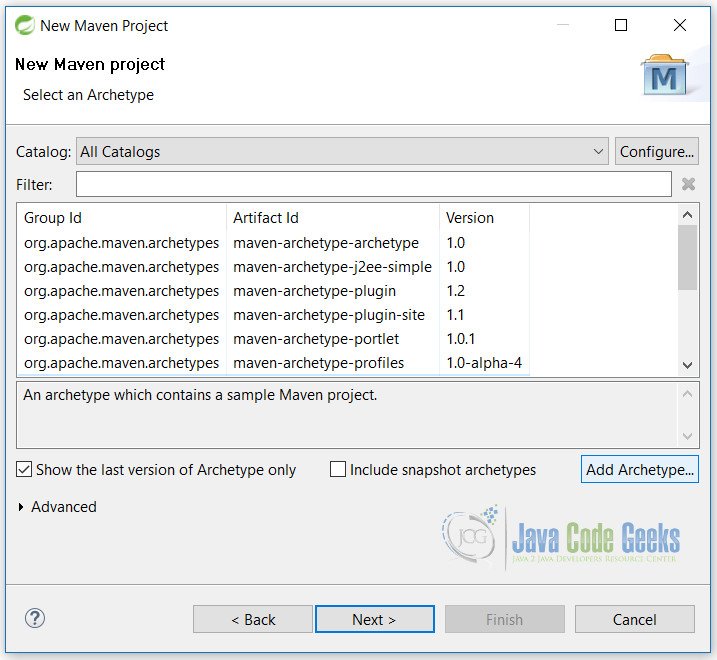
On this screen, we need to add the Archetype. On this we will click on Add Archetype… button.
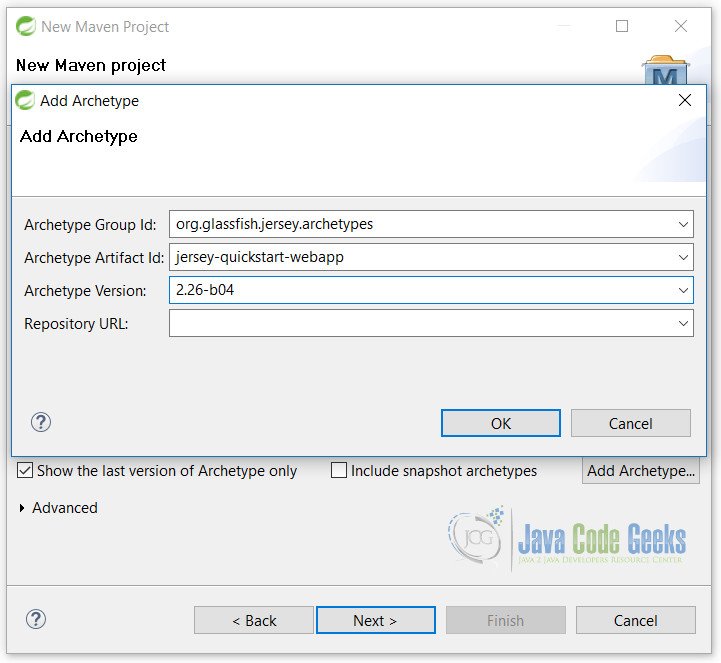
We will presented with the following screen. Simply add the details as mentioned and click on OK button.
Archetype Group Id: org.glassfish.jersey.archetypes
Archetype Artifact Id: jersey-quickstart-webapp
Archetype Version: 2.26-b04
After clicking on the OK button you will see the added archetype in the window as shown below.
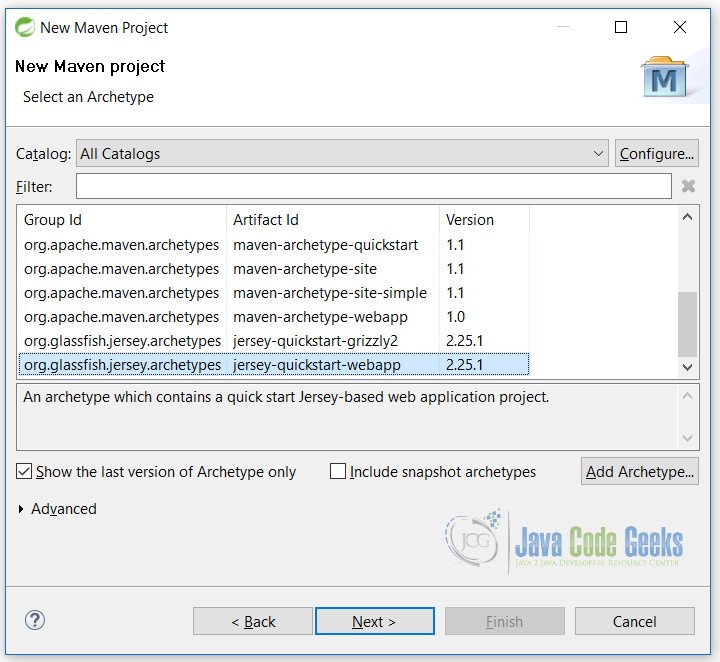
Select it and click on Next button. On this screen fill in all details as shown and click on the Finish button.
We are ready with our sample REST project. But for this example, we will make some necessary changes.
6. JUnit Example for REST Web Services
Let’s start editing our project that is built using the steps above. First of open pom.xml file and add these lines to it.
pom.xml
<!-- https://mvnrepository.com/artifact/io.rest-assured/rest-assured -->
<dependency>
<groupId>io.rest-assured</groupId>
<artifactId>rest-assured</artifactId>
<version>3.0.3</version>
</dependency>

<dependency>
<groupId>junit</groupId>
<artifactId>junit</artifactId>
<version>4.12</version>
<scope>test</scope>
</dependency>
Here we are actually, adding dependency foe JUnit and REST-assured.
Also we need to un-comment the below line from pom.xml file. This will actually help in testing the json output
<dependency>
<groupId>org.glassfish.jersey.media</groupId>
<artifactId>jersey-media-moxy</artifactId>
</dependency>
6.1 Java Classes
We will create a model class that will help us to test our example. This is a simple class with 4 variables and their getters and setters.
Employee.java
package com.javacodegeeks.junitrestweb;

public class Employee {

    private Long id;
    private String firstName;
    private String lastName;
    private String designation;

    public Employee() {
    }

    // getters and setters
}
Now we will create a REST service for the Employee class.
EmployeeResource.java
package com.javacodegeeks.junitrestweb;

import javax.ws.rs.GET;
import javax.ws.rs.Path;
import javax.ws.rs.PathParam;
import javax.ws.rs.Produces;
import javax.ws.rs.core.MediaType;

@Path("employee")
public class EmployeeResource {

    @GET
    @Produces(MediaType.APPLICATION_JSON)
    @Path("/{id}")
    public Employee getEmployee(@PathParam("id") final Long id) {
        final Employee emp = new Employee();
        emp.setId(id);
        emp.setFirstName("Vinod");
        emp.setLastName("Kashyap");
        emp.setDesignation("CEO");

        return emp;
    }
}
In this class we are creating a method that will be called as an API from outside.
Line 9: we are using the @Path annotation of the Jersey, which specifies that the path name will be used to access the API. In our case it is employee.
Line 12: specifies that we are using the GET protocol of REST.
Line 13: specifies that this method will produces the output as a json. We can specify any type like text, html, xml.
Line 14: specifies that we will use this path to access this method. {id} defines that we need to pass the id so together with the service then url becomes /employee/12.

6.2 JUnit Test Class
Finally, we need to create a test class that will test the methods of above class.
EmployeeRestTest.java
package com.javacodegeeks.junitrestweb;

import static io.restassured.RestAssured.get;
import static org.hamcrest.CoreMatchers.equalTo;

import org.junit.BeforeClass;
import org.junit.Test;

import io.restassured.RestAssured;

public class EmployeeRestTest {
    @BeforeClass
    public static void init() {
        RestAssured.baseURI = "http://localhost";
        RestAssured.port = 8081;
    }

    @Test
    public void testUserFetchesSuccess() {
        get("/junitrestweb/webapi/employee/12")
        .then()
        .body("id", equalTo(12))
        .body("firstName", equalTo("Vinod"))
        .body("lastName", equalTo("Kashyap"))
        .body("designation", equalTo("CEO"));
    }
}
Let’s analyze our class and see what is going here. As we are using the REST-assured for testing this example, we have used its API here in this class.
- Line 12:
@BeforeClassannotation is used to do all our initialization before our test cases start to execute. This method will execute only once but before executing all test cases. - Line 14-15: In these lines we are using the properties for our API. Instead of putting the same URL in all test cases we simply initialize them using the
RestAssuredvariables. There are other 3 properties that we can use.RestAssured.basePath = “/junitrestweb”;
RestAssured.authentication = basic(“username”, “password”); // username and password authentication
RestAssured.rootPath = “x.y.z”; - Line 20: Here we are using the
get()method of the REST-assured library. It simply gets the URL. - Line 21: So when
get()is executed, we then usethen()method to specify that whenever we gets something what we have to do next with that thing. - Line 22-25: These lines basically tests the body of the json that is generated against the values specified here.
It covers the main example of the REST web app. But before running this example we need to change one more thing that is auto generated by the wizard we have used above. In web.xml file we need to edit one line before proceeding.
web.xml
<init-param>
<param-name>jersey.config.server.provider.packages</param-name>
<param-value>com.javacodegeeks.junitrestweb</param-value>
</init-param>
We have edit the line 3. Simply write the package name used in our example.
6.3 Running the example
Before we start testing, we need to run our web project on the web server. In our case, we are using the tomcat for testing. Simply deploy the application on the tomcat and we are ready to test our example.
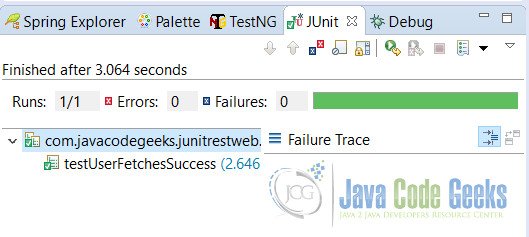
After running, right click on EmployeeRestTest.java class and Run As -> JUnit Test. Our example will succeed with the following output shown in the eclipse JUnit window.
7. Conclusion
In this example we have seen how we can create a simple REST project and then test it using the library known as REST-assured. We have learned the basic usage of the Jersey framework which helps in creating the REST web services.
References for the libraries used in this example fare are given below. Users are advised to visit the references for more detailed knowledge of the libraries.
8. Download the Eclipse Project
This is an JUnit example for testing the REST web services.
You can download the full source code of this example here: JUnitRestWebExample.zip

nice piece of info regarding RESTassured testing of web service.
org.glassfish.jersey.media
jersey-media-moxy
when i add this dependency my pom asks for a version which version should be used.
Hi,
I need to add a header variable along to the requesting api to get the response.
can any one help on that sort of test cases writing.
Hi, when i tried to run the testcase i am getting error as connection refused.please help me
trying to use aforesaid io.rest-assured I receive exception thrown by Maven when it attempts to run test:
java.lang.NoSuchFieldError: DEF_CONTENT_CHARSET
at io.restassured.config.EncoderConfig.(EncoderConfig.java:61)
at io.restassured.config.RestAssuredConfig.(RestAssuredConfig.java:41)
at io.restassured.RestAssured.(RestAssured.java:420)
what to do ?