SlidingDrawer represents a widget, where we can use in our Android applications. SlidingDrawer has the ability to hide and/or appear content when the user drags a handle. More specifically, it includes two basic views:
- the handle where the user can drag.
- the hidden content that is associated with the handle and it is shown up when the user drags the handle.
It is very important to mention that the SlidingDrawer class is deprecated in Android Api 17 and above, so it is recommended to use it in previous versions or make your own widget in the new ones.
In our example we are going to show you how the SlidingDrawer widget can be used in an Android application.
For this tutorial, we will use the following tools in a Windows 64-bit platform:
- JDK 1.7
- Eclipse 4.2 Juno
- Android SDK 4.1
You may skip project creation and jump directly to the beginning of the example below.
1. Create a New Android Application Project
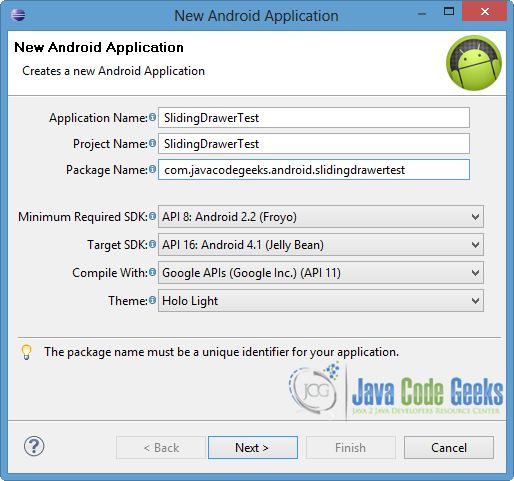
Open Eclipse IDE and go to File → New → Project → Android Application Project.
Specify the name of the application, the project and the package in the appropriate fields. As we mentioned before SlidingDrawer is not supported in every version, so we are going to adjust the used SDK, as you can see in the following image. Then click Next.
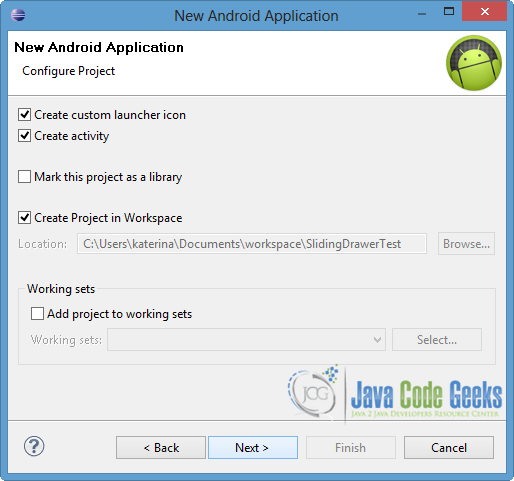
In the next window, the “Create Activity” option should be checked. The new created activity will be the main activity of your project. Then press Next button.
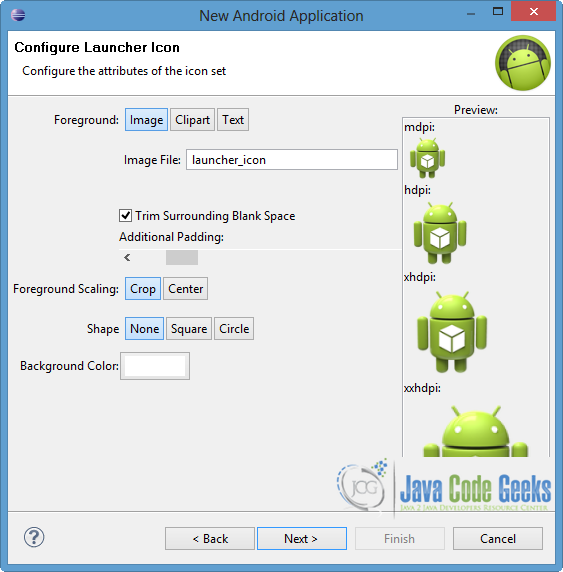
In “Configure Launcher Icon” window you should choose the icon you want to have in your app. We will use the default icon of android, so click Next button.
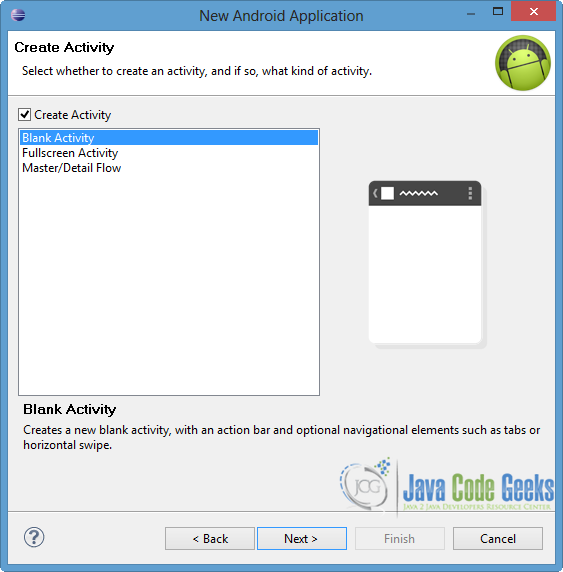
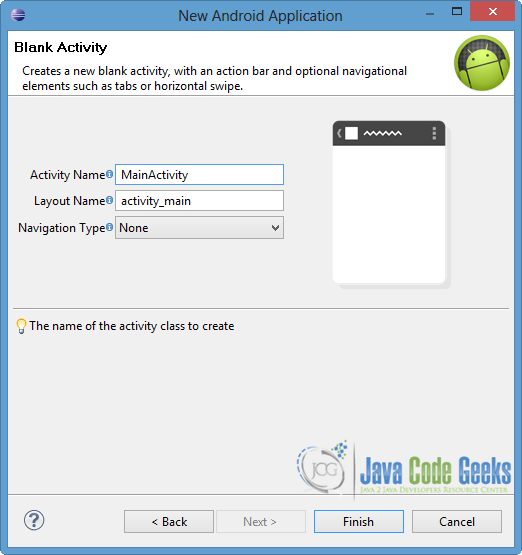
Select the “Blank Activity” option and press Next.
You have to specify a name for the new Activity and a name for the layout description of your app. The .xml file for the layout will automatically be created in the res/layout folder. Finally, press Finish.
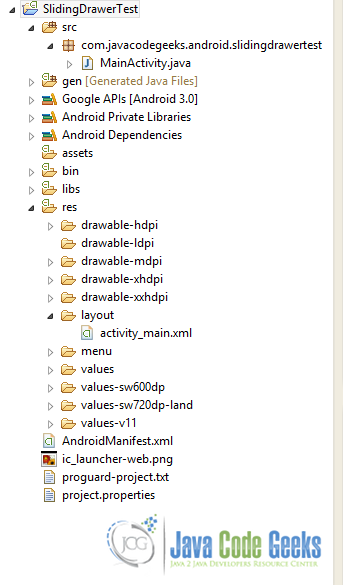
Now you can see the final structure of the project in the next image.
2. Create the layout of the Main Activity
As we said before, we should define the handle and the content in order to create a SlidingDrawer instance. For this reason handle and content attributes are declared to the XML layout file. Each attribute is defined through an id, which is mapped with a View. In our example we are going to use a Button as a handle and a LinearLayout, which includes more than one Views, as a content.
Open res/layout/main_activity.xml, go to the respective xml tab and paste the following.
main_activity.xml:
<RelativeLayout xmlns:android="http://schemas.android.com/apk/res/android"
    xmlns:tools="http://schemas.android.com/tools"
    android:layout_width="match_parent"
    android:layout_height="match_parent"
    android:paddingBottom="@dimen/activity_vertical_margin"
    android:paddingLeft="@dimen/activity_horizontal_margin"
    android:paddingRight="@dimen/activity_horizontal_margin"
    android:paddingTop="@dimen/activity_vertical_margin"
    tools:context=".MainActivity" >

    <TextView
		android:id="@+id/text1"
		android:layout_width="wrap_content"
		android:layout_height="wrap_content"
		android:text="For more info drag the button..." />

    <SlidingDrawer
        android:id="@+id/slidingDrawer"
        android:layout_width="match_parent"
        android:layout_height="match_parent"
        android:layout_marginTop="30dp"
        android:content="@+id/content"
        android:handle="@+id/handle"
        android:orientation="vertical" >

        <Button
            android:id="@+id/handle"
            android:layout_width="wrap_content"
            android:layout_height="wrap_content"
            android:text="+" />

        <LinearLayout
            android:id="@+id/content"
            android:layout_width="match_parent"
            android:layout_height="match_parent"
            android:orientation="vertical" >

            <TextView
		        android:id="@+id/text2"
		        android:layout_width="wrap_content"
		        android:layout_height="wrap_content"
		        android:text="Hello from JCG!" />

            <Button
                android:id="@+id/click"
		        android:layout_width="wrap_content"
		        android:layout_height="wrap_content"
		        android:text="Click me" />
        </LinearLayout>
    </SlidingDrawer>

</RelativeLayout>
Now have a look at the highlighted lines. You will notice that the ids of handle and content components correspond to the unique ids of the respective Views. Generally the sliding can be done vertically or horizontally, so we should specify it through orientation attribute. In our occasion, we have to define the same orientation in the LinearLayout, because we use it as a content. The dimensions of the content is specified via the definition of SlidingDrawer and especially through layout_width and layout_height attributes.
You can have a look at the rest of the xml attributes that can be used, in the Android doc for SlidingDrawer.
3. Code the Main Activity
Open src/com.javacodegeeks.android.slidingdrawertest/MainActivity.java and paste the following code.
MainActivity.java:
package com.javacodegeeks.android.slidingdrawertest;

import android.os.Bundle;
import android.app.Activity;
import android.content.Context;
import android.view.View;
import android.view.View.OnClickListener;
import android.widget.Button;
import android.widget.SlidingDrawer;
import android.widget.SlidingDrawer.OnDrawerOpenListener;
import android.widget.SlidingDrawer.OnDrawerCloseListener;
import android.widget.TextView;
import android.widget.Toast;

public class MainActivity extends Activity {

	private SlidingDrawer drawer;
	private Button handle, clickMe;
	private TextView text1;
	private Context context;

	@Override
	protected void onCreate(Bundle savedInstanceState) {
		super.onCreate(savedInstanceState);
		setContentView(R.layout.activity_main);

		context = this.getApplicationContext();

		handle = (Button) findViewById(R.id.handle);
		text1 = (TextView) findViewById(R.id.text1);
		clickMe = (Button) findViewById(R.id.click);
		drawer=(SlidingDrawer)findViewById(R.id.slidingDrawer);

		drawer.setOnDrawerOpenListener(new OnDrawerOpenListener() {
			@Override
			public void onDrawerOpened() {
				handle.setText("-");
				text1.setText("Already dragged...");
			}
		});

		drawer.setOnDrawerCloseListener(new OnDrawerCloseListener() {

			@Override
			public void onDrawerClosed() {
				handle.setText("+");
				text1.setText("For more info drag the button...");
			}
		});

		clickMe.setOnClickListener(new OnClickListener() {

			@Override
			public void onClick(View v) {
				Toast.makeText(context, "The button is clicked", Toast.LENGTH_LONG).show();
			}
		});

	}

}
As you can see in the code above in order to handle the drag of the SlidingDrawer, we should define setOnDrawerOpenListener and setOnDrawerCloseListener. OnDrawerOpenListener is enabled when the user drags the handle and the content fully opens, while OnDrawerCloseListener is invoked when the user hides the content again. In this example we will change the texts of the TextView and the handle – Button – when the respective listener is invoked. Of course Android system provides us a more dynamic way of changing and handling the attributes of application views. As a prerequisite is to map every view with the unique id component of the XML. This can be done via findViewById() method. Also notice that we can handle the click event of the Button of the content, into the same Activity class. This can be done by the use of setOnClickListener, as you can see in the code above.
At this point is very important to mention that we use Android Api 16 as the target SDK version. For upper versions the SlidingDrawer is not supported, so we can add suitable lines (for instance @SuppressWarnings("deprecation")) in the MainActivity.java where it is required.
4. Run the application
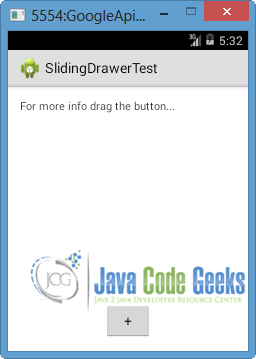
To run our application, right click on our project → Run as → Android Application. The AVD will appear with the app loaded.
Now let’s drag the “+” button, which is the handle of the SlidingDrawer in our example. As you can see in the next image, the LinearLayout appears which is the content of the SlidingDrawer. Also notice that the text of the first TextView as well as the text of the handle – Button change. That is happening because of the callback of the setOnDrawerOpenListener.
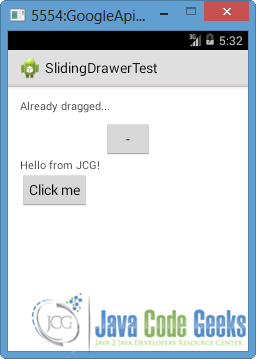
Now press the “Click me” button that is included in the content. Notice that a Toast is shown up on the screen, as we declared at the setOnClickListener in the MainActivity.java file.
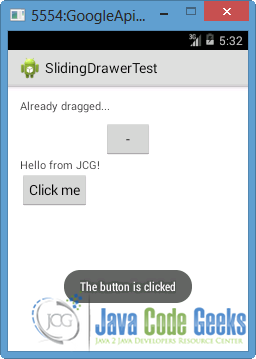
If we drag “-” button at this time, the content is hidden and the texts of the TextView and the Button change again. At this situation, setOnDrawerCloseListener is called. Notice that the sliding of the handle and the appearance of the content is horizontal, due to the declaration of the orientation attribute at the XML file.
Download the Eclipse Project
This was an example of SlidingDrawer in Android. Download the Eclipse Project of this example: SlidingDrawerTest.zip
