Android system supports EditText, which is a subclass of TextView supplied with text editing operations. We often use EditText in our Android applications in order to provide an input or text field, especially in forms.
In this example we are going to show you some commonly used EditText xml attributes and how to embody and handle an EditText in our Android apps.
For this tutorial, we will use the following tools in a Windows 64-bit platform:
- JDK 1.7
- Eclipse 4.2 Juno
- Android SDK 4.4
You may skip project creation and jump directly to the beginning of the example below.
1. Create a New Android Application Project
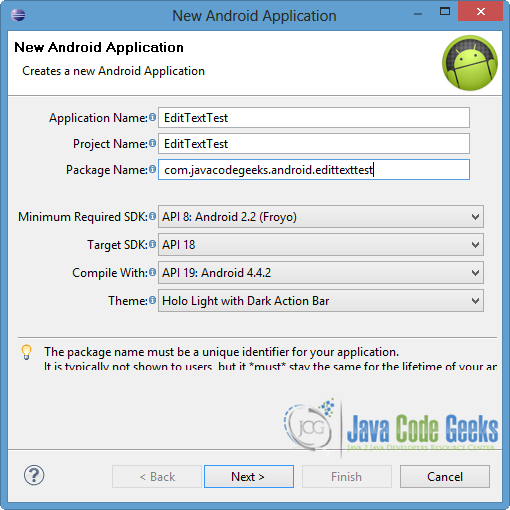
Open Eclipse IDE and go to File → New → Project → Android Application Project.
Fill in the name of the application, the project and the package in the appropriate fields and then click Next.
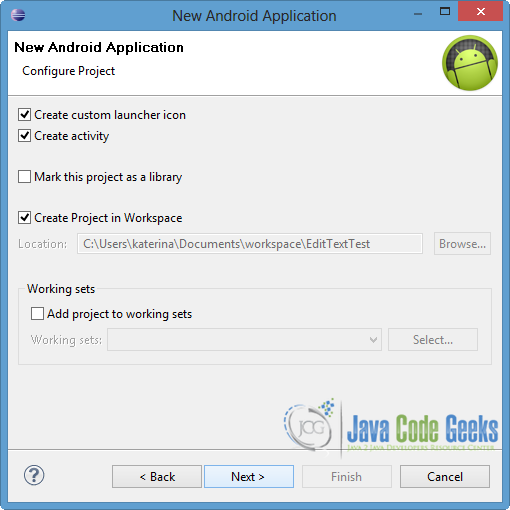
In the next window, the “Create Activity” option should be checked. The new created activity will be the main activity of your project. Then press Next button.
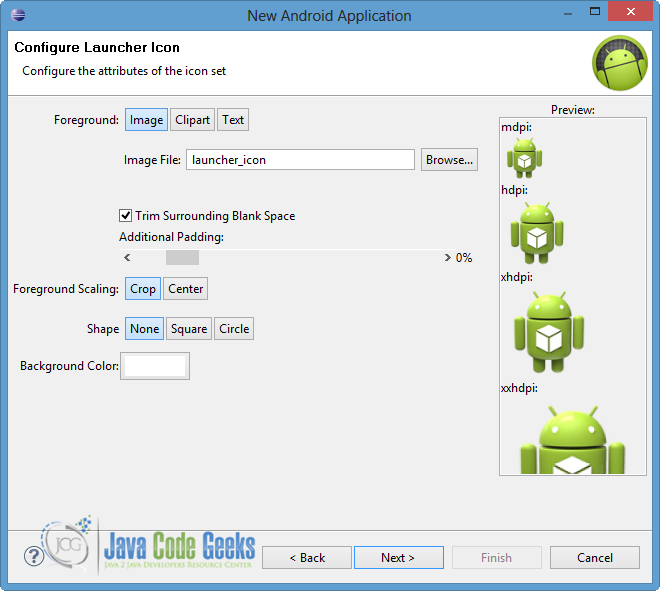
In “Configure Launcher Icon” window you should choose the icon you want to have in your app. We will use the default icon of android, so click Next button.
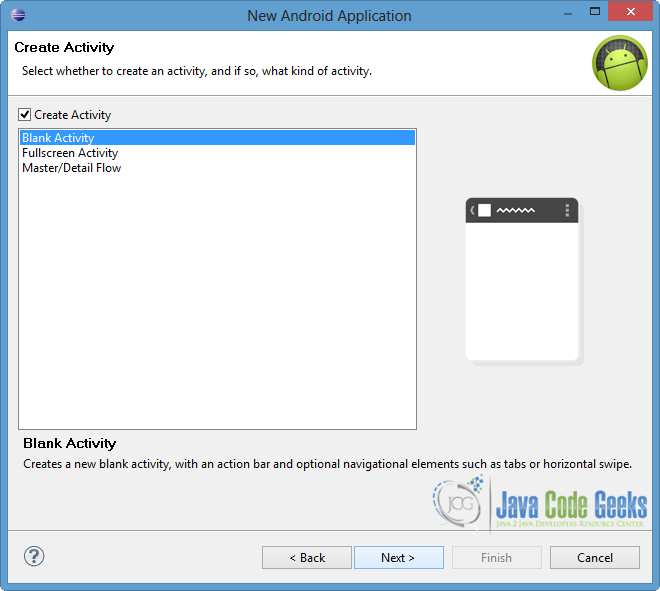
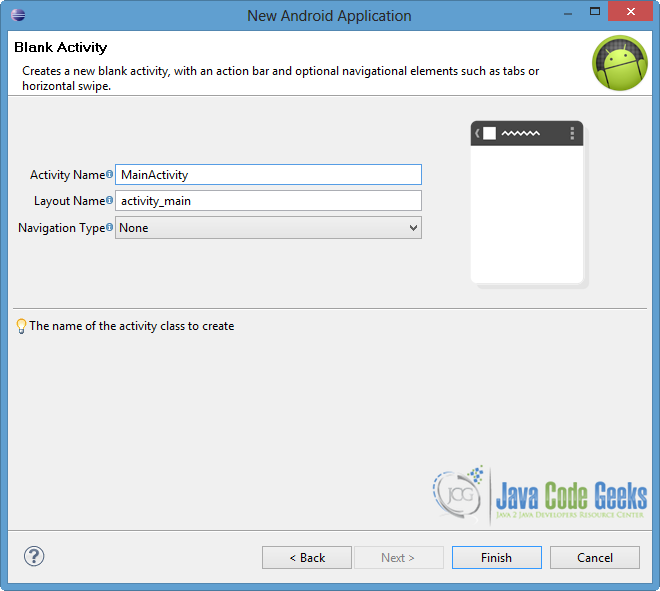
Select the “Blank Activity” option and press Next.
You have to specify a name for the new Activity and a name for the layout description of your app. The .xml file for the layout will automatically be created in the res/layout folder. Finally, press Finish.
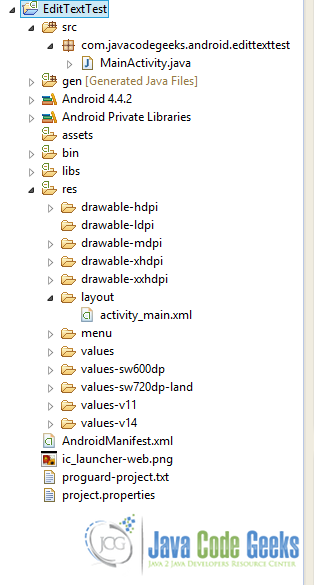
Now you can see the final structure of the project in the following image.
2. Create the layout of the Main Activity
In this example we are going to add some EditTexts where each one includes different attributes. Also we will create two buttons in order to show how we can transfer the values of EditText in other activities or display them on the screen.
Open res/layout/main_activity.xml, go to the respective xml tab and paste the following.
main_activity.xml:
<RelativeLayout xmlns:android="http://schemas.android.com/apk/res/android"
    xmlns:tools="http://schemas.android.com/tools"
    android:layout_width="match_parent"
    android:layout_height="match_parent"
    android:paddingBottom="@dimen/activity_vertical_margin"
    android:paddingLeft="@dimen/activity_horizontal_margin"
    android:paddingRight="@dimen/activity_horizontal_margin"
    android:paddingTop="@dimen/activity_vertical_margin"
    tools:context=".MainActivity" >

    <EditText
        android:layout_width="fill_parent"
        android:layout_height="50dp"
        android:id="@+id/editInp"
        android:hint="@string/hello_world"
        android:singleLine="true"
        android:inputType="textCapWords"/>

    <EditText
        android:layout_width="fill_parent"
        android:layout_height="50dp"
        android:layout_below="@+id/editInp"
        android:hint="Numbers from 1-5"
        android:background="#ff00ff"
        android:id="@+id/editDig"
        android:digits="12345" />

    <EditText
        android:layout_width="fill_parent"
        android:layout_height="50dp"
        android:layout_below="@+id/editDig"
        android:id="@+id/editPass"
        android:hint="Password"
        android:password="true" />

    <EditText
        android:layout_width="fill_parent"
        android:layout_height="50dp"
        android:layout_below="@+id/editPass"
        android:id="@+id/editPhone"
        android:inputType="phone"
        android:maxLength="10"
        android:clickable="true"
        android:hint="Phone" />

    <Button
        android:layout_width="fill_parent"
        android:layout_height="50dp"
        android:layout_below="@+id/editPhone"
        android:id="@+id/nextBtn"
        android:text="Next" />

    <Button
        android:layout_width="fill_parent"
        android:layout_height="50dp"
        android:layout_below="@+id/nextBtn"
        android:id="@+id/displayBtn"
        android:text="Display" />

</RelativeLayout>
Now lets explain the code above and the specific attributes that we defined in the XML file. It is worth to mention that there are the respective functions too, where we can call in the activity source code in order to change the characteristics of the view. Also all the attributes and methods of TextView can be used, due to subclass inheritance.
hint: defines the hint text that would be displayed in the edit text. The text can be defined directly or as a reference tovalues/strings.xmlresource.singleLine: sets whether the text is appeared in one line (true) or if it is wrapped into multiple ones (false).maxLength: specifies the maximum number of characters that the user could put into the text field.digits: specifies the specific numbers that are accepted to be used.inputType: declares the type of data that the user can fill in the text field. Some of the possible choices are textCapWords, email, phone etc, so the input in the text field is adjusted respectively. For multiple than one choices we should use|character for separation.password: indicates that the input is going to be a password, so the text is hidden to the user. Another way to do this, is to set the attributeinputTypeintotextPassword.
As we mentioned we can use the components of TextView, where some of them are defined to our example:
background: sets the background color of the edit text. Again the color should be defined in hex encoding or as a reference to another resource.clickable: indicates if the view reacts to click events.
Also in this example, we used more general components such as layout_width and layout_height or id, which uniquely identifies the respective view.
After the declaration of the attributes, you can imagine the text format that is accepted in each input field.
3. Code the Main Activity
Open src/com.javacodegeeks.android.textviewtest/MainActivity.java and paste the following code.
MainActivity.java:
package com.javacodegeeks.android.edittexttest;

import android.os.Bundle;
import android.view.View;
import android.view.View.OnClickListener;
import android.widget.Button;
import android.widget.EditText;
import android.widget.Toast;
import android.app.Activity;
import android.content.Context;
import android.content.Intent;
import android.graphics.Color;

public class MainActivity extends Activity {

	private EditText input, digits, pass, phone;
	private Button next, display;
	private Context context;

	@Override
	protected void onCreate(Bundle savedInstanceState) {
		super.onCreate(savedInstanceState);
		setContentView(R.layout.activity_main);

		context = this.getApplicationContext();

		input = (EditText) findViewById(R.id.editInp);
		digits = (EditText) findViewById(R.id.editDig);
		pass = (EditText) findViewById(R.id.editPass);
		phone = (EditText) findViewById(R.id.editPhone);

		phone.setOnClickListener(new OnClickListener() {
			@Override
			public void onClick(View v) {
				Toast msg = Toast.makeText(getBaseContext(), "Only 10 numbers",
						Toast.LENGTH_LONG);
				msg.show();
			}
		});

		next = (Button) findViewById(R.id.nextBtn);

		next.setOnClickListener(new OnClickListener() {
			@Override
			public void onClick(View v) {

				Intent myIntent = new Intent(context, NextScreen.class);
				myIntent.putExtra("pass", pass.getText().toString());
				myIntent.putExtra("phone", phone.getText().toString());
				startActivity(myIntent);
			}
		});

		display = (Button) findViewById(R.id.displayBtn);

		display.setOnClickListener(new OnClickListener() {
			@Override
			public void onClick(View v) {
				input.setTextColor(Color.RED);
				String displayString = "You typed '" + input.getText().toString() +
						"' as input text and '" + digits.getText().toString() + "' as digits";

				Toast msg = Toast.makeText(getBaseContext(), displayString,
						Toast.LENGTH_LONG);
				msg.show();
			}
		});
	}

}
As you can see in the code above in order to handle the click on the view we should define setOnClickListener. Notice that we use the OnClickListener not only to the Buttons but to an EditText too. That is happening because we set the clickable attribute to true for the specific EditText (phone). When this EditText is clicked a message is appeared to remind us of the maximum input length.
Also in this example we want to show you how to transfer the values of the EditTexts to another Activity as well as how to handle them in the existing one. When next button is clicked, a new Intent is created, including the values of two EditTexts that the user filled in. Notice that getText() and toString() methods are called in order to take the string representation of these values. In addition, when display button is clicked a Toast is appeared on the screen and setTextColor() function is called in order to change the text color of the specific EditText. At this point, it is important to mention that Android system provides us a more dynamic way of changing and handling the attributes of application views. Of course, as a prerequisite is to map the every view with the unique id component of the XML. This can be done via findViewById() method.
4. Code the Intent Activity
Now we are going to create a simple Activity for the Intent that we declared in the MainActivity.java.
Go to the package of the project, then right click on it → New → Class. Specify the name of the class, as you can see in the image below, and press Finish.
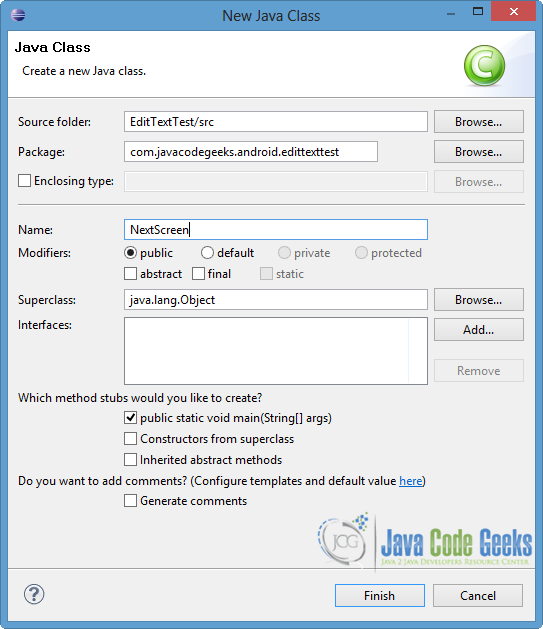

Notice that the name is the same as the intent’s class name at the MainActivity.java.
Now open src/com.javacodegeeks.android.textviewtest/NextScreen.java and paste the following code.
NextScreen.java:
package com.javacodegeeks.android.edittexttest;

import android.app.Activity;
import android.os.Bundle;
import android.widget.TextView;

public class NextScreen extends Activity{

	protected void onCreate(Bundle savedInstanceState) {
		super.onCreate(savedInstanceState);
		setContentView(R.layout.next_activity);

		// receive the arguments from the previous Activity
		Bundle extras = getIntent().getExtras();
		if (extras == null) {
			return;
		}

		// assign the values to string-arguments
		String pass = extras.getString("pass");
		String phone = extras.getString("phone");

		TextView passText = (TextView) findViewById(R.id.passText);
		passText.setText(pass);

		TextView phoneText = (TextView) findViewById(R.id.phoneText);
		phoneText.setText(phone);
	}

}
Although the explanation of this code is outside the scope of the specific example, we want to mention a few things. After we receive the arguments from the previous Activity via Intent, we assign them to new arguments and we display them through TextViews by calling setText() operation.
5. Create the layout of the Intent Activity
At this point we should create a xml file that represents the layout of the NextScreen.java activity. We are going to define two simple TextViews in order to show the EditText values on the screen.
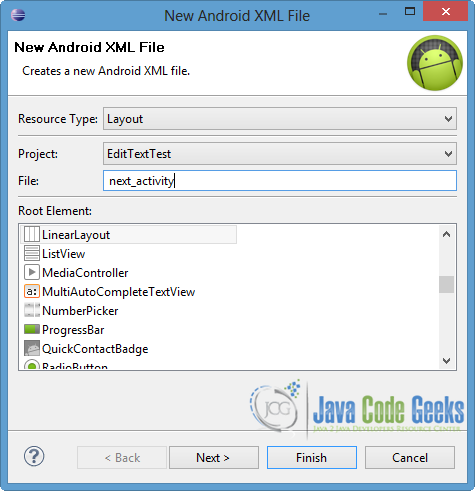
Go to res/layout then right click on it → New → Android XML File. Give the name next_activity, choose LinearLayout as root element and press Finish.
Now open res/layout/next_activity.xml and go to the respective xml tab. Finally paste the code below.
next_activity.xml:
<?xml version="1.0" encoding="utf-8"?>
<LinearLayout xmlns:android="http://schemas.android.com/apk/res/android"
    android:layout_width="match_parent"
    android:layout_height="match_parent"
    android:orientation="vertical" >

    <TextView
        android:layout_width="fill_parent"
        android:layout_height="wrap_content"
        android:id="@+id/passText"
        android:layout_marginBottom="10dp" />

    <TextView
        android:layout_width="fill_parent"
        android:layout_height="wrap_content"
        android:id="@+id/phoneText" />

</LinearLayout>
6. Define the new Activity
We have to define the NextScreen activity in our AndroidManifest.xml file. In our occasion, we want NextScreen to leads us back to the MainActivity, so we will define the MainActivity as it’s parent Activity. For this reason parentActivityName android element is used.
Open AndroidManifest.xml file and choose the xml tab. Then paste the following code.
AndroidManifest.xml:
<?xml version="1.0" encoding="utf-8"?>
<manifest xmlns:android="http://schemas.android.com/apk/res/android"
    package="com.javacodegeeks.android.edittexttest"
    android:versionCode="1"
    android:versionName="1.0" >

    <uses-sdk
        android:minSdkVersion="8"
        android:targetSdkVersion="18" />

    <application
        android:allowBackup="true"
        android:icon="@drawable/ic_launcher"
        android:label="@string/app_name"
        android:theme="@style/AppTheme" >
        <activity
            android:name="com.javacodegeeks.android.edittexttest.MainActivity"
            android:label="@string/app_name" >
            <intent-filter>
                <action android:name="android.intent.action.MAIN" />

                <category android:name="android.intent.category.LAUNCHER" />
            </intent-filter>
        </activity>

        <activity
	        android:name="com.javacodegeeks.android.edittexttest.NextScreen"
	        android:label="@string/app_name"
	        android:parentActivityName="com.javacodegeeks.android.edittexttest.MainActivity" >
    	</activity>
    </application>

</manifest>
7. Run the application
To run our application, right click on our project → Run as → Android Application. The AVD will appear with the app loaded.
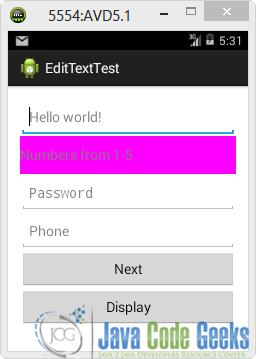
Now let’s fill in all the input fields. Notice that when we fill in the first one, the first letter of every word is capitalized automatically. That is happening because we set textCapWords to the inputType attribute. In addition there is no possibility of filling digits outside of the specified space. Also notice the format of the text when we try to complete the password field. Regarding the phone EditText field, we can only use digits and the maximum number of characters is 10.
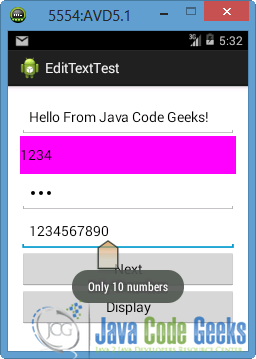
Now double click on the phone EditText field. As you can see in the next image, a Toast is appeared. It is sufficient to mention that the specific EditText can be clicked because clickable attribute is set to true.
EditText fields
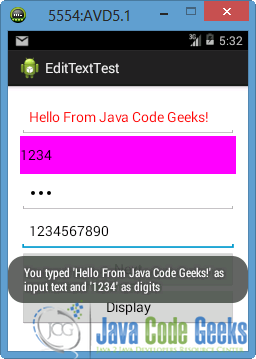
When “Display” button is pressed, another Toast is appeared on the screen. The user can see the values that he/she has filled in the text and digit EditTexts fields. Also notice that the color of the first EditText is turned to red. That is happening because we set the respective component through the source code of the Activity, by using the suitable function.
If we press “Next” button, a new Activity (NextScreen as we said before) will be invoked and the values of password and phone EditTexts are shown on the screen.
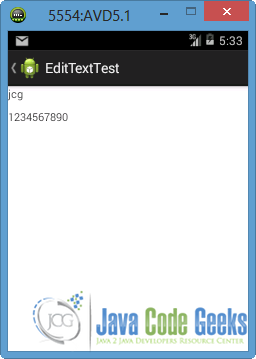
NextScreen Activity – “Next” button is pressed
Download the Eclipse Project
This was an example of EditText in Android. Download the Eclipse Project of this example: EditTextTest.zip
