One of the most popular views in Android is the ViewPager, a view that helps us slide from one “screen” to another like a “slideshow”. Android ViewPager view can be found in many cases, in tutorial or introductory screens, on tab views and galleries.
We are going to create an AppCompatActivity, and we are going to add a ViewPager reference and in it, as well as a FragmentPagerAdapter that will help us navigate between the Fragments that our ViewPager will consist of and that we are going to create. Then, we are going to make instances of Fragments that will be added in our Adapter. The Android ViewPager has default swipe-gestures from one “screen” to another, and we do not need to create any gestures in order to transit between the pages.
So, in this example, we are going to show, how we can implement an Android ViewPager. Let’s start.
For our example will use the following tools in a Windows 64-bit or an OS X platform:
- JDK 1.7
- Android Studio 1.3.2
- Android SDK 6.0
Let’s take a closer look:
1. Create a New Android Studio Project
You may skip project creation and jump directly to the beginning of the example below.
Open Android Studio and choose “Start a new Android Studio Project” in the welcome screen.

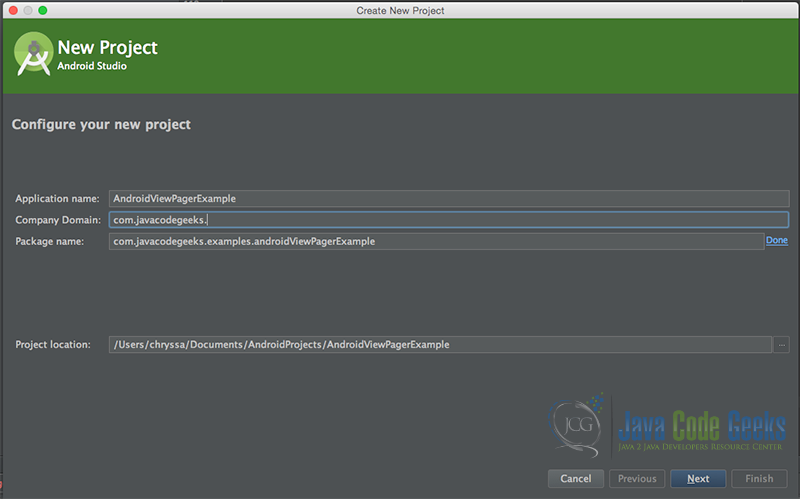
Specify the name of the application, the project and the package.
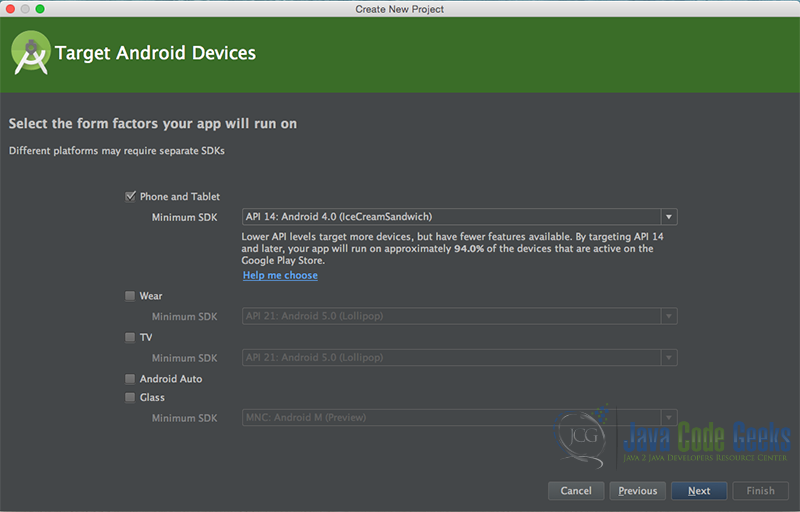
In the next window, select the form factors your app will run on.
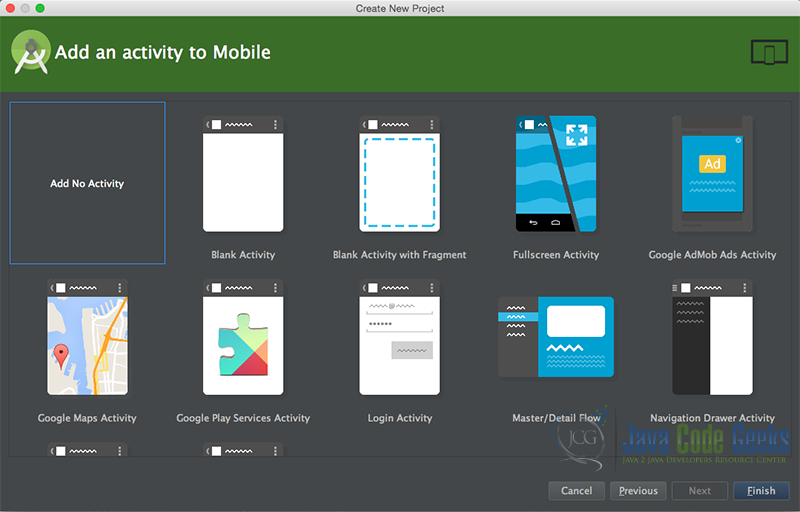
In the next window you should choose “Add no activity”. In this example, we are going to create our Activity.
Now, our project has just been created!
2. Create the layout of the main AndroidViewPagerExample
The AndroidViewPagerExample is the main Activity of our example, and this is the Activity in which we are going to create a ViewPager instance and set its FragmentPagerAdapter. Now, we are going to make the layout of this Activity, which will be a simple layout xml for the AndroidViewPagerExample.class, that consists of a LinearLayout with vertical orientation, that includes a ViewPager.
Add a new xml file inside /res/layout folder, with name activity_main.xml. We should have the /res/layout/activity_main.xml file and paste the code below.
activity_main.xml
<?xml version="1.0" encoding="utf-8"?>
<LinearLayout xmlns:android="http://schemas.android.com/apk/res/android"
    xmlns:custom="http://schemas.android.com/apk/res-auto"
    xmlns:tools="http://schemas.android.com/tools"
    android:layout_width="match_parent"
    android:layout_height="match_parent"
    android:layout_gravity="center"
    android:background="@drawable/background_blue"
    android:orientation="vertical">

    <android.support.v4.view.ViewPager
        android:id="@+id/pager"
        android:layout_width="match_parent"
        android:layout_height="match_parent"
        android:layout_gravity="center"
        tools:context=".MainActivity"/>

</LinearLayout>
3. Create the source code of the main AndroidViewPagerExample Activity
Add a new Java class inside src/com.javacodegeeks.androidViewPagerExample/ so that we are going to have the src/com.javacodegeeks.androidViewPagerExample/AndroidViewPagerExample.java file and paste the code below.
AndroidViewPagerExample.java
package com.javacodegeeks.examples.androidViewPagerExample;

import android.support.v4.app.FragmentManager;
import android.support.v4.app.FragmentPagerAdapter;
import android.os.Bundle;
import android.support.v4.view.ViewPager;
import android.support.v7.app.AppCompatActivity;

public class AndroidViewPagerExample extends AppCompatActivity {

    @Override
    protected void onCreate(Bundle savedInstanceState) {
        super.onCreate(savedInstanceState);
        setContentView(R.layout.activity_main);

        ViewPager pager = (ViewPager) findViewById(R.id.pager);
        pager.setAdapter(new MyPagerAdapter(getSupportFragmentManager()));
    }

    private class MyPagerAdapter extends FragmentPagerAdapter {

        public MyPagerAdapter(FragmentManager fm) {
            super(fm);
        }

        @Override
        public android.support.v4.app.Fragment getItem(int pos) {
            switch (pos) {
                case 0:
                    return FragmentViewPager.newInstance(getString(R.string.title_section1), R.drawable.rock);
                case 1:
                    return FragmentViewPager.newInstance(getString(R.string.title_section2), R.drawable.paper);
                case 2:
                    return FragmentViewPager.newInstance(getString(R.string.title_section3), R.drawable.scissors);
                default:
                    return FragmentViewPager.newInstance(getString(R.string.title_section1), R.drawable.rock);
            }
        }

        @Override
        public int getCount() {
            return 3;
        }
    }
}
4. Create the layout of the main FragmentViewPager
The FragmentViewPager is the Fragment of our example, from which we are going to recreate instances and add them in the ViewPager. Now, we are going to make the layout of this Fragment, which will be a simple layout xml for the FragmentViewPager.class, that consists of a LinearLayout with vertical orientation, that includes a TextView and an ImageView.
Add a new xml file inside /res/layout folder, with name fragment_main.xml. We should have the /res/layout/fragment_main.xml file and paste the code below.
fragment_main.xml
<LinearLayout xmlns:android="http://schemas.android.com/apk/res/android"
    xmlns:tools="http://schemas.android.com/tools"
    android:layout_width="match_parent"
    android:layout_height="match_parent"
    android:background="#00000000"
    android:orientation="vertical"
    android:paddingBottom="@dimen/activity_vertical_margin"
    android:paddingLeft="@dimen/activity_horizontal_margin"
    android:paddingRight="@dimen/activity_horizontal_margin"
    android:paddingTop="@dimen/activity_vertical_margin">

    <TextView
        android:id="@+id/title"
        android:layout_width="wrap_content"
        android:layout_height="wrap_content"
        android:layout_gravity="center"
        android:layout_marginTop="44dp"
        android:textColor="#ffffff"
        android:textSize="60dp" />

    <ImageView
        android:id="@+id/image"
        android:layout_width="wrap_content"
        android:layout_height="wrap_content"
        android:layout_gravity="center"
        android:layout_marginTop="44dp" />

</LinearLayout>
5. Create the source code of the main FragmentViewPager support.v4.app.Fragment
Add a new Java class inside src/com.javacodegeeks.androidViewPagerExample/ so that we are going to have the src/com.javacodegeeks.androidViewPagerExample/FragmentViewPager.java file and paste the code below.

FragmentViewPager.java
package com.javacodegeeks.examples.androidViewPagerExample;

import android.os.Bundle;
import android.view.LayoutInflater;
import android.view.View;
import android.view.ViewGroup;
import android.widget.ImageView;
import android.widget.TextView;

public class FragmentViewPager extends android.support.v4.app.Fragment {

    @Override
    public View onCreateView(LayoutInflater inflater, ViewGroup container, Bundle savedInstanceState) {
        View v = inflater.inflate(R.layout.fragment_main, container, false);

        TextView tv = (TextView) v.findViewById(R.id.title);
        tv.setText(getArguments().getString("text"));

        ImageView imageView = (ImageView) v.findViewById(R.id.image);
        imageView.setBackgroundResource(getArguments().getInt("img"));

        return v;
    }

    public static FragmentViewPager newInstance(String text, int image) {

        FragmentViewPager f = new FragmentViewPager();
        Bundle b = new Bundle();
        b.putString("text", text);
        b.putInt("img", image);

        f.setArguments(b);

        return f;
    }
}
6. Android Manifest
The AndroidManifest.xml of our project is simple and contains the main Activity of our example:
AndroidManifest.xml
<?xml version="1.0" encoding="utf-8"?>
<manifest xmlns:android="http://schemas.android.com/apk/res/android"
    package="com.javacodegeeks.examples.androidViewPagerExample" >

    <application
        android:allowBackup="true"
        android:icon="@mipmap/ic_launcher"
        android:label="@string/app_name"
        android:theme="@style/AppTheme" >
        <activity
            android:name=".AndroidViewPagerExample"
            android:label="@string/app_name" >
            <intent-filter>
                <action android:name="android.intent.action.MAIN" />

                <category android:name="android.intent.category.LAUNCHER" />
            </intent-filter>
        </activity>
    </application>

</manifest
>
7. Composing build.gradle file
We should add the AppCompat V7 support support library in our project. We can this as a dependency to our application via build.gradle file.
build.gradle
apply plugin: 'com.android.application'

android {
    compileSdkVersion 23
    buildToolsVersion "23.0.2"

    defaultConfig {
        applicationId "com.javacodegeeks.examples.androidViewPagerExample"
        minSdkVersion 14
        targetSdkVersion 23
        versionCode 1
        versionName "1.0"
    }
    buildTypes {
        release {
            minifyEnabled false
            proguardFiles getDefaultProguardFile('proguard-android.txt'), 'proguard-rules.pro'
        }
    }
}

dependencies {
    compile fileTree(dir: 'libs', include: ['*.jar'])
    compile 'com.android.support:appcompat-v7:23.1.1'
}
8. Build, compile and run
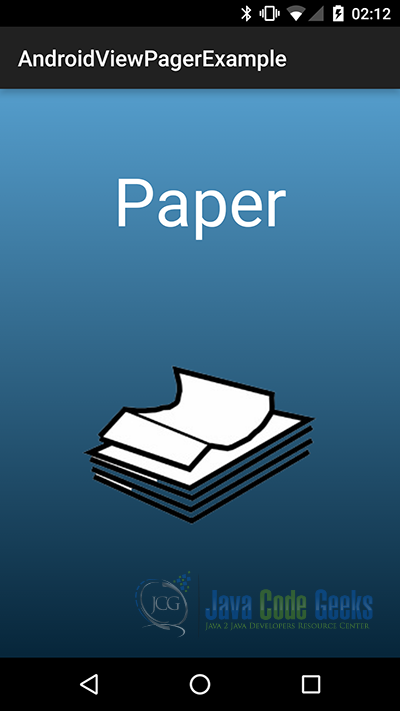
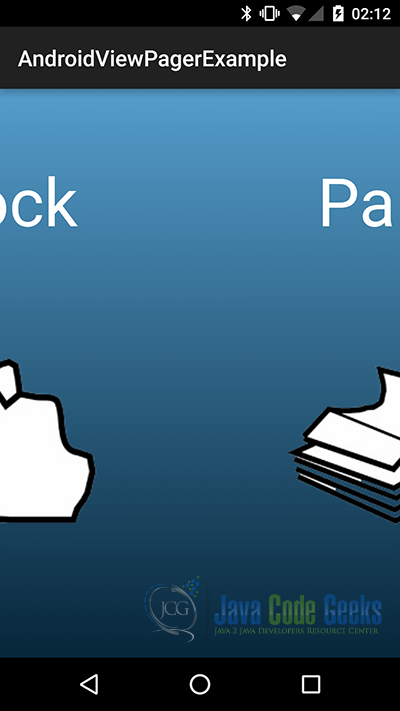
When we build, compile and run our project, the main AndroidViewPagerExample should look like this:


9. Download the Android Studio Project
This was an example of Android ViewPager Example.
You can download the full source code of this example here: AndroidViewPagerExample

Hello, the perfect tutorial. Very simple to understand and readable, I’m glad I found this with you, congratulations.