In this example we are going to see how to use Android Thread. As we read from the official documentation:
- A
Threadis a concurrent unit of execution. It has its own call stack for methods being invoked, their arguments and local variables. Each virtual machine instance has at least one mainThreadrunning when it is started; typically, there are several others for housekeeping. The application might decide to launch additionalThreads for specific purposes. Threads in the same VM interact and synchronize by the use of shared objects and monitors associated with these objects. Synchronized methods and part of the API inObjectalso allowThreads to cooperate.- There are basically two main ways of having a
Threadexecute application code. One is providing a new class that extendsThreadand overriding itsrun()method. The other is providing a newThreadinstance with aRunnableobject during its creation. In both cases, thestart()method must be called to actually execute the newThread. - Each
Threadhas an integer priority that basically determines the amount of CPU time theThreadgets. It can be set using thesetPriority(int)method. AThreadcan also be made a daemon, which makes it run in the background. The latter also affects VM termination behavior: the VM does not terminate automatically as long as there are non-daemon threads running.
For this tutorial, we will use the following tools in a Windows 64-bit platform:
- JDK 1.7
- Eclipse 4.2 Juno
- Android SKD 4.2
1. Create a new Android Project
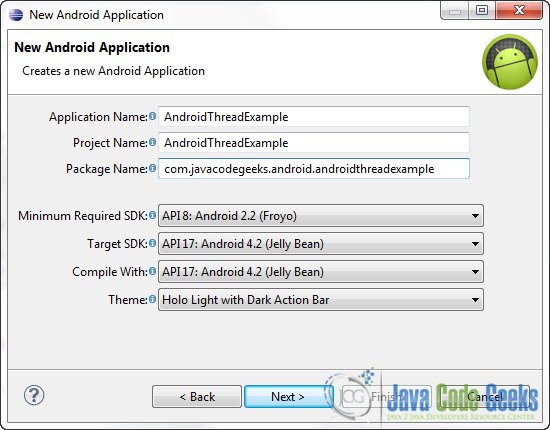
Open Eclipse IDE and go to File -> New -> Project -> Android -> Android Application Project. You have to specify the Application Name, the Project Name and the Package name in the appropriate text fields and then click Next.
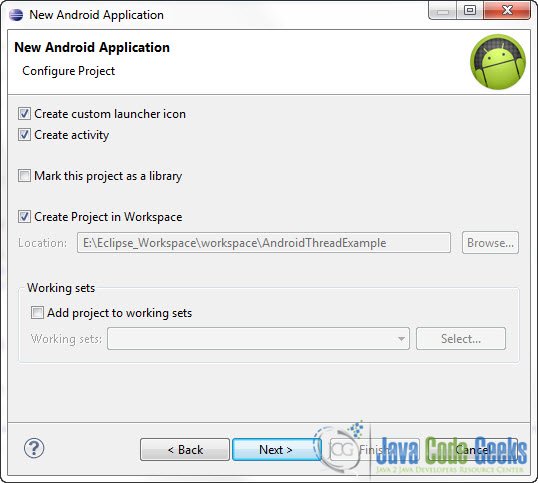
In the next window make sure the “Create activity” option is selected in order to create a new activity for your project, and click Next. This is optional as you can create a new activity after creating the project, but you can do it all in one step.
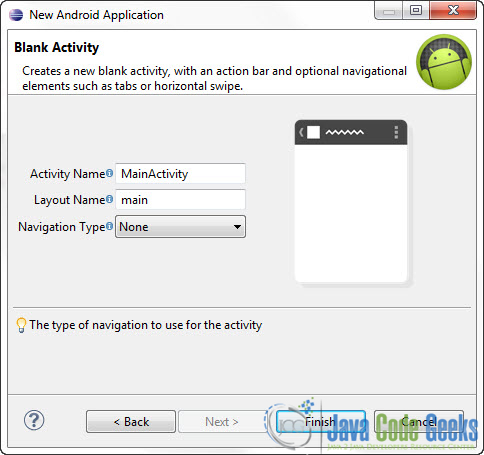
Select “BlankActivity” and click Next.

You will be asked to specify some information about the new activity. In the Layout Name text field you have to specify the name of the file that will contain the layout description of your app. In our case the file res/layout/main.xml will be created. Then, click Finish.
2. Create the main layout of the Application
Open res/layout/main.xml file :

And paste the following code :
<?xml version="1.0" encoding="utf-8"?>
<LinearLayout xmlns:android="http://schemas.android.com/apk/res/android"
android:layout_width="match_parent"
android:layout_height="match_parent"
android:orientation="vertical" >
<ProgressBar
android:id="@+id/progressBar1"
style="?android:attr/progressBarStyleHorizontal"
android:layout_width="match_parent"
android:layout_height="wrap_content"
android:indeterminate="false"
android:max="10"
android:padding="4dip" >
</ProgressBar>
<Button
android:id="@+id/button1"
android:layout_width="match_parent"
android:layout_height="wrap_content"
android:onClick="startProgress"
android:text="Start" />
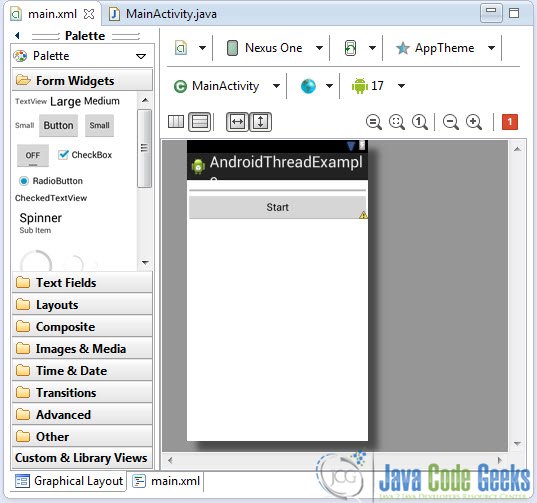
</LinearLayout>Now you may open the Graphical layout editor to preview the User Interface you created:
3. Code
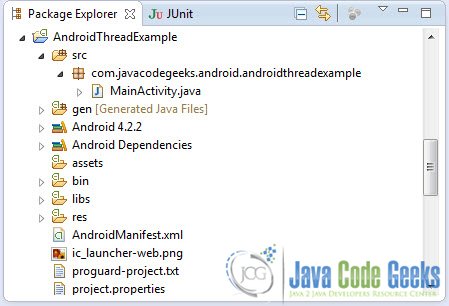
Now we have to write the code of the application. Use the Package Explorer to navigate to the Java file of the Activity you’ve created:
The code of this tutorial is pretty much self explanatory. The interesting part is how to update the value of the Progress bar. We are going to use a Thread to run the backgroud process that updates tha value of the progress bar. Although this example works fine, it is strongly advised to use a Handler or an AsyncTask to explicity bind the backroud thread with the UI thread.
package com.javacodegeeks.android.androidthreadexample;
import android.app.Activity;
import android.os.Bundle;
import android.view.View;
import android.widget.ProgressBar;
public class MainActivity extends Activity {
private ProgressBar bar;
/** Called when the activity is first created. */
@Override
public void onCreate(Bundle savedInstanceState) {
super.onCreate(savedInstanceState);
setContentView(R.layout.main);
bar = (ProgressBar) findViewById(R.id.progressBar1);
}
public void startProgress(View view) {
bar.setProgress(0);
new Thread(new Task()).start();
}
class Task implements Runnable {
@Override
public void run() {
for (int i = 0; i <= 10; i++) {
final int value = i;
try {
Thread.sleep(1000);
} catch (InterruptedException e) {
e.printStackTrace();
}
bar.setProgress(value);
}
}
}
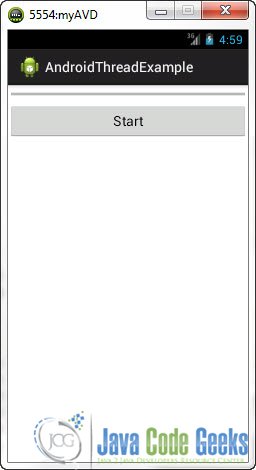
}4. Run the application
This is the main screen of our Application.
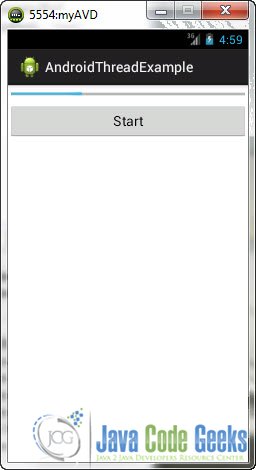
Now, when you press the “Start” button, the thread that updates the bar’s value :
Download Eclipse Project
This was an Android Thread Example. Download the Eclipse Project of this tutorial: AndroidThreadExample

Thank You! :)