Although Android provides Built-in applications for phone calls, in some occasions we may need to make a phone call through our application. This could easily be done by using implicit Intent with appropriate actions. Also, we can use PhoneStateListener and TelephonyManager classes, in order to monitor the changes in some telephony states on the device.
In this tutorial we are going to show how to make a phone call and return back to our activity after it’s end.
For this tutorial, we will use the following tools in a Windows 64-bit platform:
- JDK 1.7
- Eclipse 4.2 Juno
- Android SDK 4.4
1. Create a New Android Application Project
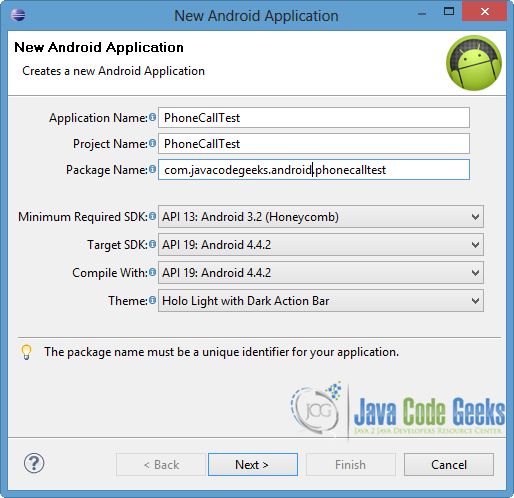
Open Eclipse IDE and go to File → New → Project → Android Application Project.
Specify the name of the application, the project and the package in the appropriate fields and then click Next.
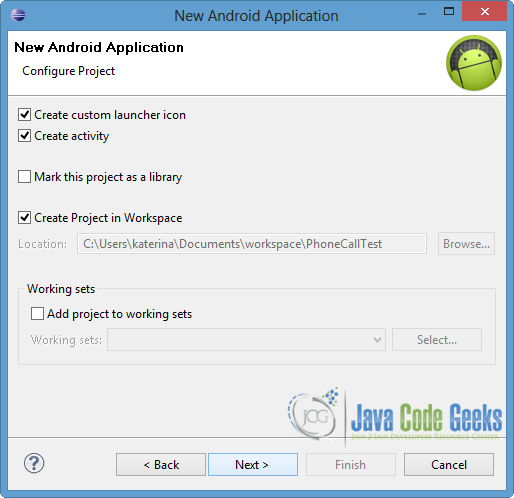
In the next window, choose the “Create Activity” check-option. The new created activity will be the main activity of your project. Then press Next button.
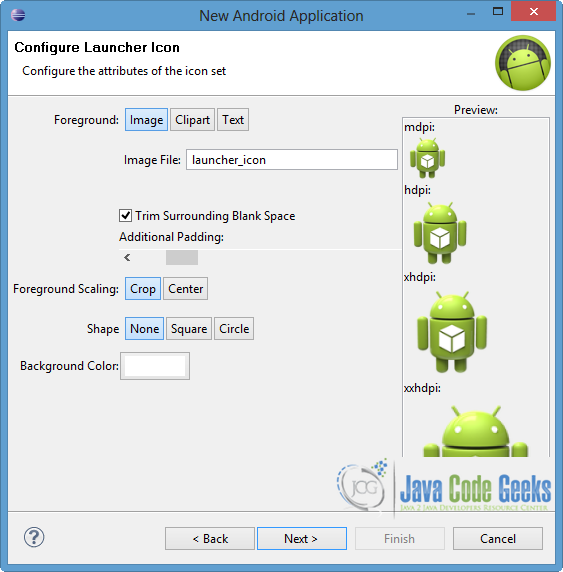
In “Configure Launcher Icon” window you should choose the icon you want to have in your app. We will use the default icon of android, so press Next button.
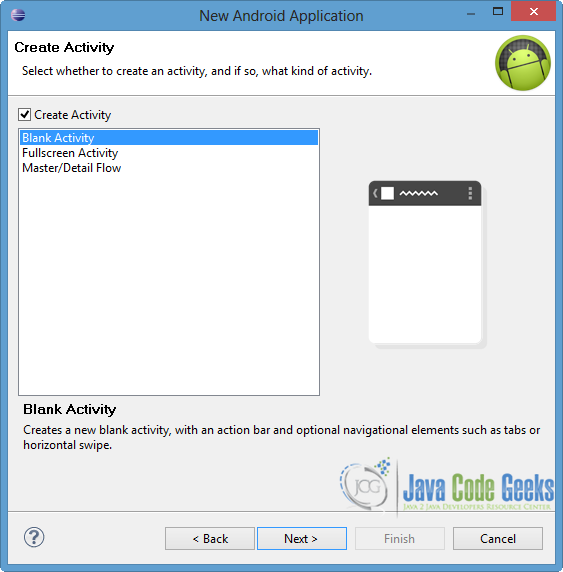
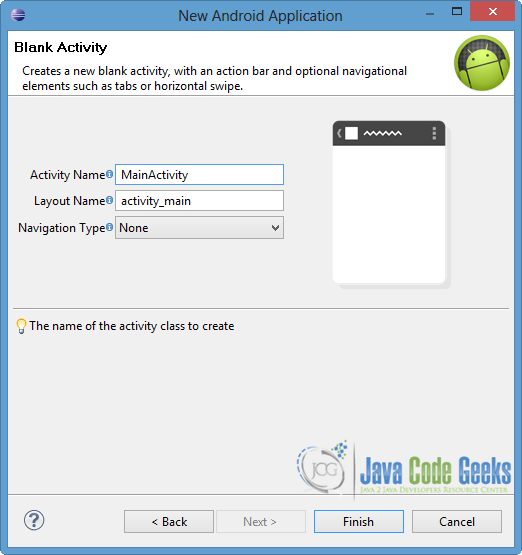
Select the “Blank Activity” option and click Next.
Specify a name for the new Activity and a name for the layout description of your app. The .xml file for the layout will automatically be created in the res/layout folder. Finally, press Finish.
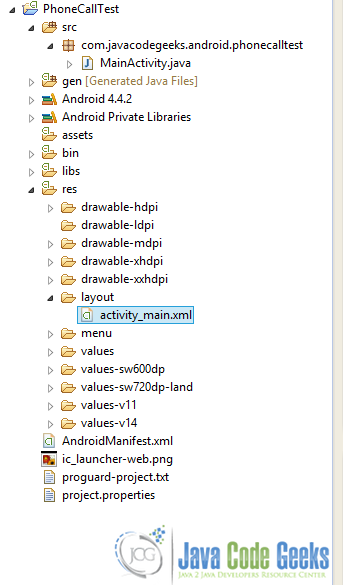
Now, you can see the structure of your created project.
2. Create the layout of the Main Activity
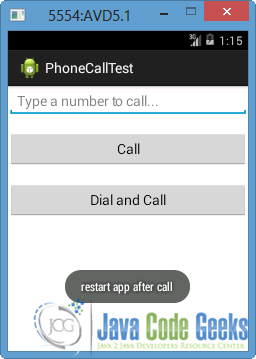
In this example we will make a simple user interface. We are going to add an EditText, where the user can fill in the phone number. Moreover, we will put two Buttons where both of them enables a phone call, by using different Intent actions.
Open res/layout/activity_main.xml to the respective xml tab. Then paste the code below.
activity_main.xml:
<RelativeLayout xmlns:android="http://schemas.android.com/apk/res/android"
    xmlns:tools="http://schemas.android.com/tools"
    android:layout_width="match_parent"
    android:layout_height="match_parent"
    tools:context=".MainActivity" >

    <EditText
        android:id="@+id/phoneNumber"
        android:layout_width="fill_parent"
        android:layout_height="wrap_content"
        android:layout_alignParentLeft="true"
        android:layout_alignParentTop="true"
        android:hint="Type a number to call..."
        android:ems="10"
        android:inputType="phone" />

    <Button
        android:id="@+id/call"
        android:layout_width="fill_parent"
        android:layout_height="wrap_content"
        android:layout_below="@+id/phoneNumber"
        android:layout_marginTop="20dp"
        android:text="Call" />

     <Button
        android:id="@+id/dial"
        android:layout_width="fill_parent"
        android:layout_height="wrap_content"
        android:layout_below="@+id/call"
        android:layout_marginTop="20dp"
        android:text="Dial and Call" />

</RelativeLayout>
3. Code the Main Activity
As we mentioned before, we need an implicit Intent in order to make a phone call from our app. For the action of this Intent we can use ACTION_CALL for a direct call or ACTION_DIAL, where the user can change the phone number before calling. Also, we have to set the data in the Intent by adding the scheme tel: before the phone number.
Although the Intent is sufficient for the phone call, in some cases we want to monitor the phone state. In such situations, we use PhoneStateListener and TelephonyManager classes. In our example we create our own PhoneStateListener, in order to handle some states of the phone call. More specifically, in the state CALL_STATE_IDLE, we want to return to our application’s main activity after the end of the call. For that reason we create a suitable Intent, as you can see in the code below.
Open src/com.javacodegeeks.android.phonecalltest/MainActivity.java file and paste the following.
MainActivity.java:
package com.javacodegeeks.android.phonecalltest;

import android.net.Uri;
import android.os.Bundle;
import android.app.Activity;
import android.content.Context;
import android.content.Intent;
import android.telephony.PhoneStateListener;
import android.telephony.TelephonyManager;
import android.view.View;
import android.widget.Button;
import android.widget.EditText;
import android.widget.Toast;
import android.view.View.OnClickListener;

public class MainActivity extends Activity {

	private Button callBtn;
	private Button dialBtn;
	private EditText number;

	@Override
	protected void onCreate(Bundle savedInstanceState) {
		super.onCreate(savedInstanceState);
		setContentView(R.layout.activity_main);

		number = (EditText) findViewById(R.id.phoneNumber);
		callBtn = (Button) findViewById(R.id.call);
		dialBtn = (Button) findViewById(R.id.dial);

		// add PhoneStateListener for monitoring
		MyPhoneListener phoneListener = new MyPhoneListener();
		TelephonyManager telephonyManager =
			(TelephonyManager) this.getSystemService(Context.TELEPHONY_SERVICE);
		// receive notifications of telephony state changes
		telephonyManager.listen(phoneListener,PhoneStateListener.LISTEN_CALL_STATE);

		callBtn.setOnClickListener(new OnClickListener() {

			@Override
			public void onClick(View v) {
				try {
					// set the data
					String uri = "tel:"+number.getText().toString();
					Intent callIntent = new Intent(Intent.ACTION_CALL, Uri.parse(uri));

					startActivity(callIntent);
				}catch(Exception e) {
					Toast.makeText(getApplicationContext(),"Your call has failed...",
						Toast.LENGTH_LONG).show();
					e.printStackTrace();
				}
			}
		});

		dialBtn.setOnClickListener(new OnClickListener() {

			@Override
			public void onClick(View v) {
				try {
					String uri = "tel:"+number.getText().toString();
					Intent dialIntent = new Intent(Intent.ACTION_DIAL, Uri.parse(uri));

					startActivity(dialIntent);
				}catch(Exception e) {
					Toast.makeText(getApplicationContext(),"Your call has failed...",
						Toast.LENGTH_LONG).show();
					e.printStackTrace();
				}
			}
		});
	}

	private class MyPhoneListener extends PhoneStateListener {

		private boolean onCall = false;

		@Override
		public void onCallStateChanged(int state, String incomingNumber) {

			switch (state) {
			case TelephonyManager.CALL_STATE_RINGING:
				// phone ringing...
				Toast.makeText(MainActivity.this, incomingNumber + " calls you",
						Toast.LENGTH_LONG).show();
				break;

			case TelephonyManager.CALL_STATE_OFFHOOK:
				// one call exists that is dialing, active, or on hold
				Toast.makeText(MainActivity.this, "on call...",
						Toast.LENGTH_LONG).show();
				//because user answers the incoming call
				onCall = true;
				break;

			case TelephonyManager.CALL_STATE_IDLE:
				// in initialization of the class and at the end of phone call

				// detect flag from CALL_STATE_OFFHOOK
				if (onCall == true) {
					Toast.makeText(MainActivity.this, "restart app after call",
							Toast.LENGTH_LONG).show();

					// restart our application
					Intent restart = getBaseContext().getPackageManager().
						getLaunchIntentForPackage(getBaseContext().getPackageName());
					restart.addFlags(Intent.FLAG_ACTIVITY_CLEAR_TOP);
					startActivity(restart);

					onCall = false;
				}
				break;
			default:
				break;
			}

		}
	}

}
4. Set the Permissions
We have to set up the permissions for the completion of the phone call as well as for it’s monitoring. It is good to mention that READ_PHONE_STATE permission is only necessary for the PhoneStateListener.
Open AndroidManifest.xml file, go to the respective xml tab and paste the following.
AndroidManifest.xml:
<?xml version="1.0" encoding="utf-8"?>
<manifest xmlns:android="http://schemas.android.com/apk/res/android"
    package="com.javacodegeeks.android.phonecalltest"
    android:versionCode="1"
    android:versionName="1.0" >

    <uses-sdk
        android:minSdkVersion="13"
        android:targetSdkVersion="19" />

    <uses-permission android:name="android.permission.CALL_PHONE" />
    <uses-permission android:name="android.permission.READ_PHONE_STATE" />

    <application
        android:allowBackup="true"
        android:icon="@drawable/ic_launcher"
        android:label="@string/app_name"
        android:theme="@style/AppTheme" >
        <activity
            android:name="com.javacodegeeks.android.phonecalltest.MainActivity"
            android:label="@string/app_name" >
            <intent-filter>
                <action android:name="android.intent.action.MAIN" />

                <category android:name="android.intent.category.LAUNCHER" />
            </intent-filter>
        </activity>
    </application>

</manifest>
5. Run the application
To run our application, right click on our project → Run as → Android Application. The AVD will appear with the app loaded.
Fill in a phone number in order to make a call, as shown in the picture below.
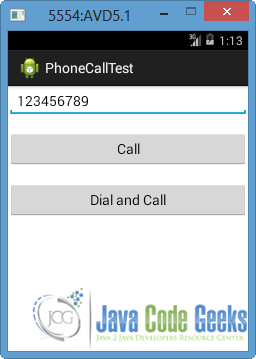
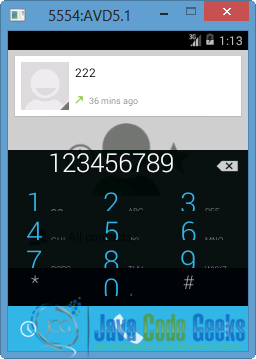
Then press “Dial and Call” button. The system leads you to the following screen, in order to change the phone number before the call.
If instead of “Dial and Call” button we click “Call” button, a direct call will launch.
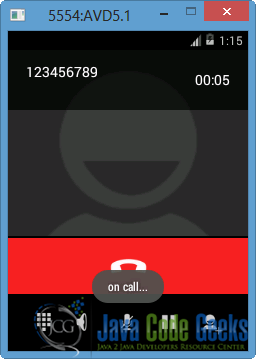
When we end the call, we return back to our application, as shown in the image below. This is happening whichever button we press.
Notice in the pictures above that the appropriate messages, which corresponds to the call states, appear in the suitable cases.
Download Eclipse Project
This was an example of making a phone call in Android. Download the Eclipse Project of this example: PhoneCallTest.zip
