As we have seen in our previous example Android StartActivityForResult Example, in Android, the Intent describes the activity to be executed. An Intent contains certain header, action and type, but also can contain data.
The data of the Intent is described as a Bundle. The Bundle object is used to pass data between activities. This data can be retrieved from the Intent through the getExtras() method. A Bundle object is actually a hash control that stores key and value pairs. The full documentation and the public methods that this class contains are summarized in the Developers Reference for the Android Bundle.
In this example, we are going to show a basic Android Bundle Example, that passes certain values from the main AndroidBundleExample Activity to the AndroidSecondActivity via Android Bundle.
In order to achive this, will use the following tools in a Windows 64-bit platform:
- JDK 1.7
- Eclipse 4.2 Juno
- Android SDK 4.4.2
Let’s take a closer look:
1. Create a New Android Application Project
You may skip project creation and jump directly to the beginning of the example below.
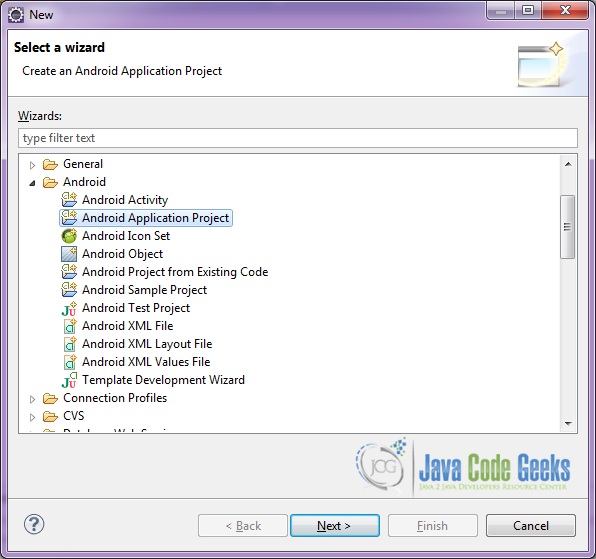
Open Eclipse IDE and go to File → New → Project → Android Application Project.
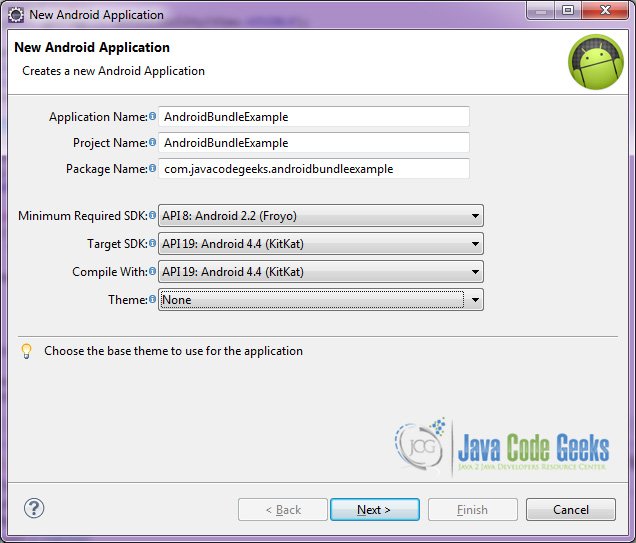
Specify the name of the application, the project and the package and then click Next.
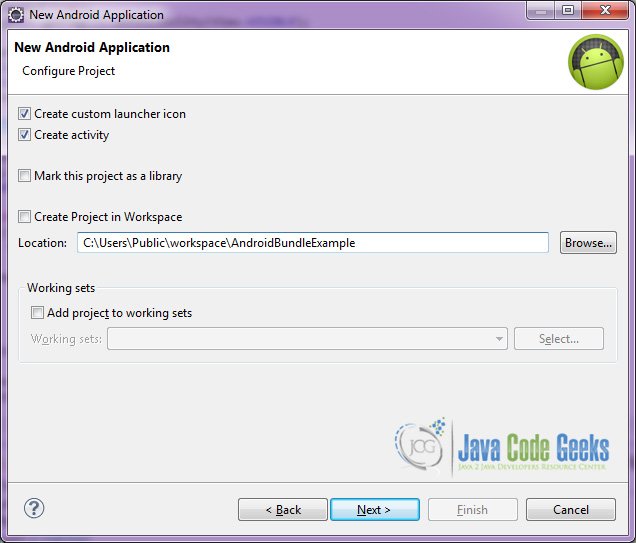
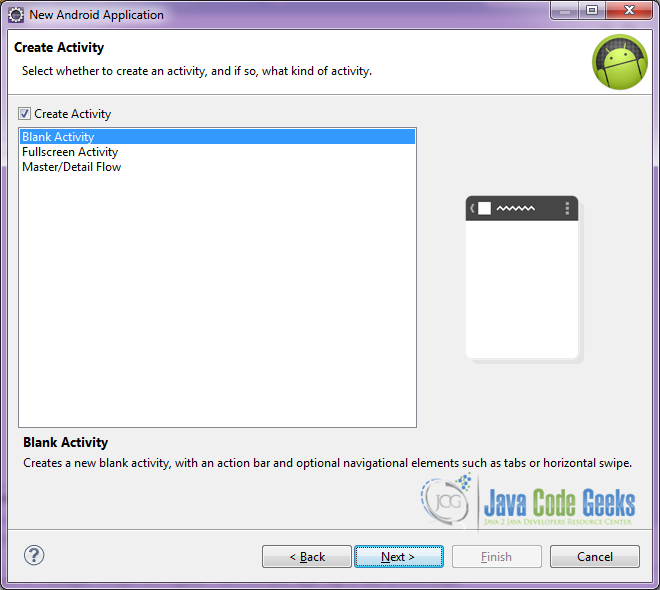
In the next window, the “Create Activity” option should be checked. The new created activity will be the main activity of your project. Then press Next button.
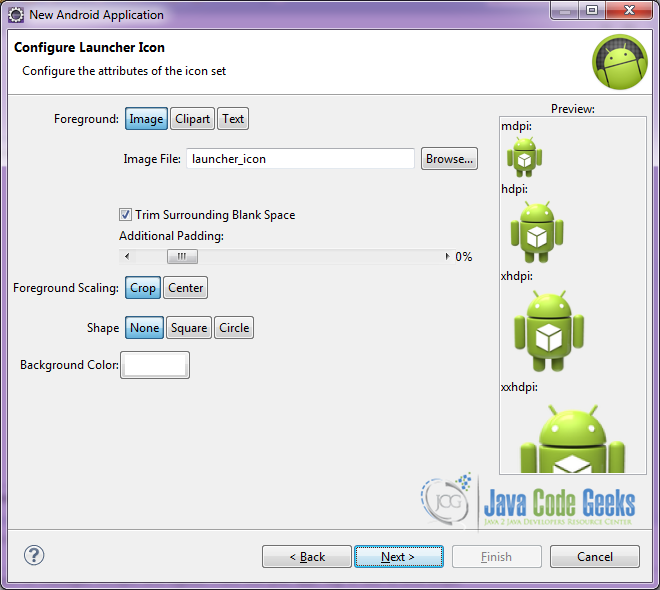
In “Configure Launcher Icon” window you should choose the icon you want to have in your app. We will use the default icon of android, so click Next.
Select the “Blank Activity” option and press Next.
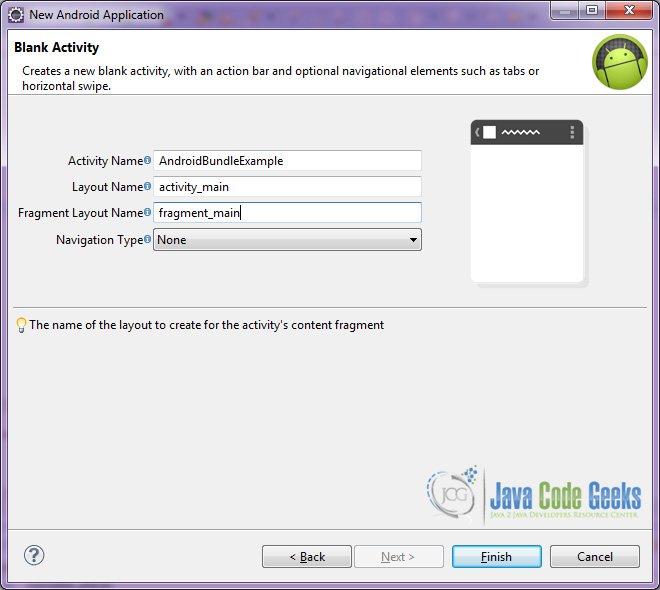
You have to specify a name for the new Activity and a name for the layout description of your app. The .xml file for the layout will automatically be created in the res/layout folder. It will also be created a fragment layout xml, that we are not going to use in this project and you can remove it if you want. Then press Finish.
Here you can see, how will the structure of the project become when finished:
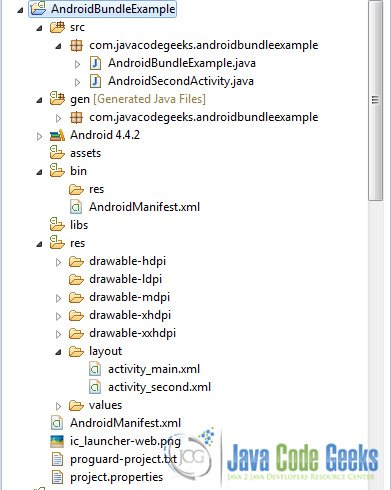
As you have noticed, for the purpose of this example, we are going to have two Activities, and two layouts for these Activities.
2. Creating the layout of the main AndroidBundleExample
We are going to make a very simple layout xml for the AndroidBundleExample.class, that only consists of a LinearLayout that contains the necessary textviews and buttons.
Open res/layout/activity_main.xml, go to the respective xml tab and paste the following:
activity_main.xml
<LinearLayout xmlns:android="http://schemas.android.com/apk/res/android"
    xmlns:tools="http://schemas.android.com/tools"
    android:id="@+id/layout"
    android:layout_width="match_parent"
    android:layout_height="match_parent"
    android:background="#252525"
    android:orientation="vertical"
    android:padding="20dp"
    tools:context=".AndroidBundleExample" >

    <TextView
        android:layout_width="wrap_content"
        android:layout_height="wrap_content"
        android:layout_marginTop="20dp"
        android:text="Enter name"
        android:textAppearance="?android:attr/textAppearanceLarge"
        android:textColor="#ffffff" />

    <EditText
        android:id="@+id/name"
        android:layout_width="match_parent"
        android:layout_height="wrap_content"
        android:ems="10"
        android:inputType="textPersonName"
        android:textColor="#ffffff" >

        <requestFocus />
    </EditText>

    <TextView
        android:layout_width="wrap_content"
        android:layout_height="wrap_content"
        android:layout_marginTop="20dp"
        android:text="Enter phone number"
        android:textAppearance="?android:attr/textAppearanceLarge"
        android:textColor="#ffffff" />

    <EditText
        android:id="@+id/phone_no"
        android:layout_width="match_parent"
        android:layout_height="wrap_content"
        android:ems="10"
        android:inputType="number"
        android:textColor="#ffffff" />

    <TextView
        android:layout_width="wrap_content"
        android:layout_height="wrap_content"
        android:layout_marginTop="20dp"
        android:text="Enter age"
        android:textAppearance="?android:attr/textAppearanceLarge"
        android:textColor="#ffffff" />

    <EditText
        android:id="@+id/age"
        android:layout_width="match_parent"
        android:layout_height="wrap_content"
        android:ems="10"
        android:inputType="number"
        android:textColor="#ffffff" />

    <CheckBox
        android:id="@+id/married"
        android:layout_width="wrap_content"
        android:layout_height="wrap_content"
        android:layout_marginTop="20dp"
        android:text="Married"
        android:textAppearance="?android:attr/textAppearanceLarge" />

    <Button
        android:id="@+id/send"
        android:layout_width="100dp"
        android:layout_height="wrap_content"
        android:layout_gravity="center"
        android:layout_marginTop="20dp"
        android:text="Send"
        android:textSize="20dp" />

</LinearLayout>
3. Creating the layout of the main AndroidSecondActivity
We are also going to make a very simple layout xml for the AndroidSecondActivity.class, that only consists of a LinearLayout that contains the necessary textviews and buttons.
Open res/layout/activity_second.xml, go to the respective xml tab and paste the following:
activity_second.xml
<?xml version="1.0" encoding="utf-8"?>
<LinearLayout xmlns:android="http://schemas.android.com/apk/res/android"
    android:layout_width="match_parent"
    android:layout_height="match_parent"
    android:orientation="vertical"
    android:padding="20dp" >

    <TextView
        android:id="@+id/showName"
        android:layout_width="wrap_content"
        android:layout_height="wrap_content"
        android:layout_marginTop="20dp"
        android:textAppearance="?android:attr/textAppearanceLarge" />

    <TextView
        android:id="@+id/showPhoneNumber"
        android:layout_width="wrap_content"
        android:layout_height="wrap_content"
        android:layout_marginTop="20dp"
        android:textAppearance="?android:attr/textAppearanceLarge" />

    <TextView
        android:id="@+id/showAge"
        android:layout_width="wrap_content"
        android:layout_height="wrap_content"
        android:layout_marginTop="20dp"
        android:textAppearance="?android:attr/textAppearanceLarge" />

    <TextView
        android:id="@+id/showIsMarried"
        android:layout_width="wrap_content"
        android:layout_height="wrap_content"
        android:layout_marginTop="20dp"
        android:textAppearance="?android:attr/textAppearanceLarge" />

</LinearLayout>
4. Creating the source code of the main AndroidBundleExample
Open src/com.javacodegeeks.androidbundlexample/AndroidBundleExample.java file and paste the code below.
AndroidBundleExample.java
package com.javacodegeeks.androidbundleexample;

import android.app.Activity;
import android.content.Intent;
import android.os.Bundle;
import android.view.View;
import android.view.View.OnClickListener;
import android.widget.Button;
import android.widget.CheckBox;
import android.widget.EditText;
import android.widget.Toast;

public class AndroidBundleExample extends Activity {
	public EditText name, phone_no, age;
	public CheckBox married;

	public String fullname, phoneNumber, ageBirth;
	public boolean isMarried = false;

	@Override
	protected void onCreate(Bundle savedInstanceState) {
		super.onCreate(savedInstanceState);
		setContentView(R.layout.activity_main);

		// initialize edit texts
		initializeEditTexts();

		Button send = (Button) findViewById(R.id.send);
		send.setOnClickListener(new OnClickListener() {
			@Override
			public void onClick(View arg0) {

				// Getting data from the form
				getDataFromForm();

				if (name.length() == 0 || phone_no.length() == 0 || age.length() == 0) {
					//show toast when not correctly completed
					Toast.makeText(getApplicationContext(), "Complete the form correctly", Toast.LENGTH_SHORT).show();
				} else {
					// Converting phoneNumber to long type
					long phone = Long.parseLong(phoneNumber);
					// Converting ageBirth to double type
					double ageDouble = Long.parseLong(ageBirth);

					// Creating Bundle object
					Bundle b = new Bundle();

					// Storing data into bundle
					b.putString("fullname", fullname);
					b.putLong("phoneNumber", phone);
					b.putDouble("age", ageDouble);
					b.putBoolean("married", isMarried);

					// Creating Intent object
					Intent in = new Intent(AndroidBundleExample.this, AndroidSecondActivity.class);

					// Storing bundle object into intent
					in.putExtras(b);
					startActivity(in);
				}
			}
		});
	}

	public void initializeEditTexts() {
		name = (EditText) findViewById(R.id.name);
		phone_no = (EditText) findViewById(R.id.phone_no);
		age = (EditText) findViewById(R.id.age);
		married = (CheckBox) findViewById(R.id.married);
	}

	public void getDataFromForm() {
		fullname = name.getText().toString();
		phoneNumber = phone_no.getText().toString();
		ageBirth = age.getText().toString();
		isMarried = married.isChecked();
	}

}
Let’s see in detail the code above.

We set the activity_main.xml layout and we initialize our main layout by:
setContentView(R.layout.activity_main);
In this code snippet, we can get the data from the EditText and Checkbox View for the activity_main of AndroidBundleExample.
	public void getDataFromForm() {
		fullname = name.getText().toString();
		phoneNumber = phone_no.getText().toString();
		ageBirth = age.getText().toString();
		isMarried = married.isChecked();
	}
We will now create the Bundle object that will pass to the AndroidSecondActivity. We will store data into the bundle with the code:
		Bundle b = new Bundle();
		b.putString("fullname", fullname);
		b.putLong("phoneNumber", phone);
		b.putDouble("age", ageDouble);
		b.putBoolean("married", isMarried);
Here we create an Intent and we put an extra Bundle in order to pass it to the AndroidSecondActivity.
		Intent in = new Intent(AndroidBundleExample.this, AndroidSecondActivity.class);
		in.putExtras(b);
		startActivity(in);
5. Creating the source code of the main AndroidSecondActivity
Open src/com.javacodegeeks.androidbundlexample/AndroidSecondActivity.java file and paste the code below.
AndroidSecondActivity.java
package com.javacodegeeks.androidbundleexample;

import android.app.Activity;
import android.content.Intent;
import android.os.Bundle;
import android.widget.TextView;

public class AndroidSecondActivity extends Activity {
	public TextView showName, showPhoneNumber, age, showIsMarried;

	@Override
	protected void onCreate(Bundle savedInstanceState) {
		// TODO Auto-generated method stub
		super.onCreate(savedInstanceState);
		setContentView(R.layout.activity_second);

		// initialize TextViews
		initializeViews();

		// get the Intent that started this Activity
		Intent in = getIntent();

		// get the Bundle that stores the data of this Activity
		Bundle b = in.getExtras();

		// getting data from bundle
		String nameString = b.getString("fullname");

		long phoneNumberLong = b.getLong("phoneNumber");
		String phoneNumberString = Long.toString(phoneNumberLong);

		double ageDouble = b.getDouble("age");
		String ageString = Double.toString(ageDouble);

		boolean isMarriedBoolean = b.getBoolean("married");

		// show data to layout
		showName.setText("Name : " + nameString);
		showPhoneNumber.setText("Phone number : " + phoneNumberString);
		age.setText("Age : " + ageString);
		showIsMarried.setText("Is married : " + isMarriedBoolean);
	}

	public void initializeViews() {
		showName = (TextView) findViewById(R.id.showName);
		showPhoneNumber = (TextView) findViewById(R.id.showPhoneNumber);
		age = (TextView) findViewById(R.id.showAge);
		showIsMarried = (TextView) findViewById(R.id.showIsMarried);
	}
}
Let’s see in detail the code above.
We set the activity_second.xml layout and we initialize our main layout by:
setContentView(R.layout.activity_second);
We will get the Intent that started this Activity and the Bundle that holds the data of this Intent.
		Intent in = getIntent();
		Bundle b = in.getExtras();
In the code that follows, we “extract” the data from the Bundle.
		String nameString = b.getString("fullname");
		long phoneNumberLong = b.getLong("phoneNumber");
		double ageDouble = b.getDouble("age");
		boolean isMarriedBoolean = b.getBoolean("married");
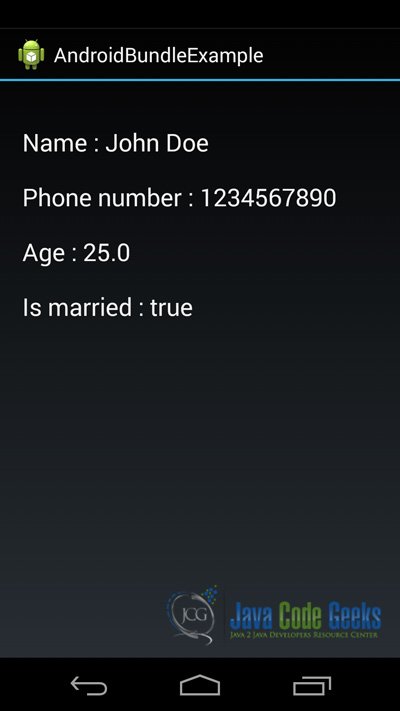
Right after, we are going to show the data in the layout of AndroidSecondActivity.
		String phoneNumberString = Long.toString(phoneNumberLong);
		String ageString = Double.toString(ageDouble);

		showName.setText("Name : " + nameString);
		showPhoneNumber.setText("Phone number : " + phoneNumberString);
		age.setText("Age : " + ageString);
		showIsMarried.setText("Is married : " + isMarriedBoolean);
6. Android Manifest
The AndroidManifest.xml of our project is simple and basic:
AndroidManifest.xml
<?xml version="1.0" encoding="utf-8"?>
<manifest xmlns:android="http://schemas.android.com/apk/res/android"
    package="com.javacodegeeks.androidbundleexample"
    android:versionCode="1"
    android:versionName="1.0" >

    <uses-sdk
        android:minSdkVersion="8"
        android:targetSdkVersion="19" />

    <application
        android:allowBackup="true"
        android:icon="@drawable/ic_launcher"
        android:label="@string/app_name" >
        <activity
            android:name="com.javacodegeeks.androidbundleexample.AndroidBundleExample"
            android:label="@string/app_name" >
            <intent-filter>
                <action android:name="android.intent.action.MAIN" />
                <category android:name="android.intent.category.LAUNCHER" />
            </intent-filter>
        </activity>
        <activity
            android:name="com.javacodegeeks.androidbundleexample.AndroidSecondActivity"
            android:label="@string/app_name" >
            <intent-filter>
                <category android:name="android.intent.category.DEFAULT" />
            </intent-filter>
        </activity>
    </application>

</manifest>
7. Build, compile and run
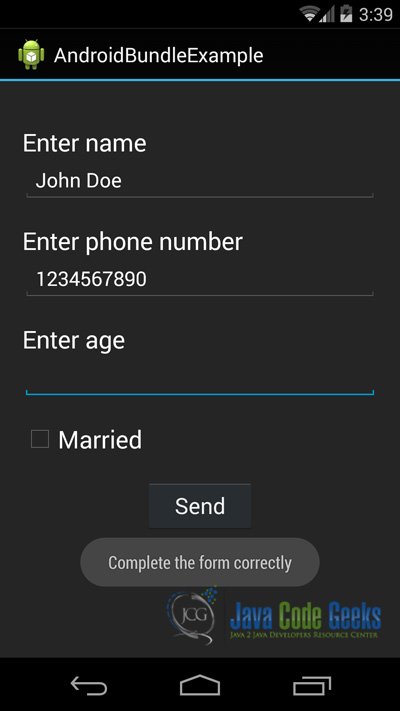
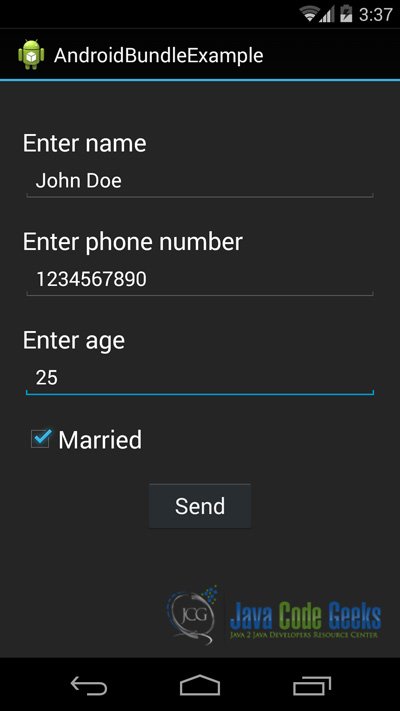
When we build, compile and run our project, the main AndroidBundleExample should look like this:

Download the Eclipse Project
This was an example of Android Bundle Example.
You can download the full source code of this example here: AndroidBundleExample
