In Android, the startActivity(Intent) method is used to start a new activity, which will be placed at the top of the activity stack. It takes a single argument, an Intent, which describes the activity to be executed.
However, sometimes we might want to get a result back from an activity when it ends. For example, you may start an activity that lets the user pick a person in a list of contacts; when it ends, it returns the person that was selected. To do this, you call the startActivityForResult(Intent, 'extraValue') version with a second parameter identifying the call. The result will come back through your Extra values, from getIntent().
In this example, we are going to show how to start an Activity for a specific Result that has returned from another Activity. Our example demonstrates two Activities, the first one will let you choose which the background color that will have the layout of the other Activity.
In order to achive this, will use the following tools in a Windows 64-bit platform:
- JDK 1.7
- Eclipse 4.2 Juno
- Android SDK 4.4.2
Let’s take a closer look:
1. Create a New Android Application Project
You may skip project creation and jump directly to the beginning of the example below.
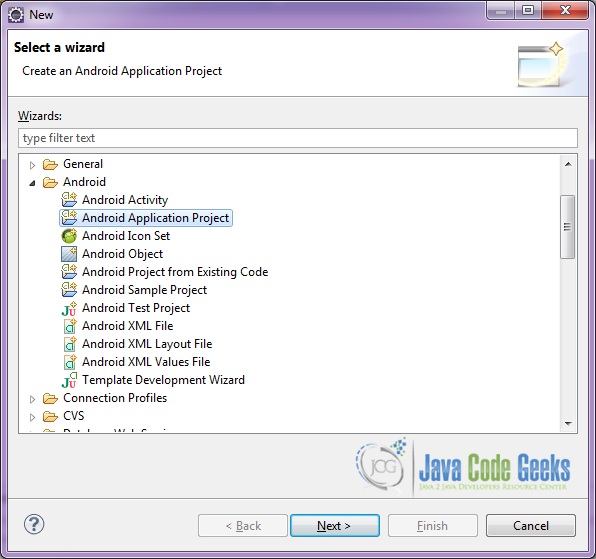
Open Eclipse IDE and go to File → New → Project → Android Application Project.
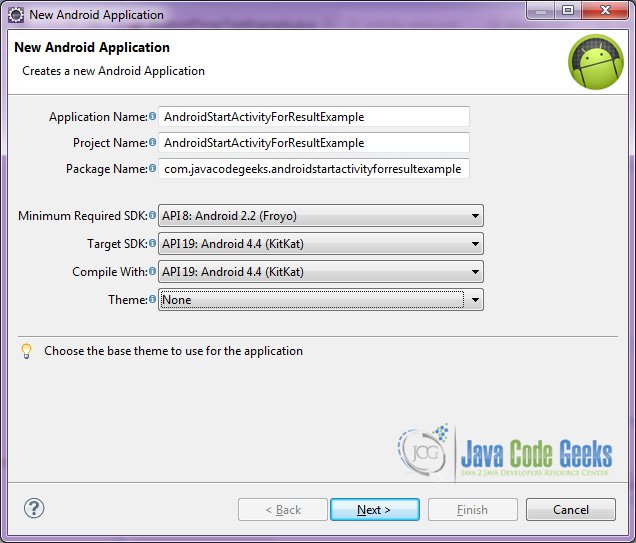
Specify the name of the application, the project and the package and then click Next.
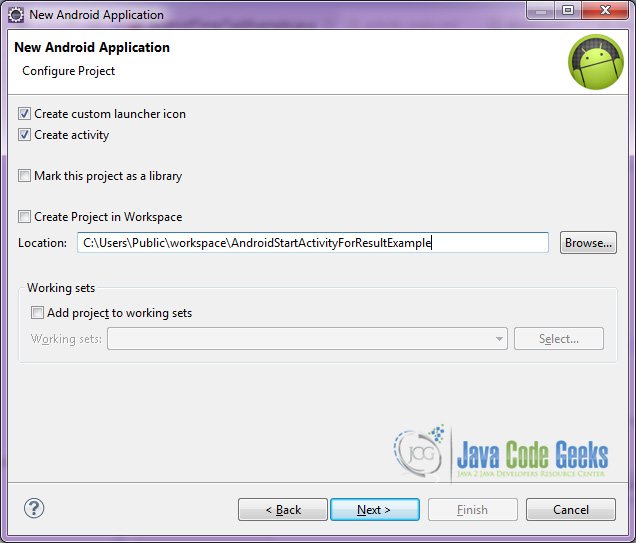
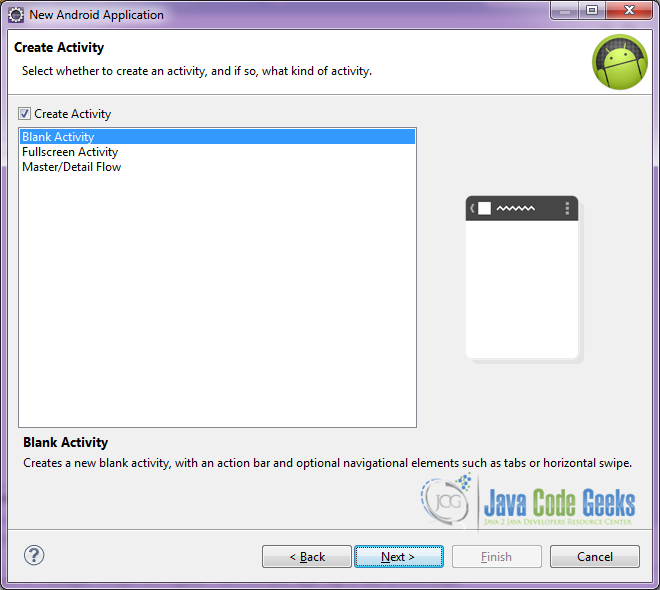
In the next window, the “Create Activity” option should be checked. The new created activity will be the main activity of your project. Then press Next button.
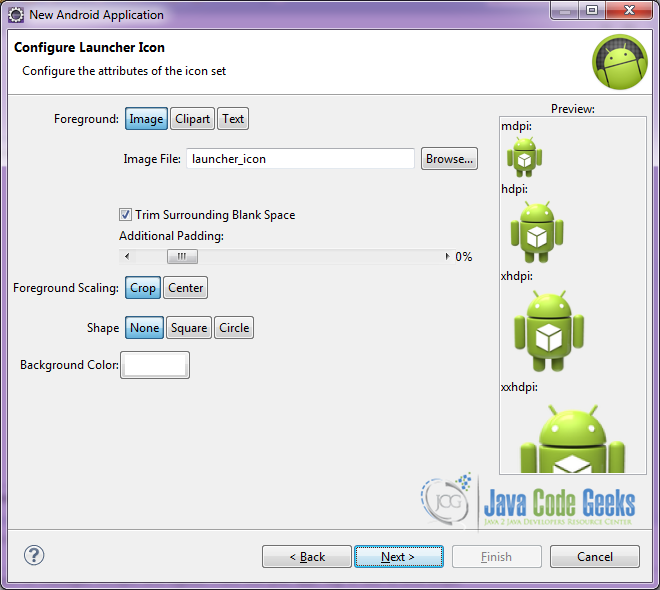
In “Configure Launcher Icon” window you should choose the icon you want to have in your app. We will use the default icon of android, so click Next.
Select the “Blank Activity” option and press Next.
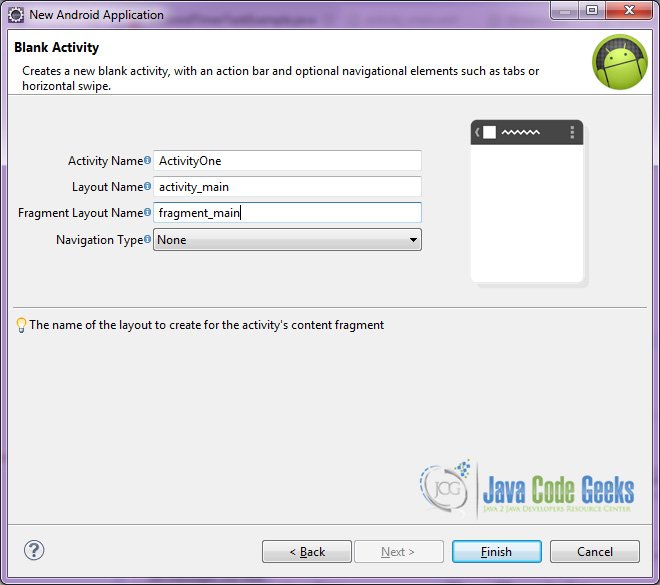
You have to specify a name for the new Activity and a name for the layout description of your app. The .xml file for the layout will automatically be created in the res/layout folder. It will also be created a fragment layout xml, that we are not going to use in this project and you can remove it if you want. Then press Finish.
Here you can see, how will the structure of the project become when finished:
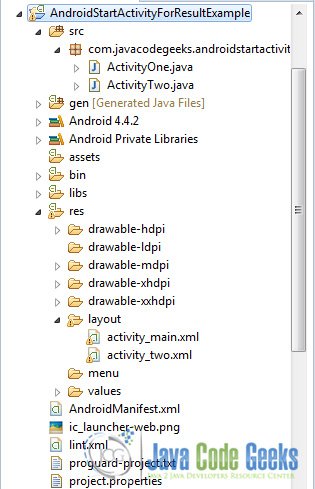
As you have noticed, for the purpose of this example, we are going to have two Activities, and two layouts for these Activities.
2. Creating the layout of the main ActivityOne
We are going to make a very simple layout xml for the ActivityOne.class, that only consists of a LinearLayout that contains the necessary textviews and buttons.
Open res/layout/activity_main.xml, go to the respective xml tab and paste the following:
activity_main.xml
<LinearLayout xmlns:android="http://schemas.android.com/apk/res/android"
    xmlns:tools="http://schemas.android.com/tools"
    android:id="@+id/container"
    android:layout_width="match_parent"
    android:layout_height="match_parent"
    android:background="#ffffff"
    android:orientation="vertical"
    tools:context="com.javacodegeeks.androidstartactivityforresultexample.ActivityOne"
    tools:ignore="MergeRootFrame" >

    <TextView
        android:id="@+id/textView1"
        android:layout_width="wrap_content"
        android:layout_height="wrap_content"
        android:layout_gravity="center|top"
        android:layout_margin="20dp"
        android:text="Activity Two"
        android:textColor="#000000"
        android:textSize="30dp" />

    <TextView
        android:id="@+id/textView1"
        android:layout_width="wrap_content"
        android:layout_height="wrap_content"
        android:layout_gravity="center|top"
        android:gravity="center"
        android:layout_margin="15dp"
        android:text="Select a background color for ActivityOne:"
        android:textColor="#000000"
        android:textSize="18dp" />

    <Button
        android:id="@+id/redButton"
        android:layout_width="250dp"
        android:layout_height="50dp"
        android:layout_gravity="center"
        android:layout_margin="10dp"
        android:background="#ff0000"
        android:text="Red"
        android:textColor="#000000" />

    <Button
        android:id="@+id/greenButton"
        android:layout_width="250dp"
        android:layout_height="50dp"
        android:layout_gravity="center"
        android:layout_margin="10dp"
        android:background="#00ff00"
        android:text="Green"
        android:textColor="#ff0000" />

    <Button
        android:id="@+id/blueButton"
        android:layout_width="250dp"
        android:layout_height="50dp"
        android:layout_gravity="center"
        android:layout_margin="10dp"
        android:background="#0000ff"
        android:text="Blue"
        android:textColor="#ff0000" />

</LinearLayout>
3. Creating the layout of the main ActivityTwo
We are also going to make a very simple layout xml for the ActivityTwo.class, that only consists of a LinearLayout that contains the necessary textviews and buttons.
Open res/layout/activity_two.xml, go to the respective xml tab and paste the following:
activity_two.xml
<LinearLayout xmlns:android="http://schemas.android.com/apk/res/android"
    xmlns:tools="http://schemas.android.com/tools"
    android:id="@+id/containerTwo"
    android:layout_width="match_parent"
    android:layout_height="match_parent"
    android:background="#ffffff"
    android:orientation="vertical"
    tools:context="com.javacodegeeks.androidstartactivityforresultexample.ActivityTwo" >

    <TextView
        android:id="@+id/textView1"
        android:layout_width="wrap_content"
        android:layout_height="wrap_content"
        android:layout_gravity="center|top"
        android:layout_margin="20dp"
        android:text="Activity Two"
        android:textColor="#000000"
        android:textSize="30dp" />

    <TextView
        android:id="@+id/textView1"
        android:layout_width="wrap_content"
        android:layout_height="wrap_content"
        android:layout_gravity="center|top"
        android:layout_margin="15dp"
        android:gravity="center"
        android:text="Select a background color for this activity"
        android:textColor="#000000"
        android:textSize="18dp" />

    <Button
        android:id="@+id/openActivityOne"
        android:layout_width="250dp"
        android:layout_height="50dp"
        android:gravity="center"
        android:layout_gravity="center"
        android:layout_margin="10dp"
        android:background="#858585"
        android:clickable="true"
        android:onClick="openActivityOne"
        android:text="Select color"
        android:textSize="18dp"
        android:textColor="#000000" />

</LinearLayout>
4. Creating the source code of the main ActivityOne
Open src/com.javacodegeeks.androidstartactivityforresultexample/ActivityOne.java file and paste the code below.
ActivityOne.java
package com.javacodegeeks.androidstartactivityforresultexample;

import android.app.Activity;
import android.content.Intent;
import android.os.Bundle;
import android.view.View;

public class ActivityOne extends Activity {

	@Override
	protected void onCreate(Bundle savedInstanceState) {
		super.onCreate(savedInstanceState);

		//set the layout of the Activity
		setContentView(R.layout.activity_main);
	}

	public void redBackground(View v) {
		// Here we create an Intent
		// and we put an extra in order to pass it to the ActivityTwo
		Intent intent = new Intent(this, ActivityTwo.class);

		//the extra is a String that tell the background color choice
		intent.putExtra("color","red");

		//we start ActivityTwo with the above extra value
		startActivityForResult(intent,1);
		finish();
	}

	public void greenBackground(View v) {
		Intent intent = new Intent(this, ActivityTwo.class);
		intent.putExtra("color","green");
		startActivityForResult(intent,1);
		finish();
	}

	public void blueBackground(View v) {
		Intent intent = new Intent(this, ActivityTwo.class);
		intent.putExtra("color","blue");
		startActivityForResult(intent,1);
		finish();
	}

}
Let’s see in detail the code above.

We set the activity_main.xml layout and we initialize our main layout by:
setContentView(R.layout.activity_main);
Here we create an Intent and we put an extra value in order to pass it to the ActivityTwo. The extra value is a String that tells the background color choice. The we call startActivityForResult(intent,1) in order to start ActivityTwo with the above extra value.
		Intent intent = new Intent(this, ActivityTwo.class);
		intent.putExtra("color","red");
		startActivityForResult(intent,1);
		finish();
5. Creating the source code of the main ActivityTwo
Open src/com.javacodegeeks.androidstartactivityforresultexample/ActivityTwo.java file and paste the code below.
ActivityTwo.java
package com.javacodegeeks.androidstartactivityforresultexample;
import android.app.Activity;
import android.content.Intent;
import android.graphics.Color;
import android.os.Bundle;
import android.view.View;
import android.widget.LinearLayout;
public class ActivityTwo extends Activity {
LinearLayout containerTwo;
@Override
protected void onCreate(Bundle savedInstanceState) {
super.onCreate(savedInstanceState);
// set the layout of the Activity
setContentView(R.layout.activity_two);
containerTwo = (LinearLayout) findViewById(R.id.containerTwo);
// get the intent that we have passed from ActivityOne
Intent intent = getIntent();
// get the extra value
String color = intent.getStringExtra("color");
changeBackground(color);
}
public void openActivityOne(View v) {
Intent intent = new Intent(this, ActivityOne.class);
startActivity(intent);
finish();
}
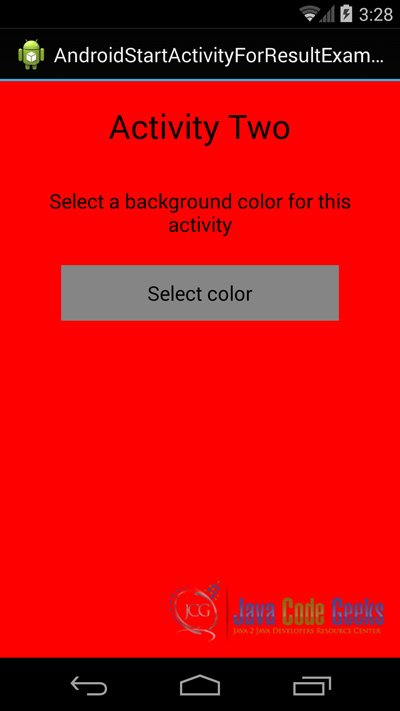
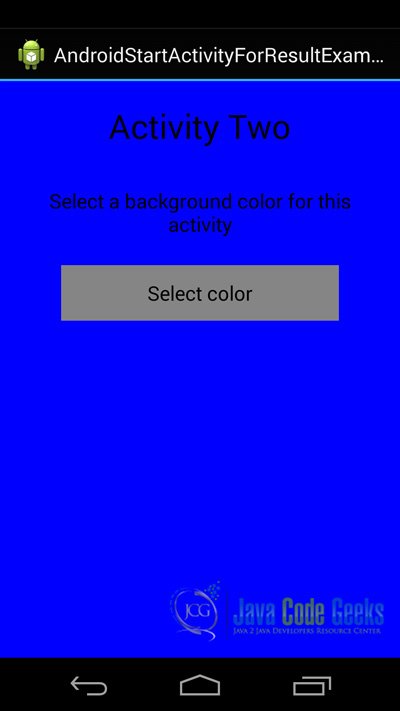
public void changeBackground(String color) {
// depending the extra value String, choose a background color
if (color.equals("red")) {
containerTwo.setBackgroundColor(Color.RED);
} else if (color.equals("green")) {
containerTwo.setBackgroundColor(Color.GREEN);
} else if (color.equals("blue")) {
containerTwo.setBackgroundColor(Color.BLUE);
}
}
}
Let’s see in detail the code above.
We set the activity_two.xml layout and we initialize our main layout by:
setContentView(R.layout.activity_two);
In this code snipped, we get the intent that we have passed from ActivityOne. We also get the extra value “color” that indicates the choosen color from the previous Activity. We call changeBackground(color); with this value.
Intent intent = getIntent();
String color = intent.getStringExtra("color");
changeBackground(color);
6. Android Manifest
The AndroidManifest.xml of our project is simple and basic:
AndroidManifest.xml
<?xml version="1.0" encoding="utf-8"?>
<manifest xmlns:android="http://schemas.android.com/apk/res/android"
    package="com.javacodegeeks.androidstartactivityforresultexample"
    android:versionCode="1"
    android:versionName="1.0" >

    <uses-sdk
        android:minSdkVersion="8"
        android:targetSdkVersion="19" />

    <application
        android:allowBackup="true"
        android:icon="@drawable/ic_launcher"
        android:label="@string/app_name" >
        <activity
            android:name="com.javacodegeeks.androidstartactivityforresultexample.ActivityOne"
            android:label="@string/app_name" >
            <intent-filter>
                <action android:name="android.intent.action.MAIN" />
                <category android:name="android.intent.category.LAUNCHER" />
            </intent-filter>
        </activity>
        <activity
            android:name="com.javacodegeeks.androidstartactivityforresultexample.ActivityTwo"
            android:label="@string/app_name" >
            <intent-filter>
                <category android:name="android.intent.category.DEFAULT" />
            </intent-filter>
        </activity>
    </application>
</manifest>
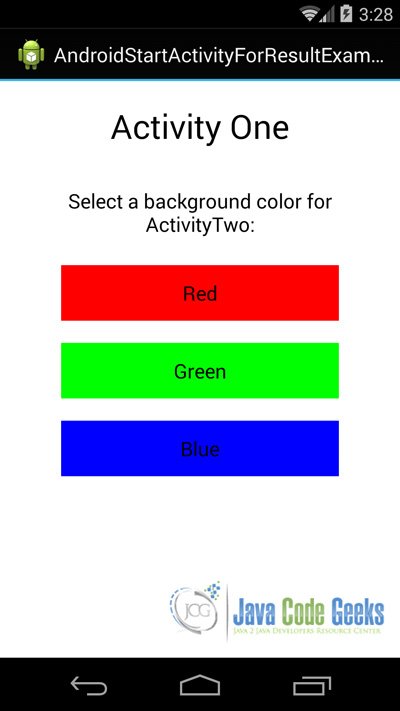
7. Build, compile and run
When we build, compile and run our project, the main ActivityOne should look like this:

Download the Eclipse Project
This was an example of Android startActivityForResult Example.
You can download the full source code of this example here: AndroidStartActivityForResultExample

How to make ArrayList with model class data serializable or parcelable in android between Activities using startActivityForResult?