Android system provides us control access to our ringer profile. We can include in our applications volume and ringer mode control by using AudioManager class.
In this example, we will find out how to change the ringer mode (loud, vibrate, silent) and the ringer volume of the device via our application.
For this tutorial, we will use the following tools in a Windows 64-bit platform:
- JDK 1.7
- Eclipse 4.2 Juno
- Android SDK 4.4
1. Create a New Android Application Project
Open Eclipse IDE and go to File → New → Project → Android Application Project.
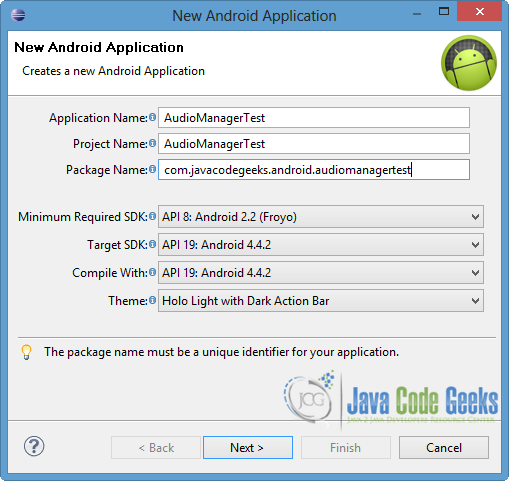
Specify the name of the application, the project and the package and then press Next button.
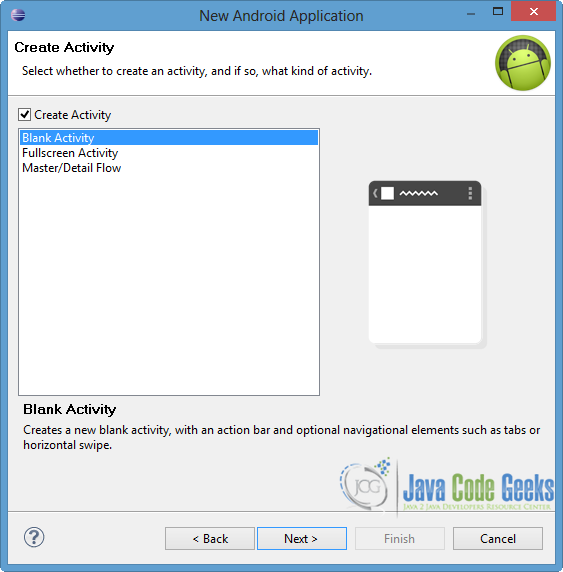
In the next window, the “Create Activity” option should be checked. The new created activity will be the main activity of your project. Then click Next.

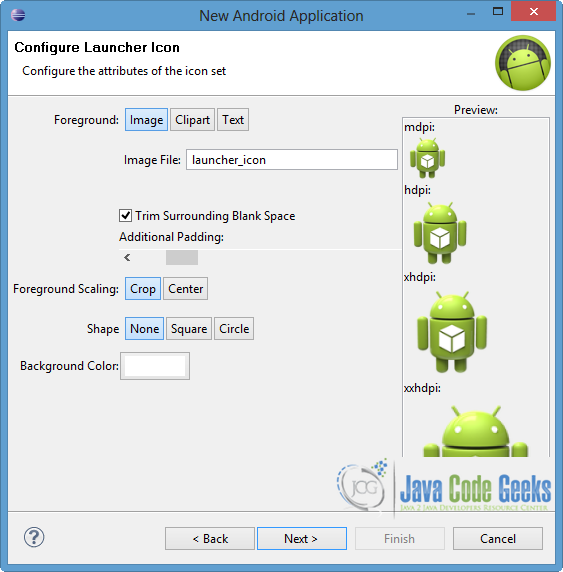
In “Configure Launcher Icon” window you should choose the icon you want to have in your app. We will use the default icon of android, so click Next.
Select the “Blank Activity” option and press Next.
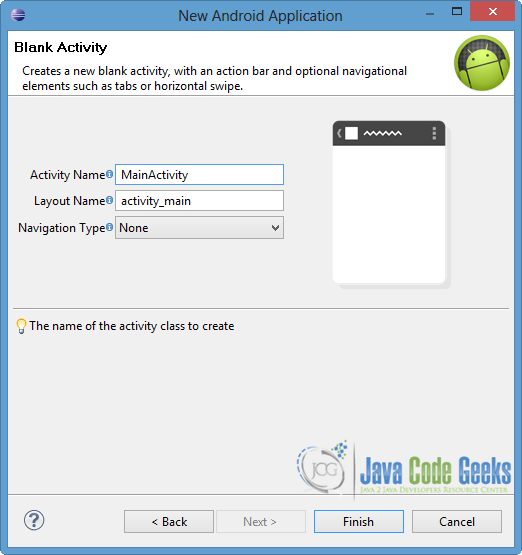
You have to specify a name for the new Activity and a name for the layout description of your app. The .xml file for the layout will automatically be created in the res/layout folder. Then press Finish.
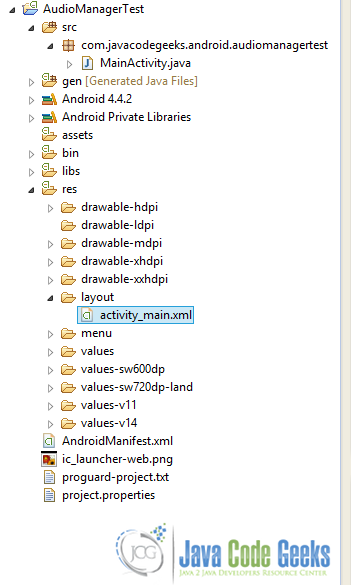
You can see the structure of the created project in the next picture.
2. Create the layout of the Main Activity
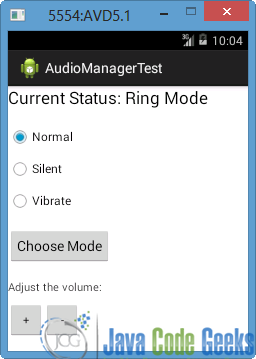
In this tutorial, we want to make a UI where the user can choose the ringer mode of the device and can increase or decrease the volume of the ring. Firstly, we will use three RadioButtons for normal, silent and vibrate mode. The three RadioButtons will be included in the same RadioGroup, because one ring mode can be enabled each time. Also we will use two Buttons, in order to raise and lower the ringer volume.
Open res/layout/activity_main.xml file and go to the xml tab. Then paste the following.
activity_main.xml:
<LinearLayout xmlns:android="http://schemas.android.com/apk/res/android"
   xmlns:tools="http://schemas.android.com/tools"
   android:layout_width="match_parent"
   android:layout_height="match_parent"
   android:orientation="vertical" >

    <TextView
	    android:id="@+id/text"
	    android:layout_width="wrap_content"
	    android:layout_height="wrap_content"
	    android:text="Current Ring Mode: -"
	    android:textAppearance="?android:attr/textAppearanceLarge" />

   <RadioGroup
        android:id="@+id/radioRinger"
        android:layout_width="wrap_content"
        android:layout_height="wrap_content"
        android:layout_marginTop="10dp" >

	   <RadioButton
	       android:id="@+id/radioNormal"
	       android:layout_width="wrap_content"
	       android:layout_height="wrap_content"
	       android:layout_marginTop="10dp"
	       android:checked="true"
	       android:text="Normal" />

	    <RadioButton
	        android:id="@+id/radioSilent"
	        android:layout_width="wrap_content"
	        android:layout_height="wrap_content"
	        android:layout_marginTop="10dp"
	        android:text="Silent" />

	    <RadioButton
	       android:id="@+id/vibrate"
	       android:layout_width="wrap_content"
	       android:layout_height="wrap_content"
	       android:layout_marginTop="10dp"
	       android:text="Vibrate" />

     </RadioGroup>

   <Button
       android:id="@+id/mode"
       android:layout_width="wrap_content"
       android:layout_height="wrap_content"
       android:layout_marginTop="20dp"
       android:text="Choose Mode" />

    <TextView
	       android:id="@+id/text1"
	       android:layout_width="wrap_content"
	       android:layout_height="wrap_content"
	       android:layout_marginTop="20dp"
	       android:text="Adjust the volume:" />

   <LinearLayout
	   android:layout_width="match_parent"
	   android:layout_height="match_parent"
	   android:layout_marginTop="10dp"
	   android:orientation="horizontal" >

	   <Button
	       android:id="@+id/increase"
	       style="?android:attr/buttonStyleSmall"
	       android:layout_width="wrap_content"
	       android:layout_height="wrap_content"
	       android:text="+" />

	   <Button
	       android:id="@+id/decrease"
	       style="?android:attr/buttonStyleSmall"
	       android:layout_width="wrap_content"
	       android:layout_height="wrap_content"
	       android:text="-" />

   </LinearLayout>
</LinearLayout>
3. Code the Main Activity
As we mentioned, AudioManager provides us access to the above controls, so in order to have an instance of the object of this class, getSystemService() method is called. To set the ringer mode that the user chooses, we can use setRingerMode(int) method where it’s parameter represents the mode. The possible modes are RINGER_MODE_NORMAL, RINGER_MODE_SILENT and RINGER_MODE_VIBRATE for loud, silent and vibrate ringer profile respectively. To raise or lower the ringer volume, adjustVolume() method is called. ADJUST_LOWER and ADJUST_RAISE are the modes to decrease and increase the volume respectively, while FLAG_SHOW_UI is a toast of the current volume.
Open src/com.javacodegeeks.android.audiomanagertest/MainActivity.java and paste the following code.
MainActivity.java:
package com.javacodegeeks.android.audiomanagertest;

import android.media.AudioManager;
import android.os.Bundle;
import android.app.Activity;
import android.content.Context;
import android.view.View;
import android.view.View.OnClickListener;
import android.widget.Button;
import android.widget.RadioButton;
import android.widget.RadioGroup;
import android.widget.TextView;
import android.widget.Toast;

public class MainActivity extends Activity {

   private Button modeBtn;
   private Button increaseBtn;
   private Button decreaseBtn;
   private RadioButton normal;
   private RadioButton silent;
   private RadioGroup ringGroup;
   private TextView status;
   private AudioManager myAudioManager;

   @Override
   protected void onCreate(Bundle savedInstanceState) {
      super.onCreate(savedInstanceState);
      setContentView(R.layout.activity_main);

      normal = (RadioButton) findViewById(R.id.radioNormal);
      silent = (RadioButton) findViewById(R.id.radioSilent);
      status = (TextView) findViewById(R.id.text);
      ringGroup = (RadioGroup) findViewById(R.id.radioRinger);

      modeBtn = (Button)findViewById(R.id.mode);
      modeBtn.setOnClickListener(new OnClickListener() {

		@Override
		public void onClick(View v) {
			// TODO Auto-generated method stub
			int selectedId = ringGroup.getCheckedRadioButtonId();

			// find which radioButton is checked by id
		        if(selectedId == silent.getId()) {
		        	silentEnable(v);
		        } else if(selectedId == normal.getId()) {
		        	 normalEnable(v);
		        } else {
		        	vibrateEnable(v);
		        }
		}
	  });

      increaseBtn = (Button) findViewById(R.id.increase);
      increaseBtn.setOnClickListener(new OnClickListener() {

  		@Override
  		public void onClick(View v) {
  			// increase the volume and show the ui
  			 myAudioManager.adjustVolume(AudioManager.ADJUST_RAISE, AudioManager.FLAG_SHOW_UI);
  			Toast.makeText(getApplicationContext(), "increase volume",
 					 Toast.LENGTH_SHORT).show();
  		}
  	  });

      decreaseBtn = (Button) findViewById(R.id.decrease);
      decreaseBtn.setOnClickListener(new OnClickListener() {

  		@Override
  		public void onClick(View v) {
  			// decrease the volume and show the ui
  			 myAudioManager.adjustVolume(AudioManager.ADJUST_LOWER, AudioManager.FLAG_SHOW_UI);
  			 Toast.makeText(getApplicationContext(), "decrease volume",
  					 Toast.LENGTH_SHORT).show();
  		}
  	  });
      // get the instance of AudioManager class
      myAudioManager = (AudioManager)getSystemService(Context.AUDIO_SERVICE);

   }

   public void vibrateEnable(View view){
	   // set the ring mode to vibrate
       myAudioManager.setRingerMode(AudioManager.RINGER_MODE_VIBRATE);
       status.setText("Current Status: Vibrate Mode");
   }
   public void normalEnable(View view){
	  // set the ring mode to loud
      myAudioManager.setRingerMode(AudioManager.RINGER_MODE_NORMAL);
      status.setText("Current Status: Ring Mode");
   }
   public void silentEnable(View view){
	  // set the ring mode to silent
      myAudioManager.setRingerMode(AudioManager.RINGER_MODE_SILENT);
      status.setText("Current Status: Silent Mode");
   }
}
4. Run the application
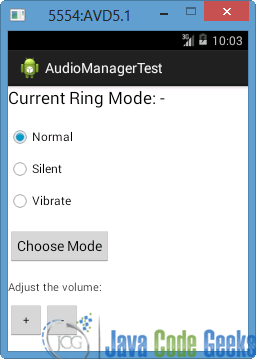
To run our application, right click on our project → Run as → Android Application. The AVD will appear with the app loaded, as you can see below.
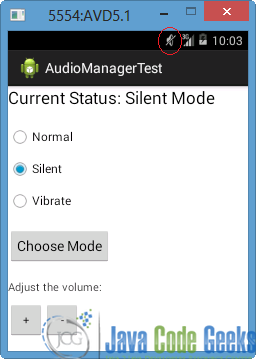
Let’s select silent mode and press “Choose Mode” button. As you can see in the next picture, the mode changed. You can notice that the icon at the top of the screen represents the silent mode.
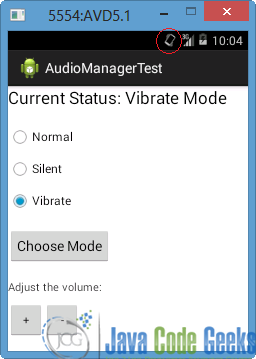
Now choose vibrate and press the Choose Mode” Button again. You can ascertain that both the TextView and the icon changed to the vibrate mode.
Respectively, if we choose the normal mode we will see that the TextView changes. There isn’t an icon because that is the loud-normal mode for the device.
If we press “+” button in order to increase the volume, we will notice that a toast show us the raise.

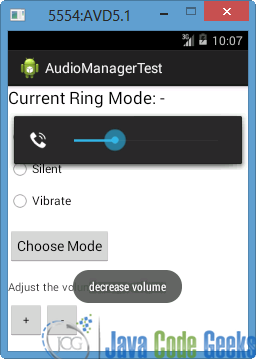
Now, lets click “-” button. The volume will decrease, as you can see in the image below.
Download Eclipse Project
This was an example of Audio Manager in Android. Download the Eclipse Project of this example: AudioManagerTest.zip
