Android System gives the opportunity to determine the current geographical location and to build location-aware applications, without focusing on the details of the underlying location technology. To obtain the user location, we can use one of:
- GPS Provider
- Android’s Network Location Provider (availability of cell tower and WiFi access points)
or both of them. Every provider has it’s cons and pros and can be used depending on the circumstances at each situation. For example GPS, is exact and more appropriate for outdoors, but it consumes a lot of battery power. On the other hand, network provider works for indoors as well for outdoors and has a lower battery consumption and a faster response.
Our example shows a use of Location Services in order to get the current location, by choosing the best provider at each time.
For this tutorial, we will use the following tools in a Windows 64-bit platform:
- JDK 1.7
- Eclipse 4.2 Juno
- Android SDK 4.4
1. Create a New Android Application Project
Open Eclipse IDE and go to File → New → Project → Android Application Project.
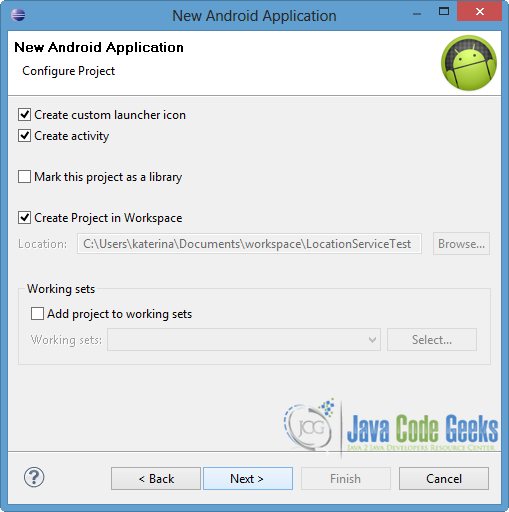
Specify the name of the application, the project and the package in the appropriate fields and then click Next.

In the next window, choose the “Create Activity” check-option. The new created activity will be the main activity of your project. Then press Next button.
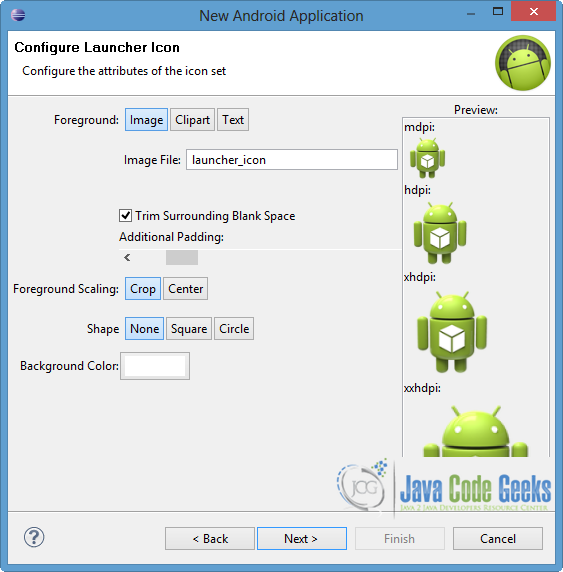
In “Configure Launcher Icon” window you should choose the icon you want to have in your app. We will use the default icon of android, so press the Next button.
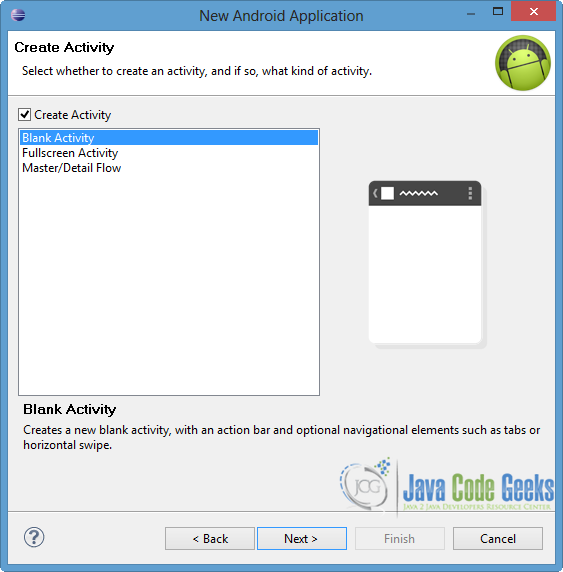
Select the “Blank Activity” option and press Next.
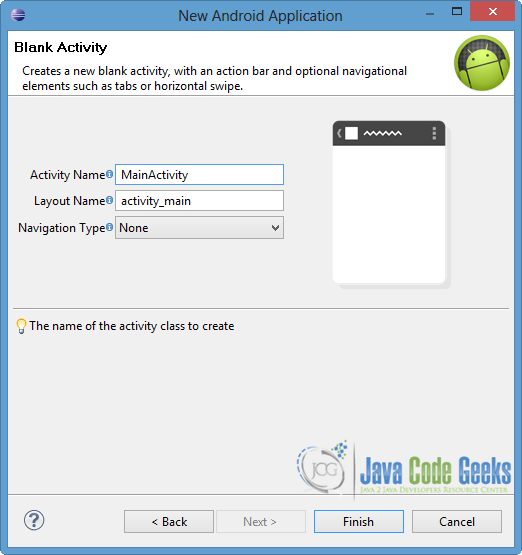
Specify a name for the new Activity and a name for the layout description of your app. The .xml file for the layout will automatically be created in the res/layout folder. Finally, click Finish.
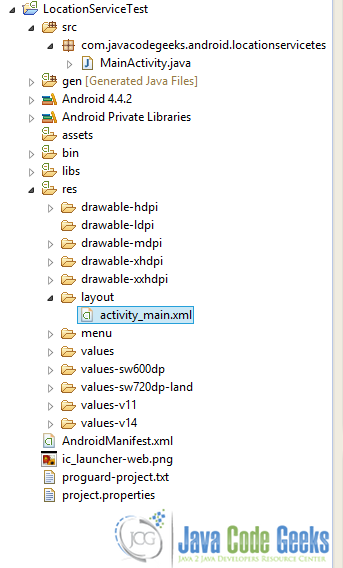
In the image below you can see the structure of your created project.
2. Create the layout of the Main Activity
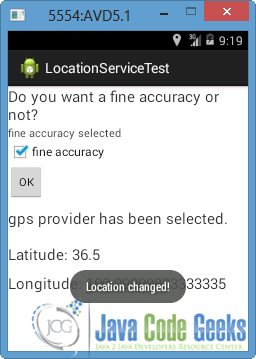
In this application we want to display the latitude and longitude of the current geoposition, as well as the location provider that is used. Also, we want to provide a choice to the user in order to select criteria for the best location provider at each time. The configuration of the layout is shown below.
Open res/layout/activity_main.xml file, go to the respective xml tab and paste the following.
activity_main.xml:
<?xml version="1.0" encoding="utf-8"?>
<LinearLayout xmlns:android="http://schemas.android.com/apk/res/android"
    android:layout_width="match_parent"
    android:layout_height="match_parent"
    android:orientation="vertical" >

     <TextView
            android:id="@+id/textView"
            android:layout_width="fill_parent"
            android:layout_height="wrap_content"
            android:textSize="20dp"
            android:text="Do you want a fine accuracy or not?" />

     <TextView
            android:id="@+id/choice"
            android:layout_width="fill_parent"
            android:layout_height="wrap_content"
            android:text="coarse accuracy selected (default)" />

     <CheckBox
         android:id="@+id/fineAccuracy"
         android:layout_width="wrap_content"
         android:layout_height="wrap_content"
         android:text="fine accuracy" />

     <Button
         android:id="@+id/chooseRadio"
         style="?android:attr/buttonStyleSmall"
         android:layout_width="wrap_content"
         android:layout_height="wrap_content"
         android:text="OK" />

      <TextView
            android:id="@+id/prov"
            android:layout_width="fill_parent"
            android:layout_height="wrap_content"
            android:text="No provider selected yet"
            android:layout_marginTop="10dp"
            android:textSize="20dp" />

        <TextView
            android:id="@+id/lat"
            android:layout_width="fill_parent"
            android:layout_height="wrap_content"
            android:layout_marginTop="20dp"
            android:text="Latitude: -"
            android:textSize="20dp" />

        <TextView
            android:id="@+id/lon"
            android:layout_width="wrap_content"
            android:layout_height="wrap_content"
            android:layout_marginTop="10dp"
            android:text="Longitude: -"
            android:textSize="20dp" />

</LinearLayout>
3. Code the Main Activity
In order to have access to android location services, we need a instance of LocationManager. To do this, the getSystemService(Context.LOCATION_SERVICE) method of our Activity is called. Also, some Criteria can be defined, so the best LocationProvider would be selected in each circumstance. In this example, criteria depends on the user’s choice, as you can see in the code below. In addition, we use getLastKnownLocation(String) method, which returns the last known Location from the given provider. Location object provide us useful information about geographic location and help us to specify the current location of the user.
Moreover, in our application we want to handle the movement of the user and show the current position, so LocationListener is used. LocationManager can request many callbacks of LocationListener, in order to handle location or provider’s status changes. With the use of requestLocationUpdates method, we receive the location updates, procuring the current provider and location listener.
Open src/com.javacodegeeks.android.locationservicetest/MainActivity.java file and paste the following.
MainActivity.java:
package com.javacodegeeks.android.locationservicetest;

import android.app.Activity;
import android.content.Context;
import android.content.Intent;
import android.location.Criteria;
import android.location.Location;
import android.location.LocationListener;
import android.location.LocationManager;
import android.os.Bundle;
import android.provider.Settings;
import android.view.View;
import android.view.View.OnClickListener;
import android.widget.Button;
import android.widget.CheckBox;
import android.widget.TextView;
import android.widget.Toast;

public class MainActivity extends Activity {
	  private TextView latitude;
	  private TextView longitude;
	  private TextView choice;
	  private CheckBox fineAcc;
	  private Button choose;
	  private TextView provText;
	  private LocationManager locationManager;
	  private String provider;
	  private MyLocationListener mylistener;
	  private Criteria criteria;

	/** Called when the activity is first created. */

	  @Override
	  public void onCreate(Bundle savedInstanceState) {
		  super.onCreate(savedInstanceState);
		  setContentView(R.layout.activity_main);
		  latitude = (TextView) findViewById(R.id.lat);
		  longitude = (TextView) findViewById(R.id.lon);
		  provText = (TextView) findViewById(R.id.prov);
		  choice = (TextView) findViewById(R.id.choice);
		  fineAcc = (CheckBox) findViewById(R.id.fineAccuracy);
		  choose = (Button) findViewById(R.id.chooseRadio);

		  // Get the location manager
		  locationManager = (LocationManager) getSystemService(Context.LOCATION_SERVICE);
		  // Define the criteria how to select the location provider
		  criteria = new Criteria();
		  criteria.setAccuracy(Criteria.ACCURACY_COARSE);	//default

		  // user defines the criteria
		  choose.setOnClickListener(new OnClickListener() {
			@Override
			public void onClick(View v) {
				// TODO Auto-generated method stub
				 if(fineAcc.isChecked()){
					  criteria.setAccuracy(Criteria.ACCURACY_FINE);
					  choice.setText("fine accuracy selected");
				 }else {
					 criteria.setAccuracy(Criteria.ACCURACY_COARSE);
					 choice.setText("coarse accuracy selected");
				 }
			}
		  });
		  criteria.setCostAllowed(false);
		  // get the best provider depending on the criteria
		  provider = locationManager.getBestProvider(criteria, false);

		  // the last known location of this provider
		  Location location = locationManager.getLastKnownLocation(provider);

		  mylistener = new MyLocationListener();

		  if (location != null) {
			  mylistener.onLocationChanged(location);
		  } else {
			  // leads to the settings because there is no last known location
			  Intent intent = new Intent(Settings.ACTION_LOCATION_SOURCE_SETTINGS);
			  startActivity(intent);
		  }
		  // location updates: at least 1 meter and 200millsecs change
		  locationManager.requestLocationUpdates(provider, 200, 1, mylistener);
	  }

	  private class MyLocationListener implements LocationListener {

		  @Override
		  public void onLocationChanged(Location location) {
			// Initialize the location fields
			  latitude.setText("Latitude: "+String.valueOf(location.getLatitude()));
			  longitude.setText("Longitude: "+String.valueOf(location.getLongitude()));
			  provText.setText(provider + " provider has been selected.");

			  Toast.makeText(MainActivity.this,  "Location changed!",
				        Toast.LENGTH_SHORT).show();
		  }

		  @Override
		  public void onStatusChanged(String provider, int status, Bundle extras) {
			  Toast.makeText(MainActivity.this, provider + "'s status changed to "+status +"!",
				        Toast.LENGTH_SHORT).show();
		  }

		  @Override
		  public void onProviderEnabled(String provider) {
			  Toast.makeText(MainActivity.this, "Provider " + provider + " enabled!",
		        Toast.LENGTH_SHORT).show();

		  }

		  @Override
		  public void onProviderDisabled(String provider) {
			  Toast.makeText(MainActivity.this, "Provider " + provider + " disabled!",
		        Toast.LENGTH_SHORT).show();
		  }
	  }
}
4. Set the Permissions
In order to receive location updates, we should to declare some permissions. As we mentioned, in our situation we will use the best provider and this means that our application can support both GPS and Network providers. For this reason ACCESS_FINE_LOCATION is sufficient. Otherwise, ACCESS_COARSE_LOCATION is suitable for network providers.
Open AndroidManifest.xml file, go to the xml tab and paste the following.
AndroidManifest.xml:
<?xml version="1.0" encoding="utf-8"?>
<manifest xmlns:android="http://schemas.android.com/apk/res/android"
    package="com.javacodegeeks.android.locationservicetest"
    android:versionCode="1"
    android:versionName="1.0" >

    <uses-sdk
        android:minSdkVersion="8"
        android:targetSdkVersion="19" />

    <uses-permission android:name="android.permission.ACCESS_FINE_LOCATION" />

    <application
        android:allowBackup="true"
        android:icon="@drawable/ic_launcher"
        android:label="@string/app_name"
        android:theme="@style/AppTheme" >
        <activity
            android:name="com.javacodegeeks.android.locationservicetest.MainActivity"
            android:label="@string/app_name" >
            <intent-filter>
                <action android:name="android.intent.action.MAIN" />

                <category android:name="android.intent.category.LAUNCHER" />
            </intent-filter>
        </activity>
    </application>

</manifest>
5. Run the application
To run our application, we can use either the emulator or our connected Android device. In our occasion, we are going to use the emulator. For this reason we have to do some steps in order to provide the system with dummy location data. There are two different ways, that are explained below and should be done after the loading of the emulator.
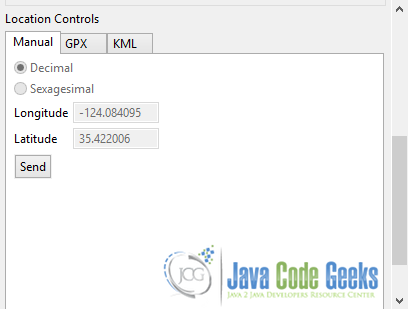
For the first manner, go to Window → Open Perspectives → DDMS. Then choose the “Emulator Control” tab. Now you can see the Location Control and you can send the geoposition in the emulator dummy.
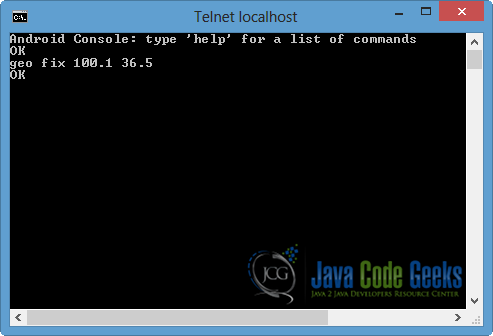
Another way to do this is to have a device connection via telnet. Go to console and type the following to the command line:
telnet localhost #numberOf_AVD
where the #numberOf_AVD is the number that our virtual device has in it’s popup window (5554 in our occasion).
Then specify the mock location information by typing the next instruction to the command line
geo fix #lng #lat
where #lng and #lat are double numbers that represent longitude and latitude respectively.
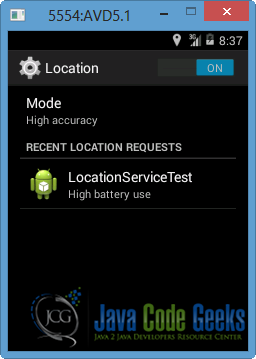
To enable the emulator, right click on our project → Run as → Android Application. A last known Location doesn’t exist, so the system lead us to the device settings, in order to allow configuration of current location sources.
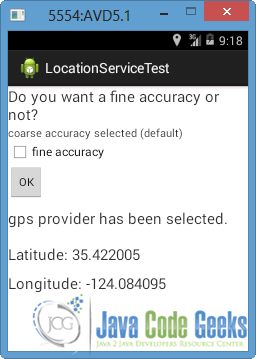
Lets go to the Location Control of DDMS, set longitude and latitude as -124.084095 and 35.422005 respectively. Then press Send button. As we can see in the next picture, our application is enabled with the appropriate fields filled in.
Notice that if we check the “fine accuracy” and press OK button, our provider will not change. Now, we are going to send location data via telnet. After typing
telnet localhost 5554
We type the following instruction to the command line, like shown in the picture.
The result is shown in the image below. We can notice that the longitude and the latitude change, while the onLocationChanged method on LocationListener is called.
Download Eclipse Project
This was an example of Location Based Services in Android. Download the Eclipse Project of this example: LocationServiceTest.zip
