In our previous Android Example, we tried to explain the use of Android SurfaceView through a simple camera application. In the meantime, we realized how important is the “camera mode” in a simple and modern Android application, as nowadays it is becoming very common, that the camera is used not only to capture basic portraits and landscape views, but also to be used for other reasons, for instance to capture the number of a credit card in a commercial application, even to be able to save a title and a name, or even to read a qr code.
The Android framework includes support for various cameras and camera features available on devices, allowing you to capture pictures and videos in your applications.
So, in this example, we are going to see the use of Android Camera api in a more detailed way, and develop an Android application that takes photos and switches between the front and the back camera of our mobile device.
For our example will use the following tools in a Windows 64-bit or an OS X platform:
- JDK 1.7
- Eclipse 4.2 Juno
- Android SDK 4.4.2
Let’s take a closer look:
1. Create a New Android Application Project
You may skip project creation and jump directly to the beginning of the example below.
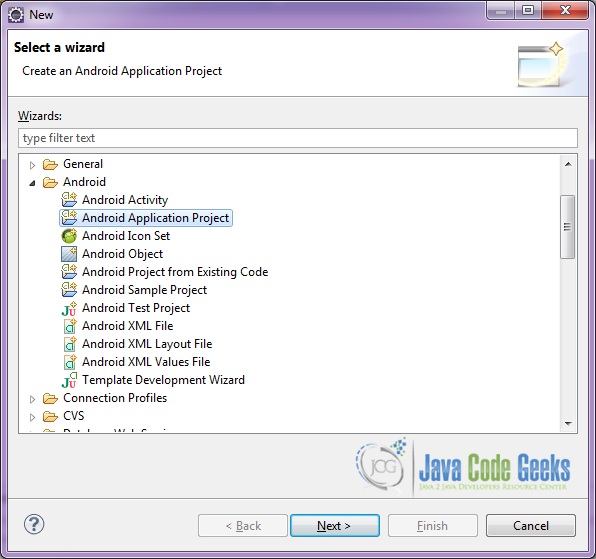
Open Eclipse IDE and go to File → New → Project → Android Application Project.
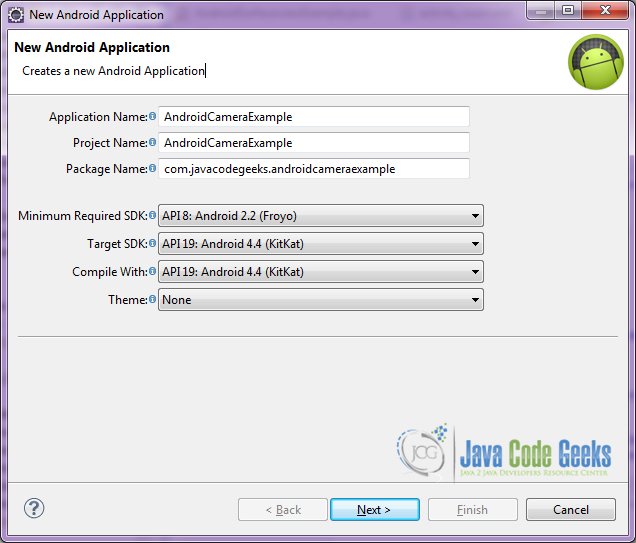
Specify the name of the application, the project and the package and then click Next.
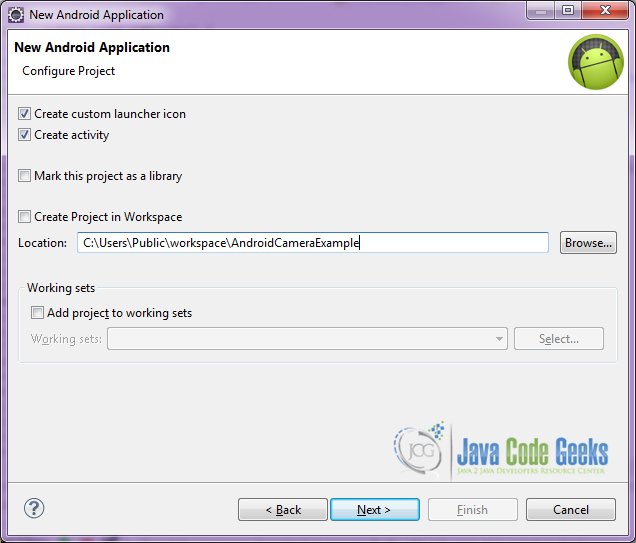
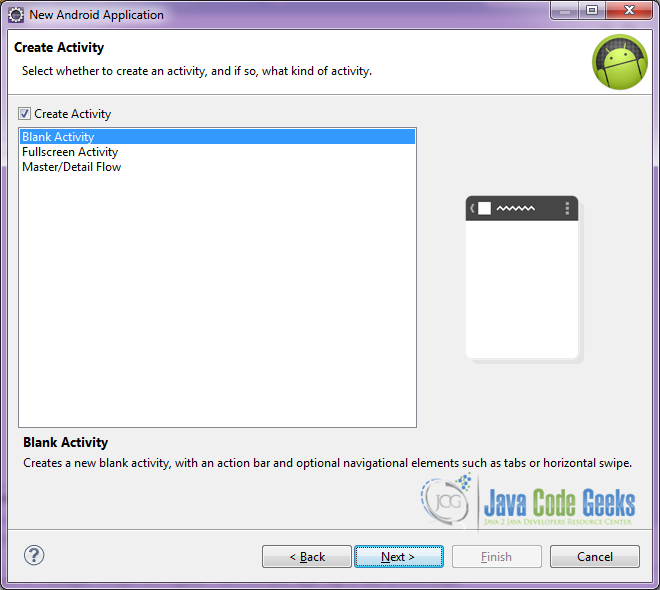
In the next window, the “Create Activity” option should be checked. The new created activity will be the main activity of your project. Then press Next button.
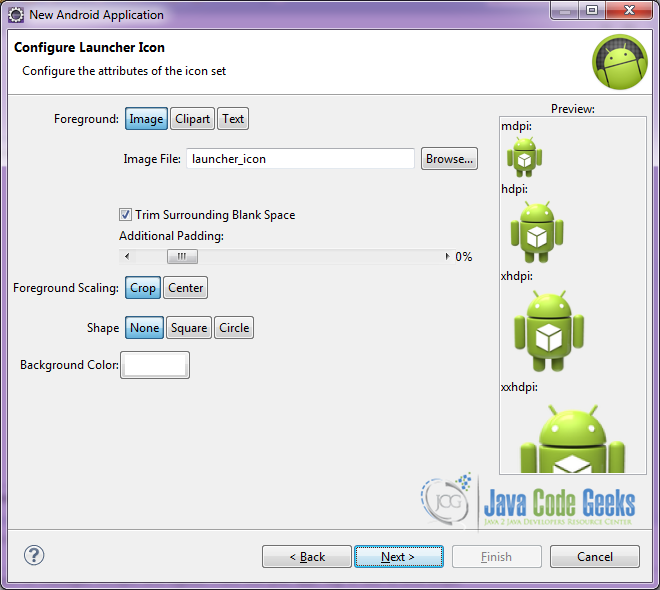
In “Configure Launcher Icon” window you should choose the icon you want to have in your app. We will use the default icon of android, so click Next.
Select the “Blank Activity” option and press Next.
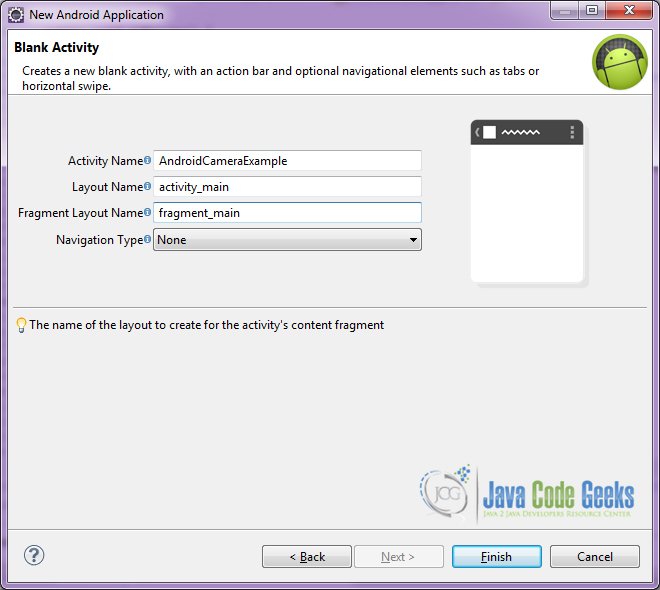
You have to specify a name for the new Activity and a name for the layout description of your app. The .xml file for the layout will automatically be created in the res/layout folder. It will also be created a fragment layout xml, that we are not going to use in this project and you can remove it if you want. Then press Finish.
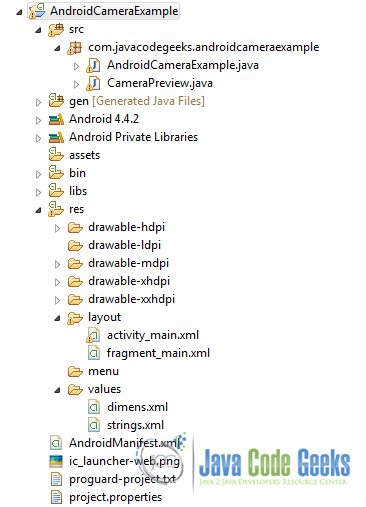
Here you can see, how will the structure of the project become when finished:
2. Creating the layout of the main AndroidCameraExample
We are going to make a simple layout xml for the AndroidCameraExample.class, that consists of a LinearLayout with horizontal orientation, that includes the SurfaceView for the camera preview view on the left, and two buttons on the right. Let’s see this in detail.
Open res/layout/activity_main.xml, go to the respective xml tab and paste the following:
activity_main.xml
<?xml version="1.0" encoding="utf-8"?>
<LinearLayout xmlns:android="http://schemas.android.com/apk/res/android"
    android:layout_width="fill_parent"
    android:layout_height="fill_parent"
    android:orientation="horizontal" >

    <LinearLayout
        android:id="@+id/camera_preview"
        android:layout_width="fill_parent"
        android:layout_height="fill_parent"
        android:layout_weight="1"
        android:orientation="horizontal"/>

    <LinearLayout
        android:id="@+id/buttonsLayout"
        android:layout_width="wrap_content"
        android:layout_height="match_parent"
        android:layout_gravity="center"
        android:orientation="vertical" >
        <Button
            android:id="@+id/button_ChangeCamera"
            android:layout_width="72dp"
            android:layout_height="wrap_content"
            android:text="Switch Camera"
            android:layout_marginTop="30dp"/>
        <Button
            android:id="@+id/button_capture"
            android:layout_width="wrap_content"
            android:layout_height="wrap_content"
            android:text="Capture"
            android:layout_marginTop="100dp"/>
    </LinearLayout>
</LinearLayout>
3. Creating the source code of the main AndroidCameraExample Activity
As you have noticed, for the purpose of this example, we are going to have an Activity with a customized SurfaceView class for this Activity.
Open src/com.javacodegeeks.androidcameraexample/AndroidCameraExample.java file and paste the code below.
AndroidCameraExample.java
package com.javacodegeeks.androidcameraexample;

import java.io.File;
import java.io.FileNotFoundException;
import java.io.FileOutputStream;
import java.io.IOException;
import java.text.SimpleDateFormat;
import java.util.Date;

import android.app.Activity;
import android.content.Context;
import android.content.pm.PackageManager;
import android.hardware.Camera;
import android.hardware.Camera.CameraInfo;
import android.hardware.Camera.PictureCallback;
import android.os.Bundle;
import android.view.View;
import android.view.View.OnClickListener;
import android.view.WindowManager;
import android.widget.Button;
import android.widget.LinearLayout;
import android.widget.Toast;

public class AndroidCameraExample extends Activity {
	private Camera mCamera;
	private CameraPreview mPreview;
	private PictureCallback mPicture;
	private Button capture, switchCamera;
	private Context myContext;
	private LinearLayout cameraPreview;
	private boolean cameraFront = false;

	@Override
	public void onCreate(Bundle savedInstanceState) {
		super.onCreate(savedInstanceState);
		setContentView(R.layout.activity_main);
		getWindow().addFlags(WindowManager.LayoutParams.FLAG_KEEP_SCREEN_ON);
		myContext = this;
		initialize();
	}

	private int findFrontFacingCamera() {
		int cameraId = -1;
		// Search for the front facing camera
		int numberOfCameras = Camera.getNumberOfCameras();
		for (int i = 0; i < numberOfCameras; i++) {
			CameraInfo info = new CameraInfo();
			Camera.getCameraInfo(i, info);
			if (info.facing == CameraInfo.CAMERA_FACING_FRONT) {
				cameraId = i;
				cameraFront = true;
				break;
			}
		}
		return cameraId;
	}

	private int findBackFacingCamera() {
		int cameraId = -1;
		//Search for the back facing camera
		//get the number of cameras
		int numberOfCameras = Camera.getNumberOfCameras();
		//for every camera check
		for (int i = 0; i < numberOfCameras; i++) {
			CameraInfo info = new CameraInfo();
			Camera.getCameraInfo(i, info);
			if (info.facing == CameraInfo.CAMERA_FACING_BACK) {
				cameraId = i;
				cameraFront = false;
				break;
			}
		}
		return cameraId;
	}

	public void onResume() {
		super.onResume();
		if (!hasCamera(myContext)) {
			Toast toast = Toast.makeText(myContext, "Sorry, your phone does not have a camera!", Toast.LENGTH_LONG);
			toast.show();
			finish();
		}
		if (mCamera == null) {
			//if the front facing camera does not exist
			if (findFrontFacingCamera()  1) {
				//release the old camera instance
				//switch camera, from the front and the back and vice versa

				releaseCamera();
				chooseCamera();
			} else {
				Toast toast = Toast.makeText(myContext, "Sorry, your phone has only one camera!", Toast.LENGTH_LONG);
				toast.show();
			}
		}
	};

	public void chooseCamera() {
		//if the camera preview is the front
		if (cameraFront) {
			int cameraId = findBackFacingCamera();
			if (cameraId >= 0) {
				//open the backFacingCamera
				//set a picture callback
				//refresh the preview

				mCamera = Camera.open(cameraId);
				mPicture = getPictureCallback();
				mPreview.refreshCamera(mCamera);
			}
		} else {
			int cameraId = findFrontFacingCamera();
			if (cameraId >= 0) {
				//open the backFacingCamera
				//set a picture callback
				//refresh the preview

				mCamera = Camera.open(cameraId);
				mPicture = getPictureCallback();
				mPreview.refreshCamera(mCamera);
			}
		}
	}

	@Override
	protected void onPause() {
		super.onPause();
		//when on Pause, release camera in order to be used from other applications
		releaseCamera();
	}

	private boolean hasCamera(Context context) {
		//check if the device has camera
		if (context.getPackageManager().hasSystemFeature(PackageManager.FEATURE_CAMERA)) {
			return true;
		} else {
			return false;
		}
	}

	private PictureCallback getPictureCallback() {
		PictureCallback picture = new PictureCallback() {

			@Override
			public void onPictureTaken(byte[] data, Camera camera) {
				//make a new picture file
				File pictureFile = getOutputMediaFile();

				if (pictureFile == null) {
					return;
				}
				try {
					//write the file
					FileOutputStream fos = new FileOutputStream(pictureFile);
					fos.write(data);
					fos.close();
					Toast toast = Toast.makeText(myContext, "Picture saved: " + pictureFile.getName(), Toast.LENGTH_LONG);
					toast.show();

				} catch (FileNotFoundException e) {
				} catch (IOException e) {
				}

				//refresh camera to continue preview
				mPreview.refreshCamera(mCamera);
			}
		};
		return picture;
	}

	OnClickListener captrureListener = new OnClickListener() {
		@Override
		public void onClick(View v) {
			mCamera.takePicture(null, null, mPicture);
		}
	};

	//make picture and save to a folder
	private static File getOutputMediaFile() {
		//make a new file directory inside the "sdcard" folder
		File mediaStorageDir = new File("/sdcard/", "JCG Camera");

		//if this "JCGCamera folder does not exist
		if (!mediaStorageDir.exists()) {
			//if you cannot make this folder return
			if (!mediaStorageDir.mkdirs()) {
				return null;
			}
		}

		//take the current timeStamp
		String timeStamp = new SimpleDateFormat("yyyyMMdd_HHmmss").format(new Date());
		File mediaFile;
		//and make a media file:
		mediaFile = new File(mediaStorageDir.getPath() + File.separator + "IMG_" + timeStamp + ".jpg");

		return mediaFile;
	}

	private void releaseCamera() {
		// stop and release camera
		if (mCamera != null) {
			mCamera.release();
			mCamera = null;
		}
	}
}
Let’s see in detail the code above.
We set the activity_main.xml layout and we initialize our main layout by:
setContentView(R.layout.activity_main);
We also set the onCreate method of the Activity:
	@Override
	public void onCreate(Bundle savedInstanceState) {
		super.onCreate(savedInstanceState);
		setContentView(R.layout.activity_main);
		getWindow().addFlags(WindowManager.LayoutParams.FLAG_KEEP_SCREEN_ON);
		myContext = this;
		initialize();
	}
And the onResume method of the Activity:
	public void onResume() {
		super.onResume();
		if (!hasCamera(myContext)) {
			Toast toast = Toast.makeText(myContext, "Sorry, your phone does not have a camera!", Toast.LENGTH_LONG);
			toast.show();
			finish();
		}
		if (mCamera == null) {
			if (findFrontFacingCamera() < 0) {
				Toast.makeText(this, "No front facing camera found.", Toast.LENGTH_LONG).show();
				switchCamera.setVisibility(View.GONE);
			}
			mCamera = Camera.open(findBackFacingCamera());
			mPicture = getPictureCallback();
			mPreview.refreshCamera(mCamera);
		}
	}
In the onResume method we check if the device has a hardware camera. We also check if the device has a front facing camera by executing the findFrontFacingCamera() method, which returns an integer as the id of the camera in use. If there is no second camera on the device, the switch button goes invisible.

	private int findFrontFacingCamera() {
		int cameraId = -1;
		// Search for the front facing camera
		int numberOfCameras = Camera.getNumberOfCameras();
		for (int i = 0; i < numberOfCameras; i++) {
			CameraInfo info = new CameraInfo();
			Camera.getCameraInfo(i, info);
			if (info.facing == CameraInfo.CAMERA_FACING_FRONT) {
				cameraId = i;
				cameraFront = true;
				break;
			}
		}
		return cameraId;
	}
Generally, when we want to initialize, or to refresh a camera instance, we use the sequence of methods:
		mCamera = Camera.open(findBackFacingCamera());
		mPicture = getPictureCallback();
		mPreview.refreshCamera(mCamera);
With these methods, we set a new camera instance, by opening a camera with an id parameter, either the back facing camera, or the front facing camera. Then we set a picture callback method, and we also set the preview Surfaceview layer of the camera instance.
4. Creating the source code of the class CameraPreview
Open src/com.javacodegeeks.androidcameraexample/CameraPreview.java file and paste the code below.
CameraPreview.java
package com.javacodegeeks.androidcameraexample;

import java.io.IOException;

import android.content.Context;
import android.hardware.Camera;
import android.util.Log;
import android.view.SurfaceHolder;
import android.view.SurfaceView;

public class CameraPreview extends SurfaceView implements SurfaceHolder.Callback {
	private SurfaceHolder mHolder;
	private Camera mCamera;

	public CameraPreview(Context context, Camera camera) {
		super(context);
		mCamera = camera;
		mHolder = getHolder();
		mHolder.addCallback(this);
		// deprecated setting, but required on Android versions prior to 3.0
		mHolder.setType(SurfaceHolder.SURFACE_TYPE_PUSH_BUFFERS);
	}

	public void surfaceCreated(SurfaceHolder holder) {
		try {
			// create the surface and start camera preview
			if (mCamera == null) {
				mCamera.setPreviewDisplay(holder);
				mCamera.startPreview();
			}
		} catch (IOException e) {
			Log.d(VIEW_LOG_TAG, "Error setting camera preview: " + e.getMessage());
		}
	}

	public void refreshCamera(Camera camera) {
		if (mHolder.getSurface() == null) {
			// preview surface does not exist
			return;
		}
		// stop preview before making changes
		try {
			mCamera.stopPreview();
		} catch (Exception e) {
			// ignore: tried to stop a non-existent preview
		}
		// set preview size and make any resize, rotate or
		// reformatting changes here
		// start preview with new settings
		setCamera(camera);
		try {
			mCamera.setPreviewDisplay(mHolder);
			mCamera.startPreview();
		} catch (Exception e) {
			Log.d(VIEW_LOG_TAG, "Error starting camera preview: " + e.getMessage());
		}
	}

	public void surfaceChanged(SurfaceHolder holder, int format, int w, int h) {
		// If your preview can change or rotate, take care of those events here.
		// Make sure to stop the preview before resizing or reformatting it.
		refreshCamera(mCamera);
	}

	public void setCamera(Camera camera) {
		//method to set a camera instance
		mCamera = camera;
	}

	@Override
	public void surfaceDestroyed(SurfaceHolder holder) {
		// TODO Auto-generated method stub
		// mCamera.release();

	}
}
Let’s see in detail the code above.
Most of the methods that are used here were explained in the last Android Example, the Android SurfaceView Example. However, we will explain them once again, for the use of this example.
In the code snippet that follows, we initialize the surface view that is created. We set a preview display of a camera instance. This means that our surface view will display the “camera sees”.
	public void surfaceCreated(SurfaceHolder holder) {
		try {
			if (mCamera == null) {
				mCamera.setPreviewDisplay(holder);
				mCamera.startPreview();
			}
		} catch (IOException e) {
			Log.d(VIEW_LOG_TAG, "Error setting camera preview: " + e.getMessage());
		}
	}
When the layout of our activity changes, so does the surfaceView. The surfaceChanged method is called when we resume the Activity (restore it from the background for example). When this happens, we “refresh” the preview view of the camera.
	public void surfaceChanged(SurfaceHolder holder, int format, int w, int h) {
		// If your preview can change or rotate, take care of those events here.
		// Make sure to stop the preview before resizing or reformatting it.
		refreshCamera(mCamera);
	}
We “refresh” the preview view with the following code. At first, we stop the preview of the old camera instance, we make any resize, rotate or reformatting changes we might want, and then we set the new camera instance, and we start the preview.
	public void refreshCamera(Camera camera) {
		if (mHolder.getSurface() == null) {
			// preview surface does not exist
			return;
		}
		try {
			mCamera.stopPreview();
		} catch (Exception e) {
			// ignore: tried to stop a non-existent preview
		}

		setCamera(camera);
		try {
			mCamera.setPreviewDisplay(mHolder);
			mCamera.startPreview();
		} catch (Exception e) {
			Log.d(VIEW_LOG_TAG, "Error starting camera preview: " + e.getMessage());
		}
	}
5. Android Manifest
Because this application uses the hardware camera, the front camera (if exists) and tries to save images to the device’s external storage (SD Card), we must also specify this in the manifest. The AndroidManifest.xml of our project is simple and contains the permissions:
AndroidManifest.xml
<?xml version="1.0" encoding="utf-8"?>
<manifest xmlns:android="http://schemas.android.com/apk/res/android"
    package="com.javacodegeeks.androidcameraexample"
    android:versionCode="1"
    android:versionName="1.1" >

    <uses-sdk
        android:minSdkVersion="10"
        android:targetSdkVersion="19" />

    <uses-permission android:name="android.permission.WRITE_EXTERNAL_STORAGE" />
    <uses-permission android:name="android.permission.CAMERA" />
    <uses-feature android:name="android.hardware.camera" />
    <uses-feature android:name="android.hardware.camera.autofocus" />
    <uses-feature android:name="android.hardware.camera.front" android:required="false" />

    <application
        android:icon="@drawable/ic_launcher"
        android:label="@string/app_name" >
        <activity
            android:name=".AndroidCameraExample"
            android:label="@string/app_name"
            android:screenOrientation="landscape"
            android:theme="@android:style/Theme.NoTitleBar.Fullscreen" >
            <intent-filter>
                <action android:name="android.intent.action.MAIN" />
                <category android:name="android.intent.category.LAUNCHER" />
            </intent-filter>
        </activity>
    </application>
</manifest>
Note, that if an essential function of your application is taking pictures, then restrict its visibility on Google Play to devices that have a camera. To advertise that your application depends on having a camera, put a tag in your manifest file.
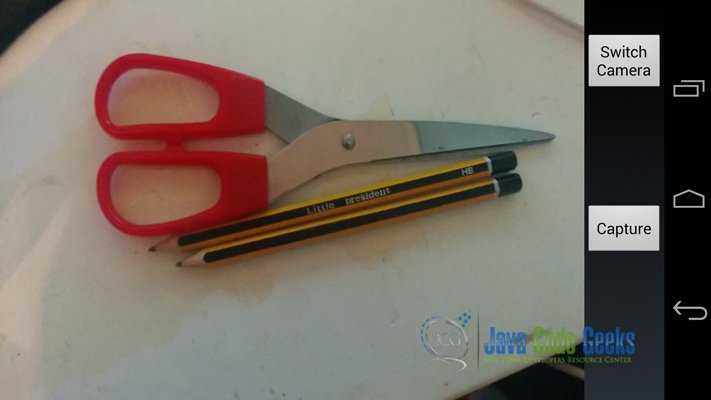
6. Build, compile and run
When we build, compile and run our project, the main AndroidCameraExample should look like this:
Download the Eclipse Project
This was an example of Android AndroidCameraExample.
You can download the full source code of this example here: AndroidCameraExample

hello sir suggest me to how to change orientation of camera
i have a same problem ?
it work fine.thanks you madam.
(to changes orientation doing in manifest.xml)
How can we build this project and it has no main function?
thanks for the camera example source code, it seemed heavy to start from scratch but i
m sure i will master it with this codes help.