In Android, all simple layout views are all drawn on the same GUI thread which is also used for all user interaction. So if we need to update GUI rapidly or if the rendering takes too much time and affects user experience then we should use SurfaceView.
The Android SurfaceView provides a dedicated drawing surface embedded inside of a view hierarchy. You can control the format of this surface, however, the SurfaceView takes care of placing the surface at the correct location on the screen.
So, in this example, we are going to see the use of Android SurfaceView through a camera appliction that will use the SurfaceView to preview the camera angle to the screen of the mobile device.
For our example will use the following tools in a Windows 64-bit or an OS X platform:
- JDK 1.7
- Eclipse 4.2 Juno
- Android SDK 4.4.2
Let’s take a closer look:
1. Create a New Android Application Project
You may skip project creation and jump directly to the beginning of the example below.
Open Eclipse IDE and go to File → New → Project → Android Application Project.
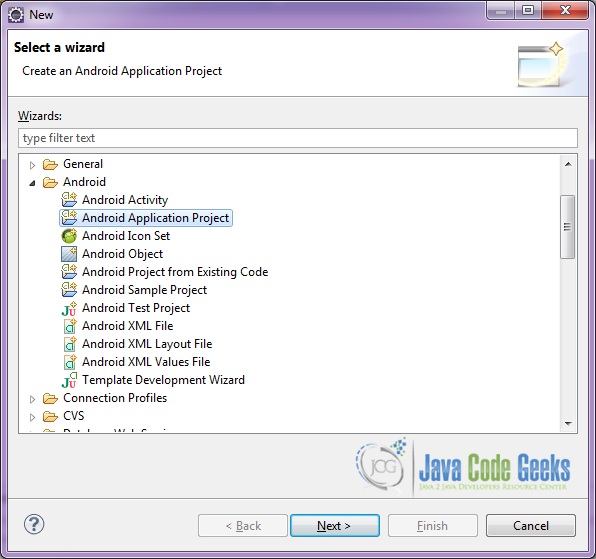
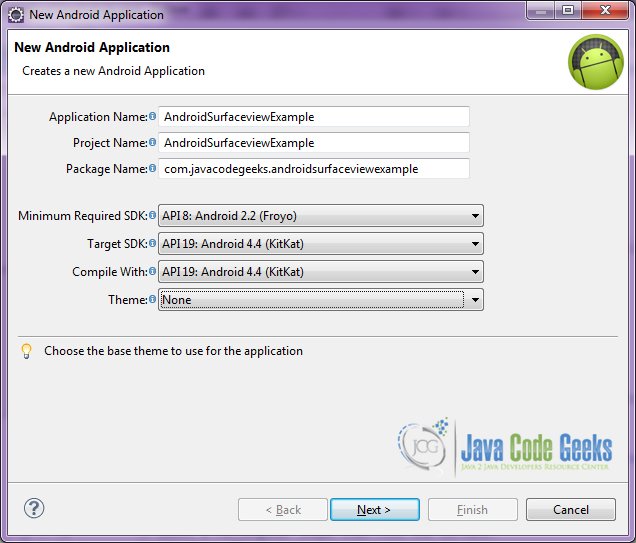
Specify the name of the application, the project and the package and then click Next.
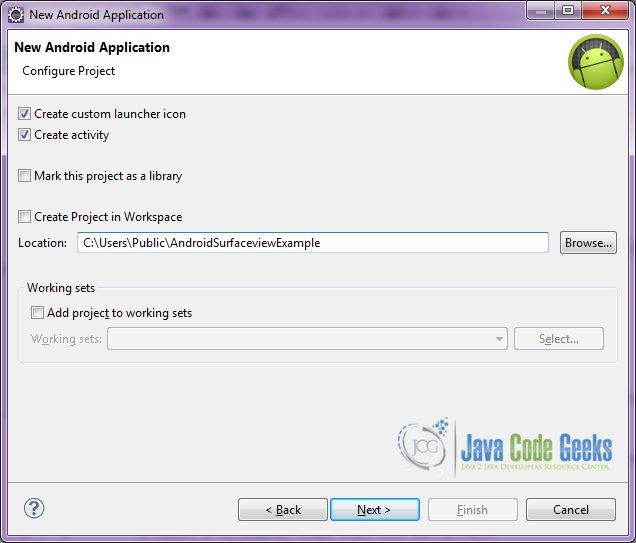
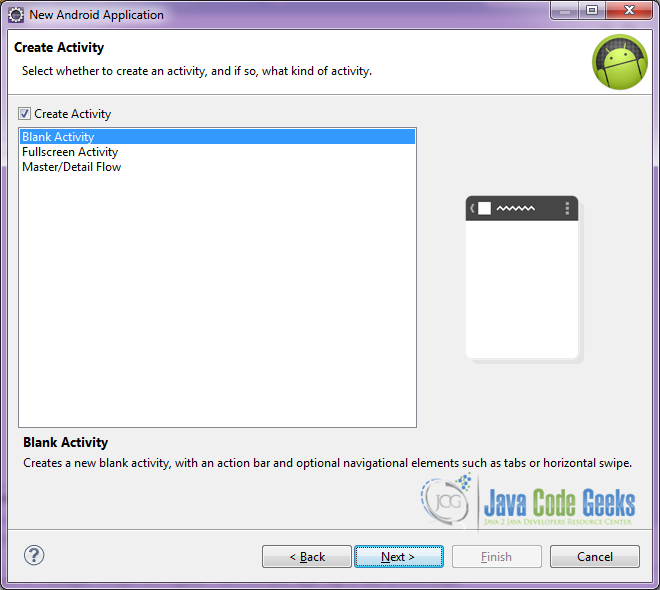
In the next window, the “Create Activity” option should be checked. The new created activity will be the main activity of your project. Then press Next button.
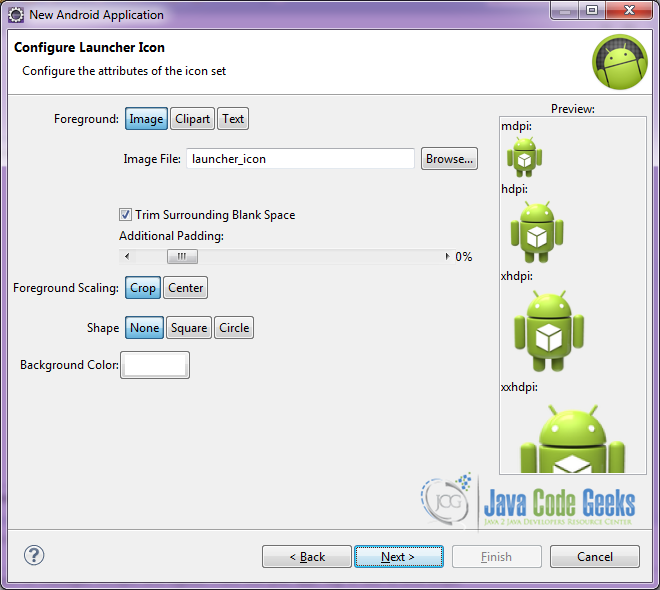
In “Configure Launcher Icon” window you should choose the icon you want to have in your app. We will use the default icon of android, so click Next.
Select the “Blank Activity” option and press Next.
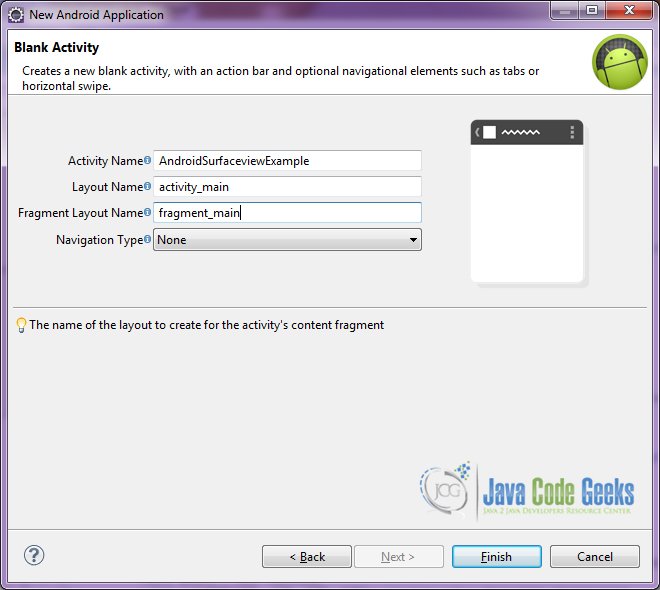
You have to specify a name for the new Activity and a name for the layout description of your app. The .xml file for the layout will automatically be created in the res/layout folder. It will also be created a fragment layout xml, that we are not going to use in this project and you can remove it if you want. Then press Finish.
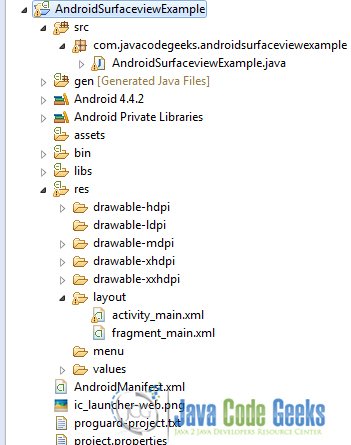
Here you can see, how will the structure of the project become when finished:
2. Creating the layout of the main AndroidSurfaceViewExample
We are going to make a very simple layout xml for the AndroidSurfaceViewExample.class, that only consists of a LinearLayout that contains the SurfaceView and a clickable LinearLayout.
Open res/layout/activity_main.xml, go to the respective xml tab and paste the following:
activity_main.xml
<LinearLayout xmlns:android="http://schemas.android.com/apk/res/android"
    xmlns:tools="http://schemas.android.com/tools"
    android:id="@+id/container"
    android:layout_width="match_parent"
    android:layout_height="match_parent"
    android:orientation="vertical"
    tools:context="com.javacodegeeks.androidsurfaceviewexample.AndroidSurfaceviewExample" >

    <SurfaceView
        android:id="@+id/surfaceView"
        android:layout_width="match_parent"
        android:layout_height="0dp"
        android:layout_weight="1" />

    <LinearLayout
        android:id="@+id/capture"
        android:layout_width="match_parent"
        android:layout_height="wrap_content"
        android:clickable="true"
        android:gravity="center"
        android:onClick="captureImage"
        android:orientation="horizontal" >

        <TextView
            android:layout_width="wrap_content"
            android:layout_height="wrap_content"
            android:gravity="center"
            android:padding="10dp"
            android:text="Capture"
            android:textAppearance="?android:attr/textAppearanceLarge" />
    </LinearLayout>

</LinearLayout>
3. Creating the source code of the main AndroidSurfaceViewExample Activity
Open src/com.javacodegeeks.androidcursorexample/AndroidSurfaceViewExample.java file and paste the code below.
AndroidSurfaceViewExample.java
package com.javacodegeeks.androidsurfaceviewexample;

import java.io.FileNotFoundException;
import java.io.FileOutputStream;
import java.io.IOException;

import android.app.Activity;
import android.hardware.Camera;
import android.hardware.Camera.PictureCallback;
import android.hardware.Camera.ShutterCallback;
import android.os.Bundle;
import android.util.Log;
import android.view.SurfaceHolder;
import android.view.SurfaceView;
import android.view.View;
import android.widget.TextView;
import android.widget.Toast;

public class AndroidSurfaceviewExample extends Activity implements SurfaceHolder.Callback {
	TextView testView;

	Camera camera;
	SurfaceView surfaceView;
	SurfaceHolder surfaceHolder;

	PictureCallback rawCallback;
	ShutterCallback shutterCallback;
	PictureCallback jpegCallback;

	/** Called when the activity is first created. */
	@Override
	public void onCreate(Bundle savedInstanceState) {
		super.onCreate(savedInstanceState);

		setContentView(R.layout.activity_main);

		surfaceView = (SurfaceView) findViewById(R.id.surfaceView);
		surfaceHolder = surfaceView.getHolder();

		// Install a SurfaceHolder.Callback so we get notified when the
		// underlying surface is created and destroyed.
		surfaceHolder.addCallback(this);

		// deprecated setting, but required on Android versions prior to 3.0
		surfaceHolder.setType(SurfaceHolder.SURFACE_TYPE_PUSH_BUFFERS);

		jpegCallback = new PictureCallback() {
			public void onPictureTaken(byte[] data, Camera camera) {
				FileOutputStream outStream = null;
				try {
					outStream = new FileOutputStream(String.format("/sdcard/%d.jpg", System.currentTimeMillis()));
					outStream.write(data);
					outStream.close();
					Log.d("Log", "onPictureTaken - wrote bytes: " + data.length);
				} catch (FileNotFoundException e) {
					e.printStackTrace();
				} catch (IOException e) {
					e.printStackTrace();
				} finally {
				}
				Toast.makeText(getApplicationContext(), "Picture Saved", 2000).show();
				refreshCamera();
			}
		};
	}

	public void captureImage(View v) throws IOException {
		//take the picture
		camera.takePicture(null, null, jpegCallback);
	}

	public void refreshCamera() {
		if (surfaceHolder.getSurface() == null) {
			// preview surface does not exist
			return;
		}

		// stop preview before making changes
		try {
			camera.stopPreview();
		} catch (Exception e) {
			// ignore: tried to stop a non-existent preview
		}

		// set preview size and make any resize, rotate or
		// reformatting changes here
		// start preview with new settings
		try {
			camera.setPreviewDisplay(surfaceHolder);
			camera.startPreview();
		} catch (Exception e) {

		}
	}

	public void surfaceChanged(SurfaceHolder holder, int format, int w, int h) {
		// Now that the size is known, set up the camera parameters and begin
		// the preview.
		refreshCamera();
	}

	public void surfaceCreated(SurfaceHolder holder) {
		try {
			// open the camera
			camera = Camera.open();
		} catch (RuntimeException e) {
			// check for exceptions
			System.err.println(e);
			return;
		}
		Camera.Parameters param;
		param = camera.getParameters();

		// modify parameter
		param.setPreviewSize(352, 288);
		camera.setParameters(param);
		try {
			// The Surface has been created, now tell the camera where to draw
			// the preview.
			camera.setPreviewDisplay(surfaceHolder);
			camera.startPreview();
		} catch (Exception e) {
			// check for exceptions
			System.err.println(e);
			return;
		}
	}

	public void surfaceDestroyed(SurfaceHolder holder) {
		// stop preview and release camera
		camera.stopPreview();
		camera.release();
		camera = null;
	}

}
Let’s see in detail the code above.

We set the activity_main.xml layout and we initialize our main layout by:
setContentView(R.layout.activity_main);
In these lines, we find our SurfaceView from our main layout and we get a holder, an abstract interface to someone holding a display surface. This, allows us to control the surface size and format, edit the pixels in the surface, and monitor changes to the surface. We also install a SurfaceHolder.Callback so we get notified when the underlying surface is created and destroyed. We have also written the surfaceHolder.setType(SurfaceHolder.SURFACE_TYPE_PUSH_BUFFERS); deprecated setting, but required on Android versions prior to 3.0.
	surfaceView = (SurfaceView) findViewById(R.id.surfaceView);
	surfaceHolder = surfaceView.getHolder();
	surfaceHolder.addCallback(this);
	surfaceHolder.setType(SurfaceHolder.SURFACE_TYPE_PUSH_BUFFERS);
We have implemented the basic methods of the SurfaceView, public void surfaceCreated(SurfaceHolder holder), public void surfaceChanged(SurfaceHolder holder, int format, int w, int h) and public void surfaceDestroyed(SurfaceHolder holder)).
In public void surfaceCreated(SurfaceHolder holder), we are trying to open the camera service, and also to set the camera parameters and when the Surface has been created, to draw the preview.
	public void surfaceCreated(SurfaceHolder holder) {
		try {
			camera = Camera.open();
		} catch (RuntimeException e) {
			System.err.println(e);
			return;
		}
		Camera.Parameters param;
		param = camera.getParameters();

		param.setPreviewSize(352, 288);
		camera.setParameters(param);
		try {
			camera.setPreviewDisplay(surfaceHolder);
			camera.startPreview();
		} catch (Exception e) {
			System.err.println(e);
			return;
		}
	}
In public void surfaceChanged(SurfaceHolder holder, int format, int w, int h), we are trying to reset the preview size and make any resize, rotate or reformatting changes, in order to start the preview with new settings.
	public void refreshCamera() {
		if (surfaceHolder.getSurface() == null) {
			return;
		}
		try {
			camera.stopPreview();
		} catch (Exception e) {

		}
		try {
			camera.setPreviewDisplay(surfaceHolder);
			camera.startPreview();
		} catch (Exception e) {

		}
	}
In public void surfaceDestroyed(SurfaceHolder holder), we stop the preview and we release the camera service, in order to be used from other applications.
	public void surfaceDestroyed(SurfaceHolder holder) {
		// stop preview and release camera
		camera.stopPreview();
		camera.release();
		camera = null;
	}
4. Android Manifest
Because this application uses the hardware camera and tries to save images to the device’s external storage (SD Card), we must also specify this in the manifest. The AndroidManifest.xml of our project is simple and contains the permissions:
AndroidManifest.xml
<?xml version="1.0" encoding="utf-8"?>
<manifest xmlns:android="http://schemas.android.com/apk/res/android"
    package="com.javacodegeeks.androidsurfaceviewexample"
    android:versionCode="1"
    android:versionName="1.0" >

    <uses-permission android:name="android.permission.CAMERA" />
    <uses-permission android:name="android.permission.WRITE_EXTERNAL_STORAGE" />

    <uses-feature android:name="android.hardware.camera" />
    <uses-feature android:name="android.hardware.camera.autofocus" />

    <uses-sdk
        android:minSdkVersion="8"
        android:targetSdkVersion="19" />

    <application
        android:allowBackup="true"
        android:icon="@drawable/ic_launcher"
        android:label="@string/app_name" >
        <activity
            android:name="com.javacodegeeks.androidsurfaceviewexample.AndroidSurfaceviewExample"
            android:label="@string/app_name" >
            <intent-filter>
                <action android:name="android.intent.action.MAIN" />
                <category android:name="android.intent.category.LAUNCHER" />
            </intent-filter>
        </activity>
    </application>
</manifest>
Note, that if an essential function of your application is taking pictures, then restrict its visibility on Google Play to devices that have a camera. To advertise that your application depends on having a camera, put a tag in your manifest file.
5. Build, compile and run
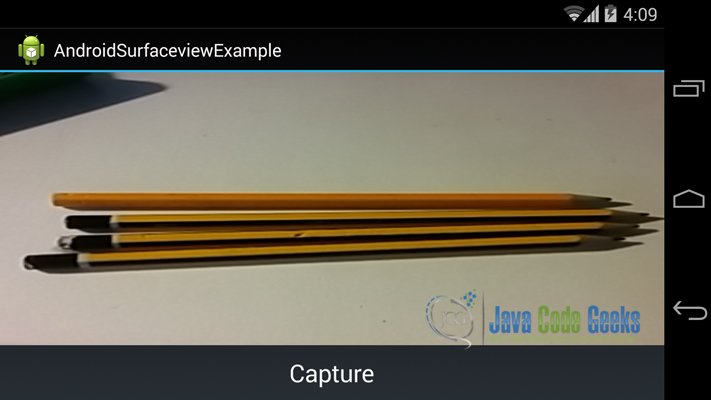
When we build, compile and run our project, the main AndroidSurfaceViewExample should look like this:
Download the Eclipse Project
This was an example of Android AndroidSurfaceViewExample.
You can download the full source code of this example here: AndroidSurfaceViewExample

Excellent tutorial. Thanks!
it work fine. thanks you