To send an email from your application, you don’t have to implement an email client from the beginning, but you can use an existing one like the default Email app provided from Android, Gmail, Outlook, K-9 Mail etc. For this purpose, we need to write an Activity that launches an email client, using an implicit Intent with the right action and data. In this example, we are going to send an email from our app by using an Intent object that launches existing email clients.
For this tutorial, we will use the following tools in a Windows 64-bit platform:
- JDK 1.7
- Eclipse 4.2 Juno
- Android SDK 4.4
1. Create a New Android Application Project
Open Eclipse IDE and go to File → New → Project → Android Application Project.
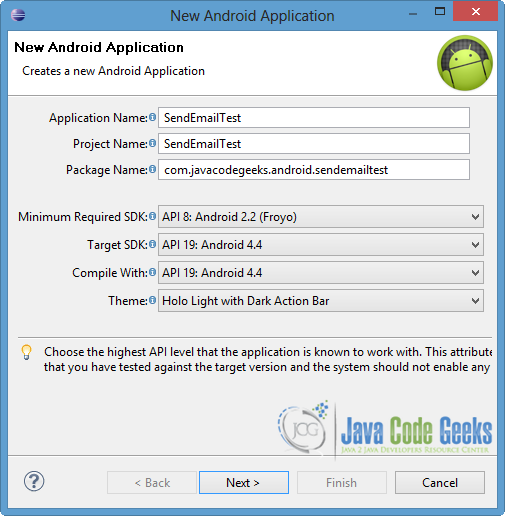
Fill in the name of the application, the project and the package in the appropriate fields and then click Next.
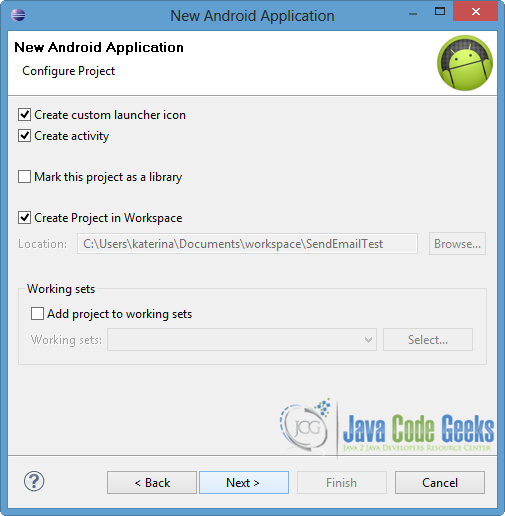
In the next window, check the “Create Activity” option. The new created activity will be the main activity of your project. Then press Next button.
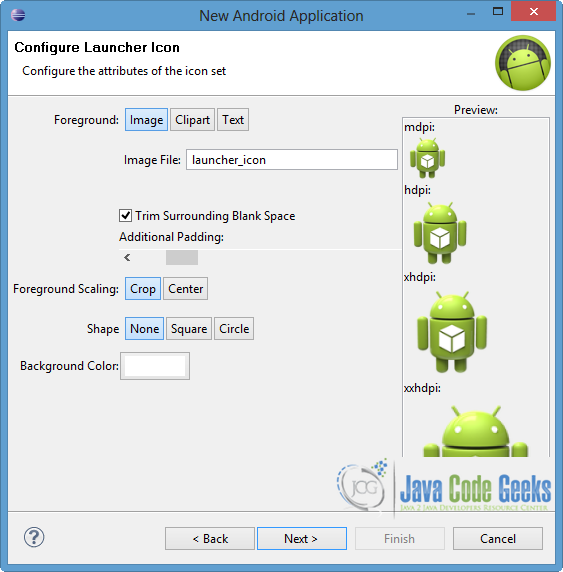
In “Configure Launcher Icon” window you should choose the icon you want to have in your app. We will use the default icon of android, so click Next.
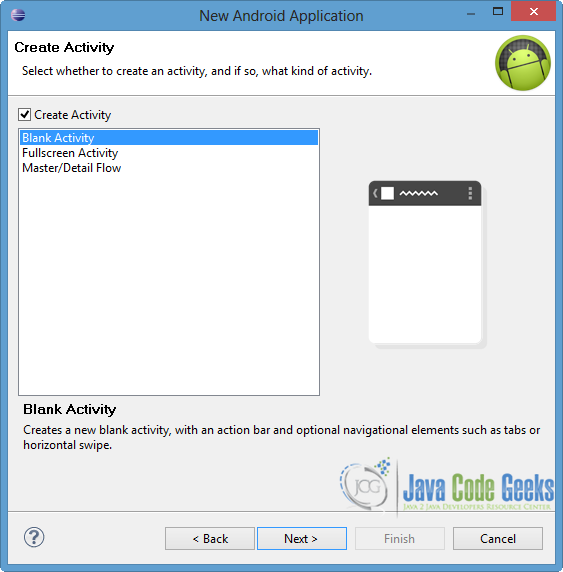
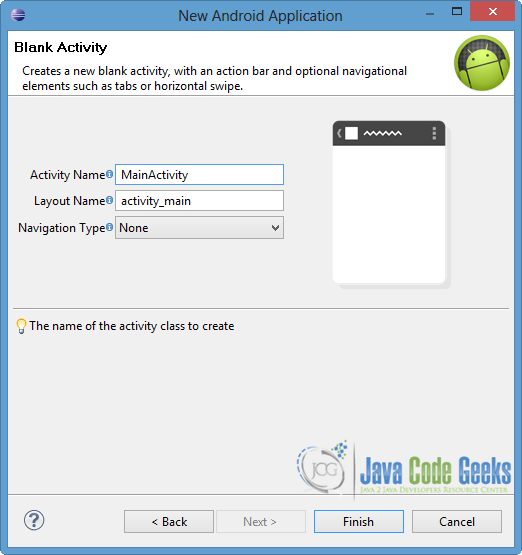
Select the “Blank Activity” option and press Next.
Specify a name for the new Activity and a name for the layout description of your app. The .xml file for the layout will automatically be created in the res/layout folder. Finally, press Finish.
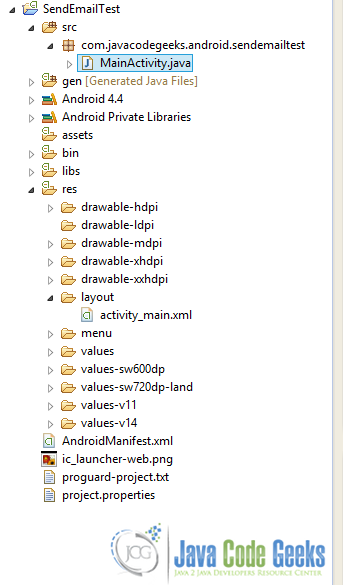
The picture below shows the structure of the created project.
2. Create the layout of the Main Activity
We want to send an email via our application, so we will use some EditTexts, where the user can fill in the necessary fields for an email creation. Also, we are going to use a Button, that enables the Intent when it is clicked.
Open res/layout/activity_main.xml file and go to the respective xml tab. Then paste the following.
activity_main.xml:
<LinearLayout xmlns:android="http://schemas.android.com/apk/res/android"
   android:layout_width="fill_parent"
   android:layout_height="fill_parent"
   android:orientation="vertical" >

    <TextView
        android:id="@+id/text1"
        android:layout_width="fill_parent"
        android:layout_height="wrap_content"
        android:layout_marginBottom="20dp"
        android:gravity="center"
        android:text="Complete the fields to send an email"
        android:textAppearance="?android:attr/textAppearanceMedium" />

   <EditText
       android:id="@+id/recipient"
       android:layout_width="match_parent"
       android:layout_height="wrap_content"
       android:ems="10"
       android:inputType="textEmailAddress"
       android:hint="Recipient" />

   <EditText
       android:id="@+id/subject"
       android:layout_width="match_parent"
       android:layout_height="wrap_content"
       android:ems="10"
       android:hint="Subject" />

   <EditText
       android:id="@+id/body"
       android:layout_width="match_parent"
       android:layout_height="wrap_content"
       android:ems="10"
       android:hint="Message body" />

   <Button
       android:id="@+id/sendEmail"
       android:layout_width="fill_parent"
       android:layout_height="wrap_content"
       android:layout_marginTop="30dp"
       android:text="Compose an email" />

</LinearLayout>
3. Code the Main Activity
As we already mentioned we need an Activity, which contains an Intent and launches the email clients that are installed in the Android device. For this reason, we should define SENDTO as action in that Intent and mailto: as it’s data. Moreover, we ought to set the Intent’s type as message/rfc822, in order to prompt only email providers. Another option for type could be text/plain, but this choice would launch and other clients that we don’t want in this app, such as Messaging.
In addition, Android provides us some further fields that can be used to complete some elements of an email client (for instance recipients, subject etc). These fields have to be attached to the Intent as extra data:
- EXTRA_BCC: email addresses for blind carbon copy
- EXTRA_CC: email addresses for carbon copy
- EXTRA_EMAIL: email addresses for recipients
- EXTRA_HTML_TEXT: supply an alternative to EXTRA_TEXT as HTML formatted text
- EXTRA_STREAM: URI holding a stream of data supplying the data that are sent
- EXTRA_SUBJECT: the subject of an email
- EXTRA_TEXT: the message body of the email
- EXTRA_TITLE: the title that is shown when the user has to choose an email client
In our application, we use EXTRA_EMAIL, EXTRA_SUBJECT and EXTRA_TEXT to fill in the appropriate fields in the email client.
Open src/com.javacodegeeks.android.sendemailtest/MainActivity.java and paste the following.
MainActivity.java:
package com.javacodegeeks.android.sendemailtest;

import android.net.Uri;
import android.os.Bundle;
import android.app.Activity;
import android.content.Intent;
import android.view.View;
import android.widget.Button;
import android.widget.EditText;
import android.widget.Toast;

public class MainActivity extends Activity {

	private EditText recipient;
	private EditText subject;
	private EditText body;

   @Override
   protected void onCreate(Bundle savedInstanceState) {
      super.onCreate(savedInstanceState);
      setContentView(R.layout.activity_main);

      recipient = (EditText) findViewById(R.id.recipient);
      subject = (EditText) findViewById(R.id.subject);
      body = (EditText) findViewById(R.id.body);

      Button sendBtn = (Button) findViewById(R.id.sendEmail);
      sendBtn.setOnClickListener(new View.OnClickListener() {
         public void onClick(View view) {
        	 sendEmail();
        	 // after sending the email, clear the fields
        	 recipient.setText("");
        	 subject.setText("");
        	 body.setText("");
         }
   });

   }
   protected void sendEmail() {

      String[] recipients = {recipient.getText().toString()};
      Intent email = new Intent(Intent.ACTION_SEND, Uri.parse("mailto:"));
      // prompts email clients only
      email.setType("message/rfc822");

      email.putExtra(Intent.EXTRA_EMAIL, recipients);
      email.putExtra(Intent.EXTRA_SUBJECT, subject.getText().toString());
      email.putExtra(Intent.EXTRA_TEXT, body.getText().toString());

      try {
	    // the user can choose the email client
         startActivity(Intent.createChooser(email, "Choose an email client from..."));

      } catch (android.content.ActivityNotFoundException ex) {
         Toast.makeText(MainActivity.this, "No email client installed.",
        		 Toast.LENGTH_LONG).show();
      }
   }

}
4. Run the application
To run our application, right click on our project → Run as → Android Application. The AVD will appear with the app loaded, as shown in the picture.
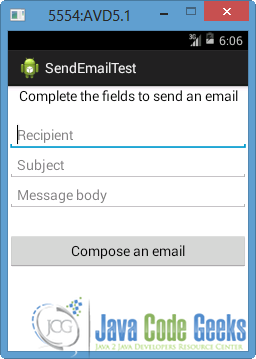
Lets fill in all the fields and press the button “Compose an email”.
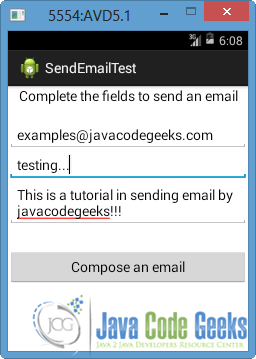
The default Email app of Android will launch, and the fields are filled in by the elements that we gave before, as you can see in the image below. If a problem occurs, you have to set up an account to the emulator.
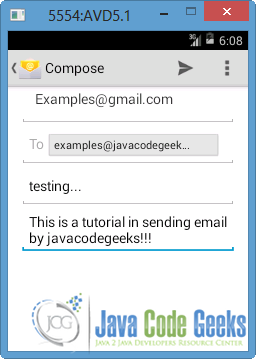
To send the email press the arrow at the top-right of the above screen.
It is good to mention that in the emulator there aren’t any other email clients, so the user can not choose a different one. If we run the app in our Android device, all existed email providers will appear (such as Gmail etc) so the user will have the option to choose another one.
Download Eclipse Project
This was an example of sending an email in Android. Download the Eclipse Project of this example: SendEmailTest.zip
