An Android Intent is a “message object” that its purpose is to activate a component of an application (activity, service or broadcastreceiver). Intents allow you to interact with components that belong either at the same application or outside that application. It is an abstract description of an operation to be performed or announced. The Intent object contains information which is used either from the components that receive that intent or the Android system itself. The primary attributes of information are:
- Action – action to be executed (for activity or service) or reported (for broadcastreceiver)
- Data – the data to be proceeded on
but there are also secondary pieces that complete the structure of the Intent object.
In addition, there are two types of Intents. The explicit intent specifies the component that the Android system will activate, so this type is used within an application. On the other hand, the implicit intent defines the action that should be acted and optionally it provides data. This type is used to activate components in other applications. The Android System uses intent filters, in order to find a suitable component to handle the intent. An Intent Filter defines the intent that a component can respond to. Therefore, intent filters advertise the capabilities of a component and delimit the intents that can handle.
In this example, we are going to find out how the Android system reacts if the same intent invokes two activities, how a custom intent invokes an activity using intent filters and how the system reacts if an appropriate component doesn’t exist for the intent.
For this tutorial, we will use the following tools in a Windows 64-bit platform:
- JDK 1.7
- Eclipse 4.2 Juno
- Android SDK 4.4
1. Create a New Android Application Project
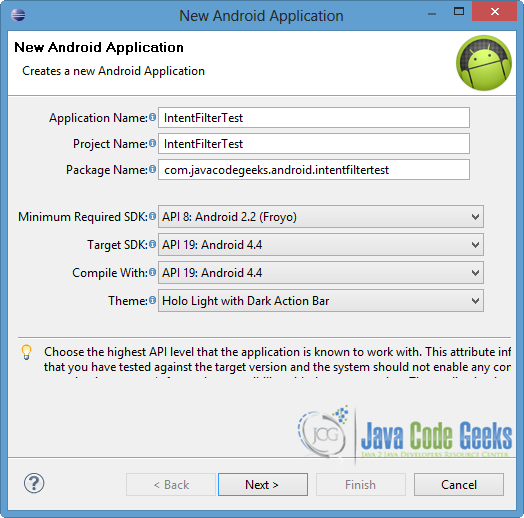
Open Eclipse IDE and go to File → New → Project → Android Application Project.
Specify the name of the application, the project and the package and then click Next.
In the next window, the “Create Activity” option should be checked. The new created activity will be the main activity of your project. Then press Next button.

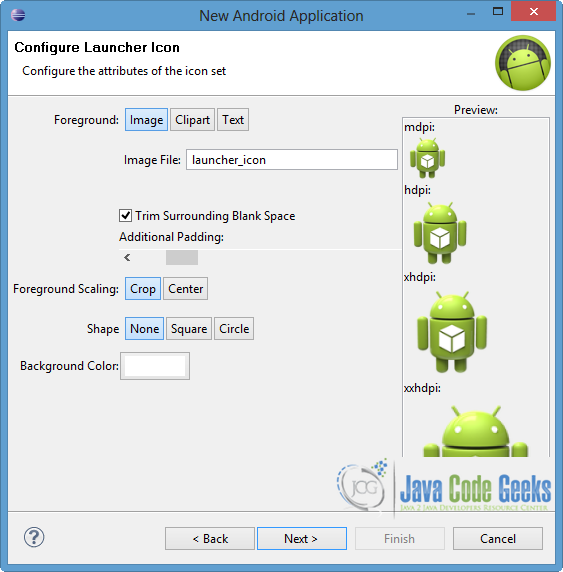
In “Configure Launcher Icon” window you should choose the icon you want to have in your app. We will use the default icon of android, so click Next.
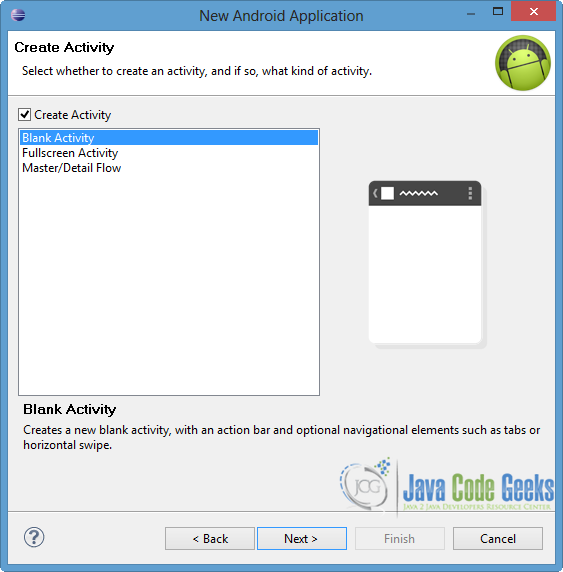
Select the “Blank Activity” option and press Next.
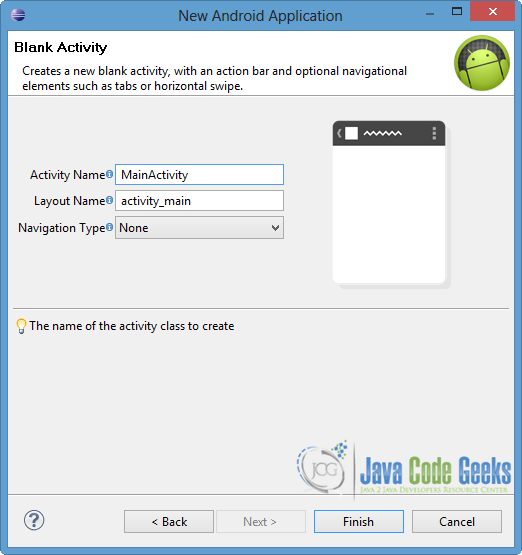
You have to specify a name for the new Activity and a name for the layout description of your app. The .xml file for the layout will automatically be created in the res/layout folder. Then press Finish.
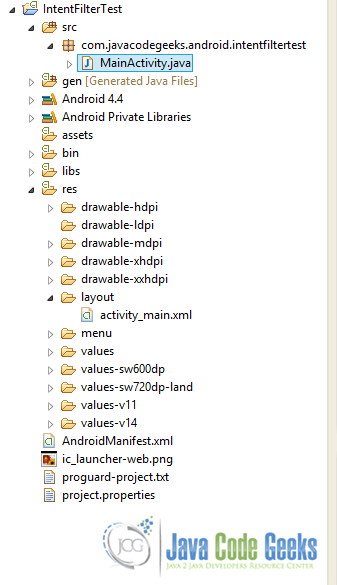
Now that the project is created, you can see the final structure of the project in the image below.
2. Create the layout of the Main Activity
The purpose of this application is to send an sms in to a number that the user fills in. So, we need an EditText for the phone number and three different Buttons for the three different situations we are going to create.
Open res/layout/activity_main.xml and paste the following code to the “activity_main.xml” tab.
activity_main.xml:
<LinearLayout xmlns:android="http://schemas.android.com/apk/res/android"
   android:layout_width="fill_parent"
   android:layout_height="fill_parent"
   android:orientation="vertical" >

   <EditText
        android:id="@+id/recipient"
   		android:layout_width="fill_parent"
   		android:layout_height="wrap_content"
   		android:hint="@string/number" />

   <Button
        android:id="@+id/sendto_sms"
   		android:layout_width="fill_parent"
   		android:layout_height="wrap_content"
   		android:text="@string/sms1" />

   <Button
        android:id="@+id/smsintent_sms"
   		android:layout_width="fill_parent"
   		android:layout_height="wrap_content"
   		android:text="@string/sms2" />

   <Button
        android:id="@+id/exception"
   		android:layout_width="fill_parent"
   		android:layout_height="wrap_content"
   		android:text="@string/exception" />

</LinearLayout>
Then, open res/valuesstrings.xml to the “strings.xml” tab and paste the following.
strings.xml:
<?xml version="1.0" encoding="utf-8"?>
<resources>

    <string name="app_name">IntentFilterTest</string>
    <string name="action_settings">Settings</string>
    <string name="number">Write a phone number</string>
	<string name="sms1">Send sms with SENDTO</string>
    <string name="sms2">Send sms with SMS_INTENT</string>
    <string name="exception">Exception Condition</string>

</resources>
3. Code the Main Activity
Our application’s aim is to send a sms using Intent object. We are going to show three different situations and for this reason, we are going to define three listeners, that each one corresponds to a button. In the first button we will use ACTION_SENDTO, an action that Android Intent object provides, in order to send something (for instance sms or email). In the second button, we are going to use a custom intent – called com.example.javacodegeeks.SMS_INTENT – putting some extra fields. At the third button, we will use again our custom intent but this time we will try to send an email. Also we use the EditText, where the user gives the phone number of the sms recipient, in order to put it at the data of the Intent.
Open src/com.javacodegeeks.android.intentfiltertest/MainActivity.java and paste the following code.
MainActivity.java:
package com.javacodegeeks.android.intentfiltertest;

import android.net.Uri;
import android.os.Bundle;
import android.app.Activity;
import android.content.Intent;
import android.view.View;
import android.widget.Button;
import android.widget.EditText;

public class MainActivity extends Activity {

	private EditText edit;

	@Override
	   protected void onCreate(Bundle savedInstanceState) {
	      super.onCreate(savedInstanceState);
	      setContentView(R.layout.activity_main);

	      edit = (EditText) findViewById(R.id.recipient);

	      // Use ACTION_SENDTO action with correct data
	      Button sms1 = (Button) findViewById(R.id.sendto_sms);
	      sms1.setOnClickListener(new View.OnClickListener() {
	         public void onClick(View view) {
	        	 String uri = "smsto:" +  edit.getText().toString();
	        	 Intent i = new Intent(android.content.Intent.ACTION_SENDTO,
	        	 Uri.parse(uri));
	             startActivity(i);
	         }
	      });

	      // Use our custom SMS_INTENT intent with correct data
	      Button sms2 = (Button) findViewById(R.id.smsintent_sms);
	      sms2.setOnClickListener(new View.OnClickListener() {
	         public void onClick(View view) {
	        	 String uri = "smsto:" + edit.getText().toString();
	        	 Intent i = new Intent("com.example.javacodegeeks.SMS_INTENT",
	        			 Uri.parse(uri));
	        	 // put extra field
	        	 i.putExtra("from", "javacodegeeks");
	             startActivity(i);
	         }
	      });

	      // Use our custom SMS_INTENT intent with incorrect data
	      Button exception = (Button) findViewById(R.id.exception);
	      exception.setOnClickListener(new View.OnClickListener() {
	         public void onClick(View view) {
	        	String uri = "mailto:" + edit.getText().toString();
	            Intent i = new Intent("com.example.javacodegeeks.SMS_INTENT",
	                    Uri.parse(uri));
	            i.putExtra("from", "javacodegeeks");
	            startActivity(i);

	         }
	      });

	}

}
4. Create a Custom Activity
We should create an activity that would be invoked by intents. This activity will get the data and the extras of the Intent and it will output them in a new layout.
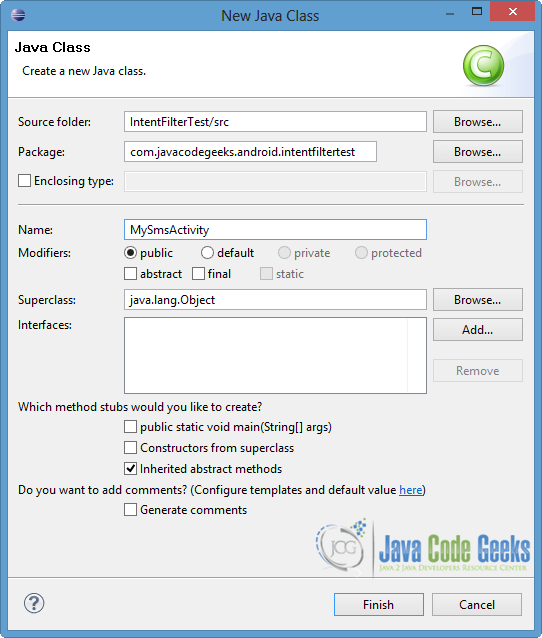
Right click to IntentFilterTest project → New → Class.
Specify the name for the new Class and the package you want to put it. We will name it MySmsActivity and we will put it in the same package as the MainActivity.java file.
Then, open src/com.javacodegeeks.android.intentfiltertest/MySmsActivity.java and paste the following code.
MySmsActivity.java:
package com.javacodegeeks.android.intentfiltertest;

import android.app.Activity;
import android.net.Uri;
import android.os.Bundle;
import android.widget.TextView;

public class MySmsActivity extends Activity {

	 @Override
	   public void onCreate(Bundle savedInstanceState) {
	      super.onCreate(savedInstanceState);
	      setContentView(R.layout.intent_view);

	      String output = null;
	      TextView dataIntent = (TextView) findViewById(R.id.output_intent);

	      // take the data and the extras of the intent
	      Uri url = getIntent().getData();
	      Bundle extras = getIntent().getExtras();

	      output = url.toString();
	      // if there are extras, add them to the output string
	      if(extras != null){
	    	  output = output+ " from "+ extras.getString("from");
	      }
	      dataIntent.setText(output);
	   }
}
5. Create the layout of the Custom Activity
The layout of the MySmsActivity activity, is a new xml file that contains only a Textview.
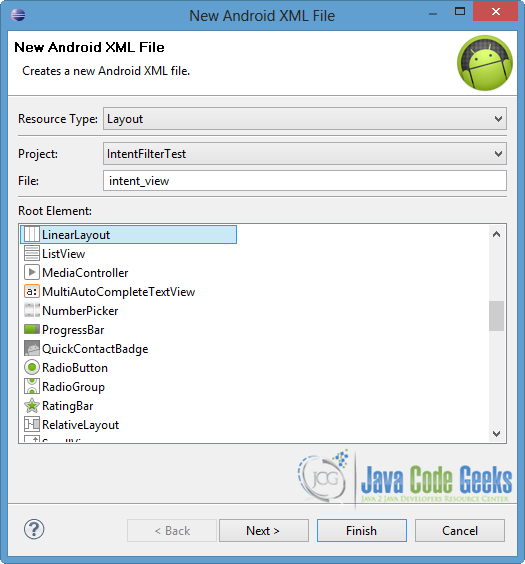
Right click to IntentFilterTest project → New → Android XML File.
Specify the name of the file and choose a root element. We are going to name it intent_view and choose LinearLayout, as shown in the image below. Then press Finish.
Open res/layout/intent_view.xml to the “intent_view.xml” tab and paste the following code.
intent_view.xml:
<?xml version="1.0" encoding="utf-8"?>
<LinearLayout xmlns:android="http://schemas.android.com/apk/res/android"
    android:layout_width="match_parent"
    android:layout_height="match_parent"
    android:orientation="vertical" >

 	<TextView
        android:id="@+id/output_intent"
   		android:layout_width="fill_parent"
   		android:layout_height="fill_parent" />

</LinearLayout>
6. Define the Rules for the Intent
A component receives an implicit intent only if it can pass through one of the component’s filters. Therefore, the Android system have to know about the capabilities of the component before activate it, so we define the intent filters in the application’s manifest file (AndroidManifest.xml).
Before the launch of a component, the implicit intent should be tested against the filter in the action, category and data fields. A filter can contain one or more <action> elements and must not be empty, otherwise it will block all intents. The <category> field is optional. If there are more than one, each one must be matched with a category in the intent. Finally, the <data> element can define a URI and a data type that an intent must contain.
Open the AndroidManifest.xml file at the respective xml tab and paste the follownig code.
AndroidManifest.xml:
<?xml version="1.0" encoding="utf-8"?>
<manifest xmlns:android="http://schemas.android.com/apk/res/android"
    package="com.javacodegeeks.android.intentfiltertest"
    android:versionCode="1"
    android:versionName="1.0" >

    <uses-sdk
        android:minSdkVersion="8"
        android:targetSdkVersion="19" />

    <application
        android:allowBackup="true"
        android:icon="@drawable/ic_launcher"
        android:label="@string/app_name"
        android:theme="@style/AppTheme" >
        <activity
            android:name="com.javacodegeeks.android.intentfiltertest.MainActivity"
            android:label="@string/app_name" >
            <intent-filter>
                <action android:name="android.intent.action.MAIN" />

                <category android:name="android.intent.category.LAUNCHER" />
            </intent-filter>
        </activity>
        <activity
            android:name="com.javacodegeeks.android.intentfiltertest.MySmsActivity"
            android:label="@string/app_name">
           <intent-filter>
              <action android:name="android.intent.action.SENDTO" />
              <action android:name="com.example.javacodegeeks.SMS_INTENT" />
              <category android:name="android.intent.category.DEFAULT" />
              <data android:scheme="smsto" />
           </intent-filter>
        </activity>
    </application>

</manifest>
As we can see from the above code, the MySmsActivity activity contains some filters. Other activities will be able to invoke the MySmsActivity activity by using either the android.intent.action.SENDTO, or the com.example.javacodegeeks.SMS_INTENT action, since the category is set to android.intent.category.DEFAULT. Also, by using the schema:smsto field, our custom activity expects the data to start with the “smsto:”.
7. Run the Application
To run our application, right click to our project → Run as → Android Application. The AVD will appear with the app loaded.
Lets put a number and press the Send sms with SENDTO button. In the picture below is shown how the system reacts in such situation. The intent invokes two different activities, the default one "android.intent.action.SENDTO and ours com.example.javacodegeeks.SMS_INTENT, as we defined the filter in the AndroidManifest.xml file. So the two options are displayed and the user is going to decide which one to launch.
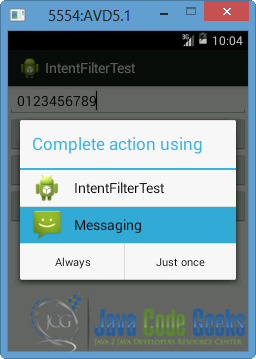
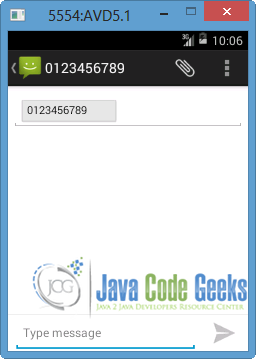
If we choose the Messaging and press “Just once”, the default application will appear with the number filled in (shown in the next picture). Otherwise, our custom activity will launch.
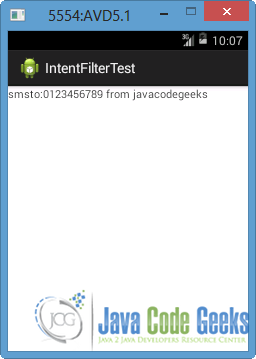
Now we go back (back button or ESC) and we are going to press the second button Send sms with SMS_INTENT. Our custom activity will launch, because the filter applies in the AndroidManifest.xml file. So the data and the extras will be displayed in the screen, as shown in the image below.
Finally, we go back again and we press the Exception Condition button. The following message will appear.
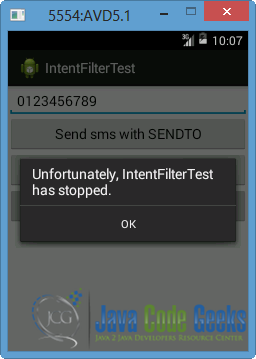
This is happening because there isn’t a defined component that contains a valid filter for that intent. Although the specific intent contains the appropriate action and category, the data doesn’t have the suitable URI (contains mailto instead of smsto).
Download Eclipse Project
This was an example of Intent and Intent Filters in Android. Download the Eclipse Project of this example: IntentFilterTest.zip

The code is not working, maybe is it too old?