The Android system uses broadcasts messages (often are called Intents or Events) to transfer information to applications. The Broadcasts can be sent either by Android apps or, most commonly, by the system itself. There are many system generated events that Intent class defines for receiving broadcasts, which some of them you can find in the Standard Broadcast Actions of Android Content. In this tutorial we are going to show you step by step how to create a BroadcastReceiver that receives a custom Intent, which contains data that the user gave from the screen.
For this tutorial, we will use the following tools in a Windows 64-bit platform:
- JDK 1.7
- Eclipse 4.2 Juno
- Android SDK 4.4
1. Create a New Android Application Project
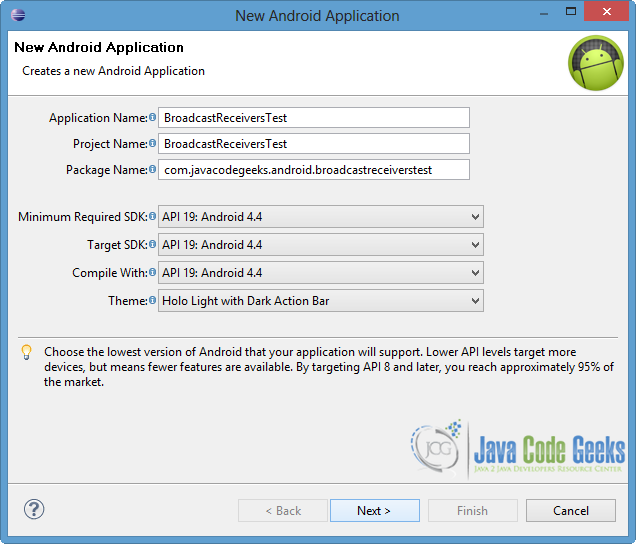
Open Eclipse IDE and go to File → New → Project → Android Application Project.
Name the application, the project and the package in the appropriate fields and then click next.
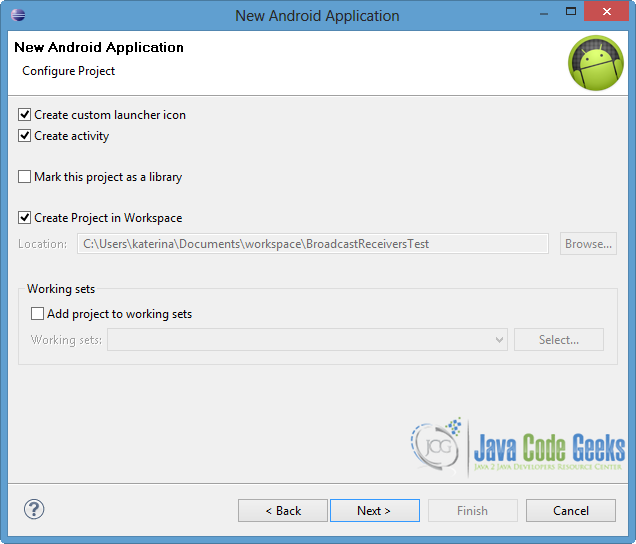
In the next window, the “Create Activity” option should be checked. The new activity will be the main activity of your project. Then press next button.
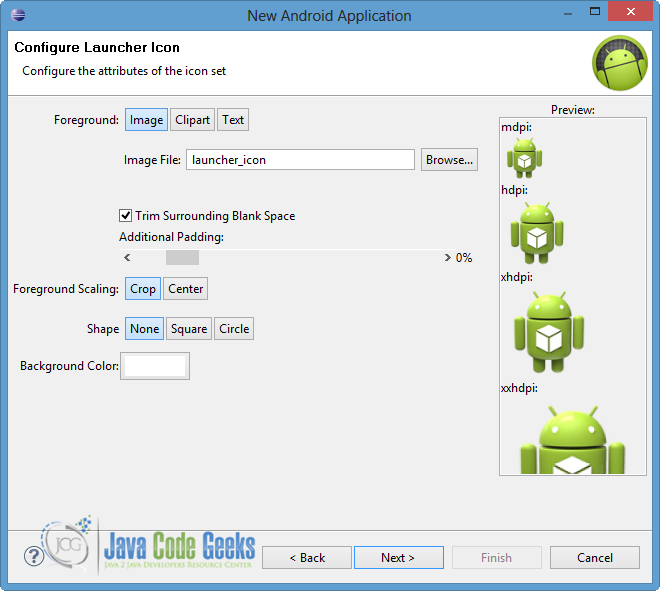
In “Configure Launcher Icon” window you should choose the icon you want to have in your app. In our occasion, we will use the default icon of android, so just press next.
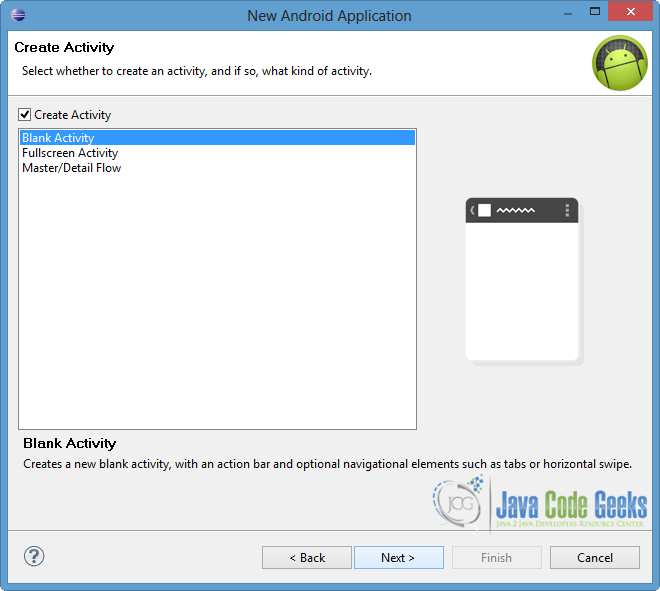
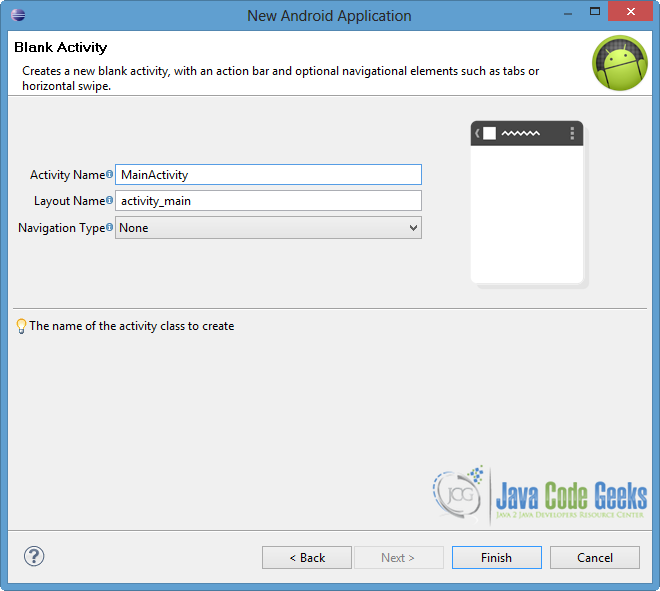
Select the “Blank Activity” option and press next.
You have to specify a name for the new Activity and a name for the layout description of your app. The .xml file for the layout will automatically be created in the res/layout folder. Press Finish.
2. Generate a BroadcastReceiver
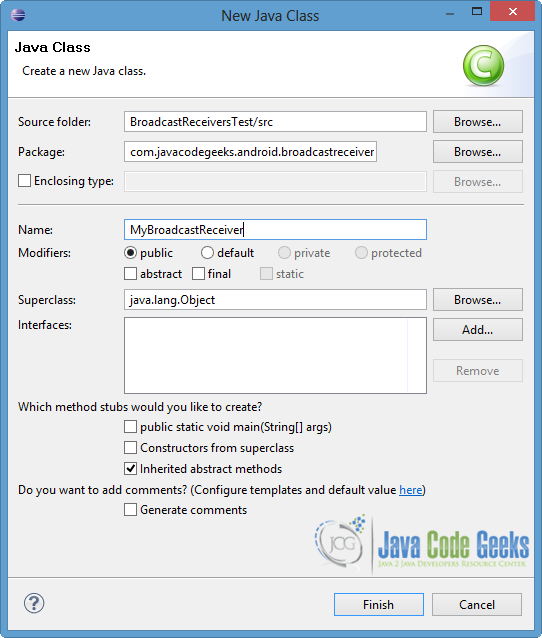
Right click to com.javacodegeeks.android.broadcastreceiverstest package → New → Class.
Specify the name for the new Class and the package you want to put it. We will name it MyBroadcastReceiver and we will put it in the same package as the MainActivity.java file.
MyBroadcastReceiver is a subclass of BroadcastReceiver Android Class and in order to receive an Intent broadcast, we override the onReceive() method. As we can see in the following code, the field intentData is the message that MyBroadcastReceiver receives from the custom Intent.
Open src/com.javacodegeeks.android.broadcastreceiverstest/MyBroadcastReceiver.java and paste the following code:
MyBroadcastReceiver.java:
package com.javacodegeeks.android.broadcastreceiverstest;

import android.content.BroadcastReceiver;
import android.content.Context;
import android.content.Intent;
import android.widget.Toast;

public class MyBroadcastReceiver extends BroadcastReceiver{

	@Override
	public void onReceive(Context context, Intent intent) {
		// TODO Auto-generated method stub

		// Extract data included in the Intent
		CharSequence intentData = intent.getCharSequenceExtra("message");
		Toast.makeText(context, "Javacodegeeks received the Intent's message: "+intentData, Toast.LENGTH_LONG).show();
	}

}
3. Broadcast a custom Intent
At this point, we want our application to broadcast a custom Intent, so we need to create and send one. To broadcast the intent to all the interested BroadcastReceivers, we use either sendBroadcast(Intent) method, or sendStickyBroadcast(Intent) method. The difference between these two methods is that in the second one, the sent intent stays even if the broadcast is completed, so the announce information remains accessible in order to be given to others BroadcastReceivers in the future.
Open src/com.javacodegeeks.android.broadcastreceiverstest/MainActivity.java and paste the following code.
MainActivity.java:
package com.javacodegeeks.android.broadcastreceiverstest;

import com.javacodegeeks.android.broadcastreceiverstest.R;

import android.os.Bundle;
import android.app.Activity;
import android.content.Intent;
import android.view.Menu;
import android.view.View;
import android.widget.EditText;

public class MainActivity extends Activity {

    @Override
    protected void onCreate(Bundle savedInstanceState) {
        super.onCreate(savedInstanceState);
        setContentView(R.layout.activity_main);
    }

    @Override
    public boolean onCreateOptionsMenu(Menu menu) {
        // Inflate the menu; this adds items to the action bar if it is present.
        getMenuInflater().inflate(R.menu.main, menu);
        return true;
    }

    public void broadcastCustomIntent(View view)
    {
       Intent intent = new Intent("MyCustomIntent");

       EditText et = (EditText)findViewById(R.id.extraIntent);
       // add data to the Intent
       intent.putExtra("message", (CharSequence)et.getText().toString());
       intent.setAction("com.javacodegeeks.android.A_CUSTOM_INTENT");
       sendBroadcast(intent);
    }

}
As we can see from the code above, at the broadcastCustomIntent(View view) method we generate an Intent and we put into it an extra field, called message. The value of this field is taken from an EditText (id=extraIntent) in the layout of the app. The error you will notice is because we didn’t define the EditText yet.
4. Register BroadcastReceiver
We should define our broadcast receiver and register the above intent (com.javacodegeeks.android.A_CUSTOM_INTENT) in the AndroidManifest.xml file. That’s the way the BroadcastReceiver and the Intents get linked. If the user presses the button, then the MyBroadcastReceiver will be notified. Generally, we can add many intents, but we have to register each one in our AndroidManifest.xml file using <receiver> … </receiver> tags.
To add our custom Intent, open AndroidManifest.xml file, at the last tab – named “AndroidManifest.xml” – and paste the following code.
AndroidManifest.xml:
<?xml version="1.0" encoding="utf-8"?>
<manifest xmlns:android="http://schemas.android.com/apk/res/android"
    package="com.javacodegeeks.android.broadcastreceiverstest"
    android:versionCode="1"
    android:versionName="1.0" >

    <uses-sdk
        android:minSdkVersion="19"
        android:targetSdkVersion="19" />

    <application
        android:allowBackup="true"
        android:icon="@drawable/ic_launcher"
        android:label="@string/app_name"
        android:theme="@style/AppTheme" >
        <activity
            android:name="com.javacodegeeks.android.broadcastreceiverstest.MainActivity"
            android:label="@string/app_name" >
            <intent-filter>
                <action android:name="android.intent.action.MAIN" />

                <category android:name="android.intent.category.LAUNCHER" />
            </intent-filter>
        </activity>

        <receiver android:name="MyBroadcastReceiver">
      	        <intent-filter>
                        <action android:name="com.javacodegeeks.android.A_CUSTOM_INTENT">
      	                </action>
      	        </intent-filter>
   	 </receiver>
    </application>
</manifest>
5. User Interface
In this app, we want an android user to broadcast the message, so we make a simple user interface. We create an editText and a button in the res/layout/activity_main.xml file. As we said above, we use the value of the editText in order to put data in the Intent. Also, we connect the button with the broadcastCustomIntent(View view) function, so when the button is been pressed, the function is enabled.
Open the res/layout/activity_main.xml file and choose the “activity_main.xml” tab. Then paste the following code.
activity_main.xml:
<RelativeLayout xmlns:android="http://schemas.android.com/apk/res/android"
    xmlns:tools="http://schemas.android.com/tools"
    android:layout_width="match_parent"
    android:layout_height="match_parent"
    android:paddingBottom="@dimen/activity_vertical_margin"
    android:paddingLeft="@dimen/activity_horizontal_margin"
    android:paddingRight="@dimen/activity_horizontal_margin"
    android:paddingTop="@dimen/activity_vertical_margin"
    tools:context=".MainActivity" >

    <EditText android:id="@+id/extraIntent"
        android:layout_width="fill_parent"
        android:layout_height="wrap_content"
        android:hint="@string/sendMessage" />

   <Button
       android:id="@+id/btnStartBroadcast"
       android:layout_width="fill_parent"
       android:layout_height="wrap_content"
       android:layout_alignParentLeft="true"
       android:layout_below="@+id/extraIntent"
       android:onClick="broadcastCustomIntent"
       android:text="@string/myBroadcastIntent" />

</RelativeLayout>
You will notice an error in the following lines of that file.
android:hint="@string/sendMessage"
android:text="@string/myBroadcastIntent"
That is happening because we didn’t define the strings myBroadcastIntent and sendMessage.
To solve these problems, go to res/values/strings.xml file at the “strings.xml” tab, as shown in the image below.
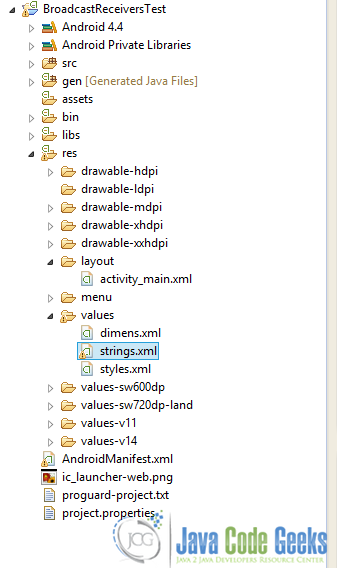
Then paste the following code.
strings.xml:
<?xml version="1.0" encoding="utf-8"?>
<resources>
        <string name="app_name">BroadcastReceiversTest</string>
        <string name="action_settings">Settings</string>
        <string name="sendMessage">Write a message to broadcast!</string>
        <string name="myBroadcastIntent">Broadcast an Intent now...</string>
</resources>
6. Run the Application
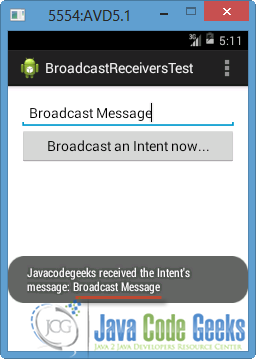
Now we are ready to run our application. To do this, right click to our project → Run as → Android Application. The AVD will appear with the app loaded.
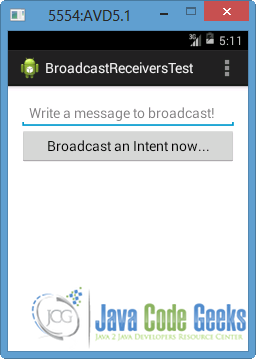
If we put a simple string (for instance: Broadcast Message) and press the button, a Toast will appear, containing that message (underlined in the picture below). This Toast is generated in the onReceive() function of the MyBroadcastReceiver, in which the message is extracted from the com.javacodegeeks.android.A_CUSTOM_INTENT.
Download Eclipse Project
This was an example of Broadcast Receivers in Android. Download the Eclipse Project of this example: BroadcastReceiversTest.zip
