In this example, we will show how to implement server-side form validation in a Spring MVC application.
1. Introduction
Form validation is a basic requirement for web applications that accept data as input. For example, you may want to ensure that an email address or credit card number sent in a request is valid before processing the data. There are two types of form validation: client-side validation and server-side validation.
Client-side validation is
performed in the web browser before the data is sent to the server. It is
typically implemented with either JavaScript or HTML 5 form validation.
With server-side validation, data validation happens when the form is submitted to the server. Validating data with the Bean Validation API is common with Java applications.
If validation fails, the
user is provided with error messages that state which field or fields need to
be corrected. We will provide a server-side form validation example in this article.
1.1 Tools Used in this Example
- Eclipse IDE for Enterprise Java Developers Version: 2019-06 (4.12.0)
- Spring Tools 4 – for Spring Boot
Spring Tools 4 for Spring Boot is a set of plugins for Eclipse that support building and running Spring Boot applications. You can add Spring Tools 4 to your existing Eclipse installation by going to the Eclipse Marketplace and searching for “Spring Tools 4”.
2. Spring Form Validation Example
In this example, we will build a Spring MVC application that stores user information in a database. The information is submitted in an HTML form. The application will validate the data against specified constraints and will return one or more error messages if the validation fails. Otherwise, a page with the list of users in the database will be displayed. The application uses the Bean Validation API and the BindingResult class from Spring Framework’s validation package for these purposes.
2.1 Create the Spring Boot Project
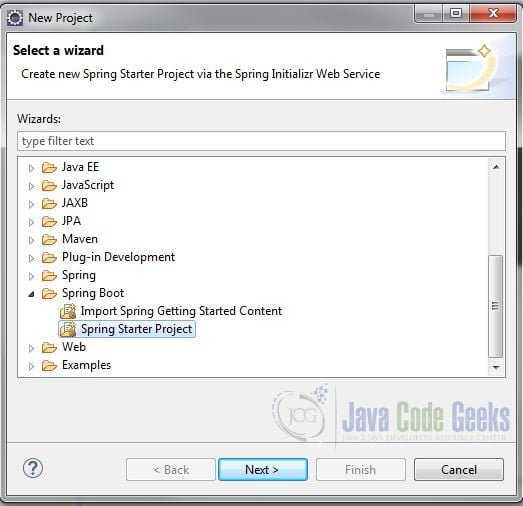
In the New Project – Select a Wizard dialog box, expand Spring Boot and select Spring Starter Project. Click “Next”.
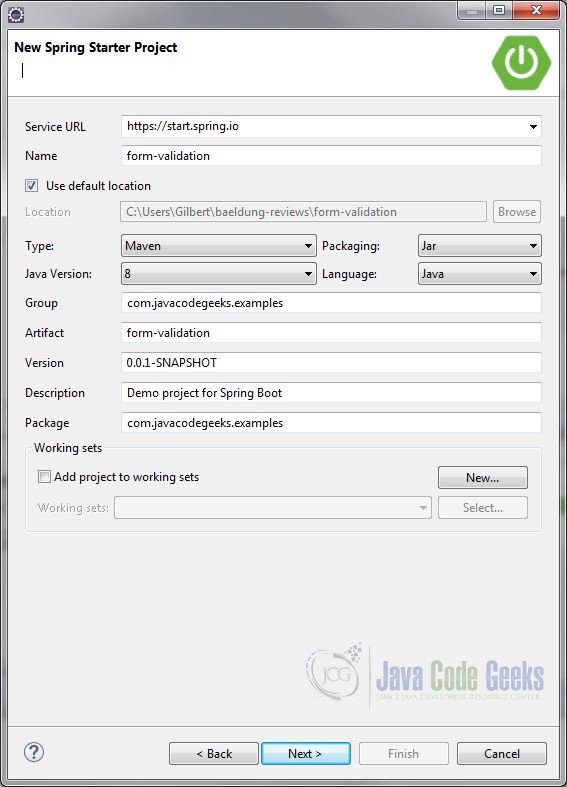
In the New Spring Starter Project dialog box, enter a name for the project. Also, enter the group, artifact and package information. Accept all the other default values. Click “Next”.
In the New Spring Starter Project Dependencies dialog box, select Spring Boot Version 2.1.8. Also, select the Spring Web, Spring Data JPA, H2 Database and Thymeleaf dependencies. Click “Finish”.

The Spring Data JPA
dependency will add JPA and Hibernate ORM capabilities to the project. We will
be using an H2 embedded database for data storage.
The Spring Web dependency will
add the Spring MVC framework to the project. It includes the Bean Validation
library. We will use the Thymeleaf template engine as our view technology.
2.2 Validating JPA Entities
It is a common practice is to add constraints to the fields in your domain classes. This avoids duplication of code since the domain model is generally accessible to all layers of a JEE application.
Create a package com.javacodegeeks.examples.domainand a class Userwith the following code:
User.java
import javax.persistence.Entity;
import javax.persistence.GeneratedValue;
import javax.persistence.GenerationType;
import javax.persistence.Id;
import javax.validation.constraints.Email;
import javax.validation.constraints.NotEmpty;
import javax.validation.constraints.Pattern;

@Entity
public class User {

    @Id
    @GeneratedValue(strategy = GenerationType.AUTO)
    private long id;

    @NotEmpty(message = "First name is required")
    private String firstName;

    @NotEmpty(message = "Last name is required")
    private String lastName;

    @NotEmpty(message = "Email is required")
    @Email
    private String email;

    @NotEmpty(message = "Phone number is required")
    @Pattern(regexp="\\d{3}[-\\.\\s]\\d{3}[-\\.\\s]\\d{4}",
    	message="Mobile number is invalid")
    private String mobilePhone;

    // getters & setters
}
The following bullet points describe the JPA annotations used in the Userclass. (Note that these annotations are from the javax.persistence package.)
- @Entity – This class-level annotation informs the JPA provider (Hibernate in our example) that this Java class should be persisted to a database table.
- @Id – This field-level annotation designates the primary key of the entity and maps it to the primary key of the table.
- @GeneratedValue – This annotation specifies how the primary key ID will be generated. In our example, we chose GenerationType.AUTO, meaning that the JPA provider (Hibernate) will decide which strategy to employ based on the database dialect used. (The H2Dialect is used in this example.)
We are using the following Bean Validation constraints in the User class:
| Constraint | Description |
| @NotEmpty | Checks whether the annotated element is not null nor empty |
| Checks whether the specified character sequence is a valid email address | |
| @Pattern | Checks if the annotated string matches the regular expression specified by the “regex” attribute |
The message attribute for each constraint is optional. If you do not specify a message, the framework will use the default message when processing validation failures. For example, “must be a well-formed email address” is the default error message for the @Email constraint. In most cases, you will want to provide your own error message.
2.3 Create the User Repository
Next, we’ll create a repository interface for the User entity. We will use the User repository in our controller class to manage database transactions. Create a package com.javacodegeeks.examples.repository and interface UserRepository that extends Spring JPA’s CrudRepository interface with the following code:
UserRepository.java
import org.springframework.data.repository.CrudRepository;

import com.javacodegeeks.examples.domain.User;

public interface UserRepository extends CrudRepository {

}
The CrudRepository interface requires an entity class and its ID type as generic type arguments (e.g. User and Long). Spring Data JPA will automatically generate the implementation of generic CRUD operations for the User entity class.
2.4 Create the Controller Class
Create a new package com.javacodegeeks.examples.controller and class UserController with the following code:
UserController.java
import javax.validation.Valid;

import org.springframework.stereotype.Controller;
import org.springframework.ui.Model;
import org.springframework.validation.BindingResult;
import org.springframework.web.bind.annotation.GetMapping;
import org.springframework.web.bind.annotation.ModelAttribute;
import org.springframework.web.bind.annotation.PostMapping;
import org.springframework.web.bind.annotation.RequestMapping;

import com.javacodegeeks.examples.domain.User;
import com.javacodegeeks.examples.repository.UserRepository;

@Controller
@RequestMapping("users")
public class UserController {

    private final UserRepository userRepository;

    public UserController(UserRepository userRepository) {
        this.userRepository = userRepository;
    }

    @GetMapping
    public String displayForm(Model model) {
    	User user = new User();
    	model.addAttribute(user);
    	return "user-form";
    }

    @PostMapping
    public String addUser(
    		@ModelAttribute @Valid User user, BindingResult result, Model model) {

    	if (result.hasErrors()) {
    		return "user-form";
    	}

    	userRepository.save(user);

    	Iterable users = userRepository.findAll();
    	model.addAttribute("users", users);
    	return "user-list";
    }
}
The @Controller annotation registers this class as a controller that handles inbound HTTP requests. The @RequestMapping annotation specifies that requests to /users will be handled by the methods of this class. We are using constructor-based injection for the UserRepository.
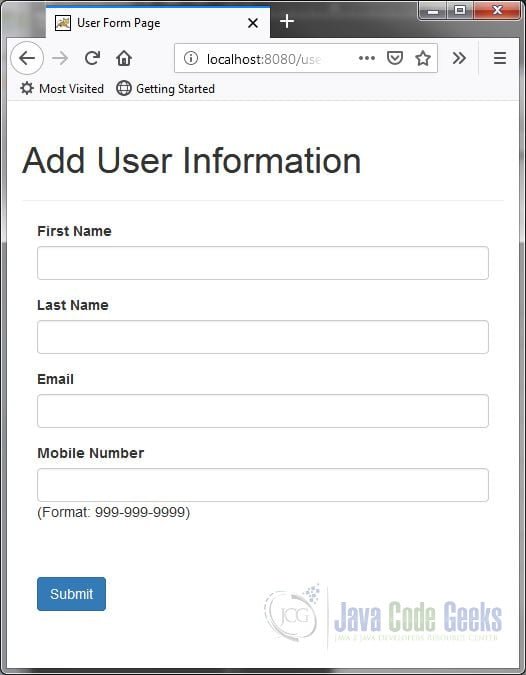
The displayForm method handles GET requests. It creates a new User object and adds it to the Model. This makes the User object available to the web view, as shown below. (The User properties will be bound to the form fields.) The method then returns the name of the form view.
The addUser method handles POST requests. It takes User, BindingResult, and Model as parameters. Notice that User is marked with the @ModelAttribute and @Valid annotations.
@ModelAttribute will bind the form data to the User bean.
The @Valid annotation tells Spring Boot to automatically
instantiate a Validator and to validate the User object. This check is
performed before the method body is executed.
The BindingResult interface encapsulates information about errors that result from validating the User instance. Note that BindingResult must immediately follow the model attribute User in the parameter list in order to validate it.
The addUser method uses the BindingResult to test for validation errors. If errors exist, the method will return the user back to the form, where he or she can fix the data validation errors. Otherwise, the User will be persisted to the database.
Next, the list of users will be retrieved from the database and set in the model. Finally, the method returns the name of the list view.
2.5 Create the Thymeleaf Templates
We’ll use the Thymeleaf library for our HTML form and user list pages. Let’s start with the form page. Create an HTML file named user-form.html in the src/main/resources/templates directory with the following markup:
user-form.html

<html xmlns="http://www.w3.org/1999/xhtml"
    xmlns:th="http://www.thymeleaf.org">

<head>
<title>User Form Page</title>
    <!-- Latest compiled and minified CSS -->
    <link rel="stylesheet"
    	href="https://maxcdn.bootstrapcdn.com/bootstrap/3.3.7/css/bootstrap.min.css"
        integrity="sha384-BVYiiSIFeK1dGmJRAkycuHAHRg32OmUcww7on3RYdg4Va+PmSTsz/K68vbdEjh4u"
        crossorigin="anonymous" />
</head>

<body>
<div class="container">
	  <div class="page-header">
          <h1>Add User Information</h1>
      </div>
      <div class="container">

		 <form th:object="${user}" th:action="@{/users}" method="post">
      	 	<div th:if="${#fields.hasErrors('*')}" class="alert alert-danger">
      			<p>Please Correct Errors Below</p>
      		</div>
			<div class="form-group">
				<label>First Name</label>
				<input type="text" class="form-control" th:field="*{firstName}"/>
                <span class="help-block" th:if="${#fields.hasErrors('firstName')}">
				<p th:errors="*{firstName}" class="text-danger">First name error</p>
                   </span>
			</div>
			<div class="form-group">
				<label>Last Name</label>
				<input type="text" class="form-control" th:field="*{lastName}"/>
                <span class="help-block" th:if="${#fields.hasErrors('lastName')}">
                       <p th:errors="*{lastName}" class="text-danger">Last name error</p>
                   </span>
			</div>
			<div class="form-group">
				<label>Email</label>
				<input type="text" class="form-control" th:field="*{email}"/>
                <span class="help-block" th:if="${#fields.hasErrors('email')}">
                       <p th:errors="*{email}" class="text-danger">Email name error</p>
                   </span>
			</div>
				<div class="form-group">
				<label>Mobile Number</label>
				<input type="text" class="form-control" th:field="*{mobilePhone}"/>
				<p>(Format: 999-999-9999)</p>
                <span class="help-block" th:if="${#fields.hasErrors('mobilePhone')}">
                       <p th:errors="*{mobilePhone}" class="text-danger">Mobile number error</p>
                   </span>
			</div>

			<br><br>
		 <button type="submit" class="btn btn-primary">Submit</button>
		</form>
      </div>
</div>
</body>
</html>
The User object is bound to the form with th:object="${user}" and the form action is set to “/users” by the <form> tag. The User properties are bound to the input text fields with th:field="*{field name}", e.g. th:field="*{firstName}".
At the top of the form, we check if any of the User properties have validation errors with the th:if="${#fields.hasErrors('*')}" conditional statement. (This will catch any errors because the wildcard “*” is used.) If it evaluates to “true”, we will display the message “Please Correct Errors Below”. Similarly, we can check for errors on specific fields (“firstName” for example) with th:if="${#fields.hasErrors('firstName')}" and display the error message with th:errors="*{firstName}". (#fields is a Spring MVC predefined variable and is mainly used for error validation.)
For a short introduction to
Thymeleaf in Spring, visit http://www.baeldung.com/thymeleaf-in-spring-mvc.
Next, we’ll create a page that will display the list of users from the database. Create an HTML file named user-list.html in the src/main/resources/templates directory with the following markup:
user-list.html
<html xmlns="http://www.w3.org/1999/xhtml"
    xmlns:th="http://www.thymeleaf.org">

<head>
<title>User Information</title>
    <!-- Latest compiled and minified CSS -->
    <link rel="stylesheet"
    	href="https://maxcdn.bootstrapcdn.com/bootstrap/3.3.7/css/bootstrap.min.css"
        integrity="sha384-BVYiiSIFeK1dGmJRAkycuHAHRg32OmUcww7on3RYdg4Va+PmSTsz/K68vbdEjh4u"
        crossorigin="anonymous" />
</head>
<body>
<div class="container">
	<div class="page-header">
           <h1>User Information</h1>
       </div>
       <div class="container">
        <div class="column">
            <table class="table datatable">

                <tr>
                    <th>First Name</th>
                    <th>Last Name</th>
                    <th>Email</th>
                    <th>Mobile Number</th>
                </tr>

                <tr th:each="user : ${users}">
                    <td th:text="${user.firstName}">John</td>
                    <td th:text="${user.lastName}">Doe</td>
                    <td th:text="${user.email}">jdoe@acme.com</td>
                    <td th:text="${user.mobilePhone}">800-555-1234</td>
                </tr>

            </table>
        </div>
           <div class="col-md-3">
               <p><a href="#" th:href="@{/users}">Add Another User</a></p>
           </div>
       </div>
</div>
</body>
</html>
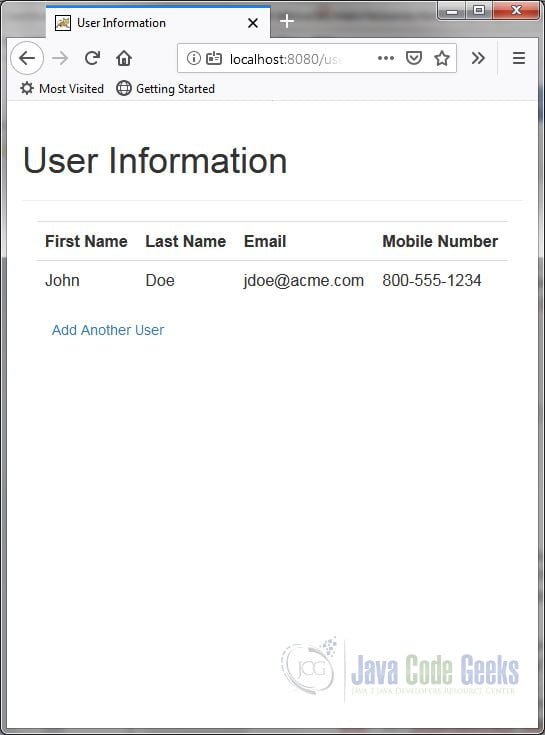
On this page, we simply iterate over the User collection and display the properties for each user.
2.6 Test the Web Application
Right-click your project in Project Explorer and select Run As > Spring Boot App. Once the application has started, enter the following URL in a browser: localhost:8080/users.
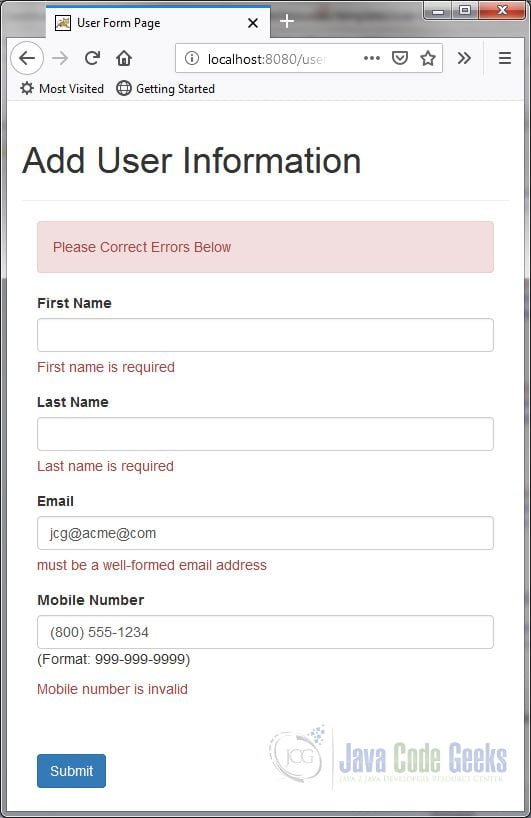
Enter a malformed email address such as “jcg@acme@com” and a mobile number not in the format 999-999-9999 such as (800) 555-1234. Leave the first and last name fields empty and click the “Submit” button. You will see the form re-displayed with error messages.
Fix the errors and resubmit. You will now see a page with the list of users currently in the database.
3. Summary
In this example, we demonstrated how to implement server-side form validation in a Spring MVC application.
4. Download the Source Code
This was a Spring Form Validation example.
You can download the full source code of this example here: Spring Form Validation Example
