Apache Struts2 is an elegant, extensible framework for creating the enterprise-ready Java web applications. The framework is designed to streamline the development cycle i.e. from building to deploying and to maintaining the applications over time. In this tutorial, we will show developers how to create a simple action mapping example in Struts2.
1. Introduction
1.1 Struts Framework
- Struts is a framework based on a set of Java technologies like Servlet,
JSP,JSTL,XML, Velocity etc which provides the MVC (i.e. Model View Controller) implementation and a ready to use Validation framework - The power of Struts lies in its model layer by which it can be integrated with other Java technologies, for e.g.:
JDBC,EJB, Spring, Hibernate etc - Struts framework is a complete web framework as it provides the Web Form Components, Validators, Error Handling, Internationalization, Tiles and its own Controller component
- Struts2 framework also supports the annotation based configurations which are easy to use and are more intuitive
- Struts2 also comes with powerful APIs to configure the interceptors that greatly reduce the coupling in an application
1.1.1 How Struts2 Work?
When developers use Struts, the framework provides them with a Controller Servlet i.e. ActionServlet which is defined in the Struts libraries that are included in an application. This controller servlet is automatically registered in the deployment descriptor file (web.xml) as shown in the below figure.
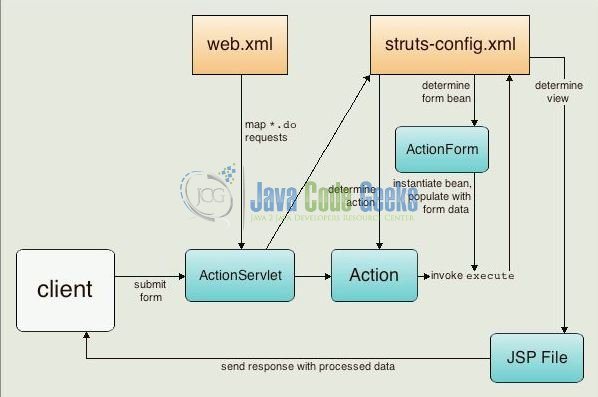
The controller servlet uses a struts-config.xml file to map the incoming requests to the Struts Action objects and instantiate any ActionForm object associated with the action to temporarily store the form data. The Action Object processes requests by using it’s execute() method while making the use of any stored data. Once the Action Object processes a request, it stores any new data in the same or in a different result bean and forwards the response to an appropriate view.
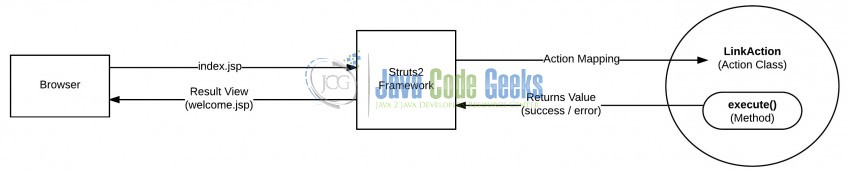
1.1.2 Struts2 Action Mapping
The ActionServlet needs some mechanism to determine how to route the requests to the Action classes. This is done by using an ActionMapping class and developers use the wildcard method to achieve the dynamic method invocation. In Struts2, Action Mapping tells the framework:
- Which Java class has to respond to the user’s action request
- Which method (i.e.
execute()or any user-defined) of that Action class has to get executed - What result view to be rendered based on the response returned from the executing method
To configure the Struts2 action mapping, developers have to add an action node inside the Struts2 configuration file (i.e. struts.xml). Here is an example:
pom.xml
<action name="*welcome" class="com.sample.example.action.mapping.LinkAction" method="execute">
   <result name="success">/welcome.jsp</result>
   <result name="error">/error.jsp</result>
</action>
The above action-mapping specifies the following:
LinkActionaction class has to respond to the user’s action i.e. the action class has to respond to the incoming requests- The
execute()method of theLinkActionclass gets executed. Do note, by default theexecute()method gets invoked automatically even if developers didn’t specify any method explicitly - And, if the
execute()method of classLinkActionreturns a success or error, the corresponding result view will be rendered to the user in a browser
Now, open up the Eclipse IDE and let’s see how to implement the action mapping in the struts2 framework!
2. Struts2 Action Mapping Example
2.1 Tools Used
We are using Eclipse Kepler SR2, JDK 8 and Maven. Having said that, we have tested the code against JDK 1.7 and it works well.
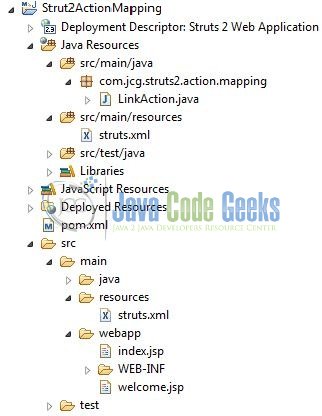
2.2 Project Structure
Firstly, let’s review the final project structure, in case you are confused about where you should create the corresponding files or folder later!
2.3 Project Creation
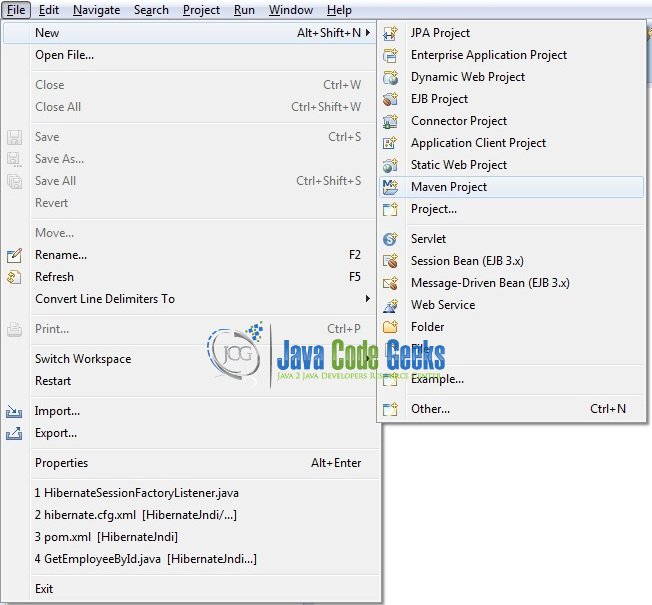
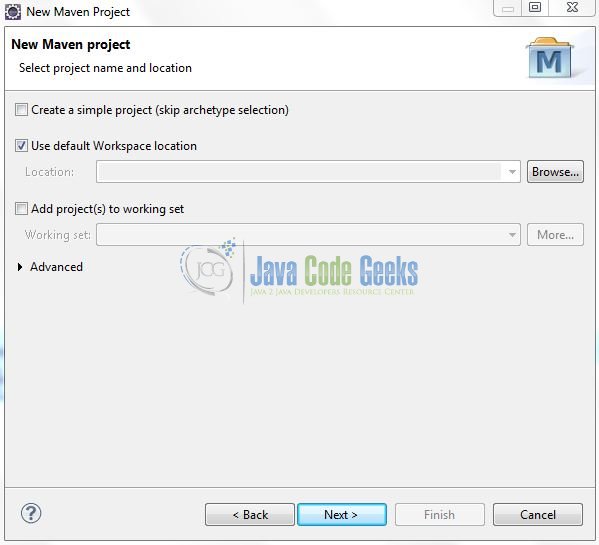
This section will demonstrate on how to create a Java-based Maven project with Eclipse. In Eclipse IDE, go to File -> New -> Maven Project.
In the New Maven Project window, it will ask you to select project location. By default, ‘Use default workspace location’ will be selected. Just click on next button to proceed.
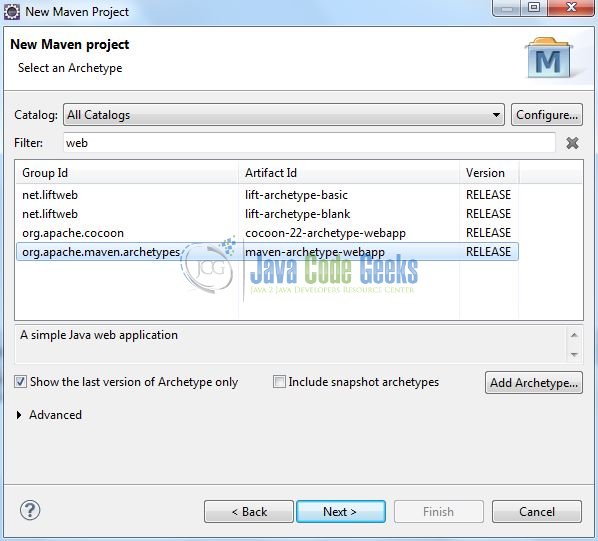
Select the ‘Maven Web App’ Archetype from the list of options and click next.
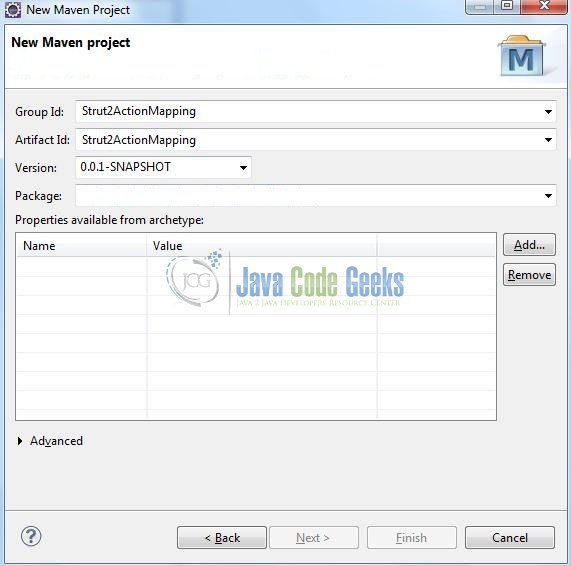
It will ask you to ‘Enter the group and the artifact id for the project’. We will input the details as shown in the below image. The version number will be by default: 0.0.1-SNAPSHOT.
Click on Finish and the creation of a maven project is completed. If you observe, it has downloaded the maven dependencies and a pom.xml file will be created. It will have the following code:
pom.xml
<project xmlns="http://maven.apache.org/POM/4.0.0" xmlns:xsi="http://www.w3.org/2001/XMLSchema-instance" xsi:schemaLocation="http://maven.apache.org/POM/4.0.0 http://maven.apache.org/xsd/maven-4.0.0.xsd">
	<modelVersion>4.0.0</modelVersion>
	<groupId>Struts2ActionMapping</groupId>
	<artifactId>Struts2ActionMapping </artifactId>
	<version>0.0.1-SNAPSHOT</version>
	<packaging>war</packaging>
</project>
We can start adding the dependencies that developers want like Struts2 Core etc. Let’s start building the application!
3. Application Building
Below are the steps involved in developing this application.
3.1 Maven Dependencies
Here, we specify the dependency for the Struts2 framework. The rest dependencies will be automatically resolved by Maven, such as Struts2 Core, OGNL etc. The updated file will have the following code:
pom.xml
<project xmlns="http://maven.apache.org/POM/4.0.0" xmlns:xsi="http://www.w3.org/2001/XMLSchema-instance"
	xsi:schemaLocation="http://maven.apache.org/POM/4.0.0 http://maven.apache.org/maven-v4_0_0.xsd">
	<modelVersion>4.0.0</modelVersion>
	<groupId>Struts2ActionMapping</groupId>
	<artifactId>Struts2ActionMapping</artifactId>
	<packaging>war</packaging>
	<version>0.0.1-SNAPSHOT</version>
	<dependencies>
		<!-- Servlet API Dependency -->
		<dependency>
			<groupId>javax.servlet</groupId>
			<artifactId>javax.servlet-api</artifactId>
			<version>3.1.0</version>
		</dependency>
		<!-- Struts2 Core Framework Dependency -->
		<dependency>
			<groupId>org.apache.struts</groupId>
			<artifactId>struts2-core</artifactId>
			<version>2.3.24.1</version>
		</dependency>
	</dependencies>
	<build>
		<finalName>${project.artifactId}</finalName>
	</build>
</project>
3.2 Java Class Creation
Let’s create the required Java files. Right-click on src/main/java folder, New -> Package.
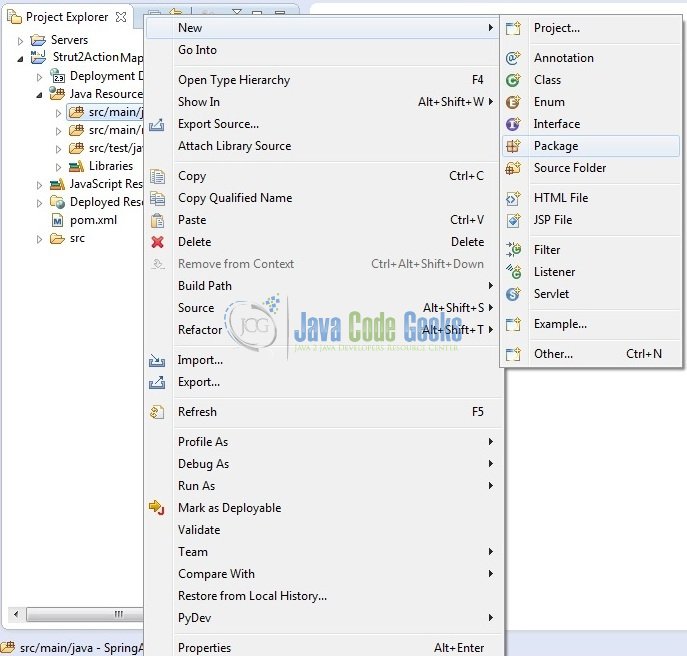
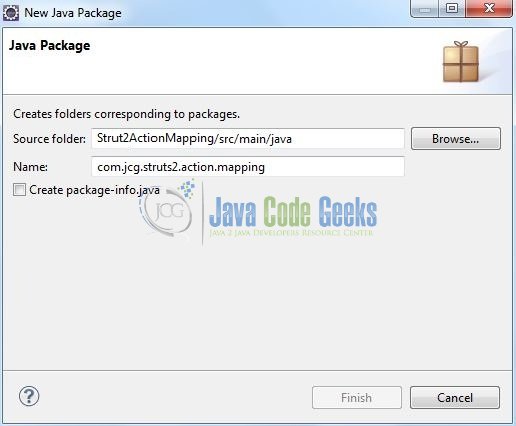
A new pop window will open where we will enter the package name as: com.jcg.struts2.action.mapping.
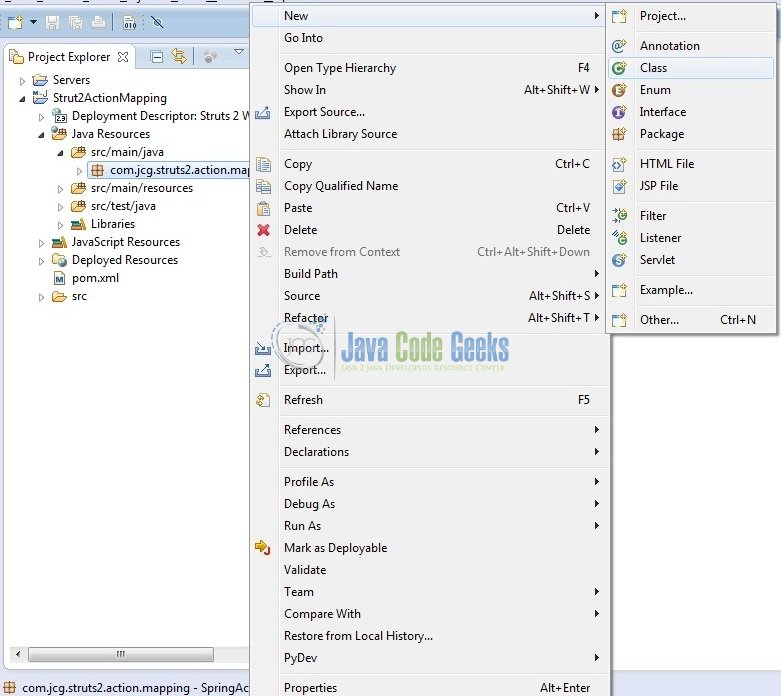
Once the package is created in the application, we will need to create the Struts2 action class. Right-click on the newly created package: New -> Class.
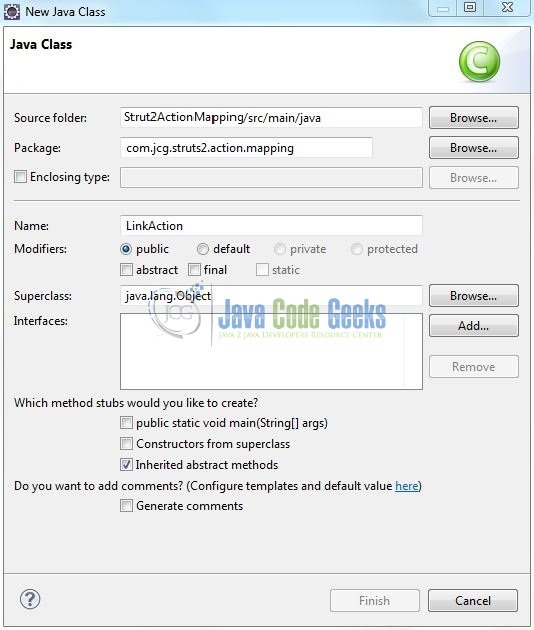
A new pop window will open and enter the file name as: LinkAction. The action class will be created inside the package: com.jcg.struts2.action.mapping.
3.2.1 Implementation of Action Class
Actions are the core of the Struts2 framework, as they are for any Model View Controller framework. But the action servers in two important capacities i.e.
- First, the action class is not required to implement any interface or extend any class
- Second, the action class is required to create an
execute()method to put all the business logic inside and return a string value to tell the application where to redirect
Add the following code to it:
LinkAction.java
package com.jcg.struts2.action.mapping;

import com.opensymphony.xwork2.ActionSupport;

public class LinkAction extends ActionSupport {

	private static final long serialVersionUID = 1L;

	private String message;

	public String getMessage() {
		return message;
	}

	public void setMessage(String message) {
		this.message = message;
	}

	// All Struts Business Logic Goes In This Method
	public String execute() {
		setMessage("Execute Method Is Called In Struts2");
		return SUCCESS;
	}

	public String showTest() {
		setMessage("Show Method Is Called In Struts2");
		return SUCCESS;
	}
}
3.3 Configuration Files
Let’s write all the configuration files involved in this application.
3.3.1 Struts Configuration File
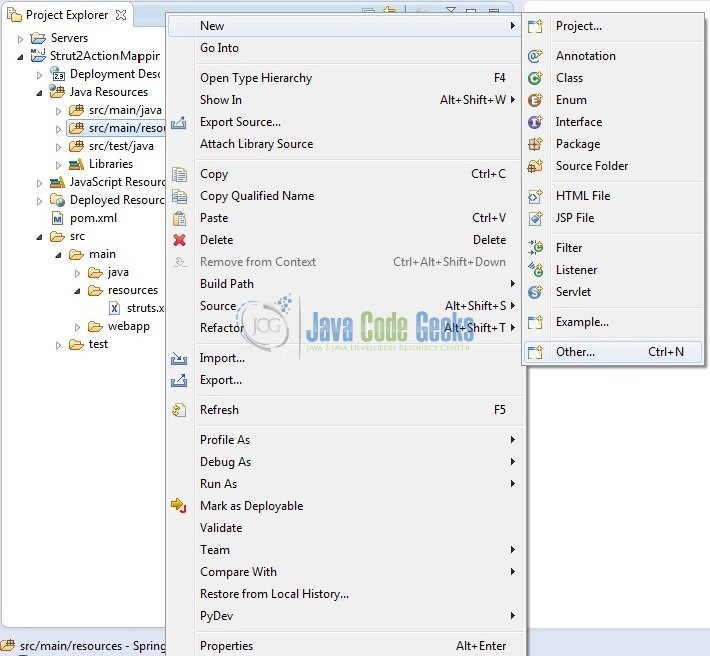
To configure the struts2 framework, developers need to implement a configuration file i.e. struts.xml. In this file, we will define the result tag which maps a particular action with a JSP page. Right-click on the src/main/resources folder, New -> Other.
A new pop window will open and select the wizard as an XML file.

Again, a pop-up window will open. Verify the parent folder location as: Strut2ActionMapping/src/main/resources and enter the file name as: struts.xml. Click Finish.

Once the XML file is created, we will add the following code to it:
struts.xml
<?xml version="1.0" encoding="UTF-8"?>
<!DOCTYPE struts PUBLIC "-//Apache Software Foundation//DTD Struts Configuration 2.0//EN" "http://struts.apache.org/dtds/struts-2.0.dtd">
<struts>
	<!-- Enables Dynamic Method Invocation To Customize The Default 'execute()' Method In The Controller -->
	<constant name="struts.enable.DynamicMethodInvocation" value="true" />

	<!-- Struts2 Action Mapping -->
	<package name="default" extends="struts-default">
		<action name="*Link" method="{1}" class="com.jcg.struts2.action.mapping.LinkAction">
		    <result name="success">/welcome.jsp</result>
		</action>
	</package>
</struts>
Let’s look at some basic details:
- The
actiontag is the sub-element of a package and represents an action in the Struts2 framework.- name: This tag is a must for defining any package
- class: This is an optional attribute of action. If developers omit the class attribute, then the
ActionSupportwill be considered as the default action - method: This is an optional attribute. If developers don’t specify the method attribute,
execute()method will be considered as the default method of the action class. In case, developers want to invoke a particular method of the action class, they must use this attribute
- The
resulttag is the sub-element of action that specifies where to forward the request for the action
3.3.2 Web Deployment Descriptor
The web.xml file declares a filter (i.e. StrutsPrepareAndExecuteFilter) to configure the struts2 framework in the application. Add the following code to it:
web.xml
<?xml version="1.0" encoding="UTF-8"?>
<!DOCTYPE web-app PUBLIC "-//Sun Microsystems, Inc.//DTD Web Application 2.3//EN" "http://java.sun.com/dtd/web-app_2_3.dtd">
<web-app>
   <display-name>Struts 2 Web Application</display-name>
   <filter>
      <filter-name>struts2</filter-name>
      <filter-class>org.apache.struts2.dispatcher.ng.filter.StrutsPrepareAndExecuteFilter</filter-class>
   </filter>
   <filter-mapping>
      <filter-name>struts2</filter-name>
      <url-pattern>/*</url-pattern>
   </filter-mapping>
</web-app>
3.4 Creating JSP View
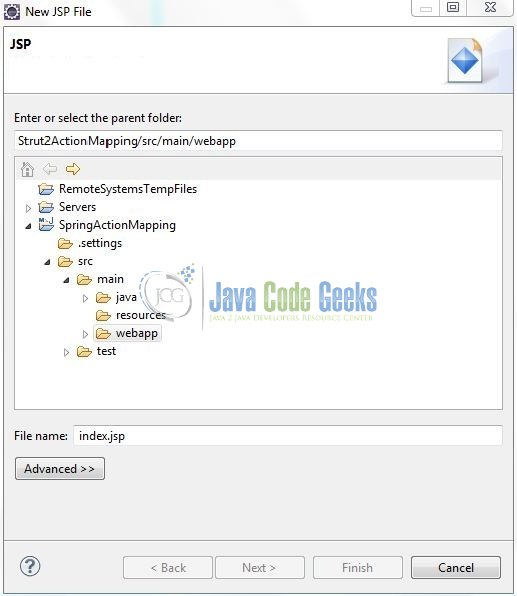
Let us write a simple JSP to illustrate this tutorial. Right-click on Strut2ActionMapping/src/main/webapp/views folder, New -> JSP File.

Verify the parent folder location as: Strut2ActionMapping/src/main/webapp/views and enter the filename as: index.jsp. Click Finish.
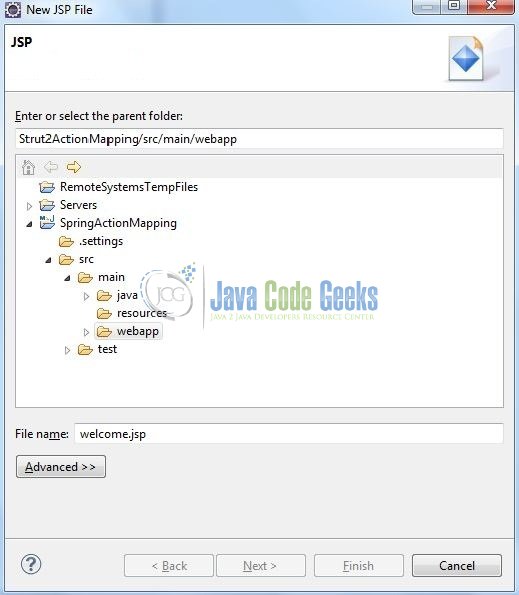
Repeat the step (i.e. Fig. 15) and enter the filename as: welcome.jsp. Click Finish.
3.4.1 Application’s Login Page
A login page uses the struts2 tags for displaying the action mapping button. Add the following code to it:
index.jsp
<%@ page contentType="text/html; charset=UTF-8"%>
<%@ taglib prefix="s" uri="/struts-tags"%>
<!DOCTYPE HTML PUBLIC "-//W3C//DTD HTML 4.01 Transitional//EN" "http://www.w3.org/TR/html4/loose.dtd">
<html>
<head>
    <meta http-equiv="Content-Type" content="text/html; charset=UTF-8">
    <title>Struts2 Action Mapping Example</title>
</head>
<body>
    <h1>Struts2 Action Mapping Example</h1>
    <s:form action="Link" id="actionMappingId">
        <s:submit id="submitId" value="Submit" />
        <s:submit id="showId" method="showTest" value="Show" />
    </s:form>
</body>
</html>
3.4.2 Application’s Welcome Page
A view page to display the welcome message to the user. Add the following code to it:
welcome.jsp
<%@ page contentType="text/html; charset=UTF-8"%>
<%@ taglib prefix="s" uri="/struts-tags"%>
<!DOCTYPE HTML PUBLIC "-//W3C//DTD HTML 4.01 Transitional//EN" "http://www.w3.org/TR/html4/loose.dtd">
<html>
   <head>
      <meta http-equiv="Content-Type" content="text/html; charset=UTF-8">
      <title>Struts2 Action Mapping Example</title>
   </head>
   <body>
      <h1>Struts2 Action Mapping Example</h1>
      <h4>
         <s:property value="message" />
      </h4>
   </body>
</html>
4. Run the Application
As we are ready with all the changes, let us compile the project and deploy the application on the Tomcat7 server. To deploy the application on Tomat7, right-click on the project and navigate to Run as -> Run on Server.
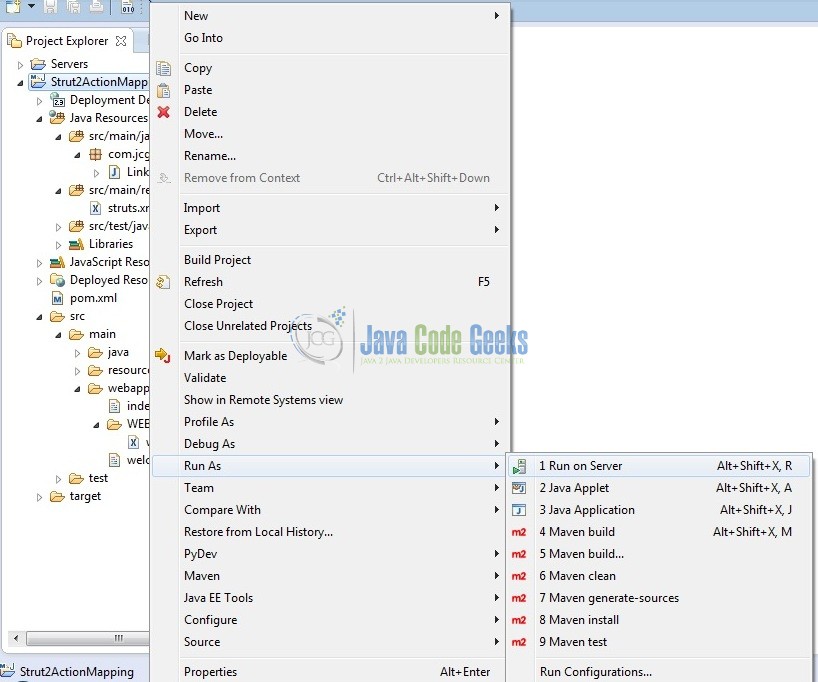
Tomcat will deploy the application in its web-apps folder and shall start its execution to deploy the project so that we can go ahead and test it on the browser.
5. Project Demo
Open your favorite browser and hit the following URL. The output page will be displayed.
http://localhost:8085/Struts2ActionMapping/
Server name (localhost) and port (8085) may vary as per your Tomcat configuration. Developers can debug the example and see what happens after every step. Enjoy!

Now, click on the Submit button. Developers should see the following result if everything is fine with the application.

That’s all for this post. Happy Learning!
6. Conclusion
In this tutorial, developers learned how to download, create a new project in Eclipse IDE, and add Struts2 libraries to write a simple struts2 action mapping example. That’s all for this tutorial and I hope this article served you whatever you were looking for.
7. Download the Eclipse Project
This was an example of struts2 action mapping for the beginners.
You can download the full source code of this example here: Strut2ActionMapping
